manuals.online logo
Brands
  1. Home
  2. •
  3. Brands
  4. •
  5. StarTech.com
  6. •
  7. Docking Station
  8. •
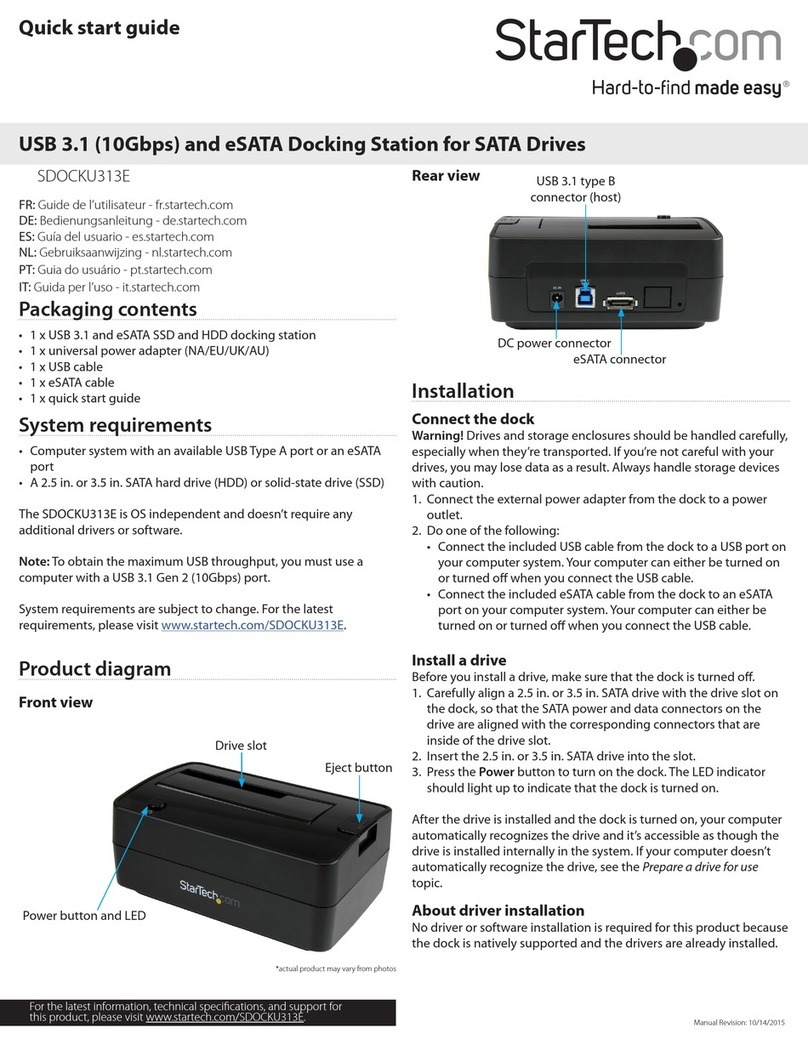
  9. StarTech.com USB3SDOCKDD User manual

StarTech.com USB3SDOCKDD User manual

Other StarTech.com Docking Station manuals

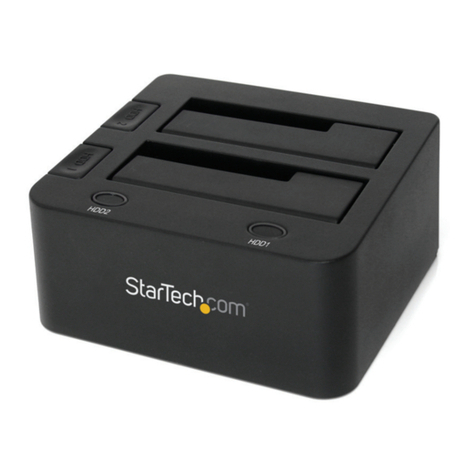
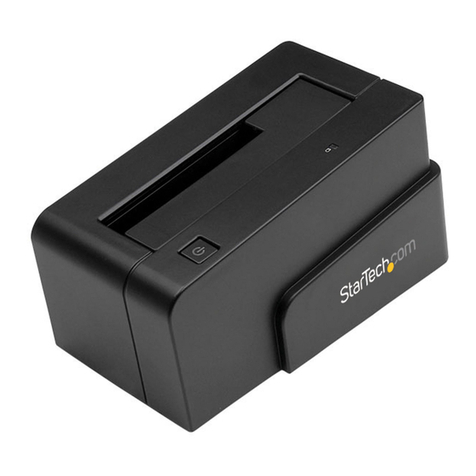
StarTech.com SDOCK2U313 User manual

StarTech.com

StarTech.com SDOCK2U313 User manual

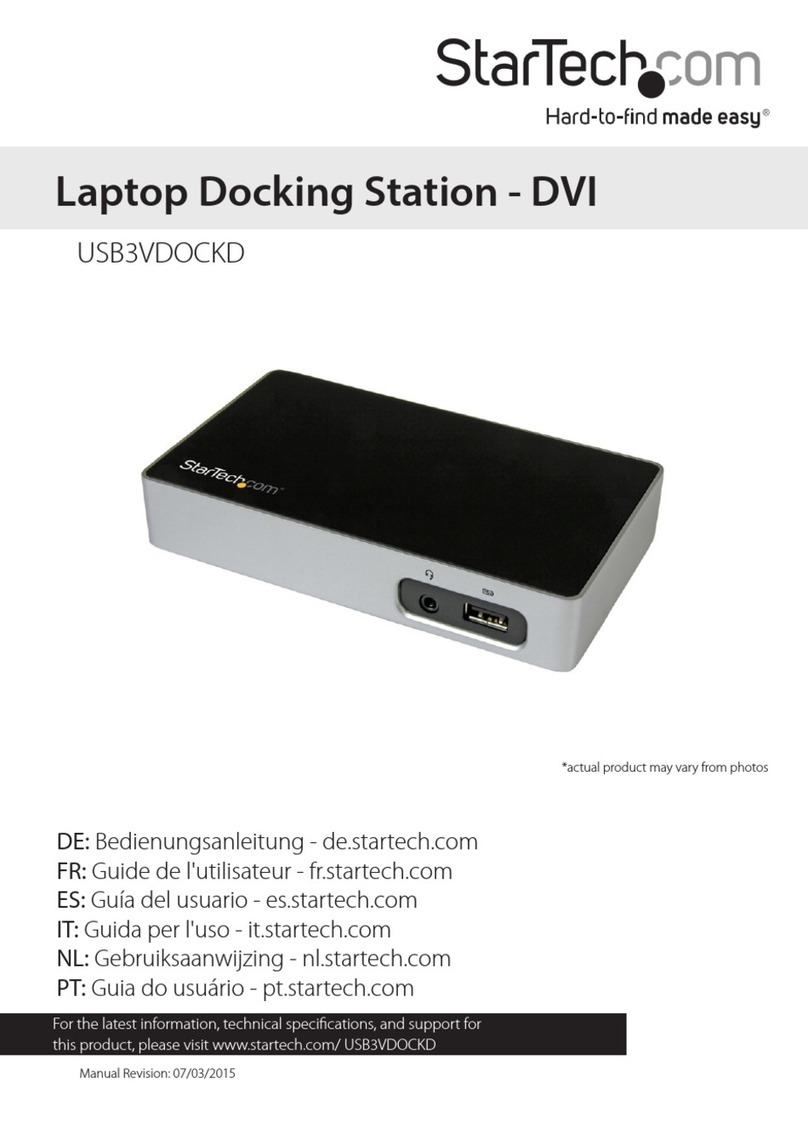
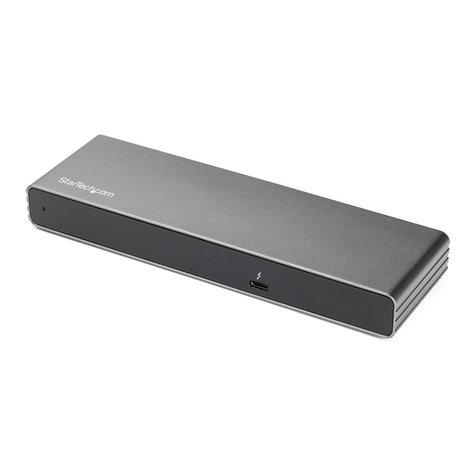
StarTech.com USB3SDOCKD User manual

StarTech.com

StarTech.com USB3SDOCKD User manual

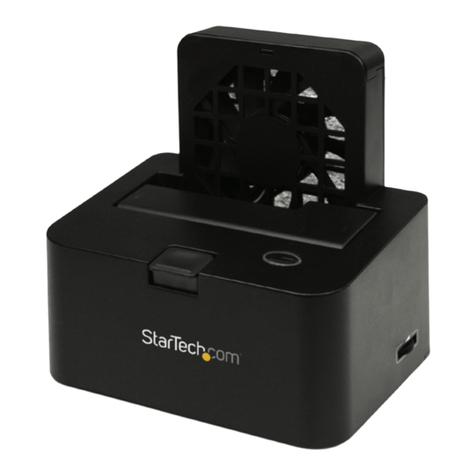
StarTech.com USB6N1DOCK User manual

StarTech.com

StarTech.com USB6N1DOCK User manual

StarTech.com SDOCK4U33 User manual

StarTech.com

StarTech.com SDOCK4U33 User manual

StarTech.com USBVGADOCK2 User manual

StarTech.com

StarTech.com USBVGADOCK2 User manual

StarTech.com SATDOCKU3S User manual

StarTech.com

StarTech.com SATDOCKU3S User manual

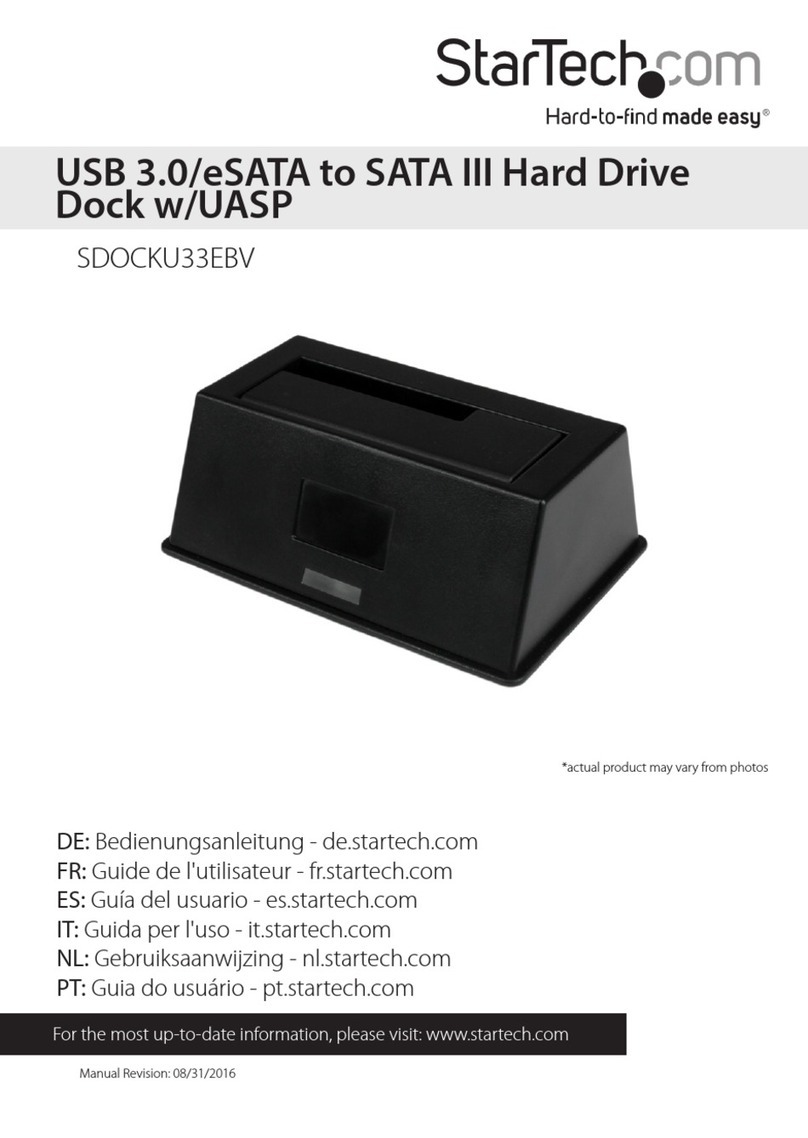
StarTech.com SDOCKU33EBV User manual

StarTech.com

StarTech.com SDOCKU33EBV User manual

StarTech.com SATADOCK525 System manual

StarTech.com

StarTech.com SATADOCK525 System manual

StarTech.com USB5N1DOCK User manual

StarTech.com

StarTech.com USB5N1DOCK User manual

StarTech.com USB3SMDOCKHV User manual

StarTech.com

StarTech.com USB3SMDOCKHV User manual

StarTech.com SATDOCKCRH User manual

StarTech.com

StarTech.com SATDOCKCRH User manual

StarTech.com SATADOCKU2 User manual

StarTech.com

StarTech.com SATADOCKU2 User manual

StarTech.com SATDOCK22RE User manual

StarTech.com

StarTech.com SATDOCK22RE User manual

StarTech.com TB3DKM2HD User manual

StarTech.com

StarTech.com TB3DKM2HD User manual

StarTech.com USB7N1DOCKGB User manual

StarTech.com

StarTech.com USB7N1DOCKGB User manual

StarTech.com DK31C3HDPDUE User manual

StarTech.com

StarTech.com DK31C3HDPDUE User manual

StarTech.com SDOCK1EU3P2 User manual

StarTech.com

StarTech.com SDOCK1EU3P2 User manual

StarTech.com UNIDOCK3U User manual

StarTech.com

StarTech.com UNIDOCK3U User manual

StarTech.com USBVGADOCK2 User manual

StarTech.com

StarTech.com USBVGADOCK2 User manual

StarTech.com SATDOCK22RU3 User manual

StarTech.com

StarTech.com SATDOCK22RU3 User manual

StarTech.com SATDOCKU3S User manual

StarTech.com

StarTech.com SATDOCKU3S User manual

StarTech.com USB6N1DOCK Manual

StarTech.com

StarTech.com USB6N1DOCK Manual

StarTech.com SATADOCKU2E User manual

StarTech.com

StarTech.com SATADOCKU2E User manual

StarTech.com DK30A2DHU User manual

StarTech.com

StarTech.com DK30A2DHU User manual

Popular Docking Station manuals by other brands

Durr Dental VISTACAM2 Installation and operating instructions

Durr Dental

Durr Dental VISTACAM2 Installation and operating instructions

DLO TransDock Direct user manual

DLO

DLO TransDock Direct user manual

Lenovo USB-C Mini Dock user manual

Lenovo

Lenovo USB-C Mini Dock user manual

Sony Dream Machine XDR-DS12iP user manual

Sony

Sony Dream Machine XDR-DS12iP user manual

ATEN UC-2000 user manual

ATEN

ATEN UC-2000 user manual

Xcellon HDD-202 user manual

Xcellon

Xcellon HDD-202 user manual

Dok CR09 user guide

Dok

Dok CR09 user guide

Philips BTM630/12 quick start guide

Philips

Philips BTM630/12 quick start guide

IOGear Travel Pro GUD3C09 quick start guide

IOGear

IOGear Travel Pro GUD3C09 quick start guide

iHome iP15 instruction manual

iHome

iHome iP15 instruction manual

VITURE ONE MOBILE DOCK quick start guide

VITURE ONE

VITURE ONE MOBILE DOCK quick start guide

CipherLab 8001 quick guide

CipherLab

CipherLab 8001 quick guide

Pyle PIPDSP2 owner's manual

Pyle

Pyle PIPDSP2 owner's manual

Targus DOCK315EUZ user guide

Targus

Targus DOCK315EUZ user guide

Philips DC190/79 user manual

Philips

Philips DC190/79 user manual

Akasa DuoDockX3 AK-DK08U3-BK user manual

Akasa

Akasa DuoDockX3 AK-DK08U3-BK user manual

Sirius Satellite Radio SUBX2082808a Installation and user guide

Sirius Satellite Radio

Sirius Satellite Radio SUBX2082808a Installation and user guide

OWC Thunderbolt Dock user guide

OWC

OWC Thunderbolt Dock user guide

manuals.online logo
manuals.online logoBrands
  • About & Mission
  • Contact us
  • Privacy Policy
  • Terms and Conditions

Copyright 2025 Manuals.Online. All Rights Reserved.

Quick-Start Guide
To view manuals, FAQs, videos, drivers, downloads, technical drawings, and more, visit www.startech.com/support.
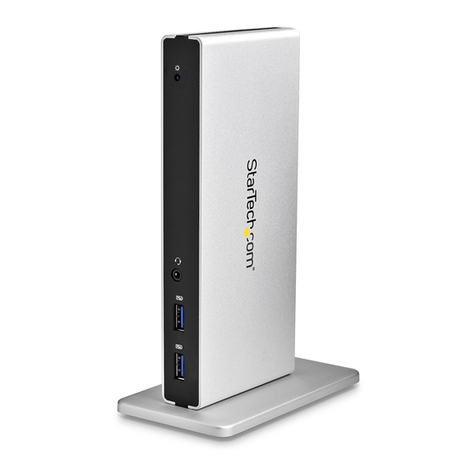
Product Diagram (USB3SDOCKDD)
Port Function
1Power LED • Solid Green indicates that the Docking Station
is powered On.
23.5mm Headset Port • Used to connect a Headset to the Docking
Station.
3USB-A Ports (2) • Used for fast charge and data (e.g. Cell Phone,
Tablet, ash drive, etc.).
Port Function
1DC Input Port • Used to power the Docking Station.
2USB-B (upstream) • Used to connect a Host Computer to the
Docking Station.
3DVI-I Port • Used to connect a Display Device to the
Docking Station.
4DVI-D Port • Used to connect a Display Device to the
Docking Station.
5RJ-45 Port • Used to connect a network connection to the
Docking Station.
6USB-A Ports (3) • Used for trickle charge providing and data
throughput.
USB 3.0 Laptop Docking Station | Dual DVI Video | 2x USB Charging Ports | USB 3.0 Hub | GbE
1
Requirements
For the latest requirements, please visit www.startech.com/USB3SDOCKDD.
• USB enabled computer system with an available USB 3.0 port
• Windows® 10, 8 / 8.1 (32/64bit), 7 (32/64), Vista (32/64), XP SP3 (32), Mac OS® 10.6
and up (Tested up to 10.10)
• DVI, HDMI® or VGA enabled display device(s)if desired (for additional external
monitors) with cables
Note: Only a USB 3.0 port interface and USB 3.0 cable can be used to connect the
Docking Station to the host computer.
Installation
Driver Installation
1. Using a Web Browser, navigate to www.startech.com/USB3SDOCKDD.
2. On the Product page, click the Support tab located in the middle of the screen.
3. In the Drivers and Downloads section, click on the driver link that corresponds with
the operating system running on the host laptop.
Windows
1. Once the download is complete, right-click on the .zip fold and select Extra All from
the pop-up menu and follow the on-screen prompts.
2. A list on extracted les will appear, right-click the Setup.exe le and select Run as
Administrator from the pop-up menu and follow the on-screen prompts.
3. Once the drivers are installed and the Host Computer has restarted, connect the
Docking Station to the Host Computer. The Host Computer will automatically
nalize the driver installation.
Mac
1. Once the download is complete, double click on the following paths: DisplayLink.
zip le - MacOs folder - OS 10.8 - 10.2 folder - DisplayLink Installer 75598.dmg
le.
2. Follow the on-screen prompts.
3. Once the drivers are installed and the Host Computer has restarted, connect the
Docking Station to the Host Computer. The Host Computer will automatically
nalize the driver installation.
23
123 4 56
Questo manuale d’istruzione è fornito da trovaprezzi.it. Scopri tutte le offerte per StarTech.com
USB3SDOCKHD o cerca il tuo prodotto tra le migliori offerte di Schede di Memoria e Lettori
FCC Compliance Statement
This equipment has been tested and found to comply with the limits for a Class B digital device, pursuant to part 15 of the FCC
Rules. These limits are designed to provide reasonable protection against harmful interference in a residential installation.
This equipment generates, uses and can radiate radio frequency energy and, if not installed and used in accordance with the
instructions, may cause harmful interference to radio communications. However, there is no guarantee that interference will not
occur in a particular installation. If this equipment does cause harmful interference to radio or television reception, which can be
determined by turning the equipment o and
on, the user is encouraged to try to correct the interference by one or more of the following measures:
• Reorient or relocate the receiving antenna.
• Increase the separation between the equipment and receiver.
• Connect the equipment into an outlet on a circuit dierent from that to which the receiver is connected.
• Consult the dealer or an experienced radio/TV technician for help
This device complies with part 15 of the FCC Rules. Operation is subject to the following two conditions:
(1) This device may not cause harmful interference, and (2) this device must accept any interference received, including
interference that may cause undesired operation. Changes or modications not expressly approved by StarTech.com could void
the user’s authority to operate the equipment.
Industry Canada Statement
This Class B digital apparatus complies with Canadian ICES-003.
Cet appareil numérique de la classe [B] est conforme à la norme NMB-003 du Canada.
CAN ICES-3 (B)/NMB-3(B)
This device complies with Industry Canada licence-exempt RSS standard(s). Operation is subject to the following two conditions:
(1) This device may not cause interference, and (2) This device must accept any interference, including interference that may
cause undesired operation of the device.
Le présent appareil est conforme aux CNR d’Industrie Canada applicables aux appareils radio exempts de licence. L’exploitation
est autorisée aux deux conditions suivantes:
(1) l’appareil ne doit pas produire de brouillage, et (2) l’utilisateur de l’appareil doit accepter tout brouillage radioélectrique subi,
même si le brouillage est susceptible d’en compromettre le fonctionnement.
IC Radiation Exposure Statement
This equipment complies with IC RSS-102 radiation exposure limit set forth for an uncontrolled environment. This equipment
should be installed and operated with minimum distance 0.5cm
between the radiator and your body.
Use of Trademarks, Registered Trademarks, and other Protected Names and Symbols
This manual may make reference to trademarks, registered trademarks, and other protected names and/or symbols of third-
party companies not related in any way to StarTech.com. Where they occur these references are for illustrative purposes only
and do not represent an endorsement of a product or service by StarTech.com, or an endorsement of the product(s) to which
this manual applies by the third-party company in question. StarTech.com hereby acknowledges that all trademarks, registered
trademarks, service marks, and other protected names and/or symbols contained in this manual and related documents are the
property of their respective holders.
Warranty Information
This product is backed by a three year warranty.
For further information on product warranty terms and conditions, please refer to www.startech.com/warranty.
Limitation of Liability
In no event shall it be the liability of StarTech.com Ltd. and StarTech.com USA LLP (or their ocers, directors, employees or
agents) for any damages (whether direct or indirect, special, punitive, incidental, consequential, or otherwise), loss of prots, loss
of business, or any pecuniary loss, arising out of or related to the use of the product exceed the actual price paid for the product.
Some states do not allow the exclusion or limitation of incidental or consequential damages. If such laws apply, the limitations
or exclusions contained in this statement may not apply to you.
Safety Measures
• If product has an exposed circuit board, do not touch the product under power.
Mesures de sécurité
• Si l’un des circuits imprimés du produit est visible, ne pas touchez le produit lorsqu’il est sous tension.
安全対策
• 製品に露出した状態の回路基盤が含まれる場合、電源が入っている状態で製品に触らないでください。
Misure di sicurezza
• Se il prodotto ha un circuito stampato visibile, non toccare il prodotto quando è acceso.
Säkerhetsåtgärder
• Rör aldrig vid enheter med oskyddade kretskort när strömmen är påslagen.
FR: fr.startech.com
DE: de.startech.com
ES: es.startech.com
NL: nl.startech.com
IT: it.startech.com
JP: jp.startech.com
StarTech.com Ltd.
45 Artisans Cres
London, Ontario
N5V 5E9
Canada
StarTech.com Ltd.
Unit B, Pinnacle 15
Gowerton Rd,
Brackmills
Northampton
NN4 7BW
United Kingdom
StarTech.com LLP
2500 Creekside
Parkwy
Lockbourne, Ohio
43137
U.S.A.
Display Conguration
Use your Windows or Mac operating system to adjust display settings for multiple
monitors.
Supported Video Resolution
Max resolution for DVI, HDMI, and VGA is 2048x1152
Note: Depending on conguration and the supported resolutions of your connected
monitors, the docking station may support video resolutions lower than those
specied above.
Hardware Installation
Stand Installation
The Docking Station can be positioned horizontally on a surface (apply the included rubber
feet to the bottom of the Docking Station if desired), or may be mounted vertically using the
included stand.
• Using the provided screwdriver and screws, secure the stand to the Docking Station.
Installation
1. Connect the included power adapter from an AC electrical outlet to the DC Input Jack
on the Docking Station.
2. Connect the Docking Stations USB 3.0 Upstream Port to an available USB 3.0 port on
the host computer using the included USB 3.0 Cable.
3. Connect your DVI monitors to the DVI ports on the Docking Station.
Note: If your displays use an HDMI® or VGA interface, connect the included DVI to
HDMI® or DVI to VGA adapters to your display cables, and then to the Docking Station
as desired. The DVI to VGA adapter can only be used on the DVI-I (29 pin) port.
4. Connect any other devices as desired, including your RJ-45 LAN Connection, USB
peripherals, and Headset.