manuals.online logo
Brands
  1. Home
  2. •
  3. Brands
  4. •
  5. StarTech.com
  6. •
  7. TV Mount
  8. •
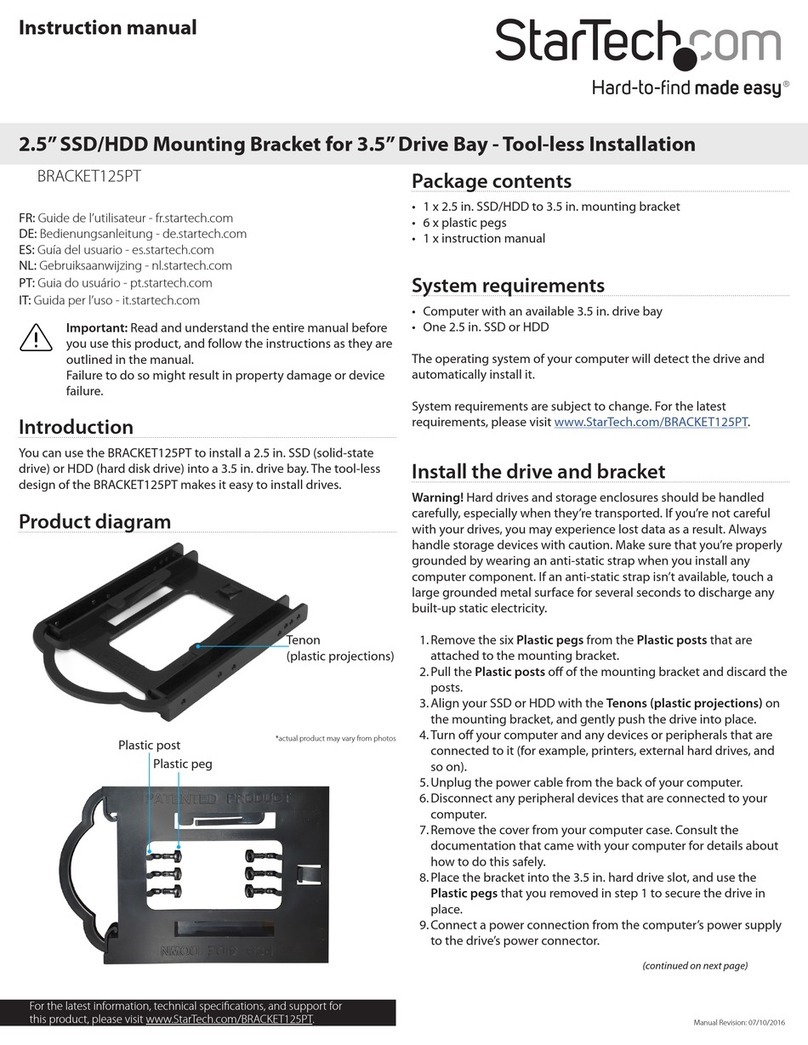
  9. StarTech.com BRACKET125PTP User manual

StarTech.com BRACKET125PTP User manual

Other StarTech.com TV Mount manuals

StarTech.com FPWFXBAT User manual

StarTech.com

StarTech.com FPWFXBAT User manual

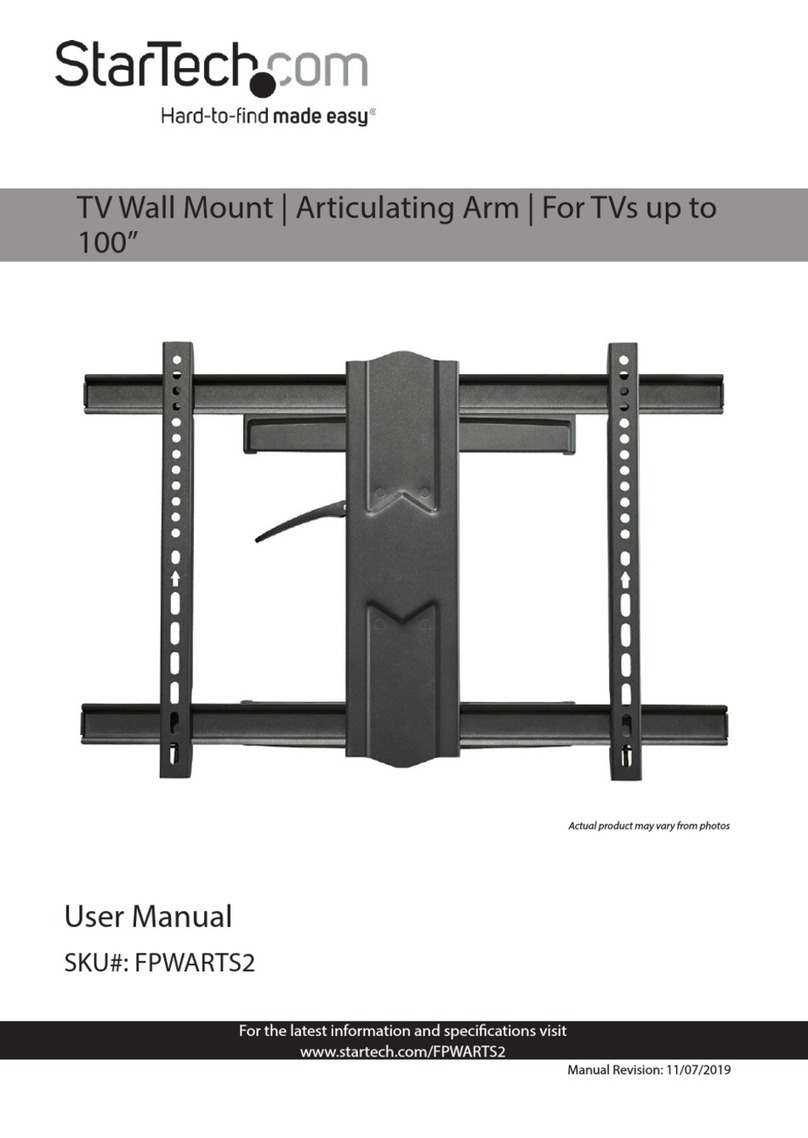
StarTech.com FPWARTS2 User manual

StarTech.com

StarTech.com FPWARTS2 User manual

StarTech.com WALLMOUNTH2 User manual

StarTech.com

StarTech.com WALLMOUNTH2 User manual

StarTech.com FPWTLTB1 User manual

StarTech.com

StarTech.com FPWTLTB1 User manual

StarTech.com FPWARPS User manual

StarTech.com

StarTech.com FPWARPS User manual

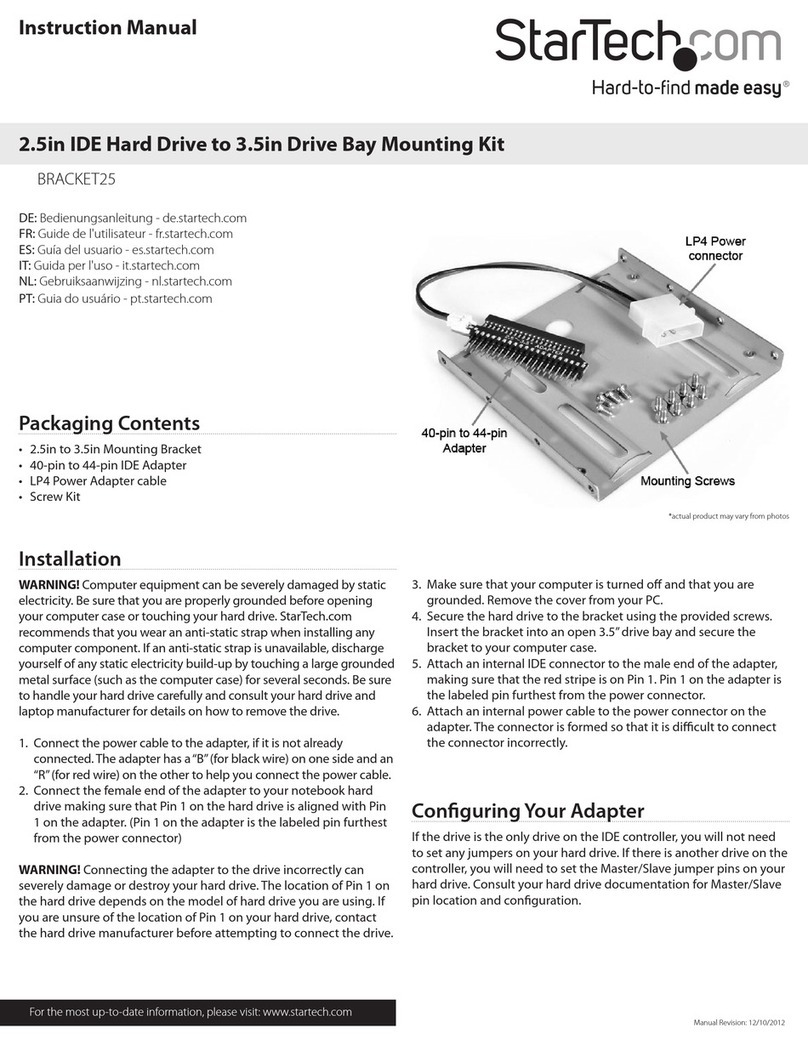
StarTech.com BRACKET25 User manual

StarTech.com

StarTech.com BRACKET25 User manual

StarTech.com FPWFXB1 User manual

StarTech.com

StarTech.com FPWFXB1 User manual

StarTech.com FPCEILPTBLP User manual

StarTech.com

StarTech.com FPCEILPTBLP User manual

StarTech.com BRACKET125PT User manual

StarTech.com

StarTech.com BRACKET125PT User manual

StarTech.com V934459 User manual

StarTech.com

StarTech.com V934459 User manual

StarTech.com FPCEILBTB User manual

StarTech.com

StarTech.com FPCEILBTB User manual

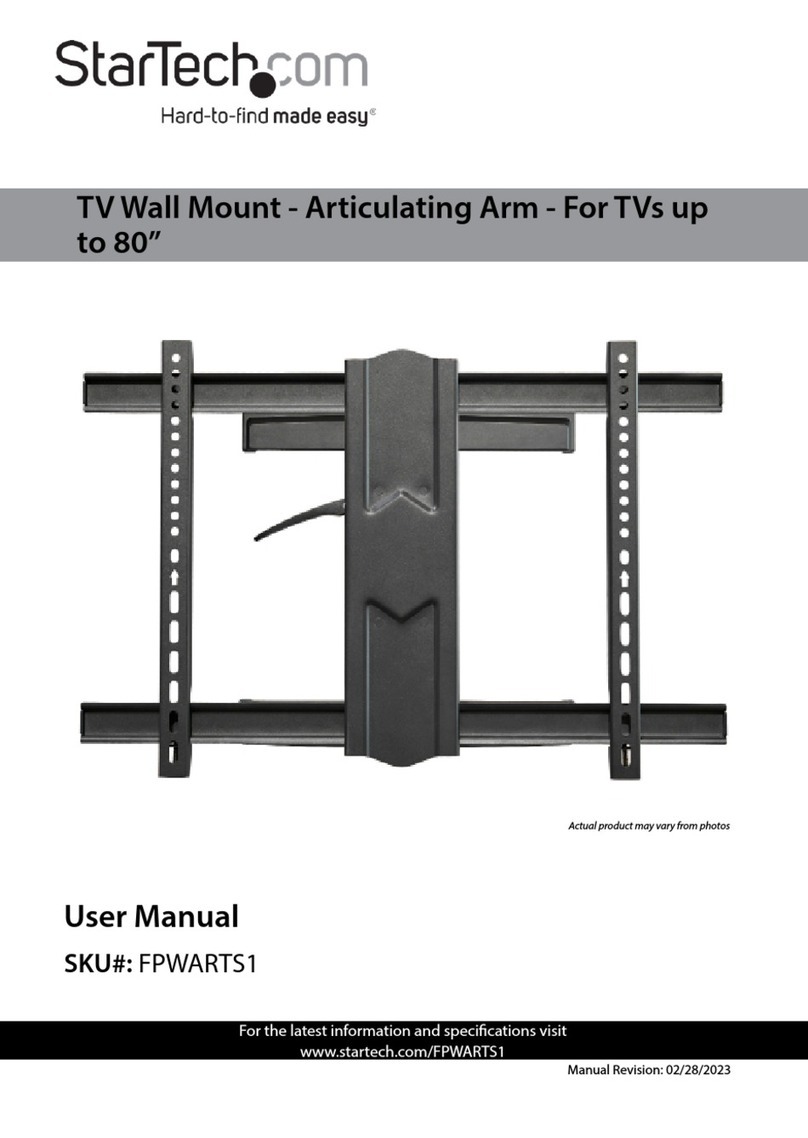
StarTech.com FPWARTS1 User manual

StarTech.com

StarTech.com FPWARTS1 User manual

StarTech.com FPCEILPTBSP User manual

StarTech.com

StarTech.com FPCEILPTBSP User manual

StarTech.com MBLTVSTNDEC User manual

StarTech.com

StarTech.com MBLTVSTNDEC User manual

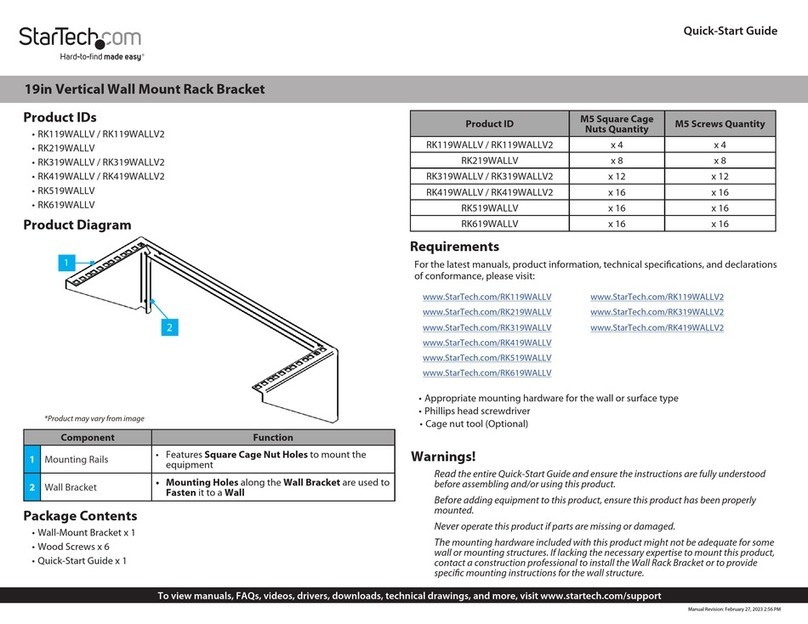
StarTech.com RK119WALLV User manual

StarTech.com

StarTech.com RK119WALLV User manual

StarTech.com FPWTLTBAT User manual

StarTech.com

StarTech.com FPWTLTBAT User manual

StarTech.com FHA-TV-WALL-MOUNT User manual

StarTech.com

StarTech.com FHA-TV-WALL-MOUNT User manual

StarTech.com TV-Wall-Mount-65FS User manual

StarTech.com

StarTech.com TV-Wall-Mount-65FS User manual

StarTech.com FPWTLTPORT User manual

StarTech.com

StarTech.com FPWTLTPORT User manual

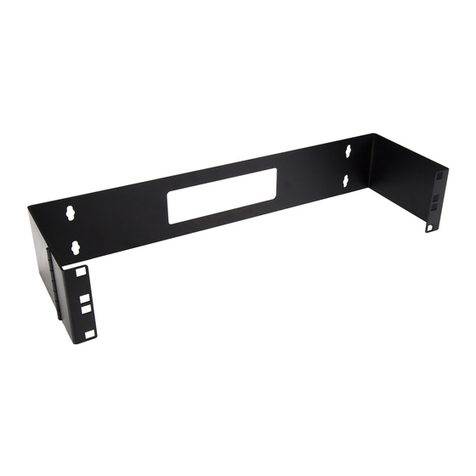
StarTech.com RK219WALLV User manual

StarTech.com

StarTech.com RK219WALLV User manual

Popular TV Mount manuals by other brands

Krüger & Matz KM1300 owner's manual

Krüger & Matz

Krüger & Matz KM1300 owner's manual

Barkan E220 manual

Barkan

Barkan E220 manual

Bauhn ACTVB-1120 installation guide

Bauhn

Bauhn ACTVB-1120 installation guide

Vantage Point Products CB01 instructions

Vantage Point Products

Vantage Point Products CB01 instructions

Ergotron Neo Flex Cantilever UHD user guide

Ergotron

Ergotron Neo Flex Cantilever UHD user guide

ECG LD 174203 instruction manual

ECG

ECG LD 174203 instruction manual

VonHaus 05/038 instruction manual

VonHaus

VonHaus 05/038 instruction manual

Techlink ECHO TV manual

Techlink

Techlink ECHO TV manual

Sandstrom SSTVMC12X instruction manual

Sandstrom

Sandstrom SSTVMC12X instruction manual

Kanto RCAD590 user manual

Kanto

Kanto RCAD590 user manual

Forging Mount HY9440 instruction manual

Forging Mount

Forging Mount HY9440 instruction manual

ICW SCACC18 installation instructions

ICW

ICW SCACC18 installation instructions

LG WM-L640V owner's manual

LG

LG WM-L640V owner's manual

Gembird WM-65ST-01 user manual

Gembird

Gembird WM-65ST-01 user manual

ERARD FiTUP XXL 035320 quick start guide

ERARD

ERARD FiTUP XXL 035320 quick start guide

PEERLESS PLCK-1 Installation and assembly

PEERLESS

PEERLESS PLCK-1 Installation and assembly

GEM GEM GP001 instructions

GEM

GEM GEM GP001 instructions

Gladiator Joe GJ0A0053 quick start guide

Gladiator Joe

Gladiator Joe GJ0A0053 quick start guide

manuals.online logo
manuals.online logoBrands
  • About & Mission
  • Contact us
  • Privacy Policy
  • Terms and Conditions

Copyright 2025 Manuals.Online. All Rights Reserved.

Quick-Start Guide
To view manuals, FAQs, videos, drivers, downloads, technical drawings, and more, visit www.startech.com/support.
Manual Revision: September 9, 2019 10:18 AM
Product Diagram (BRACKET125PTP)
Component Function
1Hard Drive Slot • Used to secure a 2.5” Solid State Drive or
Hard Drive in the Mounting Bracket.
2Plastic Pegs • Used to secure the Mounting Bracket to the
Computer Chassis.
3Handle • Used to insert/remove the Mounting Bracket
into/out of the Computer Chassis.
Requirements
For the latest requirements, please visit www.startech.com/BRACKET125PTP
Packaging Contents
• 2.5” SSD/HDD Mounting Brackets x 5
• Plactic Pegs x 30
• Quick-Start Guide x 1
2.5” SSD/HDD Mounting Bracket for 3.5” Bay | Tool-less | 5 Pack
Installing a Hard Drive
1. Remove the Plastic Pegs (x 6) from the center of the Mounting Bracket by gently
twisting the Plastic Peg until it snaps o of the plastic molding.
2. Slide the Hard Drive into the Hard Drive Slot on the Mounting Bracket towards
the Handle, label side down, with the Hard Drive Connector facing out.
Inserting a Hard Drive into the Mounting Bracket
Installing the Mounting Bracket
1. Turn o the Computer and any connected Peripheral Devices (e.g., printers,
external hard drives, etc.).
2. Unplug the Power Cable from the back of the Computer and disconnect any
Peripheral Devices.
3. Remove the Cover from the Computer Case.
Note: Please refer to the manufacturer’s manual for instruction on how to remove the
Computer Case Cover.
4. Slide the Mounting Bracket (label side up) into a 3.5” Hard Drive Slot, aligning
the Mounting Holes on the Mounting Bracket with the Mounting Holes on the
Computer Chassis.
Sliding the Mounting Bracket into the 3.5” Hard Drive Slot
2
3
1
Use of Trademarks, Registered Trademarks, and other Protected Names and Symbols
This manual may make reference to trademarks, registered trademarks, and other protected names and/or symbols of third-
party companies not related in any way to StarTech.com. Where they occur these references are for illustrative purposes only
and do not represent an endorsement of a product or service by StarTech.com, or an endorsement of the product(s) to which
this manual applies by the third-party company in question. StarTech.com hereby acknowledges that all trademarks, registered
trademarks, service marks, and other protected names and/or symbols contained in this manual and related documents are the
property of their respective holders.
Warranty Information
This product is backed by a two-year warranty.
For further information on product warranty terms and conditions, please refer to www.startech.com/warranty.
Limitation of Liability
In no event shall the liability of StarTech.com Ltd. and StarTech.com USA LLP (or their ocers, directors, employees or agents)
for any damages (whether direct or indirect, special, punitive, incidental, consequential, or otherwise), loss of prots, loss of
business, or any pecuniary loss, arising out of or related to the use of the product exceed the actual price paid for the product.
Some states do not allow the exclusion or limitation of incidental or consequential damages. If such laws apply, the limitations
or exclusions contained in this statement may not apply to you.
Safety Measures
• If product has an exposed circuit board, do not touch the product under power.
Mesures de sécurité
• Si l’un des circuits imprimés du produit est visible, ne pas touchez le produit lorsqu’il est sous tension.
安全対策
• 製品に露出した状態の回路基盤が含まれる場合、電源が入っている状態で製品に触らないでください。
Misure di sicurezza
• Se il prodotto ha un circuito stampato visibile, non toccare il prodotto quando è acceso.
Säkerhetsåtgärder
• Rör aldrig vid enheter med oskyddade kretskort när strömmen är påslagen.
FR: startech.com/fr
DE: startech.com/de
ES: startech.com/es
NL: startech.com/nl
IT: startech.com/it
JP: startech.com/jp
StarTech.com Ltd.
45 Artisans Cres
London, Ontario
N5V 5E9
Canada
StarTech.com Ltd.
Unit B, Pinnacle 15
Gowerton Rd,
Brackmills
Northampton
NN4 7BW
United Kingdom
StarTech.com LLP
2500 Creekside
Parkwy
Lockbourne, Ohio
43137
U.S.A.
5. Insert the Plastic Pegs (x 4) through the Mounting Holes on the Computer Chassis
and into the Mounting Holes on the Mounting bracket. You should hear an audible
click when installing the Plastic Pegs.
Inserting the Plastic Pegs into the Computer Chassis
6. Connect a Power Connection from the Computer’s Power Supply to the Hard
Drive’s Power Connector.
7. Use the appropriate cable and connect the Hard Drive to the Host Controller.
8. Place the Cover back on the Computer Case.
9. Reconnect the Power Cable to the back of the Computer and reconnect all of the
Peripheral Devices previously disconnected.
10. Turn on the Computer and any connected Peripheral Devices.