manuals.online logo
Brands
  1. Home
  2. •
  3. Brands
  4. •
  5. Stealth
  6. •
  7. Safe
  8. •
  9. Stealth Tactical Dorm Operator's manual

Stealth Tactical Dorm Operator's manual

Other Stealth Safe manuals

Stealth Tactical DORM Operator's manual

Stealth

Stealth Tactical DORM Operator's manual

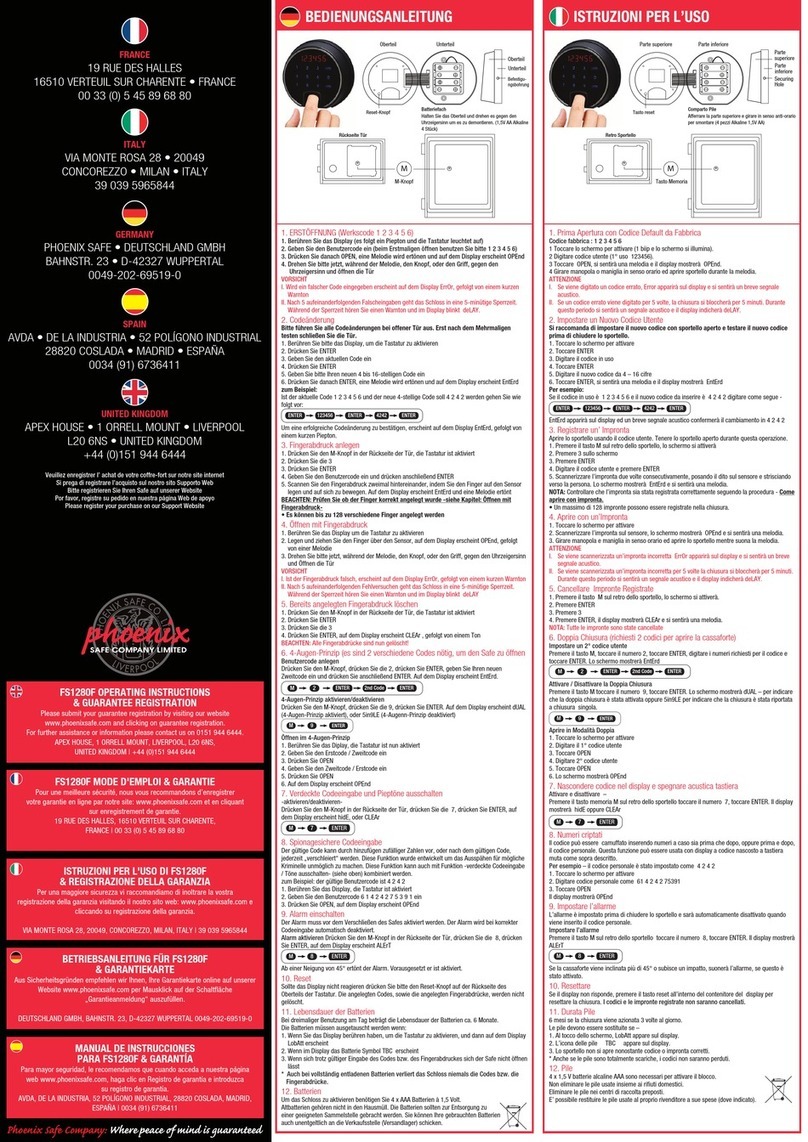
Stealth BIOMETRIC HANDGUN HANGER SAFE User manual

Stealth

Stealth BIOMETRIC HANDGUN HANGER SAFE User manual

Popular Safe manuals by other brands

Euromate 406210 Original instructions

Euromate

Euromate 406210 Original instructions

SPORTS AFIELD PRESERVE SA72-60WD instruction manual

SPORTS AFIELD

SPORTS AFIELD PRESERVE SA72-60WD instruction manual

Squire Stronghold Keysafe Fitting instructions

Squire

Squire Stronghold Keysafe Fitting instructions

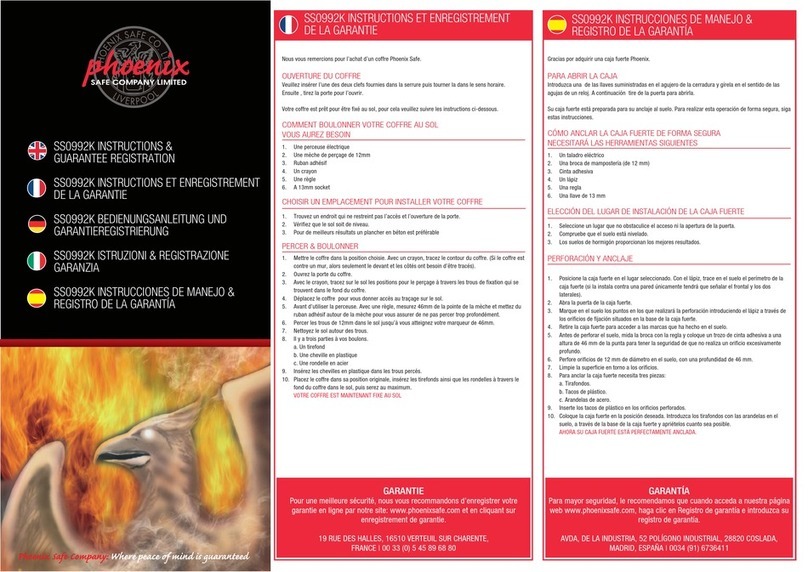
Phoenix FS0352C Instructions & Guarantee Registration

Phoenix

Phoenix FS0352C Instructions & Guarantee Registration

Hornady SnapSafe Trunk Safe II owner's manual

Hornady

Hornady SnapSafe Trunk Safe II owner's manual

Phoenix KS0030E Series operating instructions

Phoenix

Phoenix KS0030E Series operating instructions

Vaultek 10 Series Quick setup

Vaultek

Vaultek 10 Series Quick setup

Arregui CLASS operating instructions

Arregui

Arregui CLASS operating instructions

Technomax Trony Series Instruction handbook

Technomax

Technomax Trony Series Instruction handbook

SPORTS AFIELD INSTINCT BIOMETRIC Series instruction manual

SPORTS AFIELD

SPORTS AFIELD INSTINCT BIOMETRIC Series instruction manual

SPORTS AFIELD SA-HD5-BIO instruction manual

SPORTS AFIELD

SPORTS AFIELD SA-HD5-BIO instruction manual

Olymp GOsafe 110 operating instructions

Olymp

Olymp GOsafe 110 operating instructions

Phoenix SS0100E Operating Instructions & Guarantee Registration

Phoenix

Phoenix SS0100E Operating Instructions & Guarantee Registration

Ankaro ANK EZ I quick start guide

Ankaro

Ankaro ANK EZ I quick start guide

Honeywell 2077D - 1.21 Cubic Foot Anti-Theft Safe user guide

Honeywell

Honeywell 2077D - 1.21 Cubic Foot Anti-Theft Safe user guide

Beaumont SMART KEYBOX user guide

Beaumont

Beaumont SMART KEYBOX user guide

Phoenix FS1270E Series operating instructions

Phoenix

Phoenix FS1270E Series operating instructions

Shure T-Wall Series Assembly instructions

Shure

Shure T-Wall Series Assembly instructions

manuals.online logo
manuals.online logoBrands
  • About & Mission
  • Contact us
  • Privacy Policy
  • Terms and Conditions

Copyright 2025 Manuals.Online. All Rights Reserved.

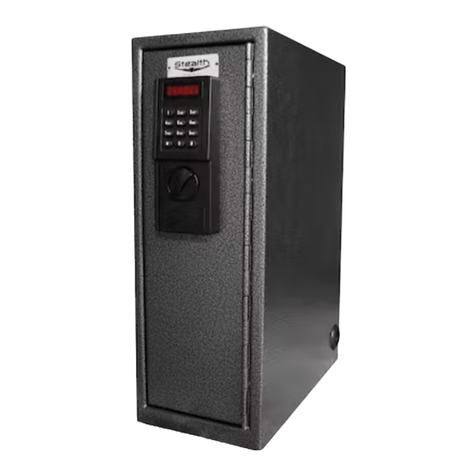
DORM SAFE
Dear Valued Customer,
Congratulations on the purchase of your Stealth Tactical Dorm Safe!
Here at Stealth, we pride ourselves on providing easy and simple solutions
for your everyday storage needs. You have taken a very important step in
protecting your most valuable possessions.
 Thisfullsteelsafewasdesignedspeci󰍇callyforcollege dorm rooms
or RV’s where space is limited. Its vertical design optimizes󰍈oorspaceand
willeasily󰍇tinaclosetorunderadesk.
If you have any questions regarding your Stealth Dorm Safe, please
contact Stealth Customer Service at (818) 899-2222.
FEATURES
DIAGRAM:
DIMENSIONS:
INCLUDED:
Full Steel Body
Electronic Keypad
Steel Hinge
Shelf Lining
Removable Foam
Floor Lining
Half Shelves (3)
Steel Locking
Bolts (2)
Rear Access
Holes (2)
Security Cable
Attachment Hole
Turning Handle
Battery
Compartment
Mounting Holes
Located Underneath
Dorm Safe
Mounting Holes
Located Under
Floor Lining
Exterior:
20”h x 7”w x 14”d
Weight:
35 lbs
US Patent D617974
Electronic Lock: Standard 9V battery operated and easily replaced from
outside safe (battery not included)
Opens with 6-digit pin
Half Shelves (3)- Lined to protect valuables
Rear access holes for security cable installation and in-safe charging access
Pre-drilled󰍈oormountingholes(hardwarenotincluded)
Up to 18” Laptops
Cell Phones, iPod, iPad
Keys
Wallet
Jewelry
Money
Important Documents
Prescription Medications
Glasses
Smaller Items
SAFELY STORE AND SECURE:
FEATURES:
• 72” Vinyl Coated
Steel Cable
• Hook
• Wood Floor
Mounting Screws
Interior:
18.5”h x 6.5”w x 12”d
Interior Shelves:
Heightto󰍇rstshelf5.25”
Height to second shelf 9.5”
Height to third shelf 14”
Shelf width 3.25”
SECURE RELIABLE PEACE OF MIND
Note: The factory set code is: 1 2 3 4 5 6 and should be changed before using the
safe. It is the owner’s responsibility to maintain the code.
Electronic Keypad:
1. Use keypad to slowly enter 6-digit combination
(Factory set code is: 1 2 3 4 5 6)
*If there is one (1) long beep after entering the code, the code was not
recognized. Slow down and retry.
2. Immediately rotate turning handle clockwise and pull open
Note: There will be a 5 minute lockout penalty after 4 consecutive wrong code
attempts. If another 2 invalid codes are attempted, the safe will reenter lockout
mode and continue after every 2 invalid attempts until the correct combination
is entered.
• Close door and rotate turning knob counter-clockwise to relock bolts
• If bolts are deployed, reopen safe before closing
Changing Lock Combination:
1. Unlock the safe door and leave it open and in the locked position so that the
bolts are visible (Factory set code is: 1 2 3 4 5 6)
2. Press and hold ‘0’ until you hear a double beep. The LED light will remain on.
3. Enter current 6-digit combination -- you will hear a double beep
(Factory set code is: 1 2 3 4 5 6)
5. Enter new 6-digit combination -- you will hear a double beep
7. Renter new 6-digit combination -- you will hear a double beep
8. Your new combination is now installed
9. Test your new combination with the safe door open to ensure that your new
code was installed correctly
Note: If you hear one (1) long beep while entering your new combination, the
lock has timed out and your old combination is still valid. Enter old combination
once and then restart from Step 2.
USER'S INSTRUCTION MANUAL:
OPENING SAFE:
CLOSING SAFE:
CUSTOM PROGRAMMING SAFE:
DORM SAFE US Patent D617974
Note: Inordertoinitiallyinstallbattery,youmust󰍇rstremovekeypadfromsafe
Installing Battery:
1. Push keypad upward to disconnect from safe door
2. Gently pull keypad away from safe
3. Connect a brand new 9V battery to the battery connector
located on the back side of the keypad
4. Insert connected battery into the battery compartment
5. Reposition keypad and slide keypad down to lock into place
Replacing Battery:
Note: If battery is low, lock will repeatedly beep while unlocking safe
1. Unlock safe and leave door open and in locked
position so that bolts are visible
2. Slide open battery compartment located beneath the keypad
3. Battery should slide out from inside keypad
4. Disconnect old battery and connect brand new 9V battery
5. Insert battery back into compartment and slide closed
6. Test keypad to ensure battery is connected properly
INSERTING AND CHANGING KEYPAD BATTERY:
• Keep liquids away from keypad
• Do NOT disassemble safe -- For all repairs call Stealth Customer Service
1. Insert one end of steel cable through safe rear
access hole
2. Wrap cable around a sturdy and secure object
next to safe
3. Insert other end of steel cable into safe through
the other rear access hole
4. Clasp each end of cable to hook
5. Clasp hook onto attachment hole connected to
bottom shelf to secure cable to safe
1.Removefoam󰍈oorliningfrominsideofDormSafe
to reveal pre-drilled mounting holes
2. Secure safe in desired location by screwing it into
place through the four (4) mounting holes and into
the󰍈oorusingthescrewsprovided
Note: Screws provided are for wood or carpet
mounting only. Installation into concrete or tile
requirethepurchaseofdi󰍆erenthardware
-Use proper drill tools depending on the type of
󰍈ooryouaremountingthesafeon(wood,tile,or
concrete)
-Mark the exact locations of the mounting holes
onthe󰍈oorwhereyouwantyoursafetogo
-Drill the appropriate size holes for the
anchors you are using
-Match the safe’s mounting holes over the drilled
holesinthe󰍈oor
- Insert the appropriate screws through the safe
andintothe󰍈oor,thentightenuntilsecured
3. Reposition󰍈oorlining
4. Your Dorm Safe is now securely mounted
SECURING SAFE WITH CABLE:
MOUNTING SAFE:
CARE AND MAINTENANCE:
Security Cable
Attachment Hole
(4) Pre-drilled Mounting Holes