Steam Australia JUPITER SD User manual

JUPITER SD Quick Start Guide
1
OPTIONAL
S/V HOSE
h
k
T
S/O HOSE
m
n
INCLUDED
JUPITER SD JUPITER Display JUPITER Hose Controls
_______________________________________________________________________________________________
Preparing the JUPITER SD
Steam Operation:
1. Plug cable into a wall outlet. NOTE: Do NOT use
multi-outlet power-boards and avoid using low-
quality extension cables.
2. Open water
tank filler cap (i),
fill tank with clean
tap water up to
the top then close
filler cap. NOTE:
Do NOT use de-
mineralised water
and do NOT fill with any chemicals.
3. Turn JUPITER on using the ON/OFF switch (a). The
switch should light up to indicate that it is functional.
4. Press the ‘Boiler Switch’ button (e) to start the
boiler. The green “Pump Ready” lights will flash,
indicating that the JUPITER is preparing the boiler.
5. Once the “Pump Ready” green
light stops flashing and becomes
fully illuminated, the machine will
be at pressure (c) and the steam
function ready for use.
6. Connect hose into the JUPITER by
opening the protective plastic flap
located on the front of the machine (iv) and pushing
the plug end of the hose in
with the “doman” imprint on the top side of the
hose until it clicks.
Proceed to “Vacuum Operation” and/or “Detergent
Operation” section if you are planning on using the vacuum
and/or detergent functions together with the steam
functions.
Detergent Operation:
1. Open detergent
tank filler cap (ii),
fill tank with
detergent.
2. Remove the
detergent tank
filler cap and fill
with the diluted
101 degreaser solution up to the top. NOTE: We
recommend using Steam Australia’s 101 degreaser or
similar to ensure it does not impact machine
operation and/or cause adverse health issues.
3. Replace the detergent filler cap (ii) before
operating.
Vacuum Operation: With Vac Kit
Locate the vacuum switch (S) on the vacuum head
unit (iii) and turn it on.
NOTE: The vacuum
bucket can be cleaned
by detaching the bucket
from the vacuum head
through the latch that
holds it. Always make
sure the bucket is fitted on properly to ensure that
the contents will not disperse to your surroundings.
i
ii
iii
iv
c
ii
a
b
c
d
e
f
g
S

JUPITER SD Quick Start Guide
2
Hose Handle Operations
Steam Function:
1. After approx. 8-10 minutes, check that the machine
has reached pressure. Ready light will be illuminated.
2. If the JUPITER makes a beeping noise and the “Tank
Level” LED (b) flashes, proceed to Step 2 of “Preparing
the JUPITER | Steam Operations” (page 1).
3. For S/V Hose, press and hold the trigger (T) to
activate the steam function. For S/O Hose, toggle the
steam on/off switch (m) to on to activate an
automatic stream.
4. Adjust the steam level from the knob (g). Turning
counter-clockwise will increase steam level, turning
clockwise will decrease it.
WARNING: Do NOT operate hose with steam nozzle
pointing at persons, animals or electrical machinery
/equipment/outlets/sensors that are sensitive to
water and heat (especially near fire alarm sensors).
Detergent Function:
1. Press and hold the detergent button ((k)for S/V
Hose, (n)for S/O Hose) to activate the detergent
function.
2. Turning the detergent level knob (f) counter-
clockwise will increase the amount of detergent
sprayed, turning the knob clockwise will decrease it.
3. If the detergent runs low in the JUPITER, the hoses
will stop spraying detergent. This is noticeable when
using the steam function in conjunction with the
detergent function as only the drier steam sprays out
the nozzle when the detergent function is activated.
Proceed to Step 1 –3 of “Preparing the JUPITER |
Detergent Operation” (page 1) if this happens.
Vacuum Function: With Vac Kit
1. Plug the S/V Hose into the JUPITER.
2. Press the vacuum button (h)to engage the vacuum
function. The vacuum will turn on and you will feel
suction from the vacuum nozzle.
NOTE: Ensure that you regularly empty out the
contents of the vacuum waste bucket for a smooth
operation and clean the HEPA filter located under the
vacuum head inside of the bucket if it is very stained.
Use soapy warm water to wash the HEPA filter, rinse
and let dry before re-installing.
Warning Lights
The JUPITER will make a beeping noise and the “Tank
Level” (b) red LED light will flash when the water
tank’s level is low.
For water tank low level, refer to Step 2 of “Preparing
the JUPITER | Steam Operations” (page 1).
Cleaning the JUPITER
Draining the JUPITER’s boiler once a month ensures
that the machine operates at optimal performance.
WARNING: Ensure machine has cooled down before
attempting to clean out the boiler by checking that
the machine doesn’t feel warm on the bottom part
and machine is free from any pressure.
You will need:
- A pan or container that can hold at least 5 litres of
water
- A rag
- 8mm Allen Key
1. Ensure the machine isn’t plugged into a power
source and the machine doesn’t feel warm (no
pressure present).
2. Locate the stainless steel boiler plug underneath
the JUPITER and position the JUPITER on top of a pan
or container.
3. Using the 8mm Allen key, unscrew the boiler plug
by slowly turning counter-clockwise. You may need to
use a rag to hold the plug as you unscrew the plug by
hand after loosening using the socket wrench. Let the
water drain, then screw the plug back on and tighten
with supplied socket wrench.

JUPITER SD Accessories Guide
3
Triangular Brush (Steam Only)
KIT0709
Triangular
Brush with
bristles
KIT0706 Joint for
brushes
2 x KIT0701 S/O
Extension Tube
500mm
KIT0700 S/O
Hose 4M
Microfibre Cloth
For cleaning skirting boards, kitchen
benchtops, underneath kitchen cabinets,
rangehoods, car interior mattresses,
upholstery and other areas.
Begin with low level steam to loosen
bacteria, introduce light to moderate
scrubbing as required, with or without steam
activated.
To steam clean upholstery and other
surfaces, fit brush with cushion and wrap
with a reusable or disposable microfibre
cloth securing with clips on tool. This creates
a superheated steam pocket with a smooth
surface to effectively sanitise a range or hard
and soft surfaces.
Caution: when cushion & microfibre are used
tool will retain heat and moisture. This tool
must be used with caution with risk of
burning. Tools will be hot after use.
]
Rectangle Brush (Steam Only)
KIT0707 Rectangle Brush with
bristles
KIT0706 Joint
for brushes
2 x KIT0701 S/O
Extension Tube
500mm
KIT0700
S/O Hose
4M
Microfibre Cloth
For cleaning walls & floors where abrasion is
required. Including tiles & grout, marble,
sealed concrete, linoleum & vinyl & non slip
surfaces. Sanitising soft surfaces such as
carpet, mattresses & upholstery.
Begin with low level steam to loosen
bacteria, introduce light to moderate
scrubbing as required, with or without steam
activated.
Wrap the rectangle brush with microfibre
cloth to steam clean upholstery and other
surfaces such as mattresses and lounges.
This creates a super-heated steam pocket as
the microfibre wrap retains the heat. This is
excellent for sanitising surfaces and killing
bacteria, dust mites & bed bugs.
Caution: when cushion and microfibre are
used tool will retain heat and moisture. This
tool must be used with caution with risk of
burning. Tools will be hot after use.

JUPITER SD Accessories Guide
4
Detailing Extension (Steam Only)
KIT0703 Steam Lance 100mm
KIT0704 Steam Lance 250mm
KIT0700 S/O
Hose 4M
For cleaning and sanitizing areas such as:
- Sinks
- Toilets
- Car interior & exterior
- Hard to reach nooks & crannies
This tool is also available for the
KIT0800/MOD Steam + Vacuum hose:
KIT0808/DA/X –S/V lance short
KIT0808/DA350/X –S/V lance long 350mm
Floor Mop Head + Microfibre Mop Pad (Steam Only) (Optional Extras)
KIT0714 Steam Mop
400mm
KITQ706 Microfibre
Mop Pad 400mm
2 x KIT0701 S/O
Extension Tube
500mm
KIT0706 Joint for
brushes
KIT0700 S/O
Hose 4M
For cleaning non-carpeted hard-floor
surfaces.
Engage steam flow and move forwards
and backwards quickly over the floor
surface.
Caution: when microfibre are being
used, tool will retain heat and
moisture. This tool must be used with
caution with risk of burning. Tools will
be hot after use.

JUPITER SD Accessories Guide
5
Detailing Extension + Small Nylon Brush (Steam Only)
KIT0703
Steam Lance
100mm
2 x KIT0701
S/O Extension
Tube 500mm
KIT0700 S/O
Hose 4M
KIT0816/N Small Brush
w/ nylon bristles
KIT0816/I Small Brush
w/ Stainless Steel
bristles
Optional Accessories:
KIT0816/O Small Brush
w/ Brass bristles
KIT0814/O Big Round
Brush w/ Brass bristles
For detail cleaning in kitchens, bathrooms
and other areas:
- Tile grouts (walls and floors)
- Drains
- Cooktops
- Bathtubs
- Roadside chewing gum removal
For best results, hold brush on angle to
clean sides of the grout line, and then tilt in
other direction to clean the other side of
the grout line.
Optional stainless steel and/or brass
brushes can be fitted onto the detailing
nozzle to scrub off certain hard-to-remove
stains in nooks and crannies. Stainless steel
is particularly effective on grout and
chewing gum stains.
Be wary that the stainless steel and brass
brushes may scratch certain surfaces,
leaving unwanted scratch marks. Always
test areas in an inconspicuous spot before
proceeding.
This tool is also available for the
KIT0800/MOD Steam + Vacuum hose:
KIT0808/DA/X –S/V lance short
KIT0801 –Extension Tube S/V 500mm
The brushes fits both S/V and S/O lances.
Squeegee (Steam Only)
KIT0711 Steam
Squeegee
Spray a stream of steam in a circular
motion onto the glass surface, then use the
rubber squeegee part to remove water
condensation and clean the surface.
If using in areas with frosty climates, warm
the windows or mirrors by spraying a high
stream of steam for a slightly prolonged
time before cleaning.
This tool is also available for the
KIT0800/MOD Steam + Vacuum Hose:
KIT0805 S/V Squeegee 300mm

JUPITER SD Accessories Guide
6
Floor Tool (Steam + Vacuum) (Optional Vac Kit)
Car Wash Upholstery Tool (Steam + Vacuum) (Optional Tool)
KIT0806/CW Car Wash Upholstery
Tool
KIT0800/CW6M S/V Hose Car
Wash 6M (short grip)
The optional KIT0800/CW6M Hose
features a shorter handle grip that gives
an easier access for use in car detailing
jobs. When used in conjunction with the
KIT0806/CW upholstery tool, it is the best
tool combination for cleaning interior
carpets, mats, roof linings and fabric car
seats.
Turn on the vacuum. Squeeze the steam
trigger and vacuum at the same time by
dragging the tool towards you in a
straight line. Let go of the steam trigger
when you are finished with one line and
repeat the previous step by starting on a
new straight line. Best used with the
detergent function.
KIT0804 Floor
Brush 300mm
KIT0822 Teflon
Carpet Insert
KIT0824
Rubber Lip
Insert
2 x
KIT0801
Extension
Tube S/V
500mm
KIT0800/MOD
S/V Hose 4M
For hard floor surfaces such as:
- Tiles
- Marble
- Most sealed hardwood
- Linoleum & Vinyl
- Carpets
- Non-slip surfaces
First, use high steam pressure to lift dirt
off the floor. Then disengage the steam
and turn on the vacuum to suck the floor
dry.
We recommend using the steam and
vacuum functions separately as it will
perform better this way. Whenever the
vacuum motor is turned on, the steam
boiler loses some of its power and will
take longer to produce 7.5 bars of
pressure.
Other Steam Australia Steam Cleaner manuals
Steam Australia
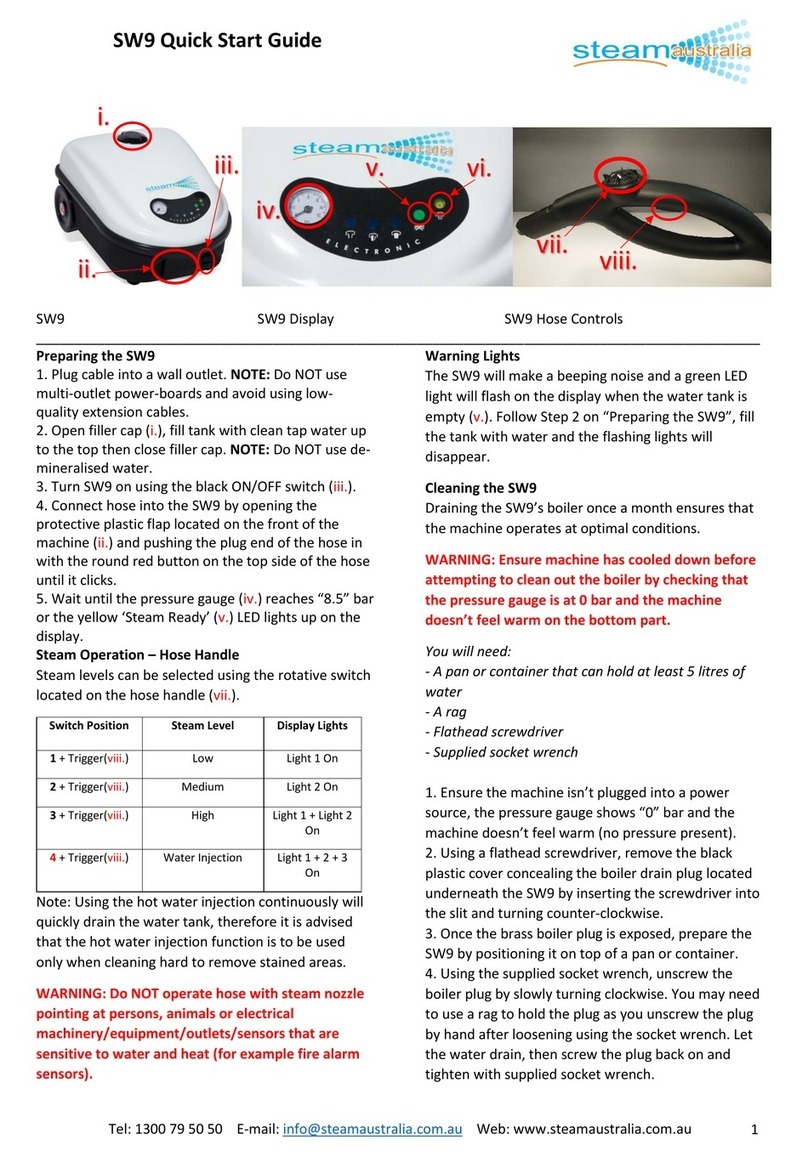
Steam Australia SW9 User manual
Steam Australia
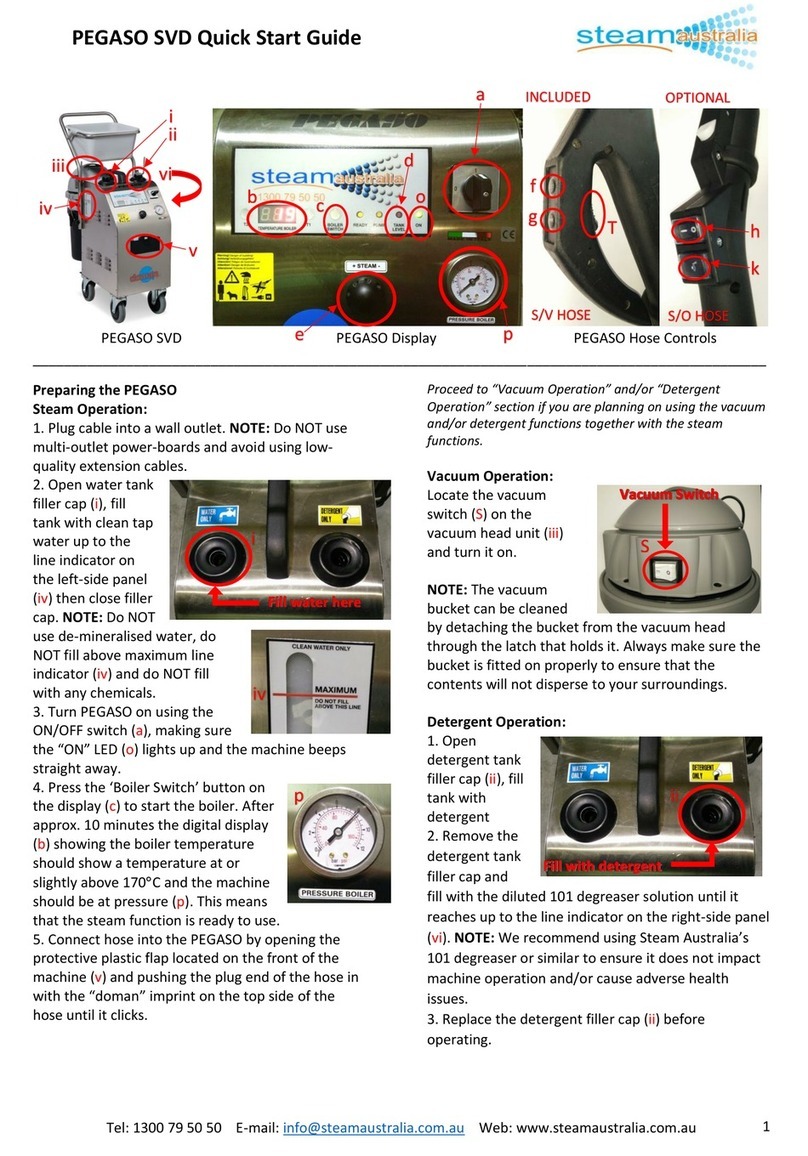
Steam Australia PEGASO SVD User manual
Steam Australia
Steam Australia SV8D User manual

Steam Australia
Steam Australia SV8D User manual

Steam Australia
Steam Australia Saphira C8 User manual

Steam Australia
Steam Australia SV6 User manual
Steam Australia
Steam Australia Saphira C8 User manual

Steam Australia
Steam Australia PEGASO Operating and maintenance instructions
