Steren TEL-800 User manual

Product / Producto: 40 CALLS
CALLER ID SYSTEM /
IDENTIFICADOR DE LLAMADAS 40
MEMORIAS
Model / Modelo: TEL-800
Brand / Marca: Steren
CONDICIONES
1. Para hacer efectiva esta garantía se requiere: La presentación de esta póliza y del producto, en el lugar en donde fue adquirido o en ELECTRONICA STEREN S.A. DE C.V.
2. ELECTRONICA STEREN S.A. DE C.V. se compromete a reparar el producto en caso de estar defectuoso sin ningún cargo al consumidor.
3. El tiempo de reparación en ningún caso será mayor a 30 días contados a partir de la recepción del producto en cualquiera de los sitios en donde pueda hacerse efectiva la
garantía.
4. El lugar donde puede adquirir partes, componentes, consumibles y accesorios, así como hacer válida esta garantía es: En cualquiera de las direcciones arriba mencionadas.
ESTA GARANTIA NO ES VALIDA EN LOS SIGUIENTES CASOS:
1. Cuando el producto ha sido utilizado en condiciones distintas a las normales.
2. Cuando el producto no ha sido operado de acuerdo con el instructivo de uso.
3. Cuando el producto ha sido alterado o reparado por personas no autorizadas por ELECTRONICA STEREN S.A. DE C.V.
Nota: El consumidor podrá solicitar que se haga efectiva la garantía ante la propia casa comercial, donde adquirió el producto. Si la presente garantía se extraviara, el
consumidor puede recurrir a su proovedor para que le expida otra póliza de garantía, previa presentación de la nota de compra o factura respectiva.
DATOS DEL DISTRIBUIDOR
DISTRIBUTION / NOMBRE / DISTRIBUIDOR:
ADDRESS / DOMICILIO:
PRODUCT / PRODUCTO: BRAND / MARCA:
MODEL / MODELO: SERIAL NUMBER / No. DE SERIE:
DATE OF DELIVERY / FECHA DE ENTREGA:
Call Center / Centro de Atención a Clientes
del Interior 01 800 500 9000
Mexico City / Cd. de México: 53 54 22 90
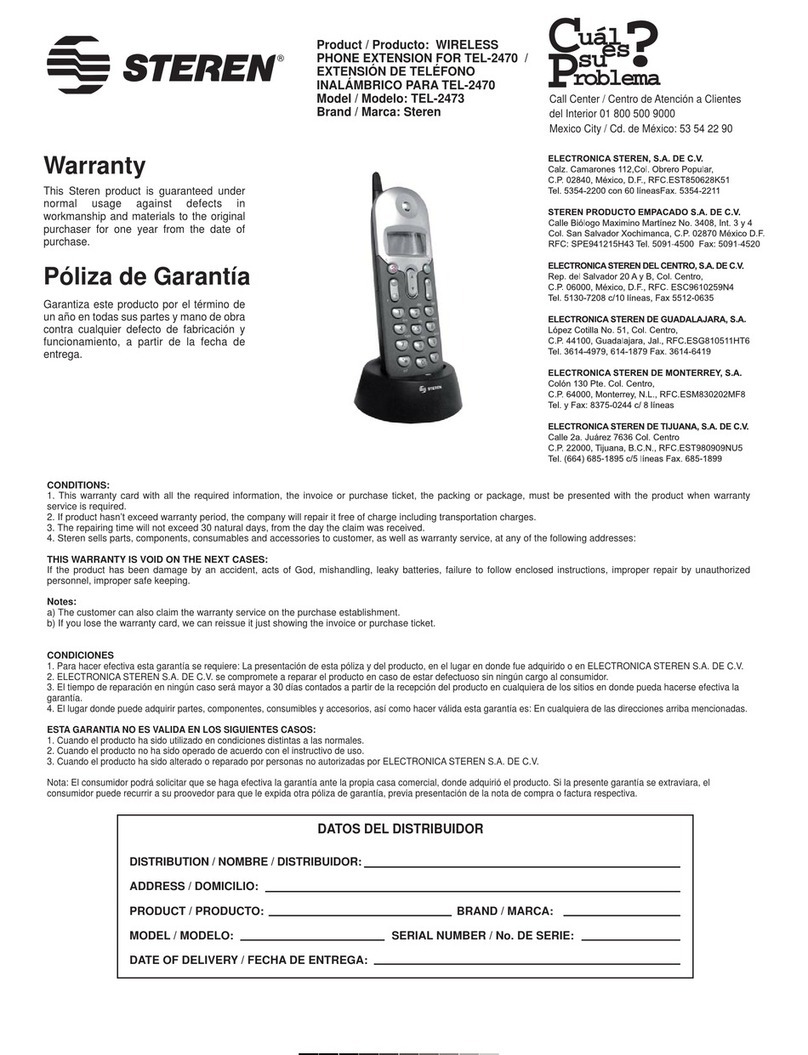
Warranty
CONDITIONS:
1. This warranty card with all the required information, the invoice or purchase ticket, the product box or package, and the product, must be presented with the product
when warranty service is required.
2. If the product stills on the warranty time, the company will repair it free of charge even the transportation charges.
3. The repairing time will not exceed 30 natural days, from the day the claim was received.
4. Steren sells parts, components, consumables and accessories to customer, as well as warranty service, at any of the following addresses:
THIS WARRANTY IS VOID ON THE NEXT CASES:
If the product has been damage by an accident, acts of God, mishandling, leaky batteries, failure to follow enclosed instructions, improper repair by unauthorized
personal, improper safe keeping or otherwise.
Notes:
a) The customer can also claim the warranty service on the purchase establishment.
b) If you lose the warranty card, we can reissue it just showing the invoice or purchase ticket.
Póliza de Garantía
This Steren product is warranted under
normal usage against defects in
workmanship and materials to the original
purchaser for one year from the date of
purchase.
Garantiza este producto por el término de
un año en todas sus partes y mano de obra
contra cualquier defecto de fabricación y
funcionamiento, a partir de la fecha de
entrega.
V0806

INSTRUCTION MANUAL FOR 40 CALLS CALLER ID SYSTEM
Model: TEL-800
Brand: Steren
Before using your new Caller ID, please read this instruction manual
to prevent any damage. Put it away in a safe place for future
references.
Your new Caller ID allow one to store up to 40 incoming calls and the last
10 dialed numbers.
It counts with a 12 digit LCD display and green background lit.
IMPORTANT
Before using your new Caller ID, assure to install 3 type AAA batteries,
otherwise Green Back Light will not light on and caller ID won't works.
Caller ID function only works if you have subscribed for the service with
your local telecom company.
Device must be placed in a cool dry and ventilated place.
Do not expose LCD screen to sunlight.
Clean only with a soft, dry cloth. Do not use solvents.
MAIN FEATURES
12 digit LCD display
Green background lit
40 incoming calls memory
10 outgoing calls memory (DTMF only)
Display of incoming number, new call, total calls, repeat calls
Checking, erasing and call back for incoming / outgoing calls
Local area code setting up to 5 digits
Auto-add "0" in call back
5 levels LCD contrast
Real time & date display in idle mode
CONTROLS
1.- Up
2.- Down
3.- Set / Back
4.- Del
5.- Out
6.- LCD screen
7.- Battery compartment
8.- Phone jack
9.- Line jack
INSTRUCTIVO DE USO DE IDENTIFICADOR DE LLAMADAS 40
MEMORIAS
Modelo: TEL-800
Marca: Steren
Antes de utilizar su nuevo Identificador de Llamadas con manos
libres lea este instructivo para evitar cualquier mal funcionamiento.
Guárdelo para futuras referencias.
Su nuevo identificador de llamadas le permite almacenar hasta 40
llamadas recibidas así como los últimos 10 números marcados.
Cuenta con pantalla de LCD de 12 dígitos con fondo luminoso en color
verde.
IMPORTANTE
Antes de comenzar a utilizar su nuevo identificador de llamadas
asegúrese de instalar 3 baterías tipo AAA, de otra forma la pantalla verde
no se encenderá y el equipo no funcionará.
El identificador de llamadas sólo funciona si tiene contratado el servicio
con una compañía de telefonía local.
El equipo se debe colocar en un lugar ventilado y seco.
No exponga la pantalla de LCD a la luz directa del sol.
Limpie con un paño seco. No utilice solventes.
CARACTERÍSTICAS
Pantalla de LCD de 12 dígitos
Fondo luminoso de color verde
Memoria para 40 llamadas entrantes
Memoria para 10 llamadas salientes (Únicamente DTMF)
Información de número entrante, llamada nueva, total de llamadas,
llamadas repetidas
Revisión, borrado y retorno de llamadas entrantes y salientes
Código de área local hasta de 5 dígitos
Agregado automático de 0 en regreso de llamadas.
5 niveles de contraste
Desplegado de la fecha y hora actual en modo de espera
CONTROLES
1.- Arriba (Up)
2.- Abajo (Down)
3.- Ajuste / Regresar (Set / Back)
4.- Borrar (Del)
5.- Salida (Out)
6.- Pantalla de LCD
7.- Compartimiento de baterías
8.- Entrada para teléfono
9.- Entrada para línea telefónica

INITIAL SETTINGS
Data, time, local area code, contrast level settings
1.-With the handset on the base, press Set / Back (3). The message Set 1
Date starts to blink on the screen.
2.- Press Set / Back (3) again, the year starts to blink. Use Up / Down
buttons (1/2) to set the current year. Press Set / Back (3) once again.
3.- Repeat last step to set month, day, hour and minutes. Press Set / Back
(3) to store the changes.
4.- The message Set 2 Code appears on screen. Press Set / Back (3)
once again.
5.- Please enter the local area code. To change the code position, press
Set / Back (3). Use Up / Down buttons (1 / 2) to enter the code. Press Set /
Back (3) once again to store the changes.
6.- On screen appears the message Pcode flashing. Press Set / Back (3)
once again to leave this option without changes.
7.- On screen appears the message Set 3 LCD, use this menu to select
the desired contrast level. Press Set / Back (3) once and use Up / Down
buttons (1 / 2) to adjust the contrast level. Press Set / Back (3) to store the
changes on memory.
Note:
If you have subscribed caller ID service from your local telecom service
provider and the message sent from telecom network is in FSK mode, the
message will auto adjust the Date & Time on the device.
CALLER ID
INCOMING CALLS
To review incoming calls, press Up / Down (1 / 2). Incoming numbers, date
and time appears on LCD screen. To visualize more telephone numbers,
press Up / Down (1 / 2).
When you reach the end of the list or when there are no more stored
telephone numbers in memory, the message --- End --- appears on
screen.
Notes:
The Caller ID can store up to 40 incoming telephone numbers on
memory.
To receive the complete caller ID information, please pick the phone
handset up after two rings.
Erasing incoming telephone numbers:
1.- Press Up / Down (1 / 2) to select the number that you want to erase.
2.- Press and hold the Del (4) button for 2 seconds, the selected number
will be erased from the memory.
Erasing all incoming telephone numbers:
1.- Press and hold Del button (4) for more than 4 seconds, all the incoming
calls will be erased from memory.
REVIEWING OUTGOING CALLS (DTMF ONLY)
To review the dialed phone numbers, press Out (5) button. On screen
appears the last dialed number.
Press Out (5) once again, to visualize all dialed numbers stored on
memory.
If you reached the end of the list or there are not any stored dialed
number, the message --- End ---appears on LCD screen.
Note:
Any dialed number in Pulse Mode will not be stored in OUT memory.
AJUSTES INICIALES
Ajuste de la hora, la fecha, código de área local, nivel de contraste
1.- Sin descolgar el auricular, presione la tecla de Ajuste / Regreso (Set
/Back) (3). Set 1 Date aparece parpadeando en la pantalla.
2.- Presione nuevamente Ajuste / Regreso (Set /Back) (3), el año
comenzará a parpadear. Utilice los botones de Arriba / abajo (Up /Down)
(1 / 2) para ajustar el año actual. Presione nuevamente el botón Ajuste /
Regreso (Set /Back) (3).
3.- Repita el paso anterior para ajustar el mes, el día, la hora y los
minutos. Presione Ajuste / Regreso (Set /Back) (3) para guardar los
cambios.
4.- Aparece parpadeando Set 2 Code. Presione Ajuste / Regreso (Set /
Back) (3) una vez más.
5.- Introduzca la clave de área local. Utilice los botones de Arriba / Abajo
(1 / 2) para introducir la clave. Para cambiar de posición, presione Ajuste /
Regreso (Set / Back) (3). Presione Ajuste / Regreso (Set /Back) (3) una
vez más para guardar los cambios.
6.- En pantalla aparece el mensaje PCode parpadeando. Presione Ajuste /
Regreso (Set /Back) (3) una vez más para dejar esta opción sin cambios.
7.- Aparece el menú de ajuste del nivel de contraste. Presione Ajuste /
Regreso (Set /Back) (3) una vez más y utilice los botones de Arriba / Abajo
(1 / 2) para ajustar el nivel deseado de contraste. Presione Ajuste /
Regreso (Set /Back) (3) para guardar los cambios.
Nota:
Si el servicio de identificador de llamadas de su proveedor de telefonía
está en modo FSK, la hora y la fecha será ajustada automáticamente.
COMO UTILIZAR EL IDENTIFICADOR DE LLAMADAS
LLAMADAS ENTRANTES
Para revisar los números telefónicos de las llamadas que recibió, presione
la tecla Arriba / Abajo (Up / Down) (1 / 2). En la pantalla se muestran los
números telefónicos así como la fecha y la hora en que se recibieron.
Para poder visualizar más números telefónicos presione la tecla Arriba /
Abajo (Up / Down) (1 / 2).
Cuando llega al final de la lista o cuando no existen números telefónicos
en memoria aparece el mensaje --- End ---.
Notas:
El equipo puede almacenar hasta 40 números telefónicos en memoria
(llamadas entrantes).
Conteste las llamadas después de que el teléfono timbre 2 o más veces,
de otra forma podría no aparecer la información en el identificador de
llamadas.
Si desea borrar un número telefónico:
1.- Presione la tecla Arriba / Abajo (Up / Down) (1 / 2) para seleccionar el
número que desee borrar.
2.- Mantenga presionada la tecla de Borrar (Del) (4) por 2 segundos, el
número seleccionado será borrado de la memoria.
Si desea borrar todas las llamadas entrantes:
1.- Mantenga presionada la tecla de Borrar (Del) (4) por más de 4
segundos, todas las llamadas entrantes serán borradas de la memoria.
LLAMADAS SALIENTES (SOLO DTMF)
Para revisar los números telefónicos de las llamadas que realizó, presione
la tecla de Salida (Out) (5). En pantalla se visualizará el último número
marcado.
Si desea visualizar más números, presione el botón de Salida (Out) (5)
tantas veces sea necesario.
Cuando llega al final de la lista o cuando no existen números telefónicos
en memoria aparece el mensaje --- End ---.
Nota:
Cualquier número marcado en modo de Pulso, no será almacenado en la
memoria de llamadas salientes.

Erasing dialed numbers:
1.- Press Out (5) button to select the number that you want to erase.
2.- Press and hold Del (4) button for 2 seconds, The selected number will
be deleted from memory.
Erasing all dialed numbers:
1.- Press and hold Del (4) button for more than 4 seconds. All the incoming
calls will be erased from memory.
CALL BACK NUMBERS
1.- Select the desired number that you want to call back from the IN
memory or OUT memory.
2.- Press Set / Back (3), the number starts to blink.
3.- Pick the phone handset up, the selected number automatically will be
redialed.
AUTO ADD 0 IN CALL BACK
1.- Choose the number that you want to call back from the IN memory or
OUT memory.
2.- Press Set / Back (3) twice, the number 0 will be added at the beginning
of the selected phone number and then starts to blink.
3.- Pick the phone handset up, the selected number automatically will be
redialed.
TROUBLESHOOTING
SPECIFICATIONS
Input: 4,5V (3xAAA)
Input line: -48V
Dimensions: 4,5 x 3,5 x 1,6in
Weight: 120g
Note:
Product design and specifications are subject to change, without notice.
Si desea borrar un número telefónico saliente:
1.- Presione la tecla de Salida (Out) (5) para seleccionar el número que
desee borrar.
2.- Mantenga presionada la tecla de Borrar (Del) (4) por 2 segundos, el
número seleccionado será borrado de la memoria.
Si desea borrar todas las llamadas salientes:
1.- Mantenga presionada la tecla de Borrar (Del) (4) por más de 4
segundos, todas las llamadas salientes serán borradas de la memoria.
RETORNO DE LLAMADAS
1.- Seleccione el número que desee remarcar ya sea de la memoria
entrante (IN) o de la memoria saliente (OUT).
2.- Presione el botón de Ajuste / Regresar (Set / Back) (3), el número
comenzará a parpadear.
3.- Levante el auricular del teléfono, el número seleccionado se marcará
automáticamente.
AGREGADO DEL 0 DE FORMAAUTOMÁTICA
1.- Seleccione el número que desee remarcar ya sea de la memoria
entrante o de la memoria saliente.
2.- Presione el botón de Ajuste / Regresar (Set / Back) (3) dos veces, el
número 0 se agregará al principio del número seleccionando y comenzará
a parpadear.
3.- Levante el auricular del teléfono, el número seleccionado se marcará
automáticamente.
PROBLEMAS Y SOLUCIONES
ESPECIFICACIONES
Entrada: 4,5V (3xAAA)
Entrada de línea: -48V
Dimensiones: 115 x 90 x 42mm
Peso: 120g
Nota:
El diseño del producto y las especificaciones pueden cambiar sin previo
aviso.
Problema Solución
Trouble Solution
No enciende la pantalla verde Revise que las baterías están correctamente instaladas
Revise que las baterías tienen carga suficiente
Green Light doesn't work Verify batteries are correctly installed
Review the batteries charge
Asegúrese de tener contratado el servicio con su proveedor de telefonía
Posiblemente contestó antes de que el teléfono timbrara 2 veces
Asegúrese de haber instalado baterías en el equipo
Cambie por unas nuevas
Caller ID doesn't works / appears uncompleted data Assure that you have subscribed to the service on
your telecom company
Probably you answered the phone before two rings
Make sure that you have installed new batteries on the telephone
Replace with new one
El identificador de llamadas no funciona / se muestra la
información incompleta
Other Steren Cordless Telephone manuals

Steren
Steren TEL-2490 User manual

Steren
Steren TEL-2485 User manual

Steren
Steren TEL-600 NE User manual

Steren
Steren TEL-2473 User manual

Steren
Steren TEL-615 User manual

Steren
Steren PLATINUM TEL-2010 User manual

Steren
Steren TEL-2410 User manual

Steren
Steren TEL-2480 User manual

Steren
Steren TEL-2492 User manual

Steren
Steren TEL-620 User manual