3
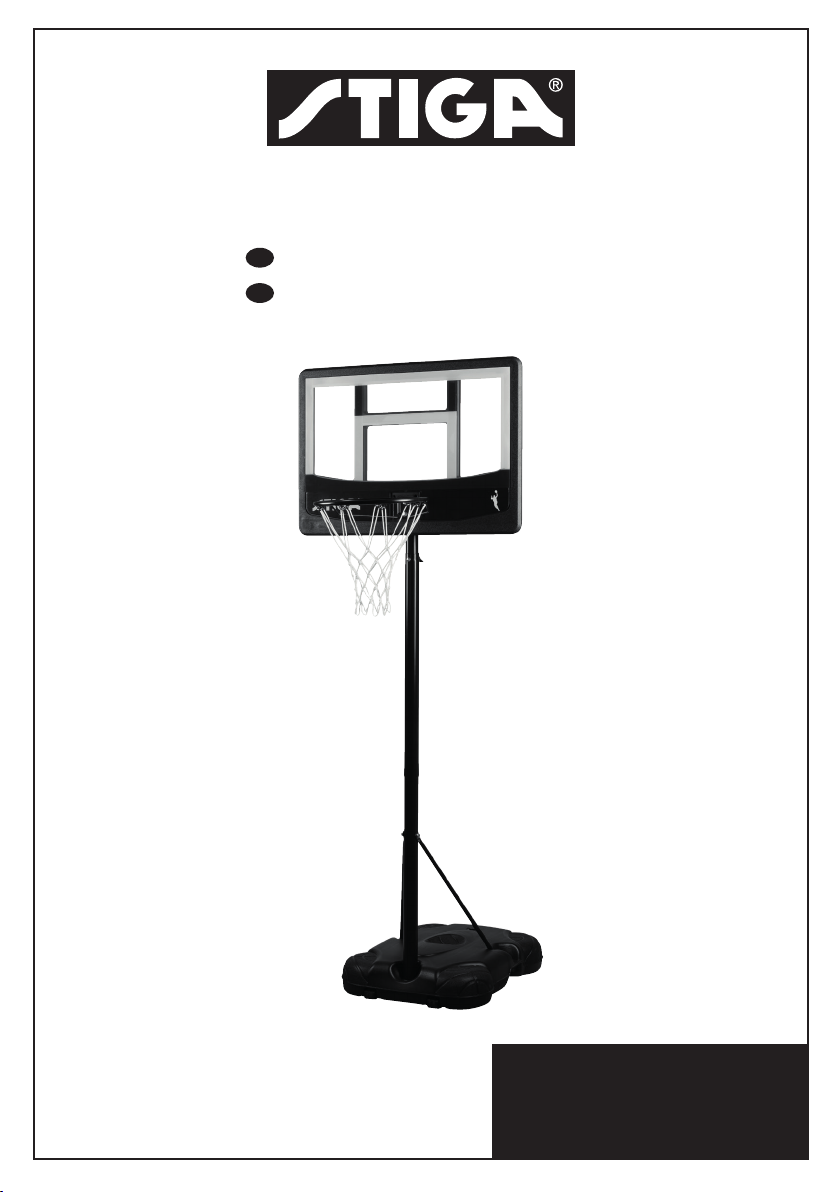
STIGA Guard 34” - Art.no. 61-4820-34
SE
SVENSKA
ÄGARMANUAL
1. Läs manualen noggrant innan montering. Fullfölj varje steg innan du påbörjar ett nytt.
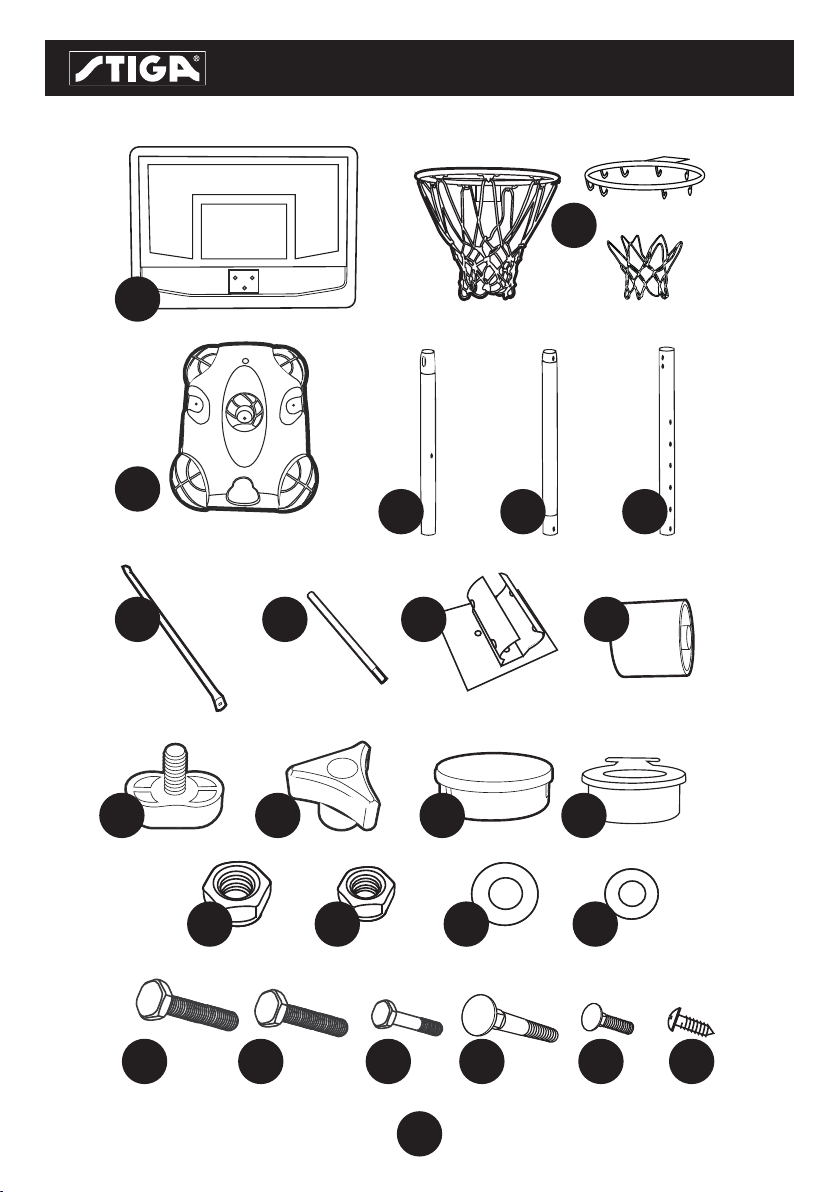
2. Mindre delar kan fraktas inuti större delar. Vänligen kontrollera alla delar innan montering eller
beställning av reservdelar.
3. Lämna skruvarna något lösa tills du uppmanas dra åt dem.
4. För enklast montering, placera alla delar på en öppen och ren yta.
5. Ta dig tid att organisera vilka delar som hör till vilket steg i manualen.
6.Spara manualen för framtida syfte.
VARNING!
AVVIKELSER FRÅN NEDANSTÅENDE SÄKERHETSFÖRESKRIFTER KAN LEDA TILL
ALLVARLIGA SKADOR OCH/ELLER EGENDOMFÖRSTÖRELSE.
• Varning! Ej lämplig för barn under 7 år. Innehåller små delar och långt snöre.
• Strypningsrisk, håll mindre barn borta ifrån nätet.
• Denna produkt bör monteras av två vuxna.
• Kontrollera att alla delar finns med innan montering.
• Om någon del är trasig på produkten, avbryt monteringen.
• Kontrollera produkten varje gång innan användning. Kontrollera att skruvar och muttrar
är åtdragna. Spela aldrig om produkten är trasig.
• Låt ej ställningen stå upprätt utan att basen är fylld med sand eller vatten.
• Kontrollera ofta att basen inte har några läckor. Läckande vatten gör basen lättare vilket får
ställningen att bli instabil och välta.
• Håll ansikte och mun borta från backboard, ring och nät under pågående spel. Om dina
tänder eller ditt ansikte kommer i kontakt med ring och nät kan allvarlig skada uppstå.
• Klättra, hoppa, häng, sitt och luta dig inte på produkten. Denna produkt är inte lämpad för att
spelare hänger på korgen.
• Häng ej föremål på korgen eller ställningens backboard och använd inte ställningen för att
lyfta eller häva upp föremål.
• Produkten är ej avsedd att användas på sluttande mark. Kontrollera att marken under ej har
stenar, grus eller annat som kan orsaka skada på basen.
• Var försiktig vid förflyttning av basketställningen.
• Vid justering av höjd eller flytt av basketställningen, se till att hålla fingrar och händer borta
från de rörliga delarna. Låt ej barn ändra höjd eller flytta ställningen.
• Denna produkt bör endast användas under uppsikt av vuxen.
• Använd ej ställningen vid stark blåst, kraftig nederbörd, åska eller liknande väder.
Använd ej nära kraftledning.
• Kontrollera regelbundet efter rost på stolpen och metalldelar.