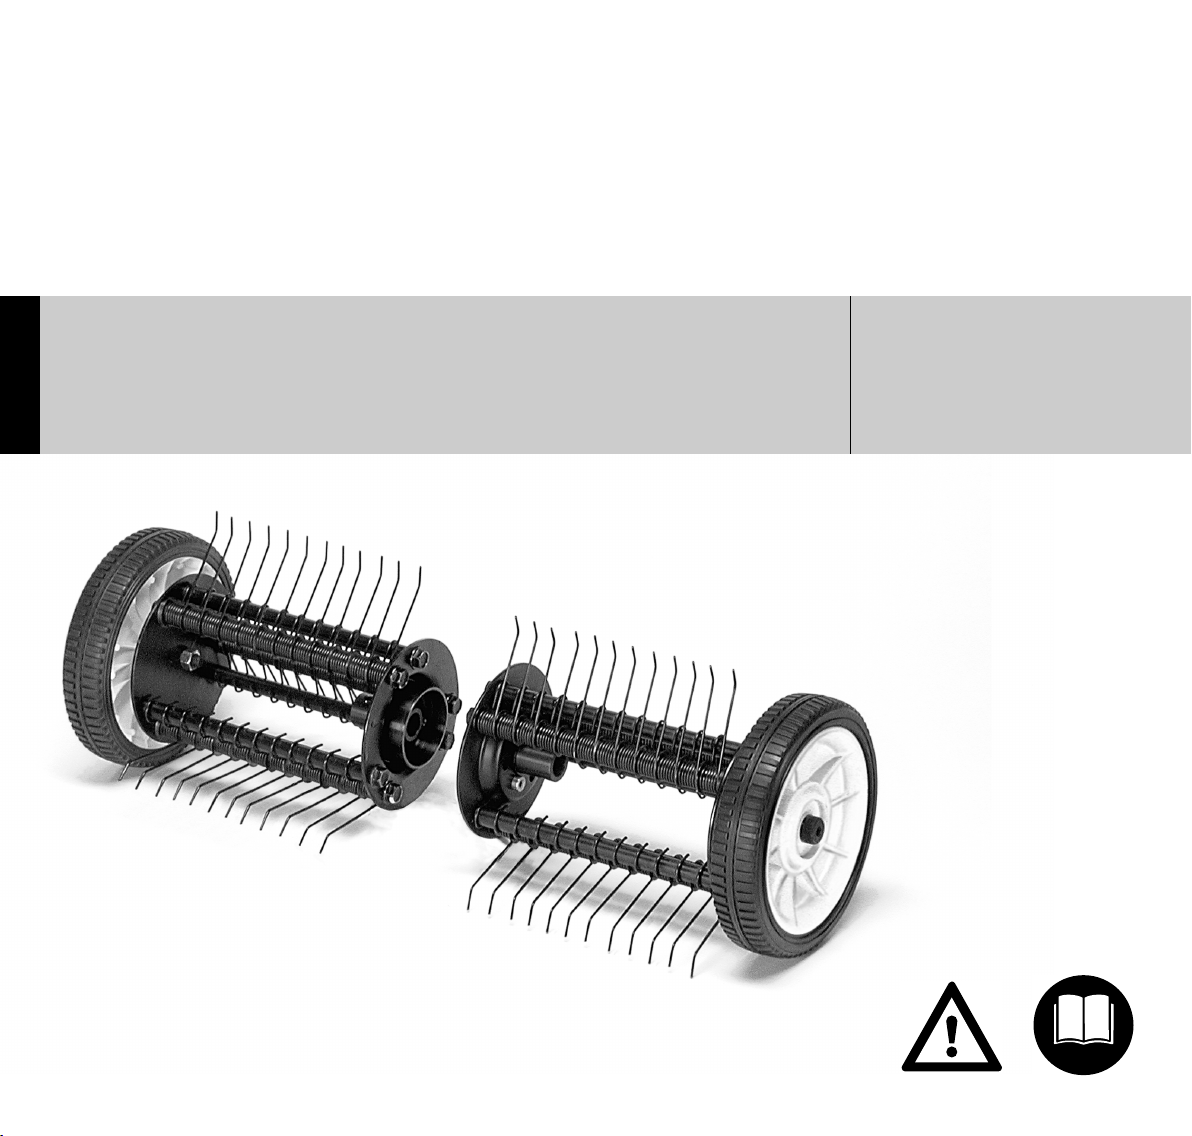
7MF-MM
English
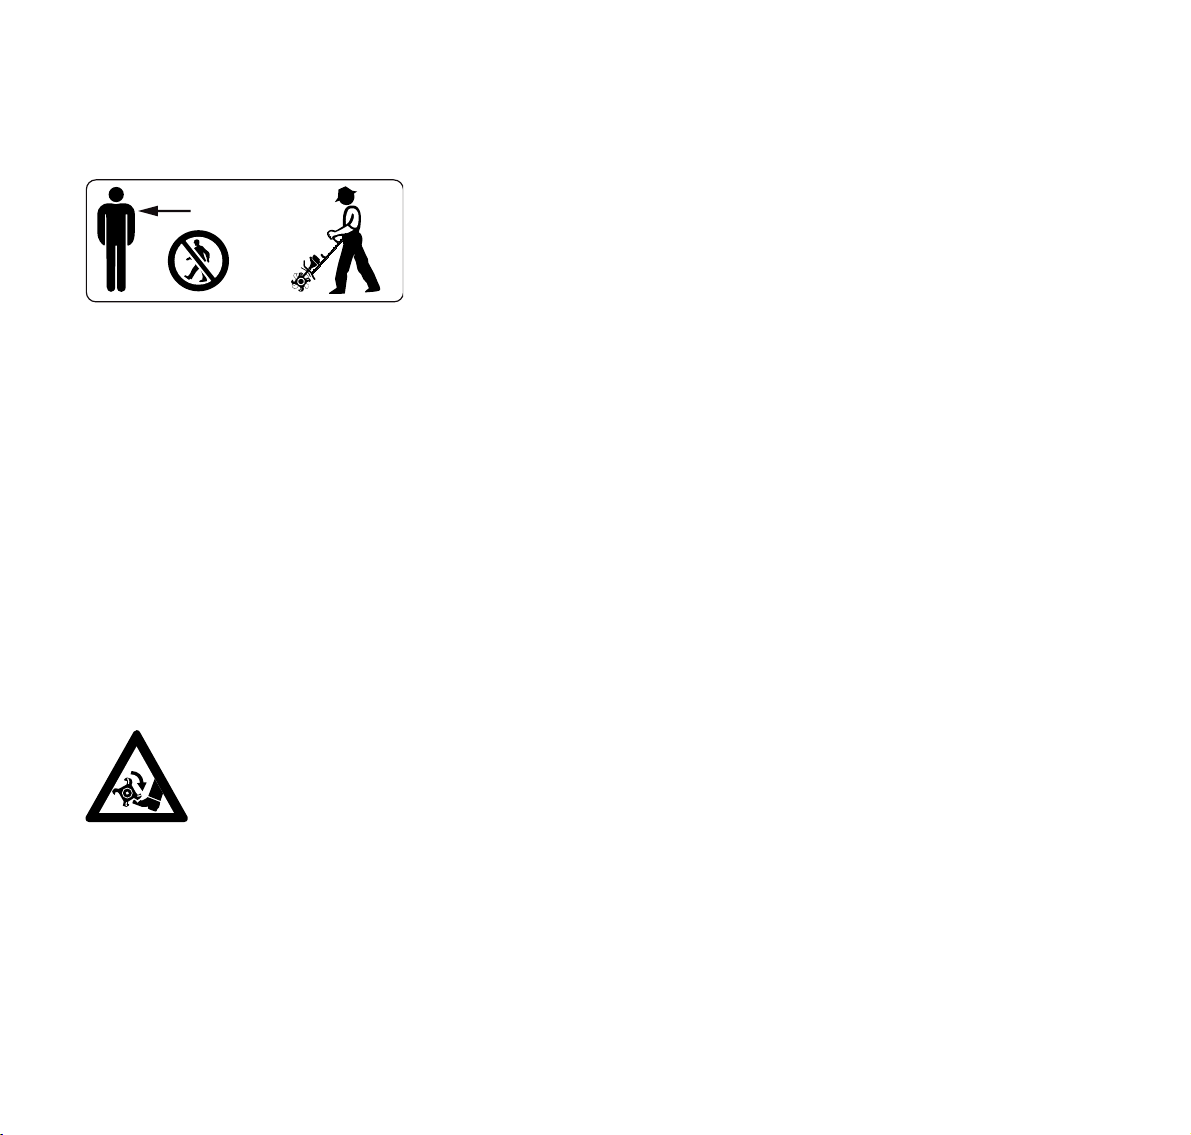
To reduce the risk of injury from contact
with the attachment, do not allow
bystanders within 5 m of your own
position.
Before starting work, inspect the area for
stones, glass, pieces of metal, trash or
other solid objects. Such objects may
damage the attachment.
Be extremely cautious when changing
direction with the dethatcher – especially
on slopes.
On slopes, always work parallel to the
slope to reduce the risk of injury from
slipping or contact with the tines.
Never work on steep slopes because of
the risk of injury through loss of control
of the dethatcher.
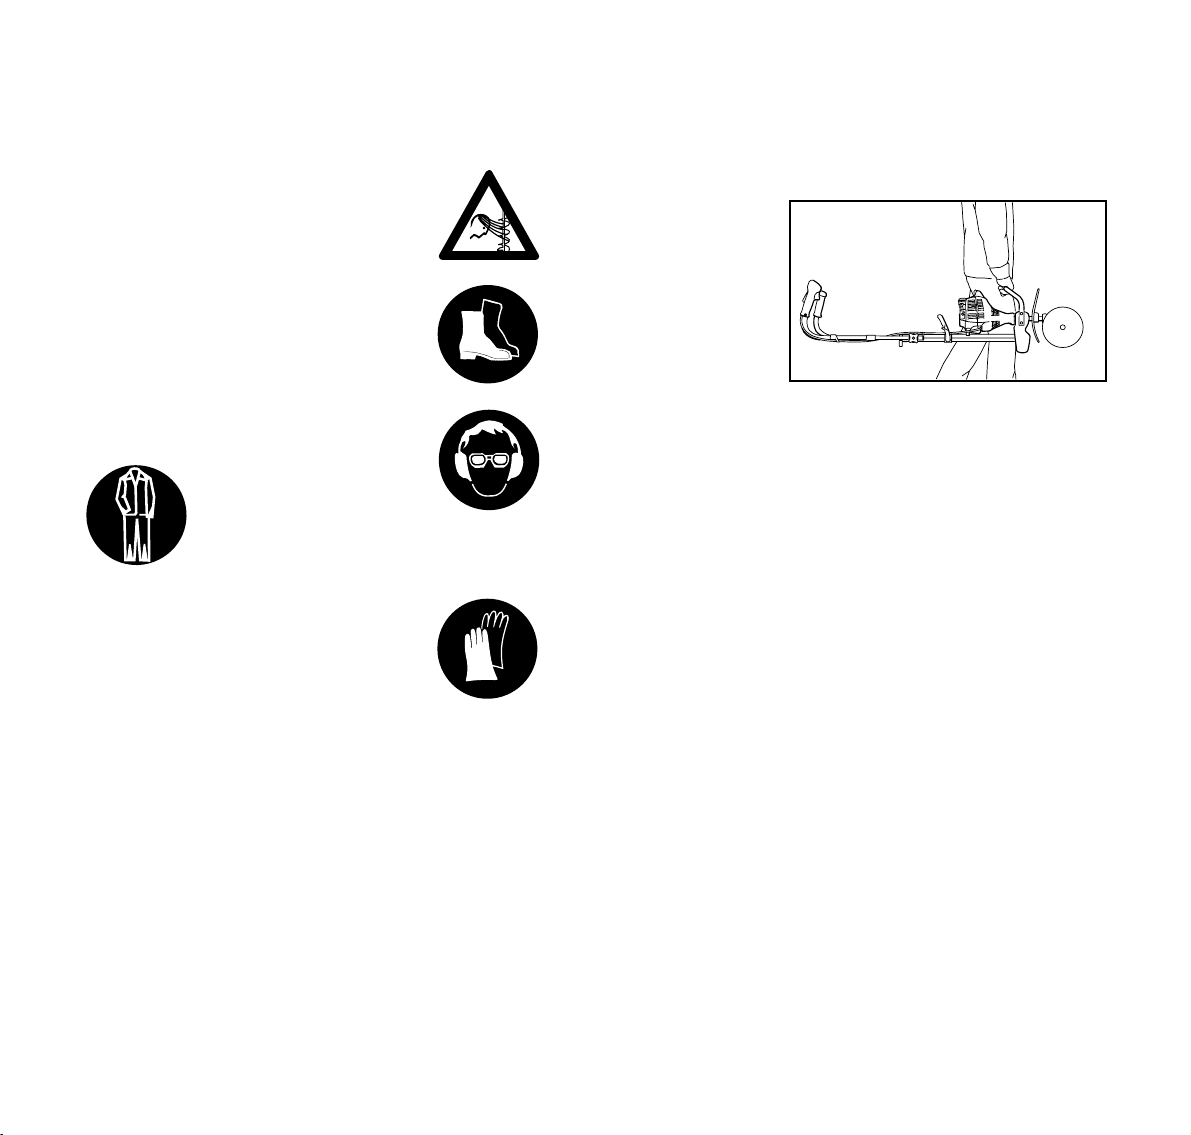
To reduce the risk of
injury, keep your hands
and feet well away from
the attachment. Never
touch a rotating
attachment.
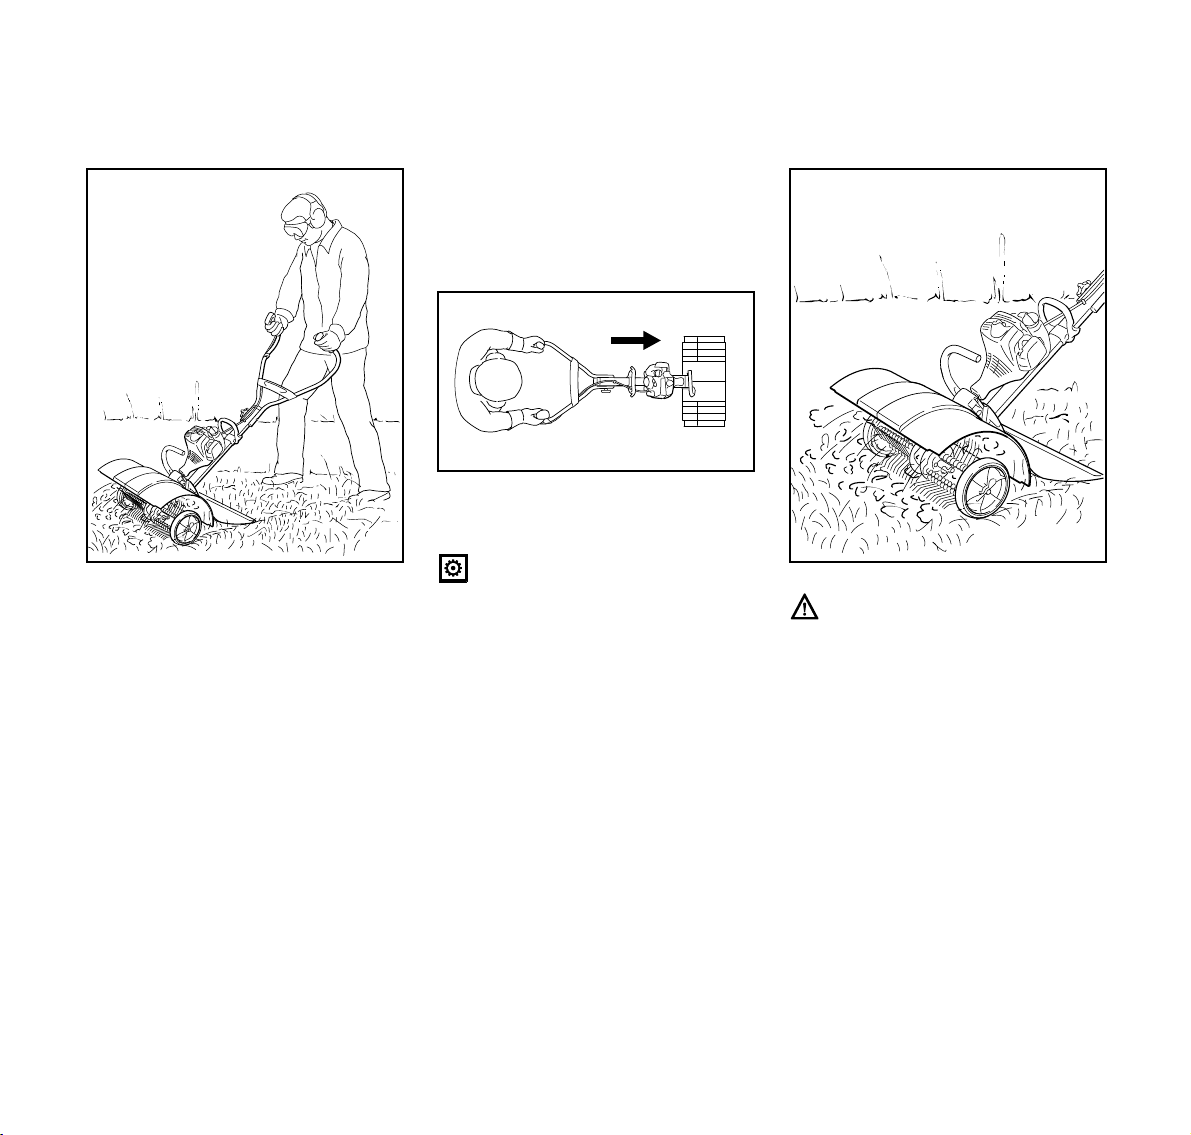
Always stand behind the deflector or to
one side of the machine during work –
never in front of the attachments.
The correct engine idle speed is
important to ensure that the attachments
stop rotating when you let go of the
throttle trigger.
Check and correct the idle speed setting
at regular intervals – see MultiEngine
instruction manual. If the attachments
still rotate, have your servicing dealer
check your power tool and make proper
adjustments or repairs.
To reduce the risk of injury, take
particular care when working close to
fences, walls, stones, roots, trees and
areas of dense growth. Solid objects can
be thrown or damage the tines.
When operating next to high scrub,
bushes and hedges, take care not to
harm small animals (e.g. hedgehogs).
Clean the attachments and deflector at
regular intervals during operation –
always stop the engine and disconnect
the spark plug boot before cleaning.
Remove grass, weeds, mud, etc.
Check the attachments at regular short
intervals, particularly after contact with
solid objects or if there is any noticeable
change in behavior:
– Shut off the engine, hold the unit
firmly.
– Check condition and tightness of
attachments, look for broken spring
tines.
– Replace damaged spring tines
immediately.
To reduce the risk of unintentional
engine start and injury, always shut off
the engine and remove the spark plug
boot before checking or changing
attachments
Do not attempt to repair damaged spring
tines. Do not continue using the
dethatcher if the spring tines are
damaged.
5m (16ft)