STILLA ASCOT User manual

v9 ASCOT [8x12] 02-2023
ASCOT [12x8]
USER MANUAL
IMPORTANT
Read carefully. Retain for future refence
v9 ASCOT [8x12] 02-2023
SAFETY & CARE GUIDELINES
1. Take care when moving and working with the painted panels, use the supplied packaging to avoid damage to painted
surfaces.
2. When arranging the shed components for inial check, do not store the panels laid down, stand up where possible.
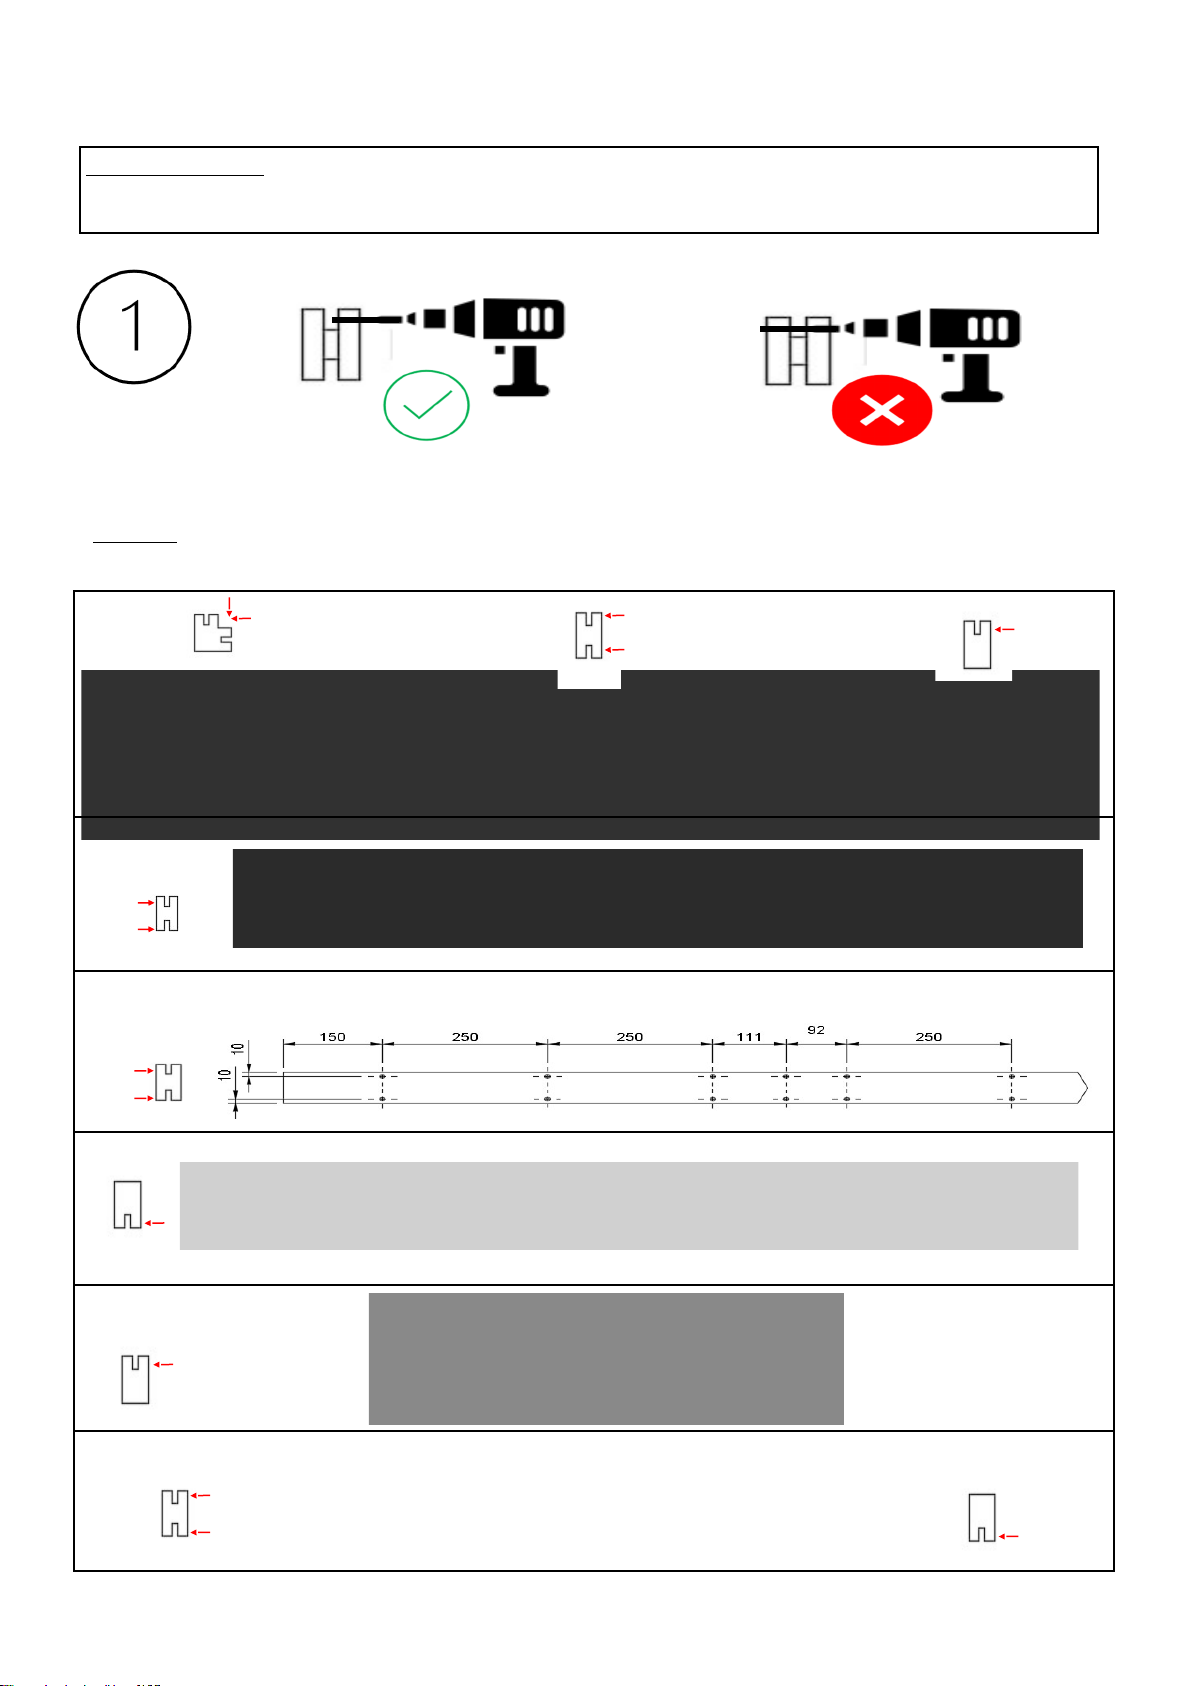
3. Ensure you fully understand the use of power tools recommended for use in assembling this shed.
4. Eye protecon should be worn when necessary, when operang power tools.
5. Suitable Gloves will protect Hands, take care when handling Roof Sheeng and other Metal components
6. Use appropriate sun protecon when working outdoors.
7. Secure the shed to a suitable immovable foundaon. [We recommend: Concrete Slab or Wooden Heavy Floor]
8. Team liing of heavy items is recommended to avoid injury.
9. Touch up paint is provided in the installaon kit to address minor marks / blemishes to painted surfaces.
10. Do not stand or walk on the roof.
11. Do not lay down panels without protecng the paint
1. UNPACK & CONFIRM
Read the safety & care and guidelines. Every part needed to construct your shed is included inside the pack; Frames; panels;
doors; windows; hardware kits & roofing. Please fully unpack all the parts & check against the parts checklist. If you have any
missing or damaged items contact customer service.
Protect Painted surfaces with packaging Foam when laid
down for processing.
v9 ASCOT [8x12] 02-2023
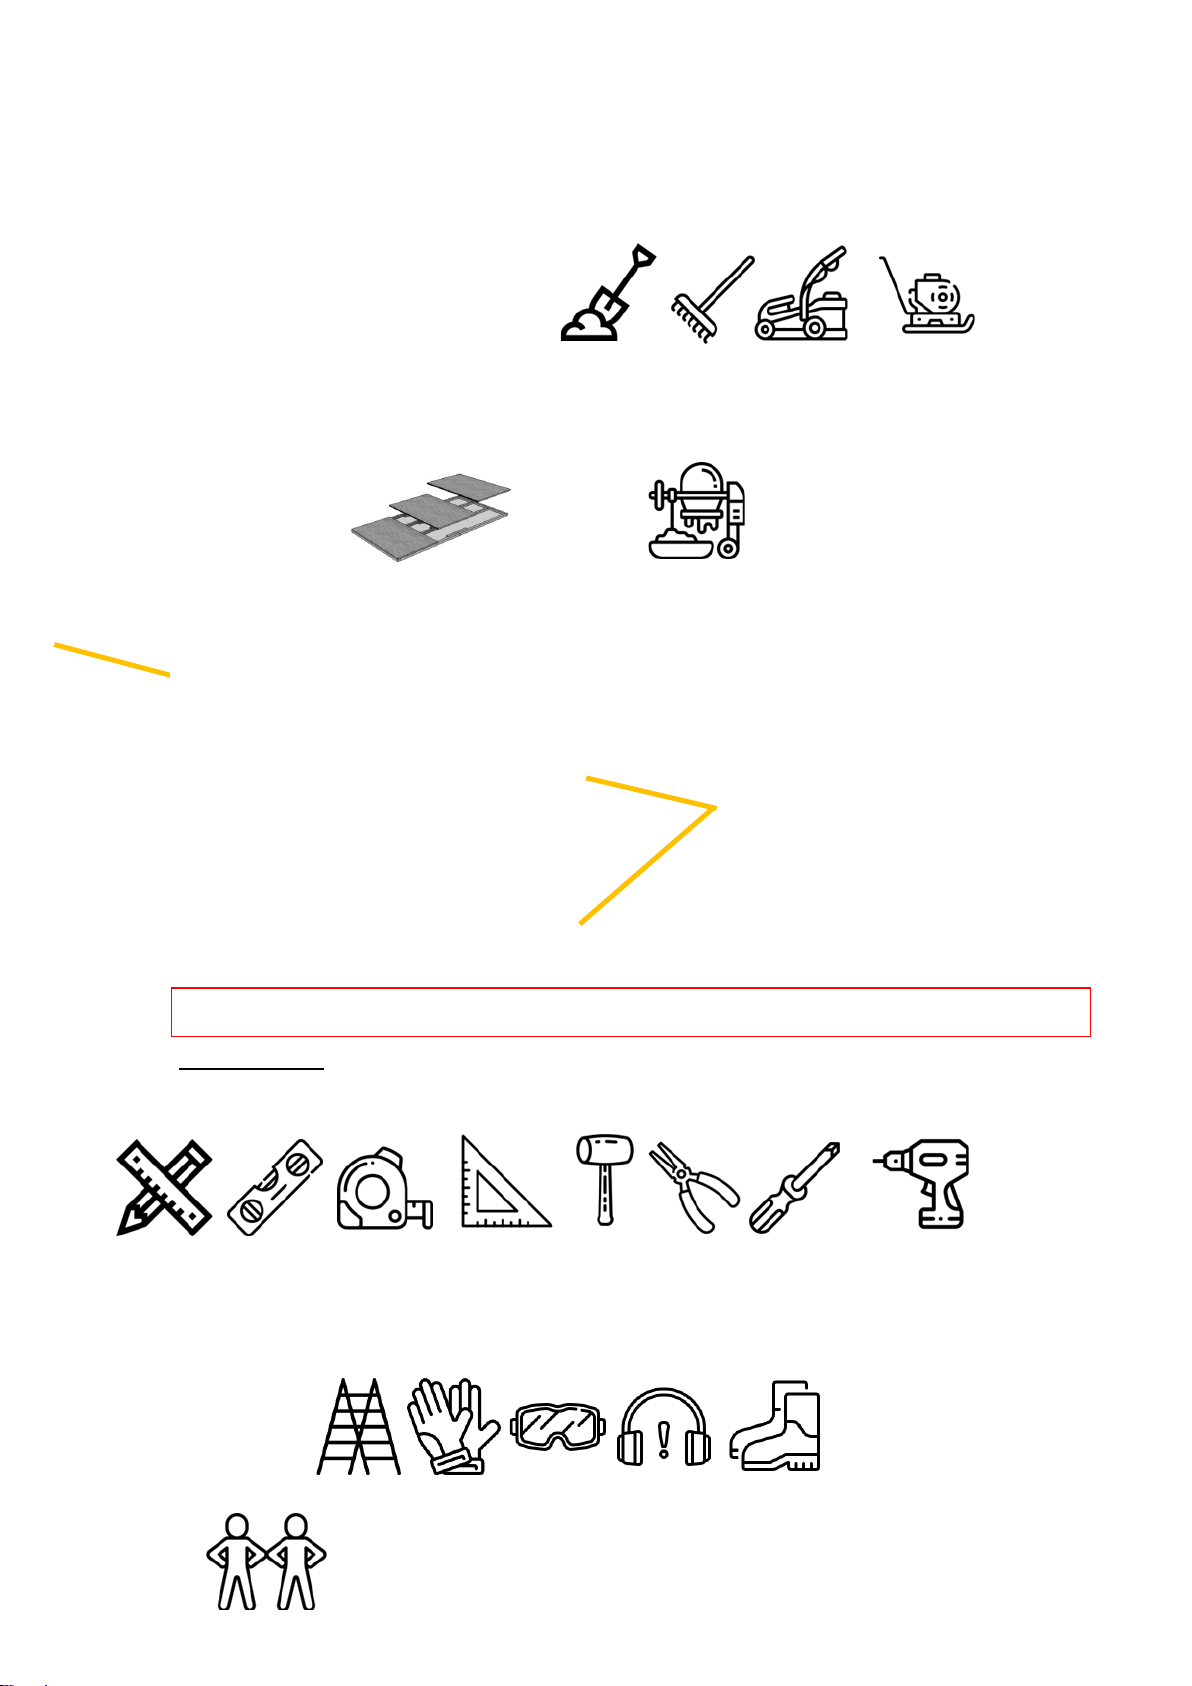
TOOLS REQUIRED
Light coloured crayon/chinagraph pencil white/yellow.
Phillips Bit (PH2), Baen Screw Bit, Phillips Bit #2, 5/16” Hex driver, Drill Bits 2mm, 3mm & 4mm, Countersink Bit (or Com-
binaon.)
This product requires a minimum of 2 persons to assemble.
For external access during assembly,
ensure there is adequate space around
the perimeter of the shed assembly
space.
Assemble in order presented in this manual. Do not skip any processes.
or
Preparing your site
The installaon locaon needs to be flat, level and solid. Pavers or a solid material that will not be
affected by weather can be used to perfectly level the shed by placing under the floor frame where
required, make sure all members are supported. If the locaon is sloped we recommend making level
with a slab or Timber floor.
If you are installing your shed on a Slla floor, this can be placed on unlevelled surfaces and levelled
up by using the 100x100 stumps provided. A separate detail is provided for Floor Installaon.
v9 ASCOT [8x12] 02-2023
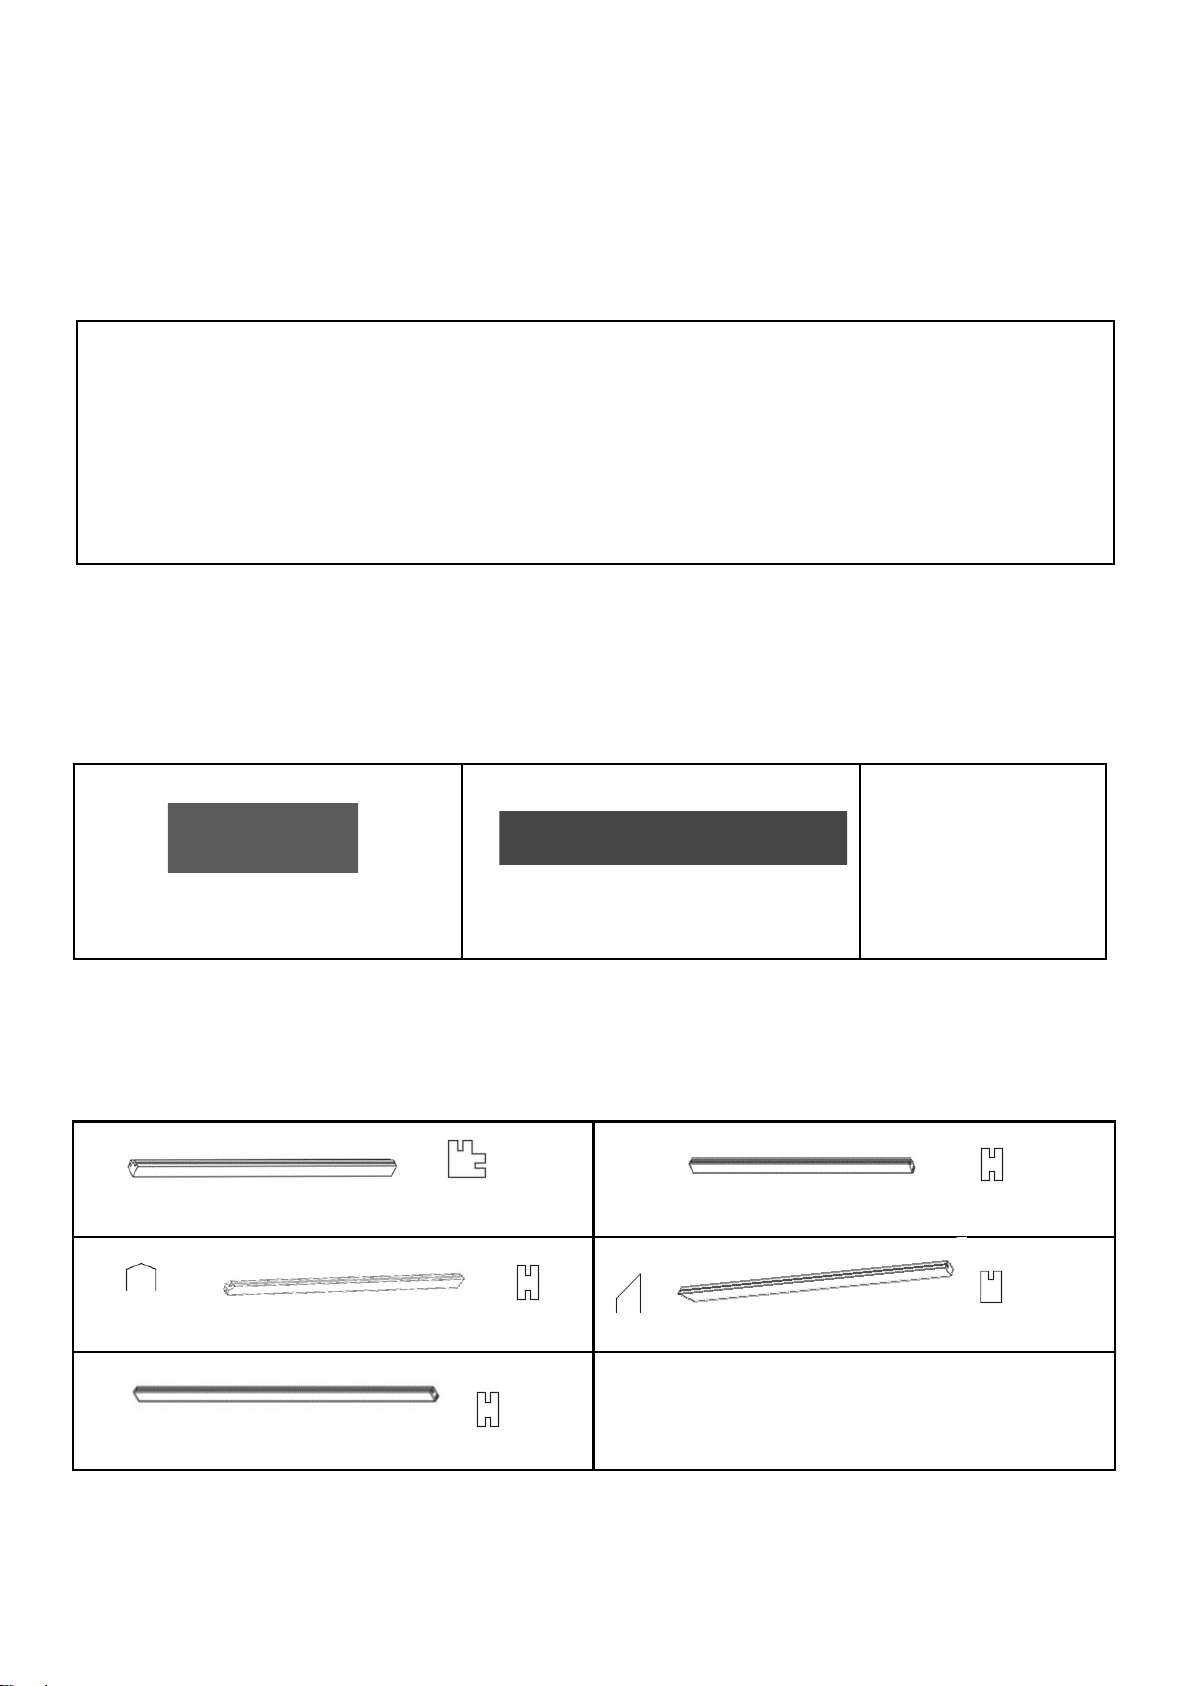
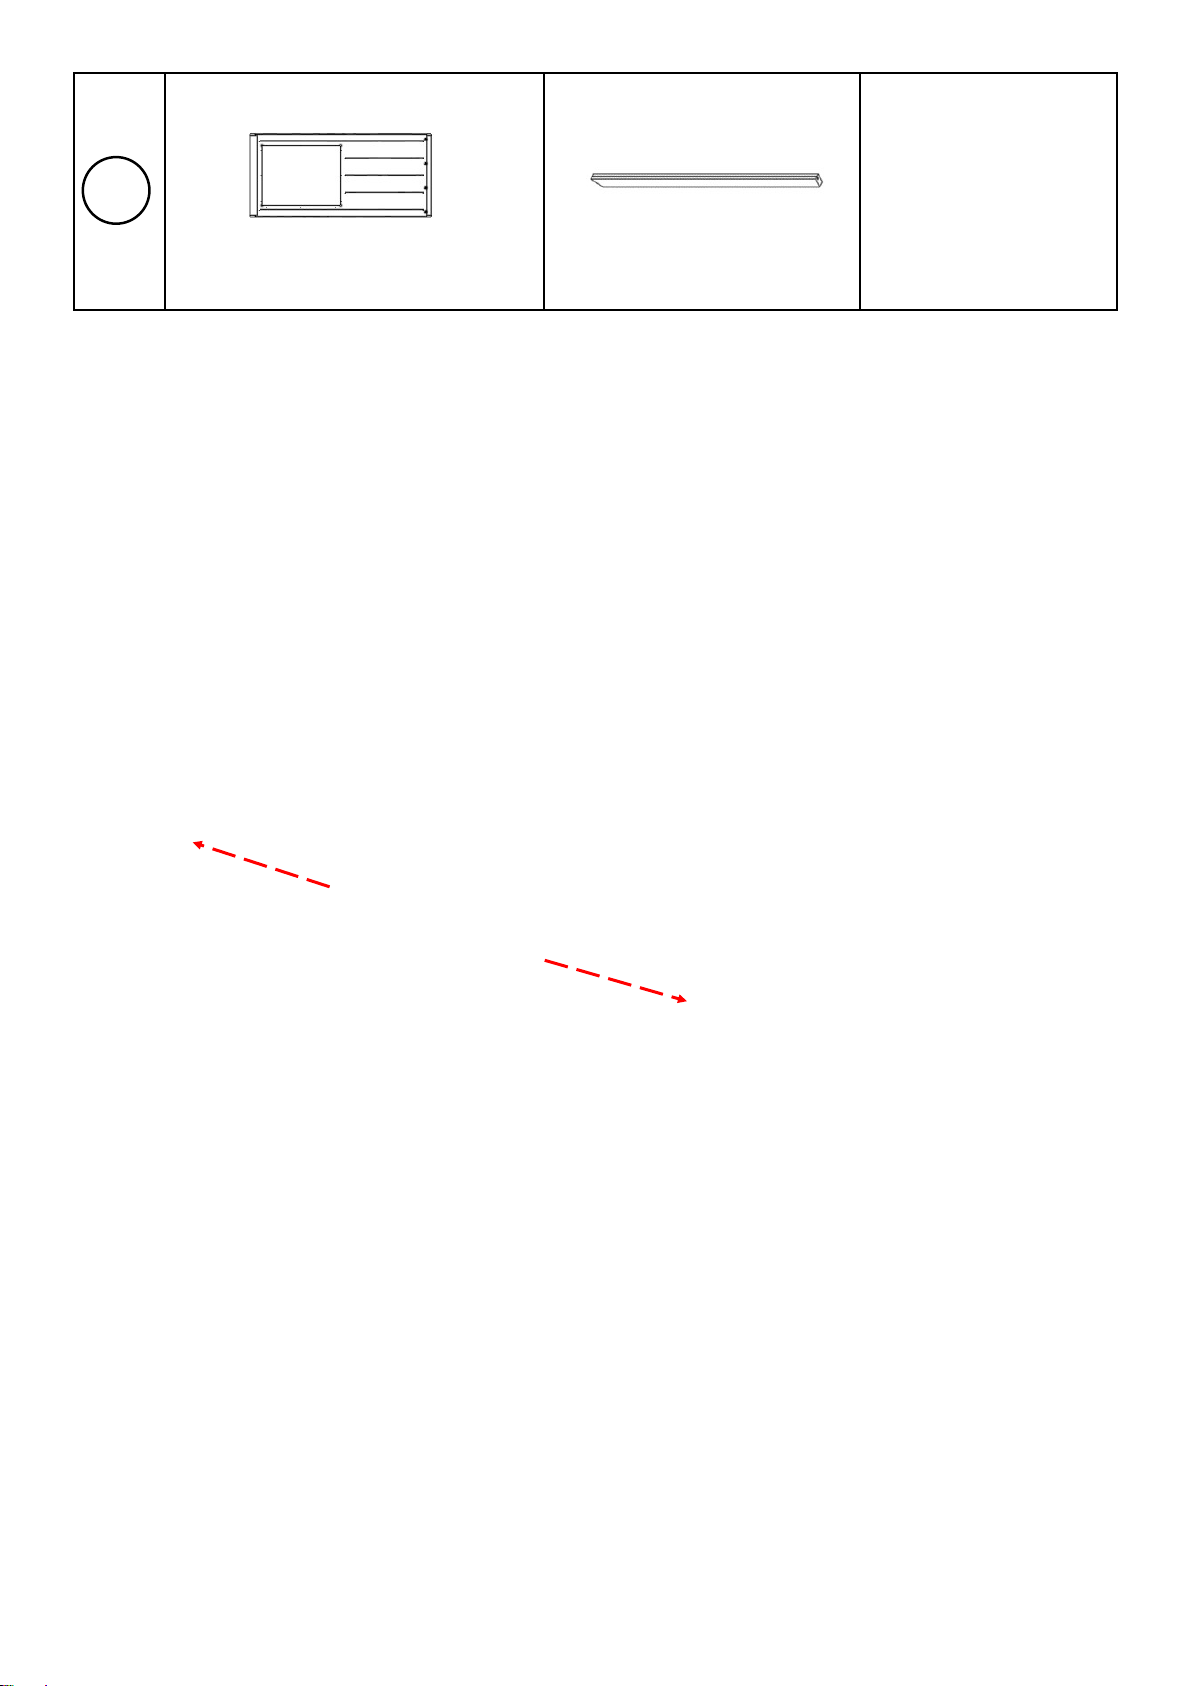
SHED COMPONENTS
Carefully unpack all the items from shipping carton. Place in a clean and safe area. Please check you have all compo-
nents and they have no defects before proceeding.
WALL — BOTTOM PLATE
[2]
[7] [43]
FS877T2, Frame Sill,70mm x 45mm x 877mm Tenon
both Ends.
FS1130T2, Frame Sill,70mm x 45mm x 1130mm Tenon
both Ends
FB20MO/SM Sch Screw #6 x
20mm, Flat Buon Head, Panel Fixing to
Sill
WALL — UPRIGHTS
[4]
[2]
CP1926 Pine,70mm x 70mm x 1926mm, Corner Post, Plain Ends DG1130 Pine,70mm x 45mm x 1130mm, Double Groove, Plain End
[2]
DG1217A1 Pine, 70mm x 45mm x 1217mm, Double Groove, Apex Angle top.
[2]
SG1926A1 Pine 70 x 45 x 1926mm, Single Groove. Miter Top
[2]
DG1926 Pine 70x45x1926mm, Double Groove Plain ends
[216]
[2]
DA, Door pre assembled
Door Assembly
v9 ASCOT [8x12] 02-2023
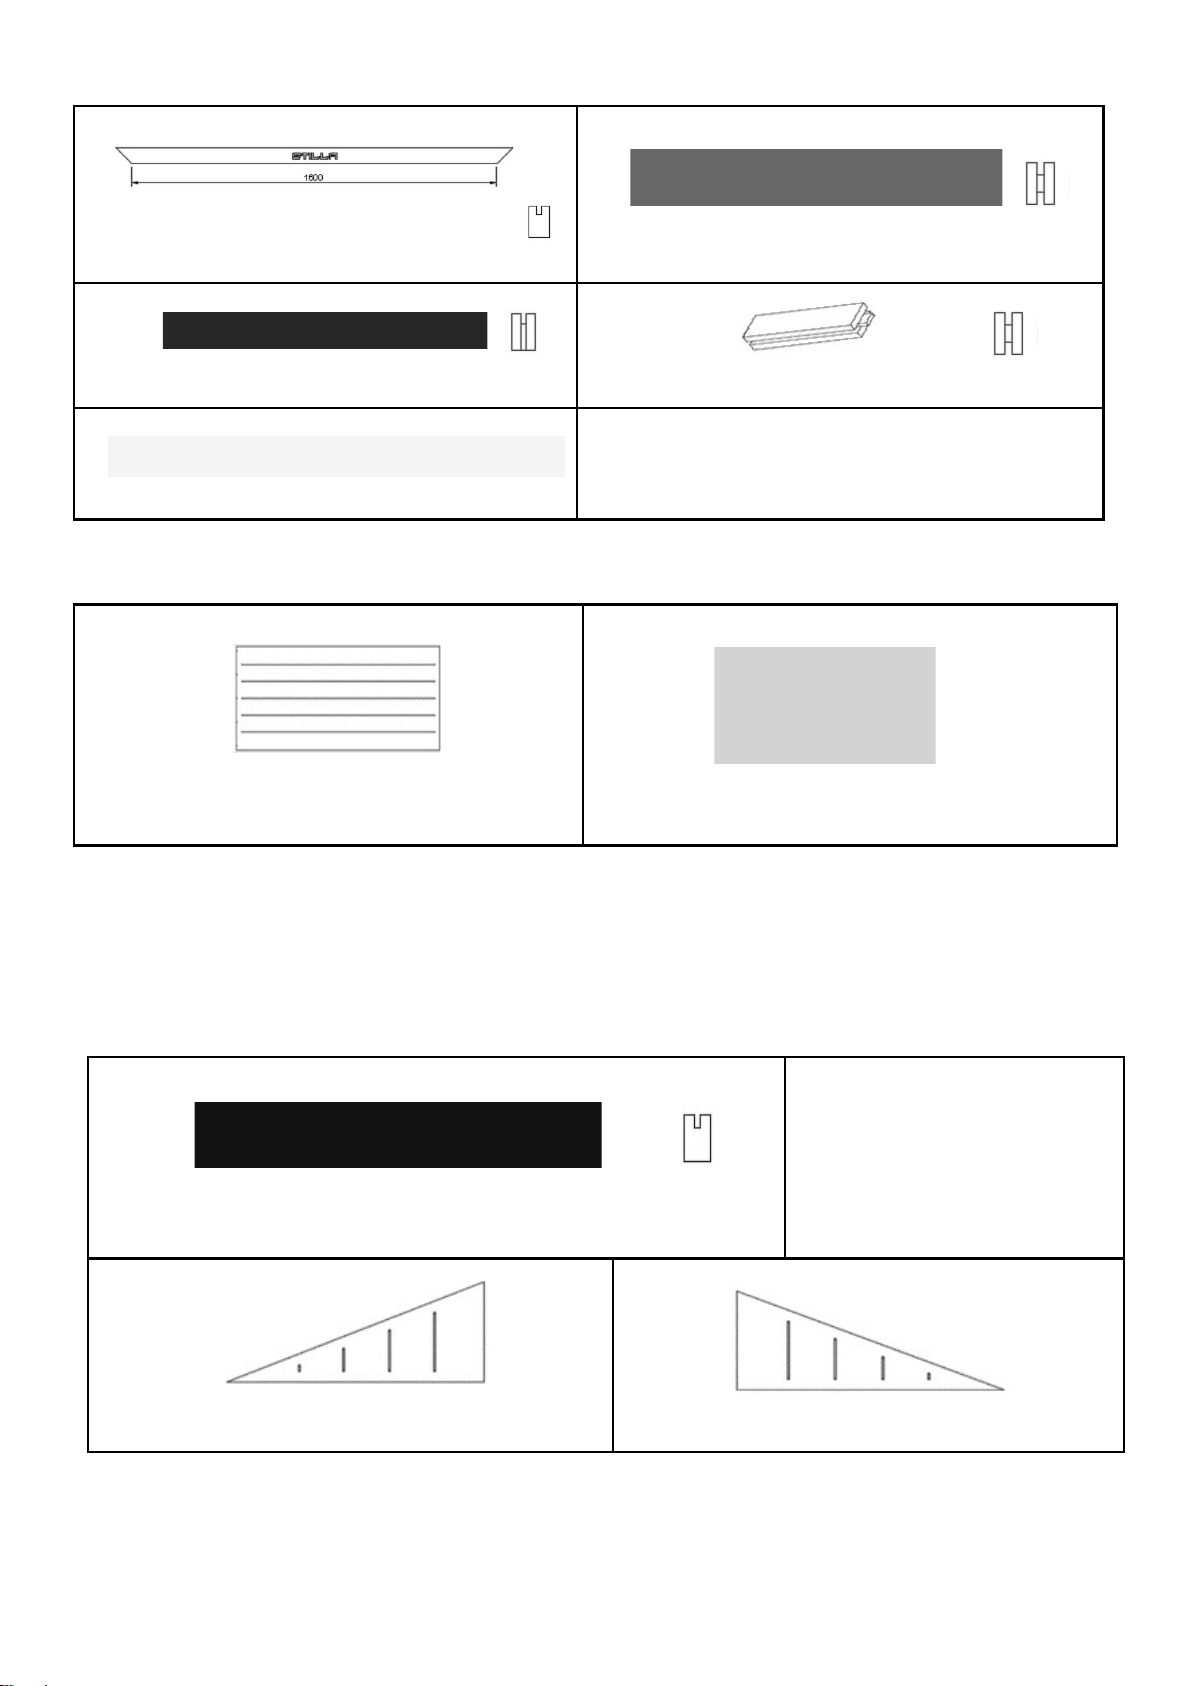
WALL - PANELS
[7]
P1130, Weathertex Panel 1130 x 1824 x 9.5mm, Grooved
[2]
WP877, Window Panel 877 x 1824 x 9.5mm, Grooved
WALL —TOP PLATE
[1]
[4]
[2]
[14]
SG1740A2 , Pine,70mm x 45mm x 1740mm, Single Groove, Miter Ends. DG1130T2, Pine,70mm x 45mm x 1130mm, Double Groove, Tenon Ends.
[3]
[2]
SG1130T2, Pine,70mm x 45mm x 1130mm, Single Groove, Tenon Ends. DG877T2, Pine,70mm x 45mm x 877mm, Double Groove, Tenon Ends
ROOF—Gable Frame
[44]
PS32CSK, Phillips Screw #6 x 32mm, Counter-
sunk. Panel Fixing to Door Frame
[2]
GPL, Gable Panel Le, 1095 x 454 x 9.5mm, 22.5 Degree Pitch
[2]
GPR, Gable Panel Right, 1095 x 454 x 9.5mm, 22.5 Degree Pitch
[4]
SG1299A, Pine, 70 x 45 x 1299mm, Single Groove Angled cut (x4)

v9 ASCOT [8x12] 02-2023
FACIA
[4] [12] [12] [12]
F1500, Painted Facia, 100 x 19 x 1500mm, 22.5
Degree.
FB173, Painted Block 70 x 45
x 173mm, Facia Spacing Block
PS32, Phillips Csk Screw #6
x 32mm Treated Pine, Fix
F1500 to FB145 .
BS100, Bugle Baen Screw
100mm Galvanized, Fix
FB140 to Gable.
Note: MO/SM = Monument / Surfmist
ROOF FRAME
[8]
RF1734, Roof Frame, Pine 70 x 45 x 1734mm.
[8]
RF1125, Roof Frame, Pine 70 x 45 x 1125mm.
[4]
LP1096, Lock Plate 70x45x1096mm
[2]
CT-A, Collar Tie 720mm
[12]
RS1400 MO/SM, 6 Rib Roof Sheet
1400mm.
[3]
RC1520 MO/SM, Ridge Cap (A)
[76]
BS75, Baen Screw 75mm
[6]
CH1520 MO/SM, Channel 1520mm.
[116]
RS50MO/SM, Roofing Screw, #8 x
[22
RD-AS2MO/SM, Rivet
[12]
PS50CSK, Phillips Screw #6 x
32mm, Countersunk. CT-A Fixing
[2]
WA, Painted Window frame
[assembled]
[24]
BH20 MO/SM, Fix WF Assy to WP1130 Opening
OPENING WINDOW FRAME
v9 ASCOT [8x12] 02-2023
MISCELLANEOUS
[1]
TU MO/SM, Paint Touchup
Monument / Surfmist 500ml
[1] Sil-MO/SM, Silicone sealant 300ml –
coloured
FURNITURE
[1]
[4] [1]
THB, “T” Handle Black with
fixings, Keys and Locking
Quadrant
TH150B, “T” Hinge 150mm,
Black with fixings
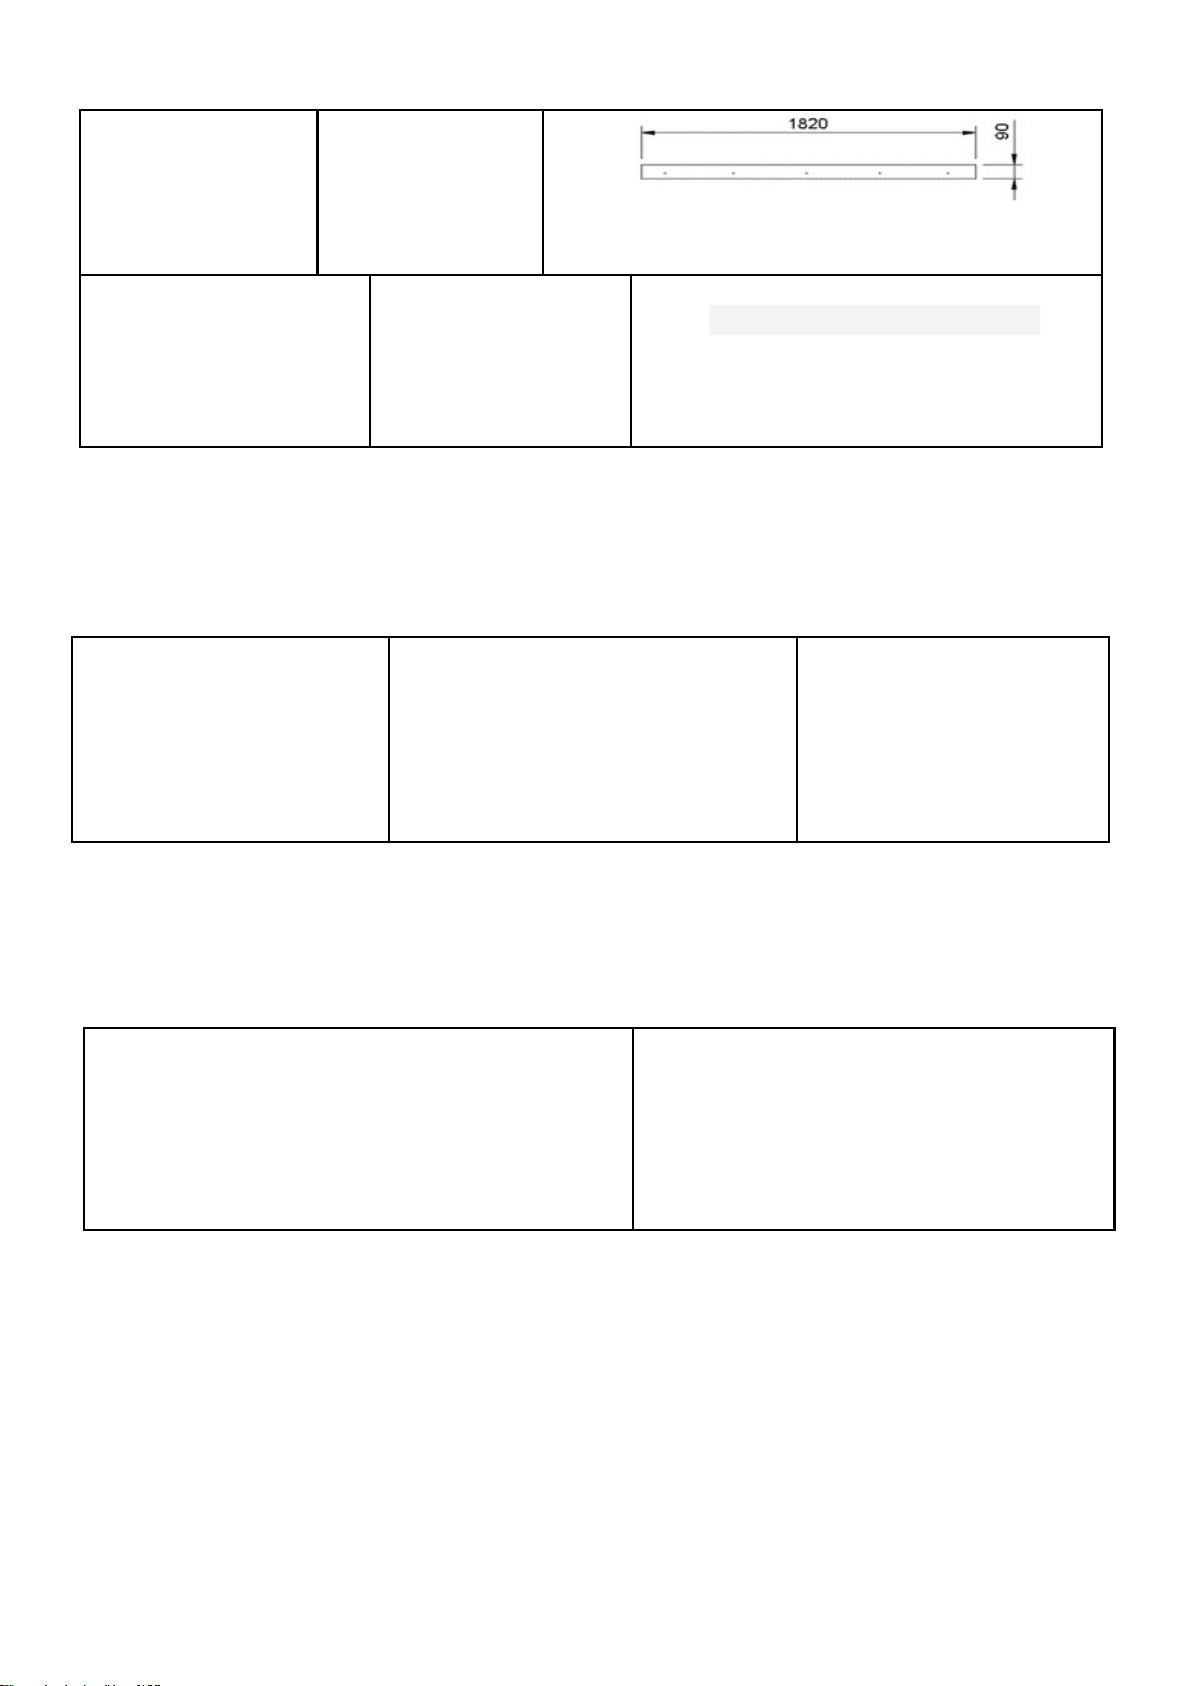
DS1820-90, Doorstop, Wethertex Panel 1820 x 90 x 9.5mm
[2]
BB100SS, Barrel Bolt, SS, 100mm
plus Hinge Screws [12]
[20]
FB20MO/SM, Sch Screw #6 x
20mm, Flat Buon Head, DS Fixing to
Door (x8)
[1]
DST1800-63, Door Stop Top, Weathertex 1800 x 63mm
Anchor Kit [**Not issued if Heavy Floor is oponed]
[10]
[10] [20]
BKT6040G, Bracket 60mm x 40mm wide,
Electro-Galvanised.
CS650, Concrete screw 6mm x 50mm. RS25, Roofing Screw 25mm
v9 ASCOT [8x12] 02-2023
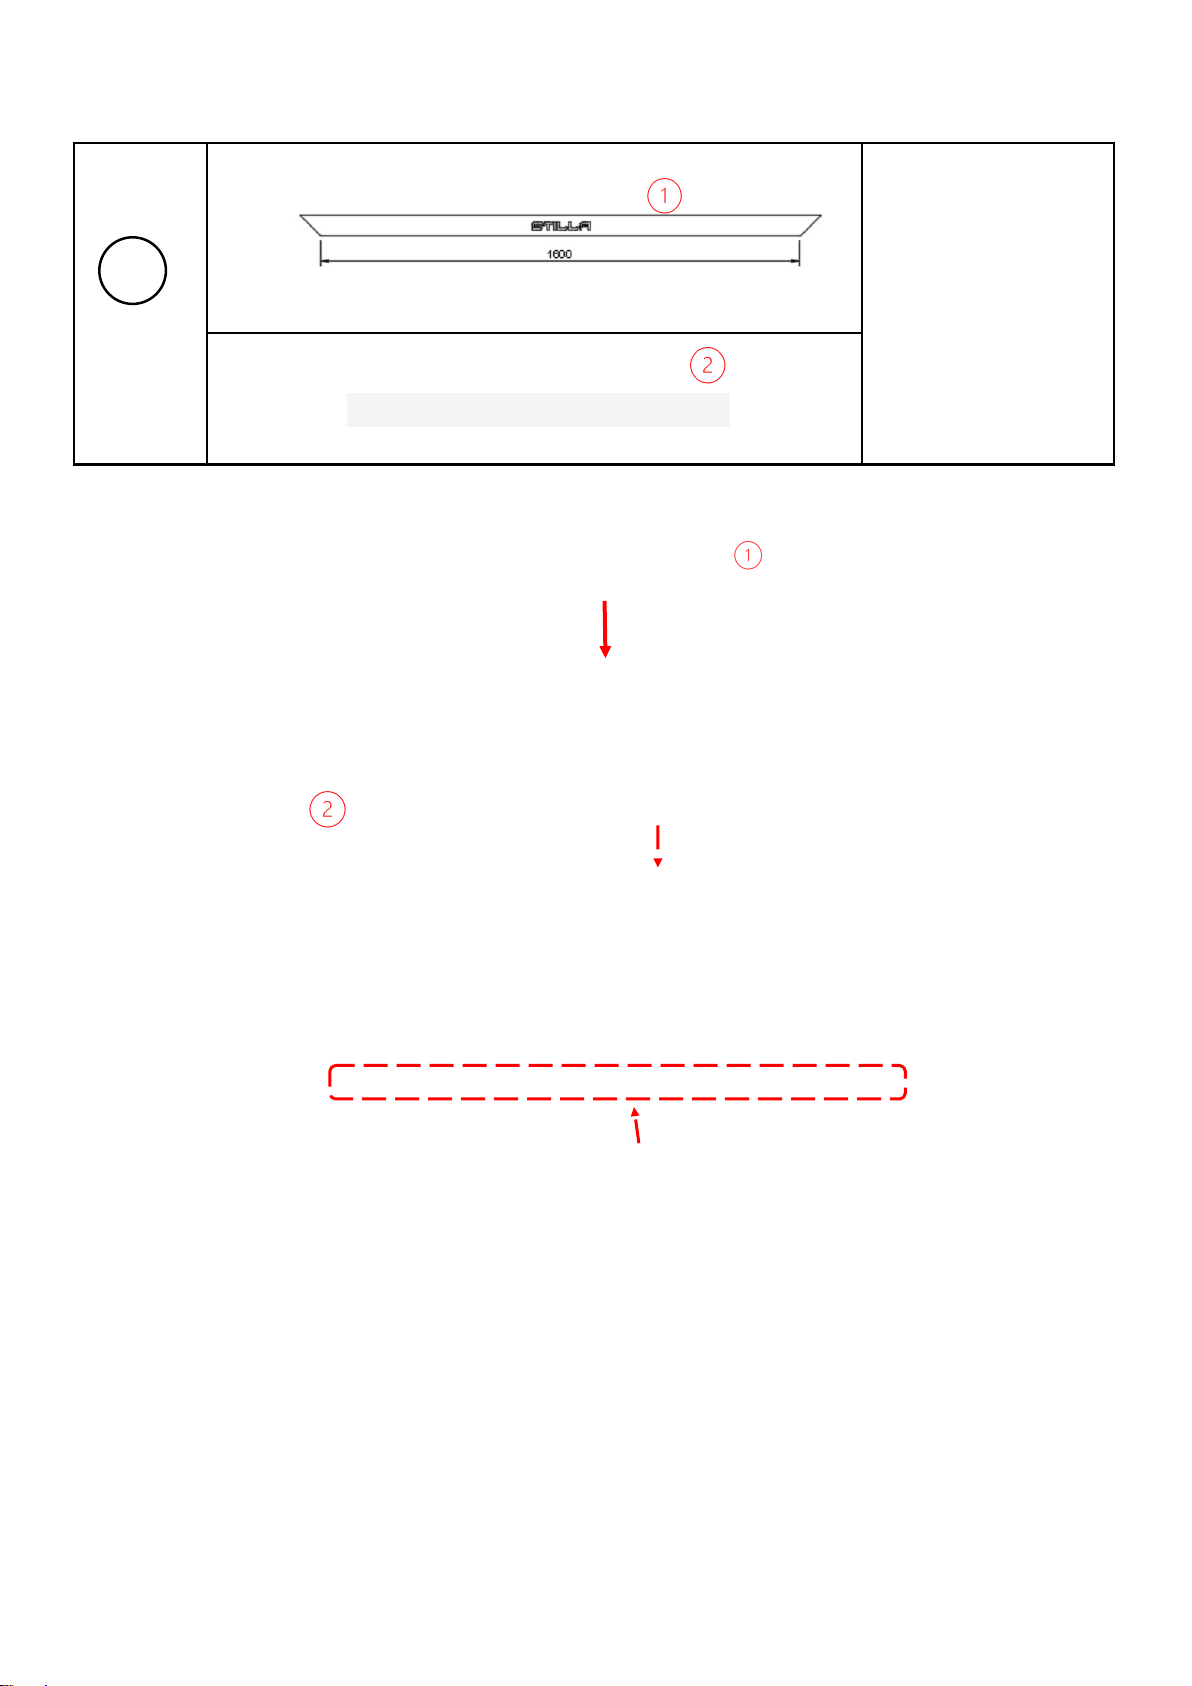
WALL CONSTRUCTION—Frame & Panel
MATERIAL SELECTION - Pre-select top plate and upright components for assembly, mber is a natural material, selecng
best the best side of components will help the aesthecs of the finished shed.
PRE-DRILL - 3mm
CP1926 [4] DG1926 [2] SG1926A [2]
DG1130 [2]
DG1217A [2]
SG1740A2 [1]
SG877A2 [2]
DG1130T2 [4] SG1130T2 [3]
Drill internal webs only

v9 ASCOT [8x12] 02-2023
or
FB20, 4 x 2
If oponal window is used, Window posion in shed, will determine top
plate configuraon.
If to be on the back wall [Opposite doors]. SG1130T2 should be
fied.
If to be placed in side walls DG1130T2 is required.
Oponal
Wall Panel Preparaon
[4]
DG1130T2
[7]
FS1130
[3]
SG1130T2
[14]
FB20 MO/SM
[7]
P1130

v9 ASCOT [8x12] 02-2023
or
18mm
PS32CSK, 8 x 2
3 x Single Groove Top plate
[Back Wall]
4 x Double Groove Top plate
[Side Walls]
Overall height of panels should be equal to vercal beams [1926mm].
CP1926 or DG1926 can be used as a gauge to ensure ideal panel height of

v9 ASCOT [8x12] 02-2023
PS32CSK
FB20 MO/SM
[2] [2] [4]
SG877T2 FS877T2 FB20 MO/SM
[4]
PS32CSK
[2]
WP877
Side Window Panel Preparaon
Overall height of panels should be equal to vercal beams [1926mm].
CP1926 or DG1926 can be used as a gauge to ensure ideal panel height of the top plate component.

v9 ASCOT [8x12] 02-2023
[1]
[1] [2]
Panel Assy Or WP Assy CP1924 PS32CSK
Note: Layout Lines
18mm
2mm Gap
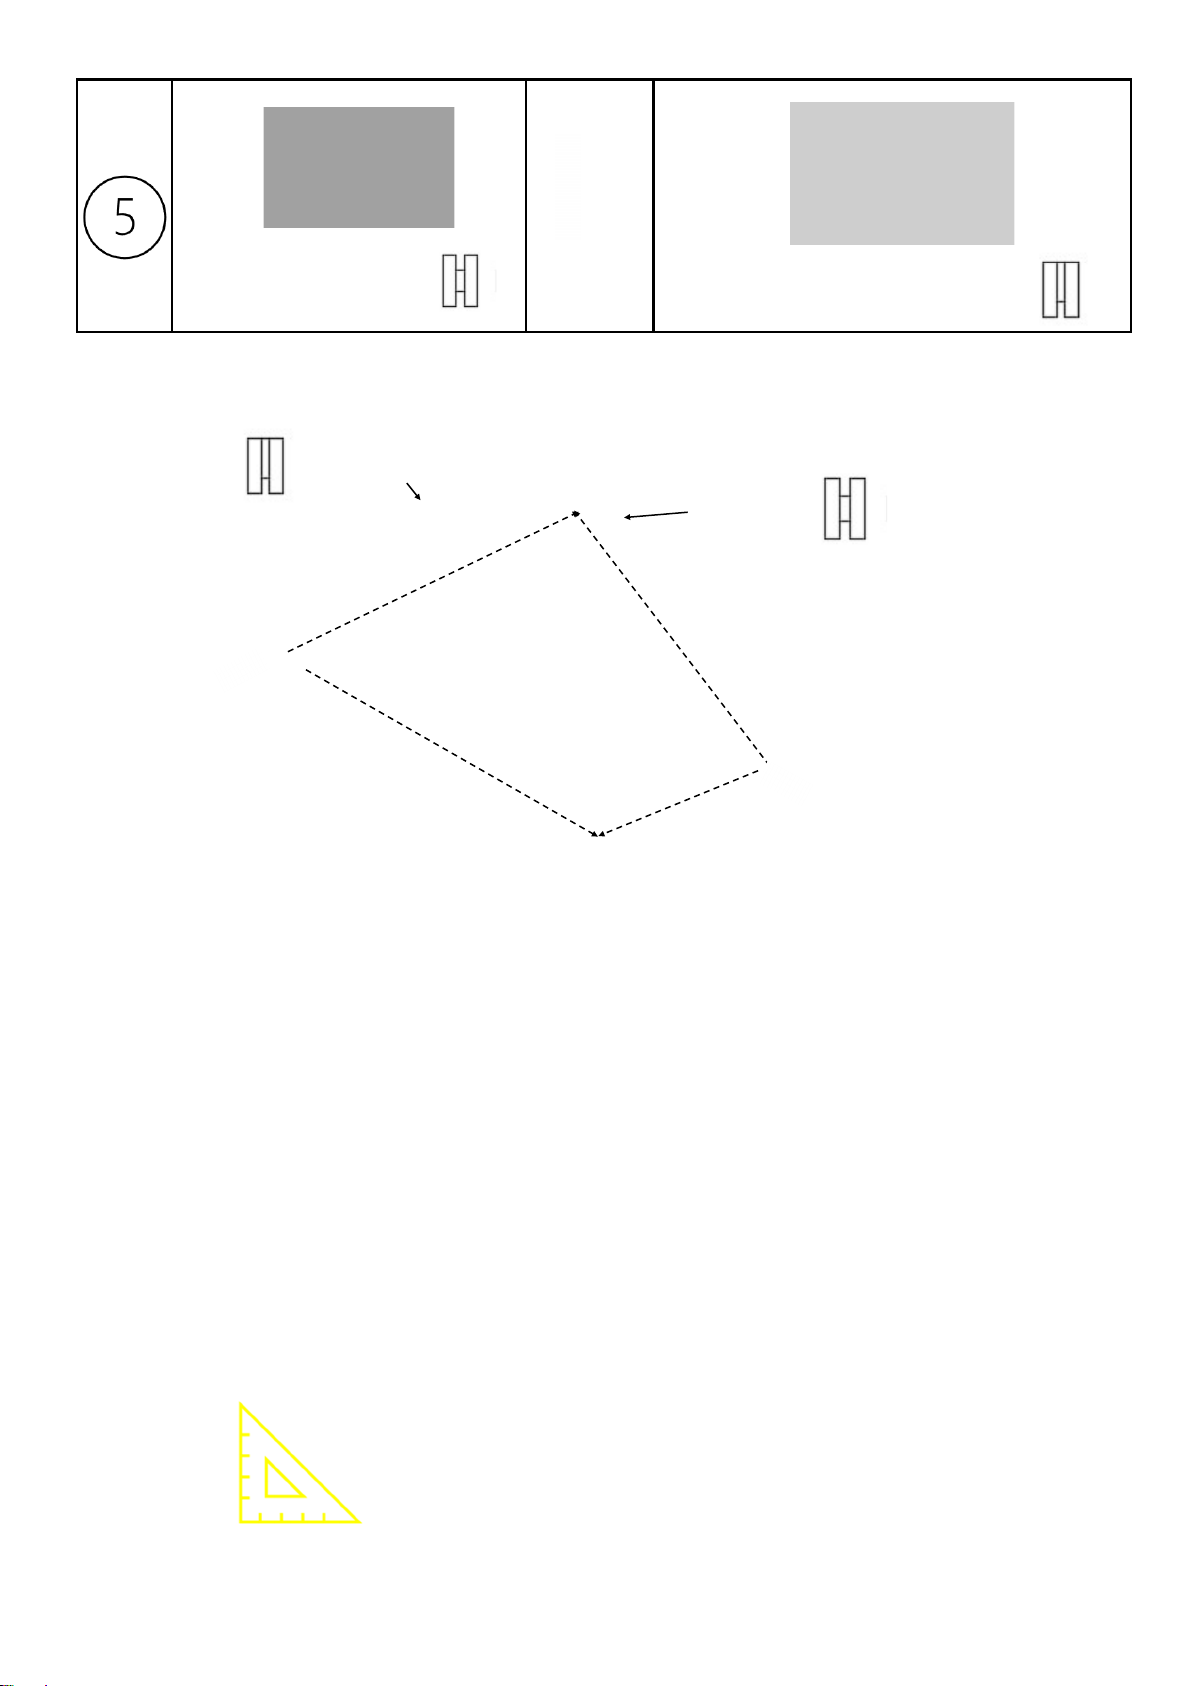
Construct a panel with Corner
post on Right Rear face
[as per image >]
With SG top Rail [for Side wall]
v9 ASCOT [8x12] 02-2023
DG Top Plate
SG Top Plate
[1]
[4]
Panel Assy + DG Top PS32CSK
[1]
Panel Assy + SG Top

v9 ASCOT [8x12] 02-2023
[1]
[1] [4]
DG1130 DG1217A1 PS32CSK
Angle cut to TOP
FB32CSK [4]

v9 ASCOT [8x12] 02-2023
[1]
[1] [4]
Panel Assy [DG Top] CP1924 PS32CSK
PS32CSK [4]

v9 ASCOT [8x12] 02-2023
[2]
[1] [10]
Panel Assy [SG Top]
[Alt 1 WP Assy]
CP1924 PS32CSK
[2]
DG1926
PS32CSK [10]
Oponal window shown mid wall
v9 ASCOT [8x12] 02-2023
[2]
Panel Assy [DG Top]
[1]
DG1130
[1]
CP1924
[1]
DG1217A1
[8]
PS32CSK
PS32CSK [8]
v9 ASCOT [8x12] 02-2023
[2]
Window Assy [SG Top]
[2]
SG1924A1
[8]
PS32CSK
10
v9 ASCOT [8x12] 02-2023
PS32CSK
Back wall panels hidden for clarity
v9 ASCOT [8x12] 02-2023
[1]
SG1740A2
[14]
FB20MO/SM
[1]
DST1800-63
11
Door Head
FB20MO/SM [13]
Table of contents
Other STILLA Outdoor Storage manuals


