For more information
please visit www.stirlingappliances.com.au
or call 1300 886 649
Assembly
• Insert the flexible hose into the hose socket at the front until it
locks into position (Fig.1).
• Push the telescopic extension tube onto the curved end of the
handle (Fig. 2, A).
• Fit the cleaning accessory tightly onto the end of the extension
tube (Fig. 2, B).
• To adjust the telescopic tube length,
push in the button at the centre joint
and slide the tube apart or together
(Fig. 2, C).
Vacuuming
• Pull out a sufficient length of cord,
plug in the power plug (Fig. 3, G)
and press down the ON/OFF pedal
(Fig. 3, A) to switch the vacuum
cleaner on.
• Press the rocker switch on top of the floor brush to extend the
bristles and the rubber flap for vacuuming hard surfaces;
press the switch again to vacuum carpets.
• Slide the speed control knob (Fig. 3, C) up or down to adjust
the suction power to a level appropriate for the surface to be
vacuumed. To lower the suction power temporarily during
vacuuming, you can also push down the suction control valve
on the curved handle (Fig. 4). Push it up again to cover the
opening for increased suction.
• When you have finished vacuuming, press down the ON/OFF
pedal (Fig. 3, A) to switch the vacuum cleaner off. Press the
cord retraction pedal (Fig. 3, F) to rewind the power cord and
guide the cord gently back into the housing. Use the handle on
top of the unit (Fig. 3, B) for carrying the unit. Do not carry the
vacuum by the dust tank handle (Fig. 3, E) to avoid accidentally
pressing the dust tank release button (Fig. 3, D) and dropping
the appliance.
Fig. 1
Fig. 2 AB C
A
C
B
D
E
F
G
Fig. 3
Fig. 4
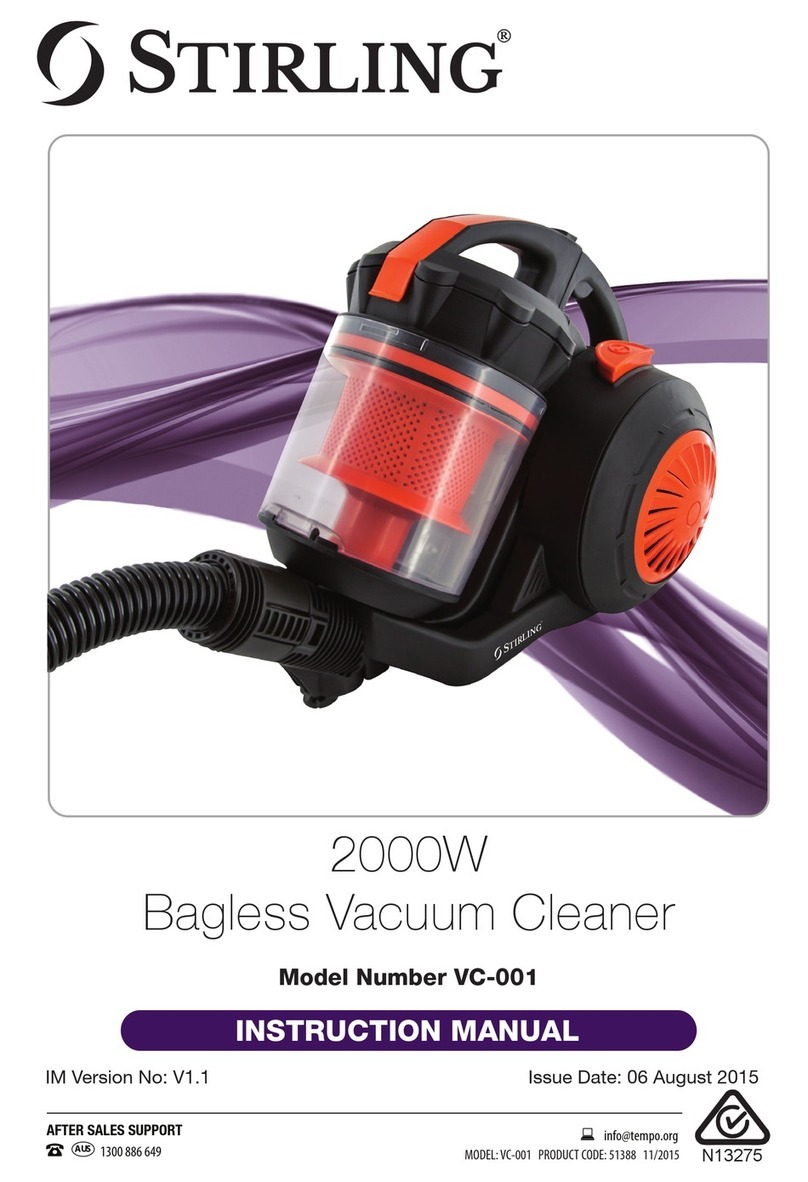
Model Number VC-001
Power 2000W
Dust Capacity 3.5L
Warranty 1 Year
Version QSG-V1.0
Quick Start Guide
This Quick Start Guide only contains basic information. Please read the full manual for
comprehensive instructions and important safety advice before first use.
