Stirling KB-8005 User manual

Portable Vacuum Cleaner
Model Number KB-8005
INSTRUCTION MANUAL
AFTER SALES SUPPORT
AUS Hotline Costs MODEL:KB-8005 PRODUCT CODE: 36311 09/2014
1800 898 750

1 Warranty Page
2 Welcome
3 Safety Precautions
5 Parts Guide
6 Instructions
10 Cleaning and Maintenance
11 Repair and Refurbished
Contents
AFTER SALES SUPPORT
AUS Hotline Costs MODEL:KB-8005 PRODUCT CODE: 36311 09/2014
1800 898 750

Portable Vacuum Cleaner
The product is guaranteed to be free from defects in workmanship and parts for a period
of 12 months from date of purchase. Defects that occur within this warranty period,
under normal use and care, will be repaired, replaced or refunded at our discretion,
solely at our option with no charge for parts and labour. The benefits conferred by this
warranty are in addition to all rights and remedies in respect of the product that the
consumer has under the Competition and Consumer Act 2010 and similar state and
territory laws.
Our goods come with guarantees that cannot be excluded under the Australian
Consumer Law. You are entitled to a replacement or refund for a major failure and for
compensation for any other reasonably foreseeable loss or damage. You are also
entitled to have the goods repaired or replaced if the goods fail to be of acceptable
quality and the failure does not amount to a major failure.
AFTER SALES SUPPORT
YEAR WARRANTY
1
AUS Hotline Costs
1800 898 750
AUS
1
MODEL:KB-8005 PRODUCT CODE: 36311 09/2014

Welcome
Congratulations on choosing to buy a Stirling®product.
All products brought to you by Stirling®are manufactured to the highest
standards of performance and safety and, as part of our philosophy of customer
service and satisfaction, are backed by our comprehensive 1 Year Warranty. We
hope you will enjoy using your purchase for many years to come.
Welcome
AFTER SALES SUPPORT
AUS Hotline Costs MODEL:KB-8005 PRODUCT CODE: 36311 09/2014
1800 898 750
2

Safety Precautions
• To reduce the risk to personal injury or damage to property, basic safety
precautions must be observed.
• Read carefully and save all the instructions.
• The device operates on an electric current; there is a danger of electric shock.
• Do not use the device if the power cord of the charger is damaged, or there is
other visible damage.
• Do not vacuum burning ash, cigarettes, matches, sharp-ended objects,
or broken glass. You could damage the vacuum cleaner and injure yourself.
Burning ash, cigarettes, etc. can set the filter or the accessories inside on
fire. Sharp objects could damage the filter.
• Do not let children play with the packaging material – there is a danger of
suffocation.
• Do not use the device if the device itself, adaptor or power cord are visibly
damaged, or if the device has been dropped.
• Do not expose the vacuum cleaner to extreme weather conditions (rain,
snow etc.). Before you clean the vacuum cleaner or perform any maintenance
(e.g. changing the filter), always switch the device off, or pull the power plug of
the charger out of the vacuum cleaner and the socket.
• The cord of the charger should always be carefully wound or rolled up. Avoid
damaging the cord. Should it be damaged in any way, contact after sales
support on the number below.
• Young children should be supervised to ensure they do not play with the
appliance. Close supervision is necessary when any appliance is used by or
near children.
• Despite the filters, there still can be a small amount of dust particles in the
exhaust air of the vacuum cleaner. When inhaled by small children, it can
lead to allergic reactions. If it is possible, do not use the device in the
immediate proximity to children.
• Use the vacuum cleaner only if the filter and dust collection container are
correctly connected.
• The portable vacuum cleaner is not intended to be operated by means of an
external timer or separate remote control system.
• This appliance is not intended for use by persons (including children) with
reduced physical, sensory or mental capabilities, or lack of experience and
knowledge, unless they have been given supervision or instruction
concerning use of the appliance by a person responsible for their safety.
AFTER SALES SUPPORT
AUS Hotline Costs MODEL:KB-8005 PRODUCT CODE: 36311 09/2014
1800 898 750
3

CAUTION: • To reduce the risk of electric shock, do not immerse or
expose the plug or cord to rain, moisture or any liquid.
• Do not use the product near baths, basins or other vessels
containing water or other liquids, or when standing in or on
damp or wet surfaces.
• In the event where the appliance is dropped into water, turn
off the power at the power outlet and remove the plug
immediately.
DO NOT REACH INTO THE WATER TO RETRIEVE IT.
AFTER SALES SUPPORT
AUS Hotline Costs MODEL:KB-8005 PRODUCT CODE: 36311 09/2014
1800 898 750
4

Parts Guide
1 Collection container
2 Unlocking button
3 On / Off switch
4 Carrying handle
5 Wall Bracket
6 Liquid nozzle
7 Brush attachment
8 Crevice nozzle
9 Adaptor
1 6
7
8
9
2
3
4
5
AFTER SALES SUPPORT
AUS Hotline Costs MODEL:KB-8005 PRODUCT CODE: 36311 09/2014
1800 898 750
5

Instructions
Mounting on the wall
The cordless vacuum cleaner is supplied with a wall bracket. Select a suitable
place for the holder. It should be located in a dry place, close to a power outlet.
Caution! Before mounting or dismounting the device or the accessories, always
disconnect the power plug of the adaptor from the socket first.
Installing the wall bracket
1. Measure the distance between the two slots situated at the back of the
appliance (see picture A)
2. Drill two holes at the same distance in the wall and insert a plug in each hole
you just drilled. Place the brackets facing the holes as indicated on picture B
and attach them in this position with the screws supplied.
3. Before attaching the appliance on the brackets, attach the two other brackets
underneath the appliance.
4. Attach the appliance to the wall. To do so, hold it in such way that the slots are
facing the brackets; insert the appliance halfway onto the brackets until the
appliance can go down into the grooves of the brackets.
5. As soon as the appliance is positioned correctly, take a pencil and mark a dot
in the hole of each bracket situated underneath the appliance.
6. Then take off the appliance by reversing the instructions in point 4.
Picture B
Charging the battery
1. When charging the vacuum while in the wall bracket, place the device in
the holder, with the collection container facing up.
2. If you are not using the wall bracket, simply connect the adaptor to the
vacuum and then to the power.
3. The red indicator light shows that the vacuum is connected and is charging.
The vacuum will be charged after being connected to the power for
approximately 12 hours.
Caution! Only use the supplied adaptor to charge your vacuum cleaner.
AFTER SALES SUPPORT
AUS Hotline Costs MODEL:KB-8005 PRODUCT CODE: 36311 09/2014
1800 898 750
6
Picture A

Starting operation with the ON/OFF button
1. Before each use you should empty the collection container and clean it.
2. To switch the device on, move the ON/OFF switch forward.
The device begins operation.
3. In order to switch the device off, move the ON/OFF switch backwards.
The device switches off.
Vacuuming liquids
• Choose the required attachment nozzle and connect it to the suction opening of
the vacuum cleaner.
• Turn the vacuum cleaner on and vacuum the spill.
• Please note: When cleaning liquid spills the collection container should not
exceed 1 third of the collection container.
• The collection container will need to be emptied after each use.
Emptying the vacuum cleaner
• The collection container should be emptied and cleaned after each use.
• To clean the collection container, hold the vacuum cleaner in a vertical
position, with the intake mouth pointing down.
• Press the unlocking button and pull the dust container out gently (FIG.1).
• Empty the container, if you like, you may wash it with warm water and then dry it.
• Re-fit the filter into the dust container.
• If damaged, replace it with a new one.
• Then re-fit the collection container and place the vacuum in the wall bracket.
• Wipe the outside of the vacuum cleaner with a dry cloth. DO NOT clean the
unit with paint thinner or a chemical solution as this will damage the unit.
AFTER SALES SUPPORT
AUS Hotline Costs MODEL:KB-8005 PRODUCT CODE: 36311 09/2014
1800 898 750
7
2
1
FIG.1

FIG.3FIG.2
Caution!
Clean the filter and the collection container with clear water, do not use
soap or other cleaning agents. It will damage the filter. If the filter or the
collection container is damaged, contact after sale support on the number
below.
After you have emptied, cleaned and dried the collection container, you can
reinsert the filter and the collection container.
Proceed in the reverse order as outlined below:
• Reinsert the filter into the collection container (FIG.2).
• Place the collection container on the motor unit again by inserting it first into the
opening at the bottom, and then close it. Keep pressing the unlocking device
until the collection container is locked in place (FIG.3).
Crevice nozzle
The crevice nozzle is suitable for cleaning fabric tucks, crevices and corners,
or other areas that are difficult to clean without the attachment. Connect the
crevice nozzle by inserting the attachment into the suction opening of the vacuum,
press firmly until you hear it click and lock into place.
Brush attachment
With the brush attachment you can dust off books or clean delicate object like
picture frames, lampshades and keyboards. Mount the brushhead by inserting the
rear part into the suction opening of the collection container until it is properly
locked in place.
AFTER SALES SUPPORT
AUS Hotline Costs MODEL:KB-8005 PRODUCT CODE: 36311 09/2014
1800 898 750
8

Special Safety Instructions
1. Do not use the vacuum cleaner in the immediate proximity to sources of heat
and do not vacuum up hot objects such as cigarette butts or ashes.
2. Always connect the power plug into the socket with dry hands.
3. Before you start using the vacuum cleaner, first remove large or sharp object
from the floor in order to avoid possible damages.
4. When disconnecting the power plug, do not pull the cord, firmly grasp the plug.
AFTER SALES SUPPORT
AUS Hotline Costs MODEL:KB-8005 PRODUCT CODE: 36311 09/2014
1800 898 750
9

• Parts of the device must not be cleaned in the dishwasher.
• To clean the casing, switch the device off and disconnect the adaptor from
the socket.
• If necessary, you can clean the casing, dust compartment and filter
compartments of the vacuum cleaner, as well as the accessories with a damp
cloth.
• Do not use abrasive cleaning agents (scouring agents, diluting agents)
because they can damage the synthetic surface of the device.
• Connect the power plug of the adaptor only when you have made sure that
all parts of the vacuum cleaner are completely dry.
Cleaning and Maintenance
AFTER SALES SUPPORT
AUS Hotline Costs MODEL:KB-8005 PRODUCT CODE: 36311 09/2014
1800 898 750
10

Repair and Refurbished Goods
or Parts Notice
Portable Vacuum Cleaner
Unfortunately, from time to time, faulty products are manufactured which need to be returned
to the Supplier for repair.
Please be aware that if your product is capable of retaining user-generated data (such as files
stored on a computer hard drive, telephone numbers stored onamobile telephone, songs
stored on a portable media player, games saved onagames console or files stored ona USB
memory stick) during the process of repair, some or all of your stored data may be lost.
We recommend you save this data elsewhere prior to sending the product for repair.
You should alsobe aware that rather than repairing goods, we may replace them with
refurbished goods of the same type or use refurbished parts in the repair process.
Please be assured though, refurbished parts or replacements are only used where they
meet ALDI’s stringent quality specifications.
If at any time you feel your repair is being handled unsatisfactorily, you may escalate your
complaint. Please telephone us on 1800 898 750 or write to us at:
Help Desk:
1800 898 750
8:30am - 6pm AEST
AFTER SALES SUPPORT
YEAR WARRANTY
1
AUS Hotline Costs MODEL:KB-8005 PRODUCT CODE: 36311 09/2014
1800 898 750
11
Table of contents
Other Stirling Vacuum Cleaner manuals
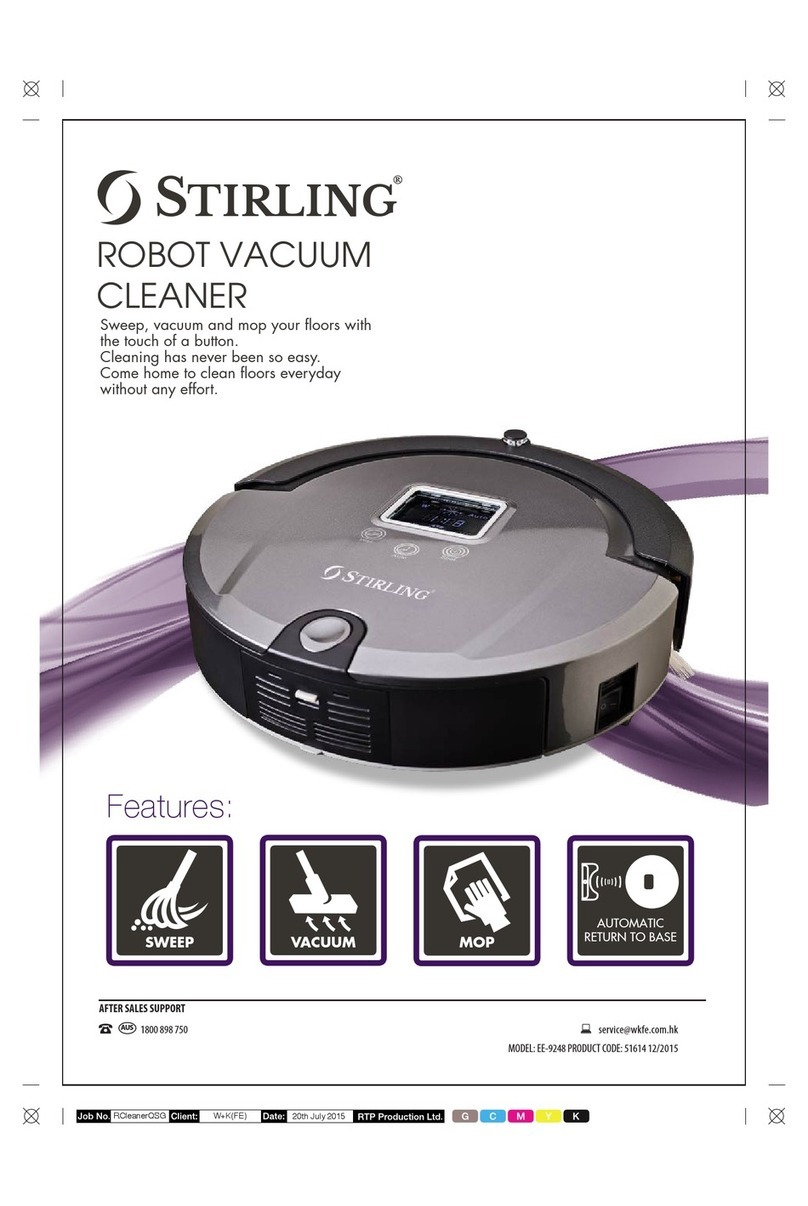
Stirling
Stirling EE-9248 User manual

Stirling
Stirling EE-9248 User manual

Stirling
Stirling HS-2H1-001 User manual

Stirling
Stirling IA0850 User manual
Stirling
Stirling VC-001 User manual

Stirling
Stirling A320 User manual

Stirling
Stirling VC-001 User manual
Stirling
Stirling U009R User manual
Stirling
Stirling SVS-268 User manual
Stirling
Stirling IA0978 User manual

