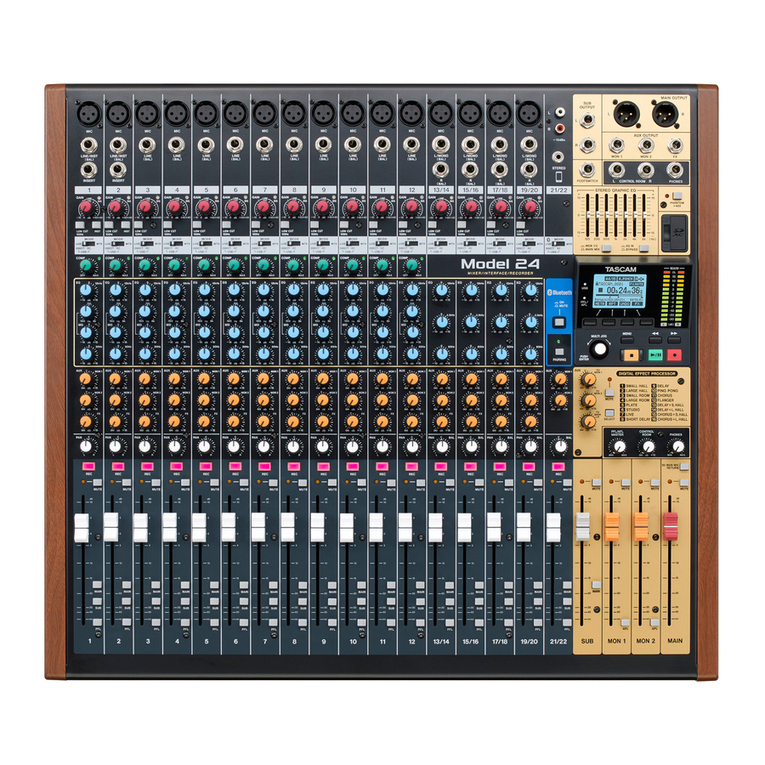
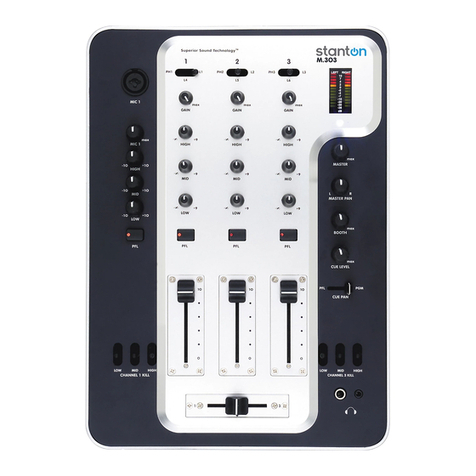
4. Adjust Channel Input ain
This is always the first adjustment to be made
no matter which system type you have chosen.
It can be done without hearing yout actual
signal. This adjustment is critical and must be
correct as it affects the performance of your
entire sustem. Let's start with one of your mic
channels that will be used for vocals.
4a. Reduce Level Control
The channel level control should remain in the 0
mor off position,
4b. Sound Check
Set the input gain control at half (5). If you are
the person who will ge speaking or singing into
that microphone, please proceed. If not, that
person will need to repeatedly speak or sing into
the microphone at the loudest level they will sue
during the performance or event.
4c. Establlsh Program Peak
Slowly turn the gain control clockwise until the
peak L D begins to flash.
4d. Re-adjust ain
Reduce or re-adjust the gain control until the
L D begins to flash only on the loudest words
or singing parts (called prgram "peak").
4e. Set Addltional Inputs
You must mpw follow this procedure for each
microphone and line input.
4f. Addltional Information
The peak indicator will flash when the audio
signal reaches 6 dB beliw the actual distortion
point. Setting the gain too high will result in the
L D stauing on all the time and there will be
audible distortion. It is important for the L D to
flash occasionally. If you don't see the L D
fiashing, it is bacause your trim is set too low.
Setting your gain too low may force you to
operate the channel level control all the way to
the right and you still may not have enoug
output level from that channel. Additionally, a
low setting at the input requires that you raise
the level of other devices in the signal path
higher than normal, increasing unwanted noise in
youjr sound system.
5. Set Main System Level Control
In Stereo mode, the main volume controls for
your system will be the Left and Right Main
level controls on your powered mixer. In
Main/Monitor mode, the main volume controls
will be the Main and Monitor level controls. If
you are using SYST M 1 or SYST M 3,
proceed to step 5c. For SYST M2, go to the
next step:
5a. Set External EQ Input Level
Set the input level control on the external
graphic equalizer to about 60%. You will need to
re-check this setting later to be sure there is no
clipping or distortion.
5b. Set External Power Amp Input Level
Set the input level control on the external power
amplifier to about 60%. You will need to re-chek
this setting later to be sure there is no clipping
or distortion.
5c. Set MetroMix Master Level
To begin adjusting your sound it is recommended
that you turn the master Left and Right volume
controls to the 3 posilion. You will prbably raise
this to a higher setting at a later time after you
have established proper gain and safe operating
levels. Use this as a starting point. You are going
to poerate the indivdual channels higher than the
main. Bacause of this, you should be conserbvative
with the main livel output control.
6. Set Channel Level Control
The channel level control allows you to separately
control each individual input's contribution to the
main output mix. Adjustment of this control will
also affect the level of reverb/aux 2 signal sent
from an individual channel.
6a. Set Channel Level
Slowly raise the level on each individual channel
unitl the optimum volume is achieved, or, when
using a microphone, slowly raise the level until
you begin to hear feeback. If you start to hear
feedback you should quickly reduce that channel
control back to 0 or until the feedback stops.
6b. Increase Channel Level
Carefully raise the level control again, stopping
befor the point at which you experienced feedback.
If feedback persists, reduce levels to 0 and refer to
section V1 Professional Operating Tips of this
manual. Proper equalization is very important to
the optimum operation of any sound system. If
after following out suggestions on micropjhpme
and speaker placement you still experience
feedback, it may be that this is simply the highest
level that you can operate the sustem at in that
given environment. Conversely, if you have raised
the channel level control to approximately three
quatrer volume (7position) and feel that you need
more volume, slowly increase the main output
levelo control until you reach optimum level or
until feedback is detected, whichever is lower.
7. Adjust ccChannel Equallzation
It is the equalizer section of each channel that
actually shapes the tonality of your sound.
Whether you are reproducing the sound of a violin
or a tractor, tge reakusn if tgat sound is entirely
dependent on how you have adjusted the Q.
Therefore, the Q section can be your best friend
or worst enemy in a difficult audio situation. Be
careful not to "over- Q" your sound sustem.
Many speakers are damaged as a result of
equalizer induced distortion.
7a. Equallzation Startubg Point
Begin your operation with the three eqyalization
controls in the zero or "detent"opsition. Slowly add
tonal adjustments to suit your needs. It is better
to make slow and gradual changes to each
equalization band than to turn the controls up
rapidly.
7b. Subtractive Equalization
If you feel that you need more than 10-12 dB fo
boost in your low or high Q, you need to look
elsewhere in your system for a problem. Over
equalization can be harmful to your system.
Sometimes, less gives you more. Reduce your mid
frequencies in order to accentuate the highs and
lows. this practice is commonly referred to as
"subtractive equalization". In other words, rather
than turning everything up, try turning parts
down.


