manuals.online logo
Brands
  1. Home
  2. •
  3. Brands
  4. •
  5. StudioDesk
  6. •
  7. Indoor Furnishing
  8. •
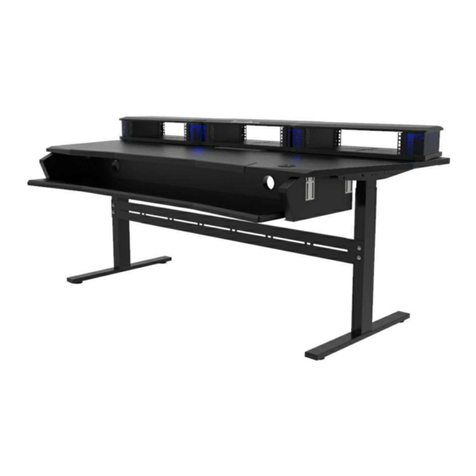
  9. StudioDesk FANTOM Series User manual

StudioDesk FANTOM Series User manual

The Desk You Deserve
ASSEMBLY MANUAL
FANTOM Series
NOTE:Inorder to avoid injury or damages,
pleasedo not try to assembleyour deskalone.
Our furniture is massiveand heavyand requires
at least two people to carry out assembly.
Pleaseassembleon soft surface to avoid
scratchesto the lacquer.
!
www.studiodesk.net
Video Assemblymanual is also available.
Scanthe QRcode for direct link to the video manual. NOTE:
We highly recommend following the step by step
video assembly manual.
Video manual
The Desk You Deserve
Thank you for making StudioDesk your desk of choice!
Before beginning assemblyof your desk,let’s get familiar with the parts you havereceived in your package.
Pleasematch the corresponding numbers on this page with the drawings.
1. Legs 2. Shelf Holder 3. Cablemanagement/strengthening Bar 4. Desksurface 5. Back/Computer shelf 6. Top
shelf and dividers 7. Pull out parts 8. Rack Rails
Hardware
Parts
1
2
7
8
6
TOOLS needed
3
4
5
M6 x 12
Screw
35 pcs
Dowels10/40
18 pcs
Washer M6
8
6
4 Conrmat screws
3
2
Metal brackets
5 pcs
Cableinlay
3 pc
Hexagon wrench
7 pcs 1pc
7 x 50 3 pcs
Height controller
1 pcs 10 Rackrails
4 pcs
M6 x 12
Screw Black
16 pcs
11 Cagenuts
16 pcs
7
Screw for
wood
6 pcs
9
1
5
OPTIONAL Pull-Out
Cable inlay (1pc)
Hexagon wrench (1pc)
M6 x 12 screw (16 pcs)
Conrmat screw 7x50 (5 pcs)
Long L bracket (4 pcs)
RGB LED SET
FANTOM
PULLFANTOM#2
Plug
EU
US UK
1
Step One
Start o by placing the U-prole rods on each side of the bottom of the main
board so the two larger central holes are facing outward and screw them in
using 3 x M6 screws on each side as shown in the picture.
2
Step Two
Place the horizontal support for the main board as
shown in the picture. Beware that the holes on the
U-proles and the horizontal support align.
8
www.studiodesk.net
3
Step Three
Screw in the horizontal support together using 8 x
Hexagon head screws and screw the support to the
main board using 2 x M6 screws as shown. If there
stays a gap between the hexagon screws and the
support, it's normal.
4
Step Four
Place and screw in the motorized legs using 12 x hexagon head screws on each leg. Be
careful that the threads on the legs are facing the front of the desk.
5
Step Five
Place and screw in the base of the motorized leg
using 1 x hexagon head screw on each side like
shown in the picture
6
Step Six
Screw in the desk glides and 4 x hexagon head
screws in each leg as shown in the picture.
7
Step Seven
Install the stabilizing bridge for the legs as shown in the
picture.
8
Step Eight
Insert the controller for the legs into the horizontal support. It
should slide into one of the sides as shown below.
9
Step Nine
Install the long brackets to the desired height of
your pull out as shown in the picture.
The pull out height can be adjustable.
10
Step Ten
Install the pull out sides to the bottom of the
main board using 4 x M6 screws on each side.
Flip the desk onto its legs and install the three
rack dividers into the main board using 2 x
dowels for each divider like shown in the
picture.
11
Step Eleven
12
Step Twelve
Install the back/monitor shelf onto the
dividers by placing 2 dowels in each divider
and push the shelf onto the dowels.
13
Step Thirteen
Fixthe dividers and the monitor
shelf using M6 screws and brackets
on each end of the shelf and the
inside of the divider.
14
Step Fourteen
Install 3 brackets onto the dividers
for the top shelf like shown in the
picture.
15
Step Fifteen
Turn the top shelf upside - down and install
the shelf holders and the height controller
using screws for wood.
Fix the top shelf to the rack
dividers by screwing the brackets
into the top shelf like shown in the
picture.
16
Step Sixteen
Place the top shelf onto the rack
dividers using 6 dowels like shown in
the picture.
17
Step Seventeen
Fix each rack divider with the main board
using 1 x conrmat screw in each divider
like shown in the picture.
18
Step Eighteen
CONGRATULATIONS YOUR NEW DESK IS READY!
19
Step Nineteen
Install the 6U rack rails using Black M6 screws
like shown in the picture.
20
Step Twenty
Install the strengthening bar/cable management
system using 7 x M6 screws and washers like
shown in the picture.
22
Step Twenty Two
Insert the keyboard main board evenly to the pull
out rails, making sure that both glides are in the
front position. Push the main board evenly on
both sides into the rails to the end, when its in
place you will hear a click sound.
21
Step Twenty One
Install the back board onto the pull out main board
using 4 x conrmat screw
The next steps are for the pull-out option

Other StudioDesk Indoor Furnishing manuals
StudioDesk ORBIT Series User manual

StudioDesk

StudioDesk ORBIT Series User manual
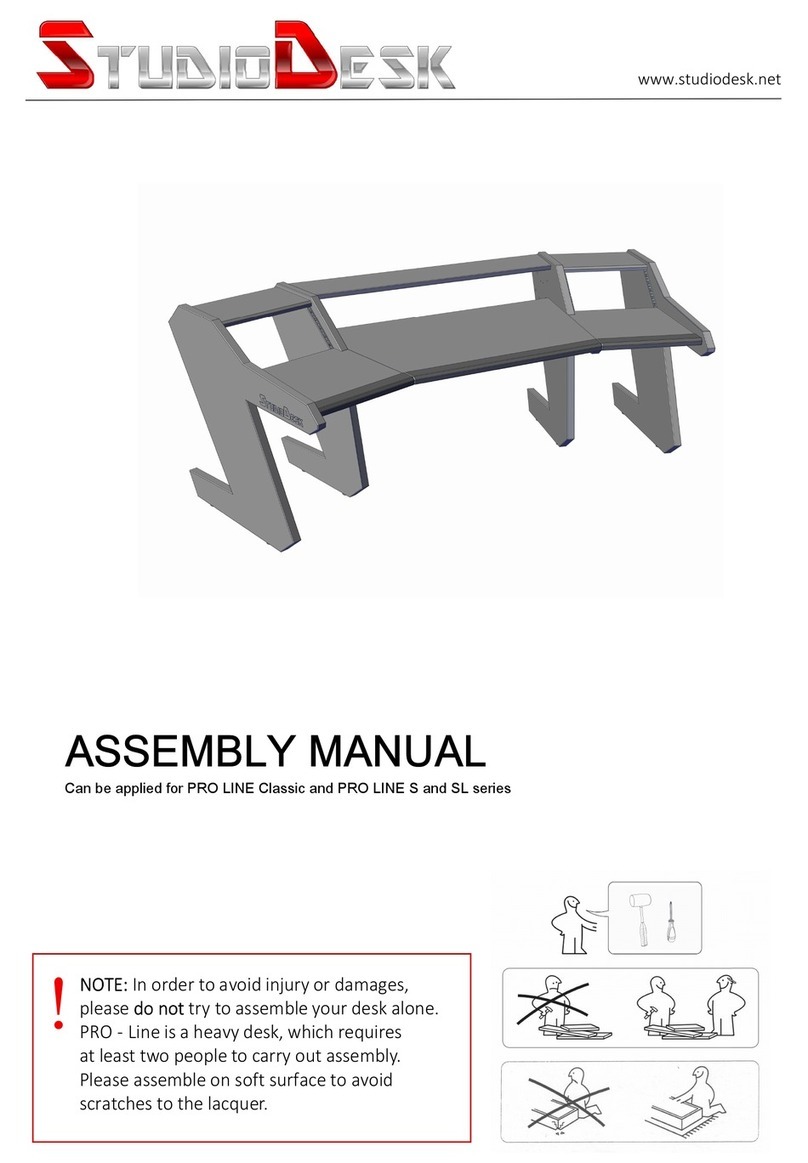
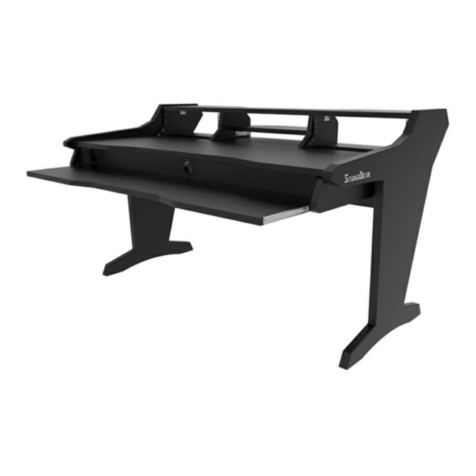
StudioDesk PRO LINE Classic series User manual
StudioDesk

StudioDesk PRO LINE Classic series User manual

StudioDesk HARMONY Series User manual

StudioDesk

StudioDesk HARMONY Series User manual
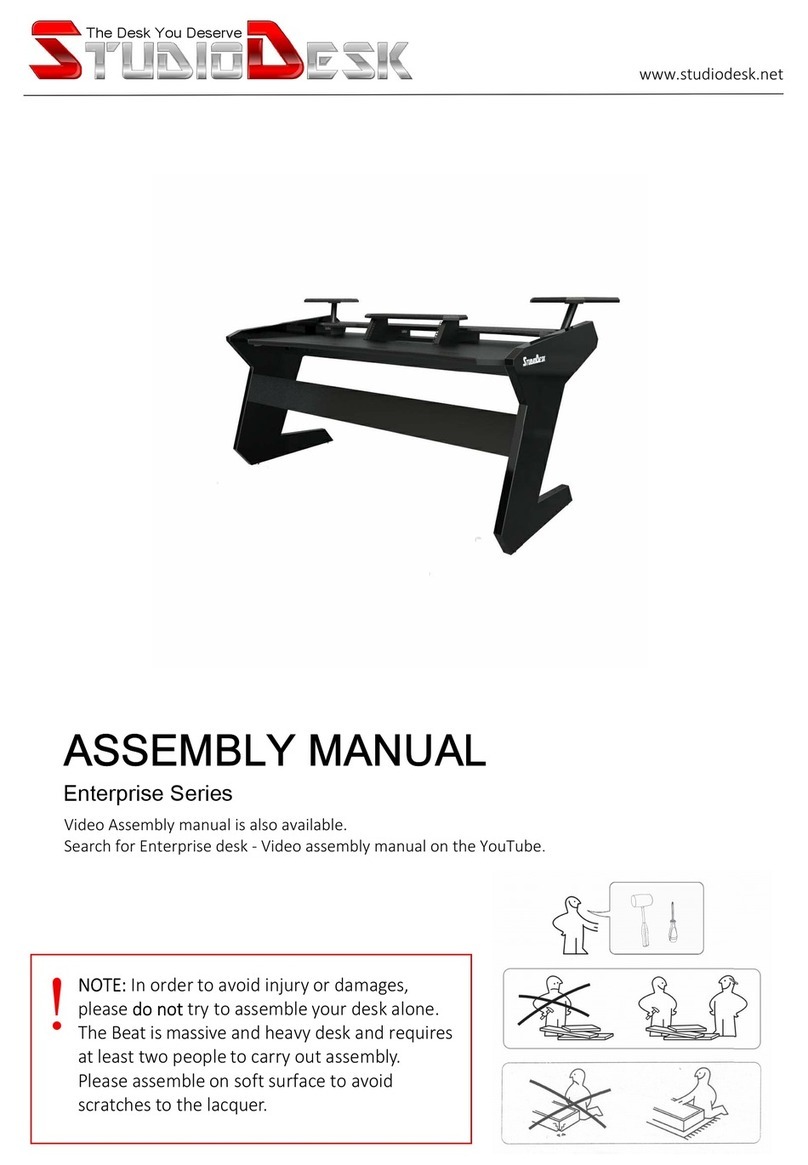
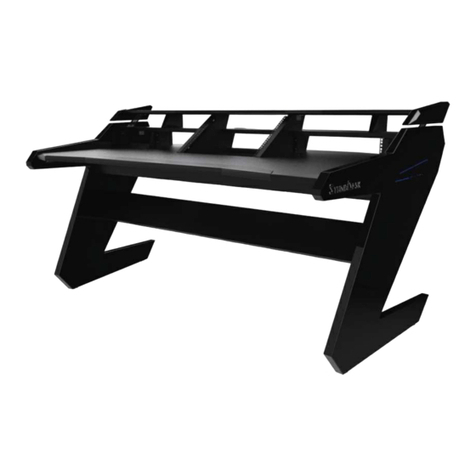
StudioDesk Enterprise Series User manual
StudioDesk

StudioDesk Enterprise Series User manual

StudioDesk Dominator Series User manual
StudioDesk

StudioDesk Dominator Series User manual

StudioDesk Virtuoso Desk User manual

StudioDesk

StudioDesk Virtuoso Desk User manual
StudioDesk PAK01 User manual

StudioDesk

StudioDesk PAK01 User manual
StudioDesk PRO LINE S User manual

StudioDesk

StudioDesk PRO LINE S User manual
StudioDesk MCDW04 User manual

StudioDesk

StudioDesk MCDW04 User manual
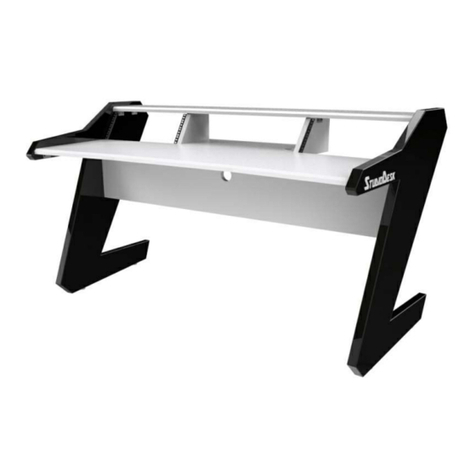
StudioDesk Music Commander User manual

StudioDesk

StudioDesk Music Commander User manual

StudioDesk Enterprise Series User manual

StudioDesk

StudioDesk Enterprise Series User manual

StudioDesk BEAT 2.0 Series User manual

StudioDesk

StudioDesk BEAT 2.0 Series User manual

StudioDesk KEYBLLWHB05 User manual

StudioDesk

StudioDesk KEYBLLWHB05 User manual

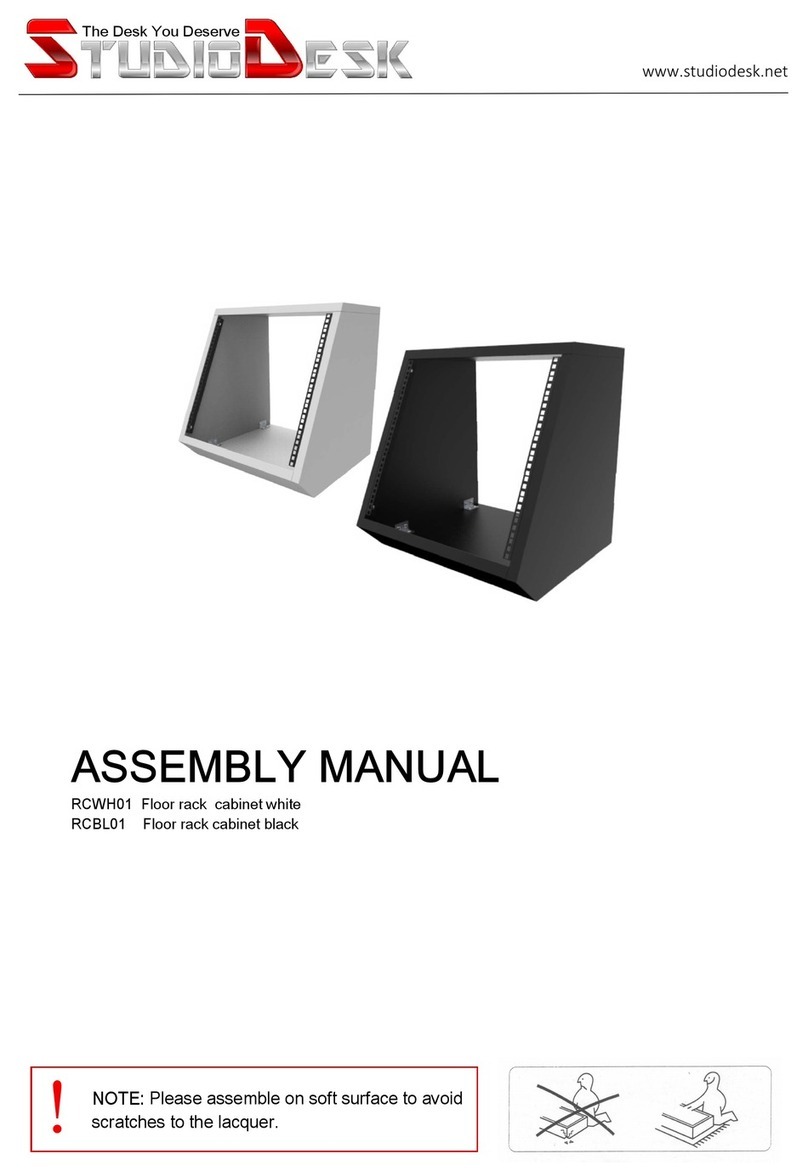
StudioDesk RCWH01 User manual

StudioDesk

StudioDesk RCWH01 User manual

Popular Indoor Furnishing manuals by other brands
Twoey inside 0080 quick start guide

Twoey inside

Twoey inside 0080 quick start guide

Safavieh Furniture FOX4216 quick start guide

Safavieh Furniture

Safavieh Furniture FOX4216 quick start guide

Steelcase Mineral Installation

Steelcase

Steelcase Mineral Installation
BLACK RED WHITE MOBI B206-SZFN Assembly instructions

BLACK RED WHITE

BLACK RED WHITE MOBI B206-SZFN Assembly instructions

U-Line H-1393 manual

U-Line

U-Line H-1393 manual

International Concepts C-613 Assembly instructions

International Concepts

International Concepts C-613 Assembly instructions

Coaster 300684FB1 Assembly instructions

Coaster

Coaster 300684FB1 Assembly instructions

Meblik Bed Chill 90 manual

Meblik

Meblik Bed Chill 90 manual

Costway HW65644 user manual

Costway

Costway HW65644 user manual
Rev-A-Shelf 4WKB Series installation instructions
Rev-A-Shelf

Rev-A-Shelf 4WKB Series installation instructions

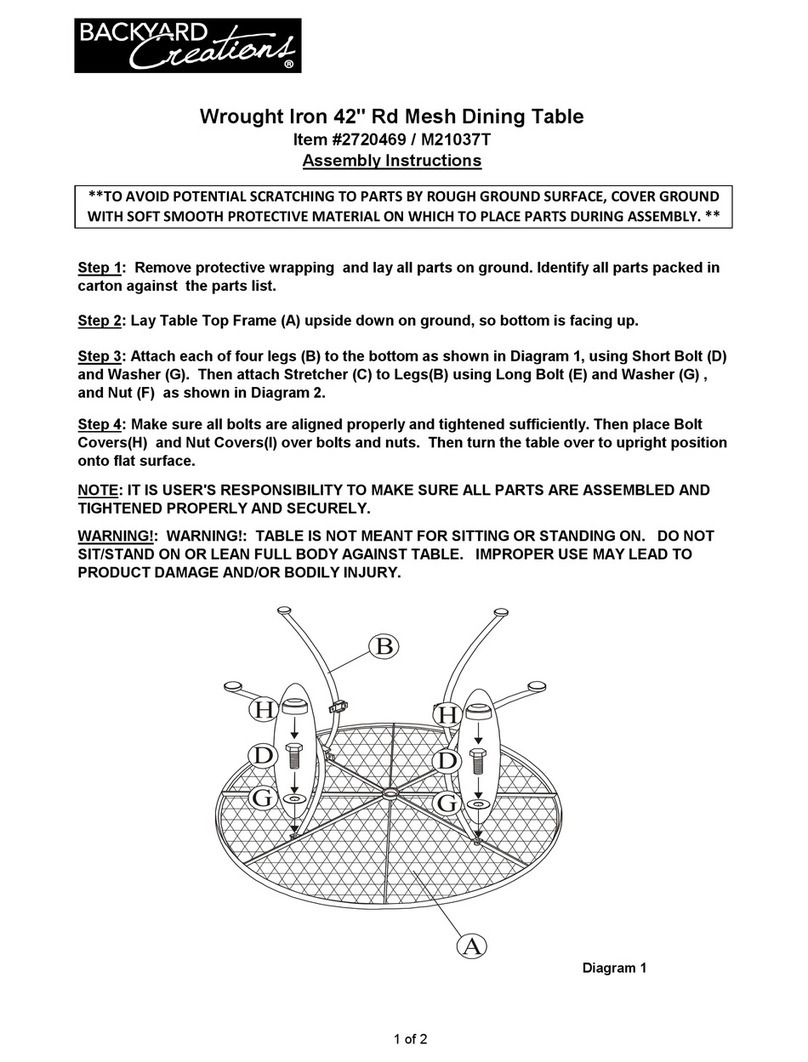
Backyard Creations Wrought Iron M21037T Assembly instructions
Backyard Creations

Backyard Creations Wrought Iron M21037T Assembly instructions

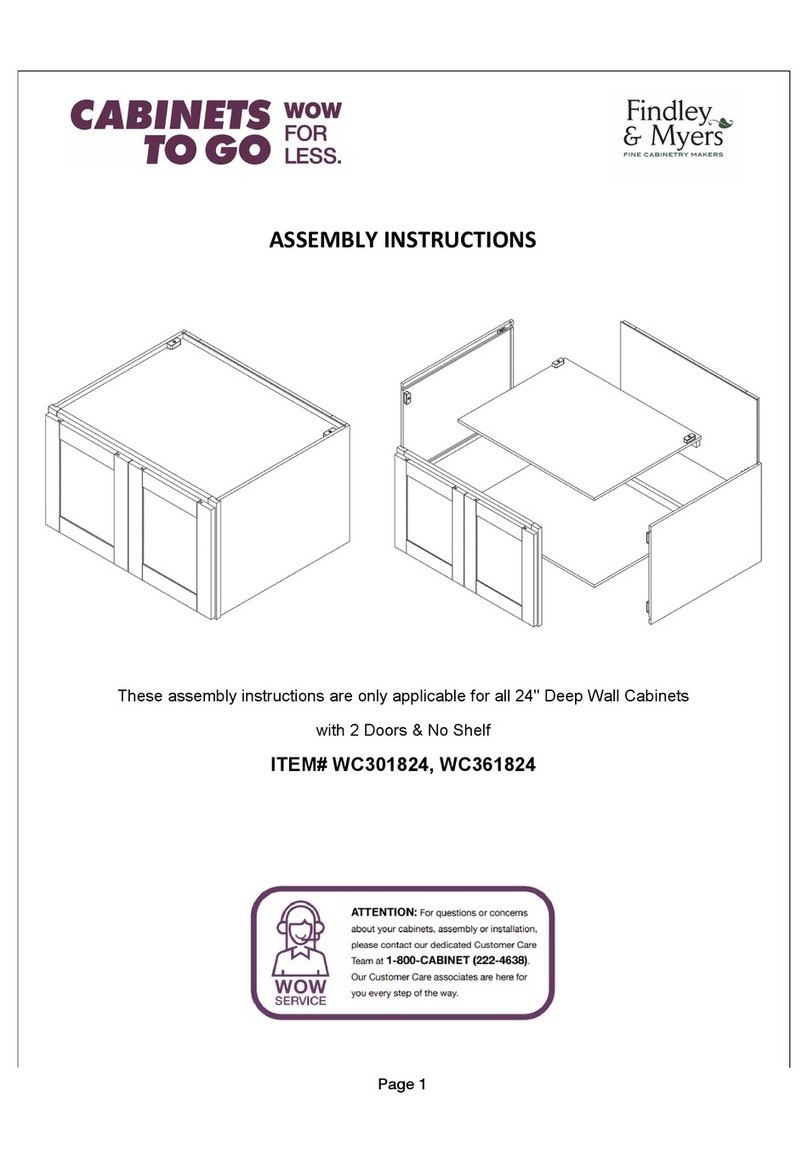
CABINETS TO GO Findley & Myers WC301824 Assembly instructions

CABINETS TO GO

CABINETS TO GO Findley & Myers WC301824 Assembly instructions
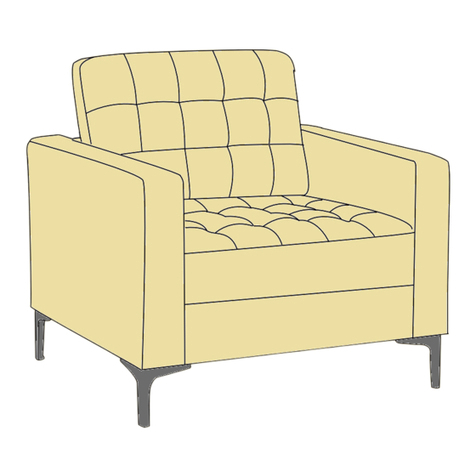
J.Burrows PRESTON 1 SEAT LOUNGE Assembly instructions
J.Burrows

J.Burrows PRESTON 1 SEAT LOUNGE Assembly instructions

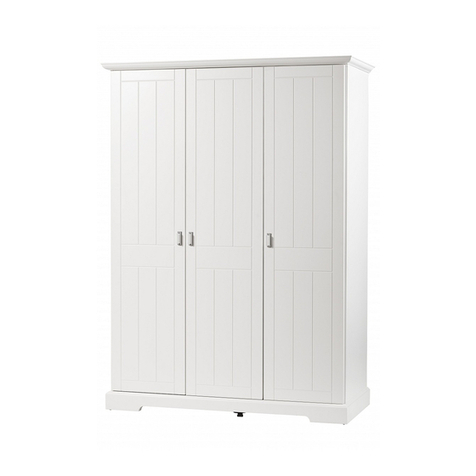
Geuther Cottage 1178S3 manual

Geuther

Geuther Cottage 1178S3 manual
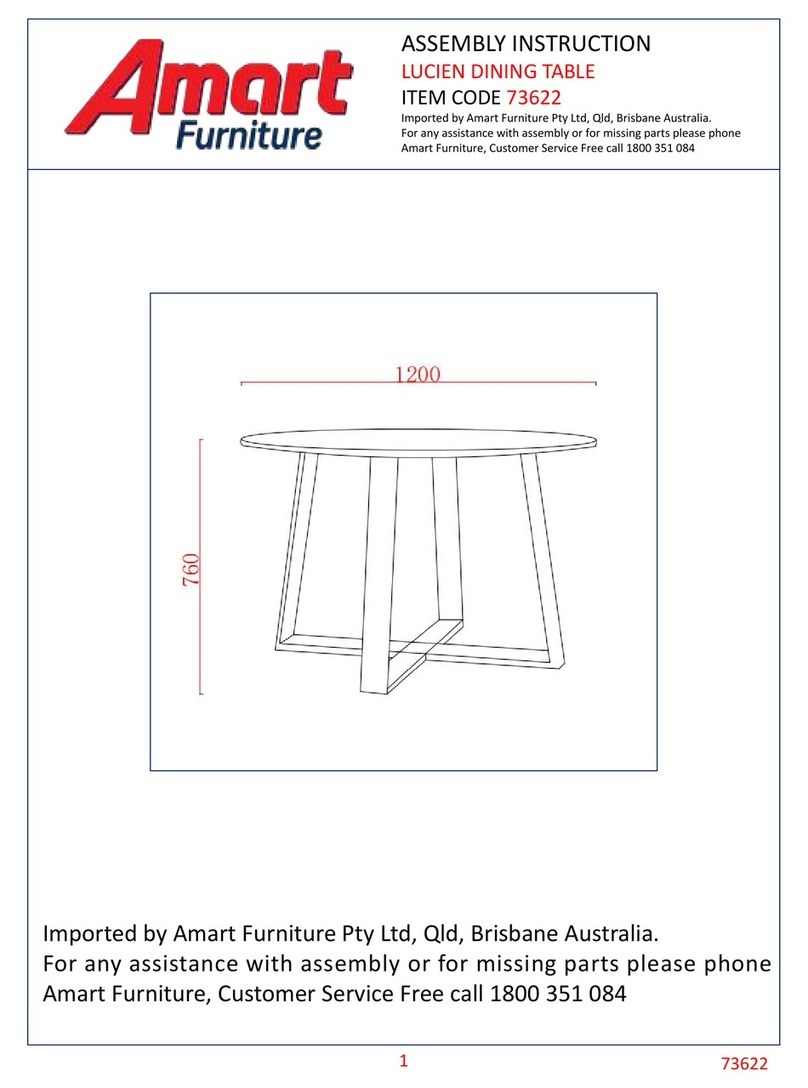
Amart Furniture LUCIEN 73622 Assembly instruction
Amart Furniture

Amart Furniture LUCIEN 73622 Assembly instruction

Bestar 60400-2163 Assembly instructions
Bestar

Bestar 60400-2163 Assembly instructions

Forte HVNR712 Assembling Instruction

Forte

Forte HVNR712 Assembling Instruction

Safavieh Furniture Abbott AMH1502A quick start guide

Safavieh Furniture

Safavieh Furniture Abbott AMH1502A quick start guide

manuals.online logo
manuals.online logoBrands
  • About & Mission
  • Contact us
  • Privacy Policy
  • Terms and Conditions

Copyright 2025 Manuals.Online. All Rights Reserved.