manuals.online logo
Brands
  1. Home
  2. •
  3. Brands
  4. •
  5. Summers
  6. •
  7. Farm Equipment
  8. •
  9. Summers VRT Renegade User manual

Summers VRT Renegade User manual

®
Operator’s
Manual
SUMMERS MANUFACTURING CO., INC.
WEB SITE: www.summersmfg.com
DEVILS LAKE, NORTH DAKOTA 58301 (701) 662-5391
8Z1065 © Summers Mfg. Co., Inc. 2019 Printed in USA
IMPORTANT
THE OPERATOR IS RESPONSIBLE
FOR ADJUSTING THE MACHINE SINCE
MACHINE DOES NOT COME “FIELD
READY” FROM FACTORY.
CAUTION
READ & UNDERSTAND OPERATOR’S
MANUAL BEFORE USING MACHINE.
VRT RENEGADE Variable Rate Tillage
See www.summersmfg.com for latest version of all Summers Operator’s Manuals.
Warranty
Summers warrants only products of its manufacture against operational failure caused by defective materials
or workmanship which occur during normal use within 36 months from the date of purchase by the end user from
Summers’ dealer.
Summers’ obligation is to replace free of charge any part of any product that Summers inspection shows to be
defective excluding transportation charges to Devils Lake, ND and return and also excluding all transportation costs
from Summers’ dealer to the dealer’s customer and all other costs such as removal and installation expense.
Summers shall not be liable for loss of time, manufacturing costs, labor, material, loss of prots, consequential
damages, direct or indirect, because of defective products whether due to rights arising under the contract of sale or
independently thereof, and whether or not such claim is based on contract, tort or warranty.
Written permission for any warranty claim return must be rst obtained from authorized Summers’ personnel.
All returns must be accompanied with a complete written explanation of claimed defects and the circumstances of
operational failure.
Written warranty for all component parts used in the manufacture of Summers products is available upon request.
Warranty of such component parts will be determined by said component manufacturer upon their inspection of the
claimed defective part.
This express warranty is the sole warranty of Summers. There are no warranties, which extend beyond the war-
ranty herein expressly set forth. The sales for products of Summers under any other warranty or guarantee express
or implied is not authorized. This warranty voids all previous issues.
SUMMERS MANUFACTURING CO. INC.
DEVILS LAKE, NORTH DAKOTA 58301
1/16
Publish Date 6/11/2019
(located by the hitch piece)
GENERAL INFORMATION
This book is composed of four basic sections: Safety, Operation and Maintenance, and Parts.
The Operation Section provides information for the proper operation and maintenance of your Summers
VRT RENEGADE. A complete parts breakdown is provided in the Parts Section.
Parts are referenced in each drawing with the Summers Manufacturing Part Number. Use this Part Number when or-
dering replacement parts from your Summers dealer. See back section of manual for description of each Part Number.
Reference to “Right” and “Left” in this book is determined when the machine is viewed from the rear.
It is the policy of this company to improve its products whenever possible and practical to do so. We reserve the right to
make changes or improvements in the design or construction of parts at any time without incurring the obligation to install
such changes on products previously delivered.
Summers Manufacturing Company, Inc. strongly recommends that each VRT RENEGADE Operator READ and
UNDERSTAND the Operator’s Manual before using the machine. In addition, this Operator’s Manual should be
REVIEWED at least ANNUALLY thereafter.
SECTION CONTENTS
Section 1: SAFETY
Section 2: OPERATION, MAINTENANCE AND SPECIFICATIONS
Section 3: PARTS
Section 4: PART NUMBERS & DESCRIPTIONS
OWNER REGISTER
Name ________________________________ Size _____________________________________
Address ______________________________ Serial Number _____________________________
City __________________________________
State/Prov. ____________________________ Date Purchased____________________________
Mail Code _____________________________ Dealer ___________________________________
i
Scan code to the right for the latest version of all Summers Operator’s Manuals.
TABLE OF CONTENTS
SECTION 1- SAFETY
SAFETY- ALERT SYMBOL & GENERAL SAFETY PRACTICES ........................................................................................ [1-1]
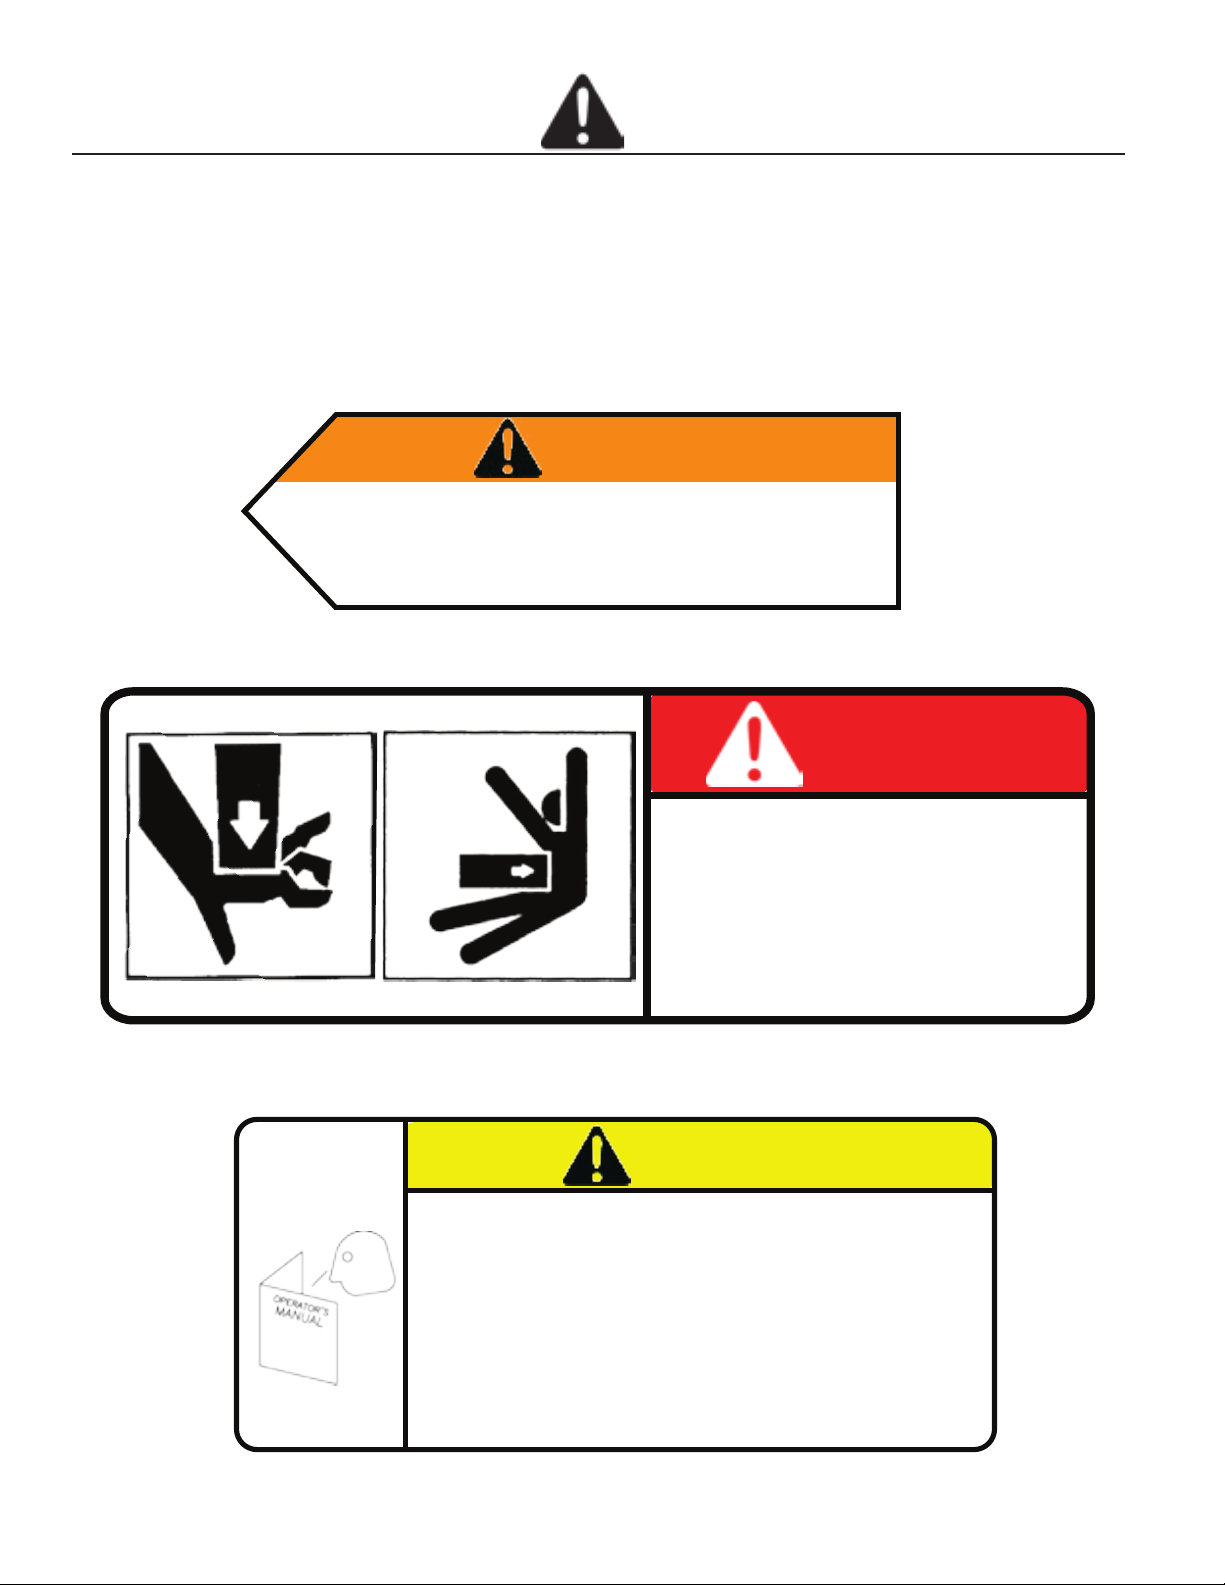
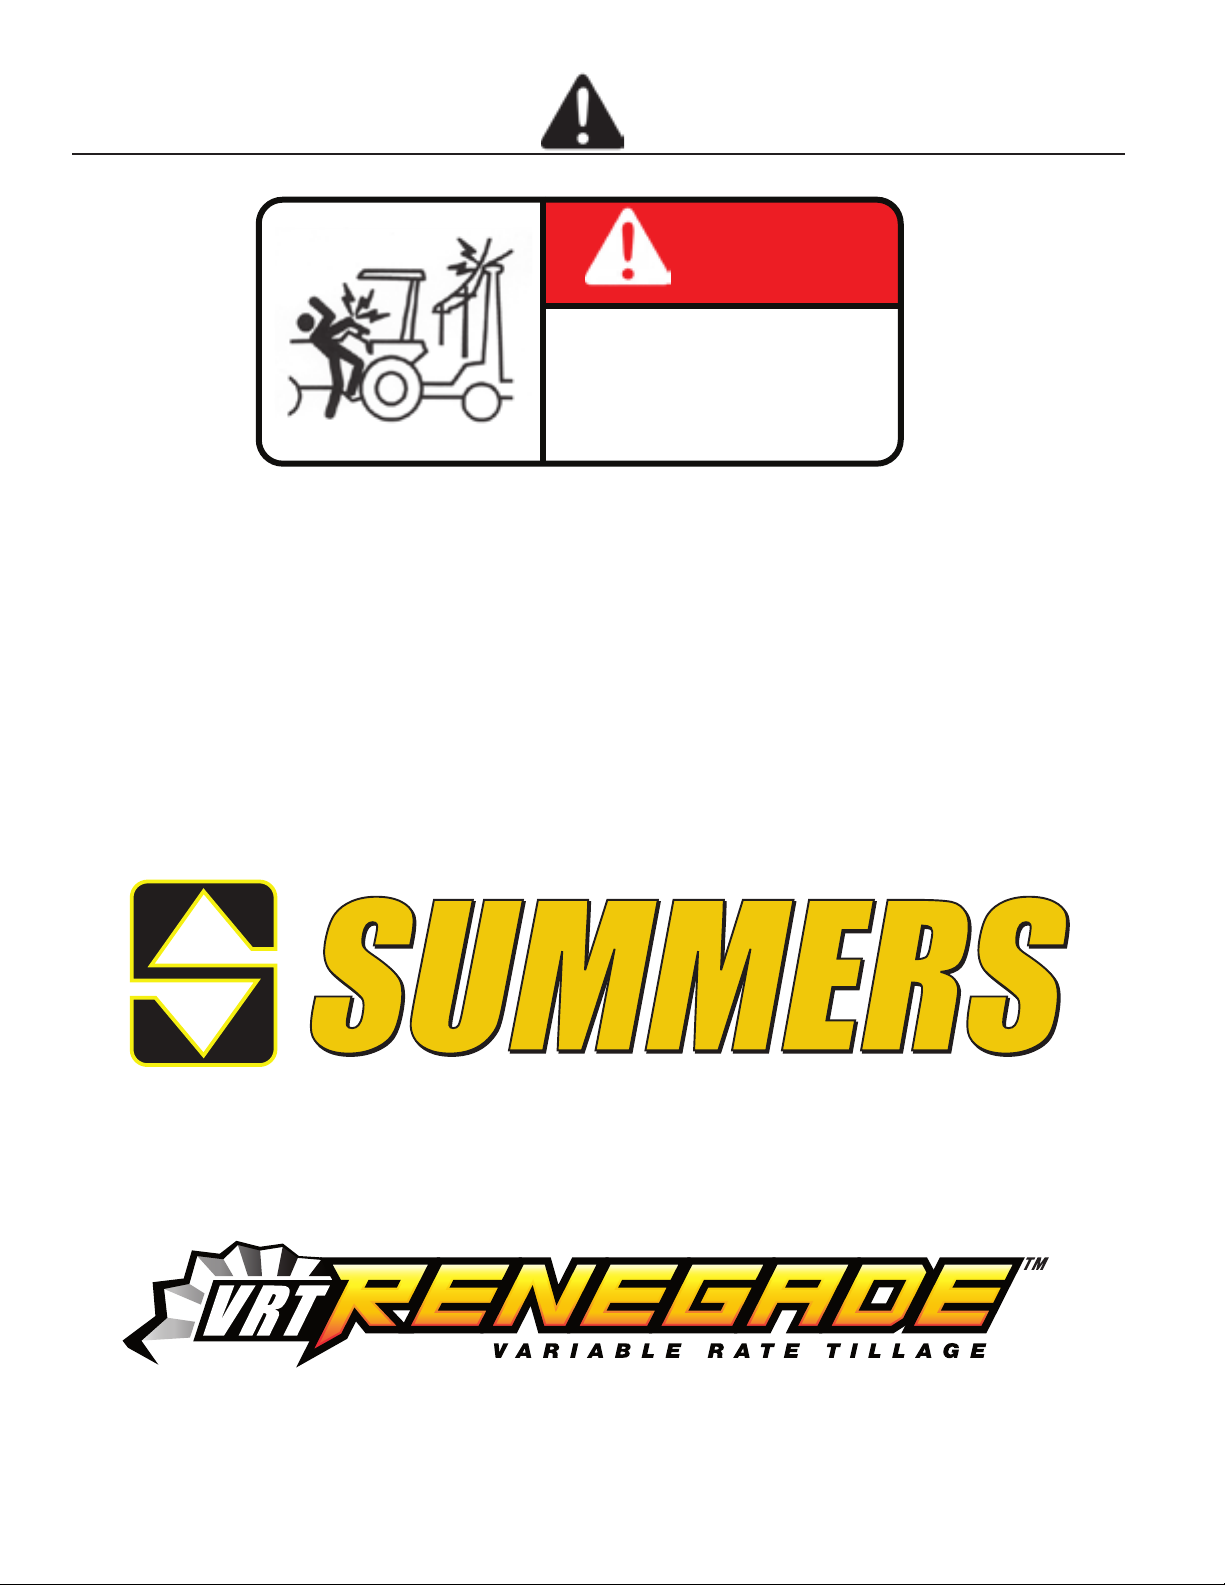
SAFETY DECALS .............................................................................................................................................. [1-2]-[1-6]
SECTION 2 – OPERATION & MAINTENANCE
START-UP ........................................................................................................................................................ [2-1]-[2-2]
I-PAD SETUP ................................................................................................................................................... [2-3]-[2-4]
ICONTROL APP BUTTON MAP ................................................................................................................................... [2-5]
USING THE ICONTROL APP ............................................................................................................................. [2-6]-[2-10]
TRANSPORTING ...................................................................................................................................................... [2-11]
UNHOOKING VRT RENEGADE ................................................................................................................................ [2-11]
STORAGE ................................................................................................................................................................ [2-11]
MAINTENANCE ....................................................................................................................................................... [2-12]
BOLT TORQUE SPECIFICATION ................................................................................................................................ [2-12]
TROUBLESHOOTING ..................................................................................................................................... [2-13]-[2-15]
DIMENSIONS ........................................................................................................................................................... [2-15]
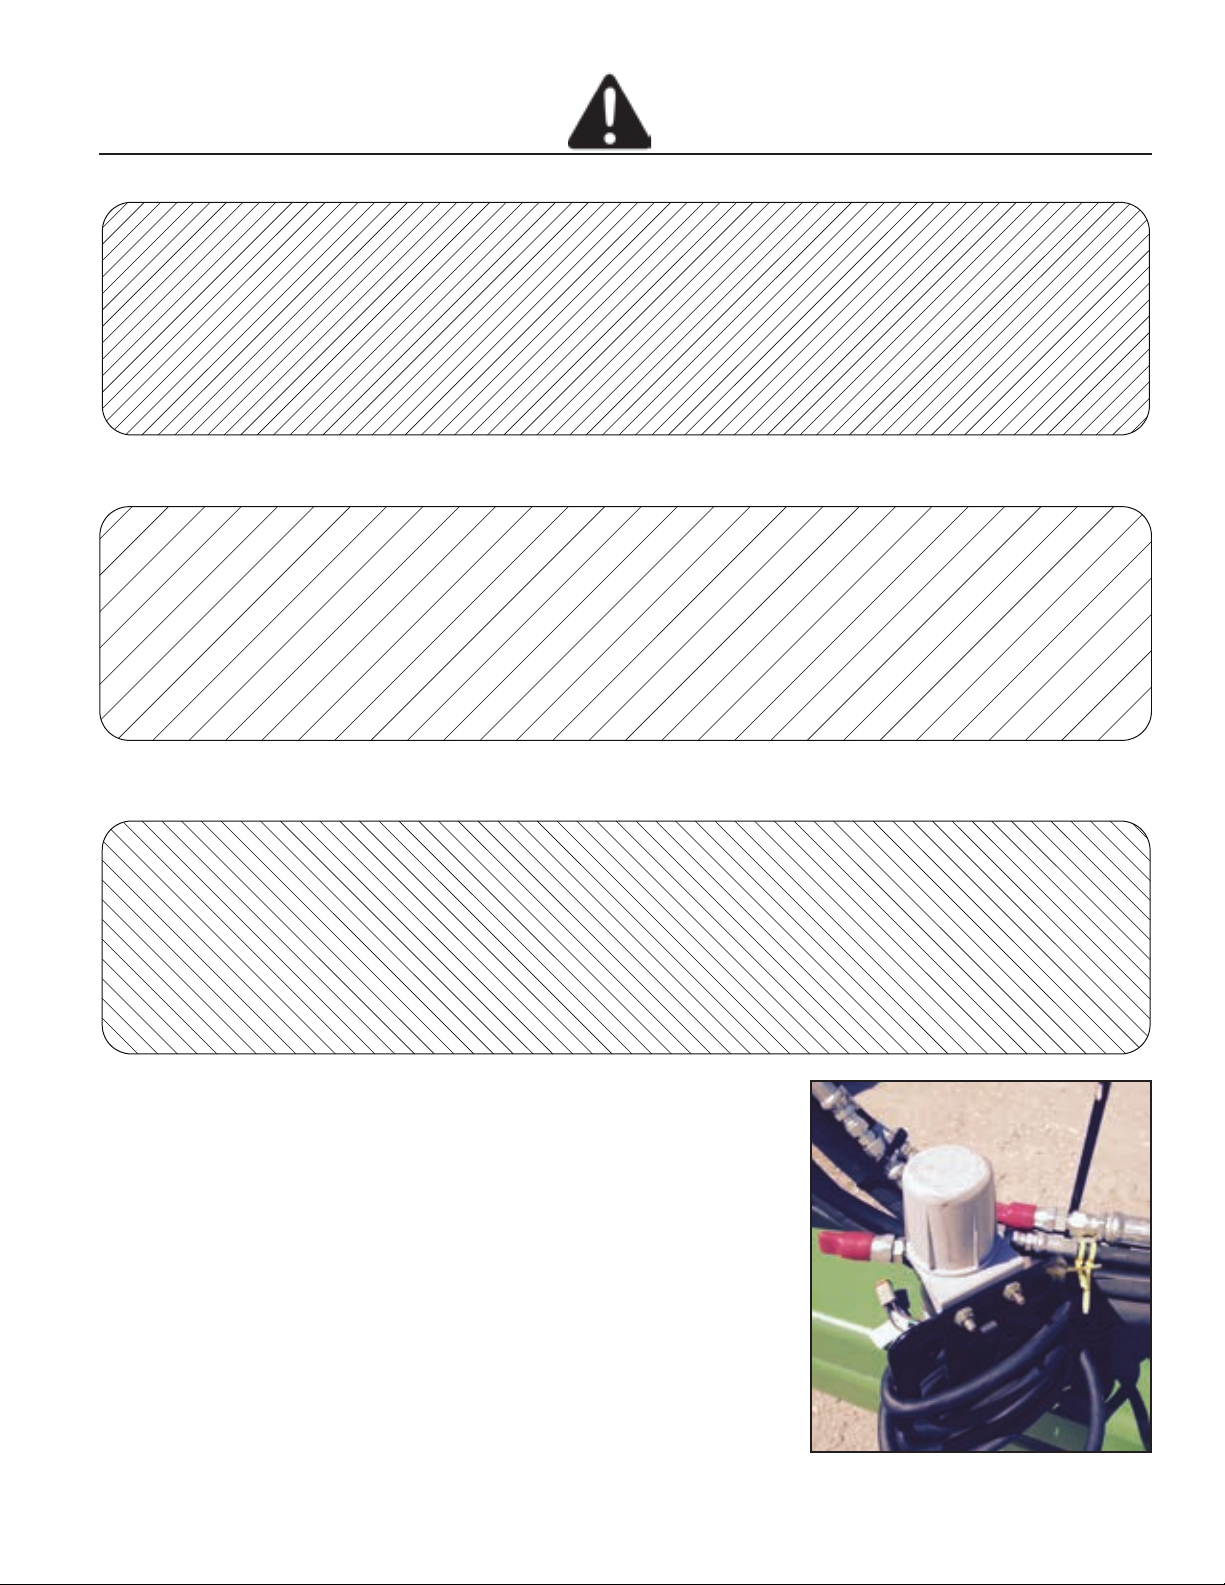
SENSOR REPLACEMENT .......................................................................................................................................... [2-16]
SECTION 3 - PARTS
25’ - 30’ CENTER TRANSPORT ...................................................................................................... [3-1]-[3-2]
25’ - 30’ CENTER .......................................................................................................................... [3-3]-[3-4]
25’ - 30’ WINGS ............................................................................................................................ [3-5]-[3-6]
25’ – 30’ HITCH ............................................................................................................................ [3-7]-[3-8]
25’ – 30’ SENSORS ...................................................................................................................... [3-9]-[3-10]
25’ – 30’ LIGHTING ................................................................................................................... [3-11]-[3-12]
35’ - 40’ CENTER TRANSPORT .................................................................................................. [3-13]-[3-14]
35’ - 40’ CENTER ..................................................................................................................... [3-15]-[3-16]
35’ - 40’ HITCH ......................................................................................................................... [3-17]-[3-18]
35’ – 40’ WINGS ....................................................................................................................... [3-19]-[3-20]
35’ – 40’ SENSORS ................................................................................................................... [3-21]-[3-22]
35’ – 40’ LIGHTING ................................................................................................................... [3-23]-[3-24]
25’ – 40’ DECALS ..................................................................................................................... [3-25]-[3-26]
GANG/TRIP/HUB ASSEMBLIES .................................................................................................. [3-27]-[3-28]
HYDRAULIC BLOCK ASSEMBLY ................................................................................................ [3-29]-[3-30]
25’ – 30’ MAIN LIFT HYDRAULIC CIRCUIT .......................................................................................... [3-31]
25’ – 30’ BLADE ANGLE HYDRAULIC CIRCUIT .................................................................................... [3-32]
25’ – 30’ BASKET DOWNPRESSURE HYDRAULIC CIRCUIT ................................................................... [3-33]
25’ – 30’ WING FOLD/DOWNPRESSURE HYDRAULIC CIRCUIT ............................................................. [3-34]
25’ – 30’ GAUGE WHEEL HYDRAULIC CIRCUIT ................................................................................... [3-35]
25’ – 30’ HITCH HYDRAULIC CIRCUIT ................................................................................................. [3-36]
25’ – 30’ AUXILIARY BLOCK HYDRAULIC CIRCUIT ............................................................................. [3-37]
35’ – 40’ MAIN LIFT HYDRAULIC CIRCUIT .......................................................................................... [3-38]
35’ – 40’ BLADE ANGLE HYDRAULIC CIRCUIT .................................................................................... [3-39]
35’ BASKET DOWNPRESSURE HYDRAULIC CIRCUIT ............................................................................ [3-40]
40’ BASKET DOWNPRESSURE HYDRAULIC CIRCUIT ............................................................................ [3-41]
35’ – 40’ WING FOLD/DOWNPRESSURE HYDRAULIC CIRCUIT ............................................................. [3-42]
35’ – 40’ GAUGE WHEEL HYDRAULIC CIRCUIT ................................................................................... [3-43]
35’ – 40’ HITCH HYDRAULIC CIRCUIT ................................................................................................. [3-44]
35’ – 40’ AUXILIARY BLOCK HYDRAULIC CIRCUIT ............................................................................. [3-45]
MOUNTED HARROW ASSEMBLY ............................................................................................... [3-47]-[3-48]
ROLLING BASKET ASSEMBLY ................................................................................................... [3-49]-[3-50]
HARROW/BASKET ARM ASSEMBLY .......................................................................................... [3-51]-[3-52]
HUBS/AXLES ............................................................................................................................ [3-53]-[3-54]
ACRE METER ....................................................................................................................................... [3-55]
SECTION 4 – PART NUMBER AND DESCRIPTION
PARTS NUMBER AND DESCRIPTIONS ................................................................................................................ [4-1]-[4-3]
ii
SAFETY
1-1
SAFETY-ALERT SYMBOL
This symbol is used to denote possible danger and
care should be taken to prevent bodily injury.
This symbol means:
ATTENTION! BECOME ALERT!
YOUR SAFETY IS INVOLVED!
Denition of each Signal Word used in conjunction with the Safety-Alert symbol.
indicates an imminently hazardous situation which, if not avoided, will result in death or
serious injury. This signal word is to limited to the most extreme situations.
indicates a potentially hazardous situation which, if not avoided, could result in death or
serious injury.
indicates a potentially hazardous situation which, if not avoided, may result in minor
or moderate injury. It may also be used to alert against unsafe practices.
GENERAL SAFETY PRACTICES
1. READ AND UNDERSTAND Operator’s Manual before using machine. Review at least annually thereafter.
2. VERIFY all safety devices and shields are in place before using machine.
3. KEEP hands, feet, hair and clothing away from moving parts.
4. STOP engine, place all controls in neutral, set parking brake, remove ignition key and wait for all mov-
ing parts to stop before servicing, adjusting or maintaining.
5. BE CAREFUL when working around high pressure hydraulic system.
6. DO NOT ALLOW RIDERS.
SAFETY DURING TRANSPORT
1. ONLY TOW at a safe speed. Use caution when making corners and meeting tra󰀩c.
2. USE safety chain between tractor drawbar and implement hitch when transporting on public roads.
3. ALWAYS use transport locks when transporting on public roads.
4. COMPLY with local lighting, marking and oversize regulations when transporting on highways.
5. FREQUENTLY check for tra󰀩c from rear, especially during turns.
DANGER
WARNING
CAUTION
WARNING
REMOVE TRANSPORT LOCK(S) BEFORE LOWERING MACHINE.
IF LOCK(S) DO NOT REMOVE FREELY, INSURE THAT
CYLINDERS ARE COMPLETELY FILLED WITH HYDRAULIC
FLUID AND ARE SUPPORTING THE LOAD TO BE LOWERED.
8Z0075
CAUTION
1. Read and understand Operator’s Manual before using machine.
2. For Sprayers:
a. Read and follow chemical manufacturers’ WARNINGS, instructions and procedures before
using.
b. Use recommended personal protective equipment to reduce or eliminate chemical contact.
c. Never run pump dry.
3. Verify all safety devices and shields are in place before using machine.
4. Keep hands, feet, hair and clothing away from moving parts.
5. Stop engine, place all controls in neutral, set parking brakes, remove ignition key and wait for
all moving parts to stop before servicing, adjusting, maintaining or unplugging.
6. Be careful when working around high pressure hydraulic system.
7. Do not allow riders.
8. Check all wheel bolts DAILY for tightness.
9. Refer to Operator’s Manual for periodic and annual maintenance.
10. For Towed Implements, DO NOT EXCEED 20 MPH.
8Z0276
FRAME PINCH POINT HAZARD
KEEP AWAY
To prevent serious injury or death from crushing:
• Stay away from frame hinge area when folding
wings.
• Keep others away.
• Do not fold wings when bystanders are present.
DANGER
8Z0087
SAFETY
1-2
SAFETY DECALS
A. KEEP SAFETY DECALS CLEAN.
B. REPLACE missing or unreadable decals. New decals are available from your Summers dealer by ordering
correct part number (PN) located on decal.
C. Locations shown on Page 6.
1. TRANSPORT LOCK WARNING DECAL (PN 8Z0075)
2. PINCH POINT DECAL (PN 8Z0087)
3. GENERAL CAUTION DECAL (PN 8Z0276)
IMPORTANT
TO REPHASE CYLINDERS, RAISE
MACHINE AND MAINTAIN HYDRAULIC
PRESSURE TEN SECONDS AFTER
CYLINDERS ARE FULLY EXTENDED.
QUICKLY RETRACT CYLINDERS AT
LEAST 1/2”. REPHASING SHOULD BE
DONE EVERY HOUR OF OPERATION TO
MAINTAIN UNIFORM TILLAGE DEPTH.
8Z0340
TO AVOID INJURY OR DEATH
STAND CLEAR OF MACHINE
WHEN WINGS ARE BEING
RAISED AND LOWERED.
MECHANICAL OR HYDRAU-
LIC FAILURE CAN ALLOW
WINGS TO FALL RAPIDLY.
8Z0344
DANGER
SAFETY
1-3
4. REPHASING CYLINDERS DECAL (PN 8Z0340)
5. INSTALLING CYLINDER LOCKS DECAL (PN 8Z0342)
6. STAYING CLEAR OF WINGS DECAL (PN 8Z0344)
8Z0346
TO AVOID INJURY OR DEATH
DO NOT CONTACT
ELECTRICAL LINES.
DANGER
®
SAFETY
1-4
7. ELECTROCUTION DANGER DECAL (PN 8Z0346)
8. SUMMERS LOGO 8Z0202 (3.5” HIGH) AND 8Z0204 (5.5” HIGH)
9. VRT RENEGADE DECAL 8Z2550 3” HIGH AND 8Z2555 5.5” HIGH
SAFETY
1-5
11. AMBER REFLECTOR (PN 8Z0800)
12. RED-ORANGE REFLECTOR (PN 8Z0805)
13. RED REFLECTOR (PN 8Z0810)
Safety Light Operation
The Summers Safety Light Kit is equipped with a 7 pin
connector which meets SAE J560 specication. To pro-
tect 7 pin connector, store in dust cap (8K8067) when not
attached to towing vehicle.
SAFETY
1-6
OPERATION & MAINTENANCE
CONNECTING TO THE TRACTOR
The Summers VRT Renegade is equipped
with and Articulating Ball hitch. This hitch is
designed to eliminate “slop” between the
implement hitch and the tractor drawbar.
25’ and 30’ machines are supplied with a
Category 4 hitch and must be used with a 2”
diameter hitch pin. 35’ and 40’ machines
are supplied with a Category 5 hitch and
must be used with a 2-3/4” diameter hitch
pin. A reducing bushing is also supplied to
adapt to a Category 4 drawbar.
The VRT Renegade has 3 hydraulic circuits,
Lift/Depth Control, Wing
Fold/Downpressure, and Auxiliary. After
connecting the hoses to the tractor, the flow
controls should be set as follow:
Green: Main Lift/Depth Control. Extend –
100% flow, Retract –30%-50% flow.
Red: Auxiliary. MUST BE IN CONSTANT
FLOW, 60% flow.
Gold: Wing Fold/Downpressure. MUST
BE IN CONSTANT FLOW, 60% flow.
Alternatively, wing circuit can be run in
Float.
ELECTRICAL HOOKUP
The Summers Safety Light Kit is equipped
with a 7 pin connector which meets SAE
J560 specification. To protect 7 pin
connector, store in dust cap when not
attached to towing vehicle.
Connect the IBBC connector (ISO Plug) to
the tractor. The VRT Renegade does not
interface with the tractor’s CAN network, but
utilizes the connector for power and ground.
2-1
OPERATION & MAINTENANCE
BEFORE INITIAL OPERATION
Remove the shipping locks from the center
section Rolling Baskets, shown below.
Failure to remove shipping locks may result
in damage to the machine.
REMOVE SAFETY LOCKS
Remove wing and lift cylinder locks.
Wing Locks
Lift Cylinder Locks
Open Hydraulic Hitch Ball Valve and
remove the cylinder stops from the hitch
cylinders.
Ball Valve
Cylinder Stops
Remove rear jack and place into storage
location.
Rear Jack Down
Rear Jack Stored
2-2
OPERATION & MAINTENANCE
IPAD SETUP
Note: The minimum system requirements
for IOS version 11.
The IControl App must be downloaded from
Apple App Store. Once in the App Store,
search for “Summers IControl”.
Choose “get” once you find the App. NOTE:
You will need to log in with a valid Apple ID
in order to “get” the App.
Note: The IControl App will show
“Disconnected” unless it is connected to the
VRT Rengade’s WIFI network.
With power supplied to the machine (tractor
key in “On” or “Accessory” position) connect
the IPad to the VRT Renegade’s WIFI
network. The network name will be the
same as the serial number printed on the
Gateway 300, in this example “summers-
S00062”. The password for the network is
the same as the network name. Once
connected to the VRT Renegade’s network,
it will show up under the WIFI section.
2-3
OPERATION & MAINTENANCE
STARTING THE ICONTROL APP
To start the app, tap the icon shown.
The app should open to one of two screens.
If the machine is in Transport Mode, the
screen should appear as shown below.
If in Field Mode, the screen should appear
as shown here.
To unfold the wings, tap the “Transition to
Field Mode” button, and follow the on-
screen instructions.
Note: If the machine is folded up, but the
Field Mode home screen is displayed, it
may be necessary to temporarily increase
the Wing Downpressure in order to unfold
the wings. See the “WING PRESSURE”
section for more information.
2-4
OPERATION & MAINTENANCE
2-5
OPERATION & MAINTENANCE
REPHASING SEQUENCE
It is recommended to run a Rephasing
Sequence at the start of, and occasionally
throughout the day. To conduct a machine
rephase, tap the Settings button on the
Home Screen. From the Settings page, tap
“Rephase” and follow the on-screen
instructions.
CALIBRATING THE VRT RENEGADE
Any time the machine is connected to a
different tractor, or repairs are made, a
Calibration will need to be performed. To
begin the Calibration process, go to the
Settings page, and tap “Calibrate”. Follow
the on-screen instructions.
Note: It is recommended to complete a
Rephasing Sequence prior to Calibrating.
SELECTING BLADE TYPE
The VRT Renegade is designed to be able
to operate with different blade types. If the
machine is outfitted with Coulter Blades,
selecting this option will limit the blade angle
to 0° to 6°. This is done to protect the
blades from damage due to excessive side
draft. Likewise, if the machine is outfitted
with Disk Blades, selecting this option will
limit blade angle to 6° to 19°. Running less
than 6° on a disk blade can cause the back
side of the blade to hold up the machine, as
well as cause compaction. If the machine
has Samurai™ Blades, it can be operated at
any angle from 0° to 19°.
To select the blade type, go to the Settings
page, and select the front and rear blade
type, shown below.
2-6
OPERATION & MAINTENANCE
HITCH ADJUSTMENTS
To make adjustments to the Hydraulic Hitch,
tap the “Hitch” button at the bottom of the
Home Screen.
From the Hitch screen, select either “Float”
or “Fixed”. The “Float” setting will allow the
hitch to float for better contouring ability.
The “Fixed” setting allows for weight
transfer fore and aft. Increasing the Set
Point tilts the machine rearward, decreasing
the Set Point tilts the machine forward.
NOTE: Hitch will lock in middle position
when machine is raised and hitch is set to
“Float”.
GAUGE WHEEL ADJUSTMENTS
To make adjustments to the Gauge Wheels,
tap the “Gauge Wheels” button at the
bottom of the Home Screen.
The Gauge Wheels can be used to level out
the machine from side-to-side, as well as
prevent “gouging” when crossing a ditch.
Increasing the Set Point lowers the Gauge
Wheels, decreasing the Set Point Raises
them.
MAIN LIFT/DEPTH CONTROL
The Main Lift of the machine is controlled by
the operator through the tractor hydraulic
remote. The IControl App is only used to
adjust the depth setting. The operator must
manually raise and lower the machine.
To change the tillage depth settings, tap the
“Main Lift” button at the bottom of the Home
Screen.
The current position of the wheels will be
shown, as well as the Set Point. The
current position will show “Lifted” when
machine is completely raised. A negative
Set Point indicates that the target for the lift
tires is below the bottom of the blades
(holding machine out of the ground).
2-7
OPERATION & MAINTENANCE
A positive Set Point indicates that the target
for the lift tires is above the bottom of the
blades. Increasing this Set Point will result
in deeper tillage depth.
WING PRESSURE
The folding and unfolding of the wings on
the VRT Renegade is controlled by the
operator through the tractor hydraulic
remote. The IControl App is only used to
adjust the amount of downpressure applied
to the wings.
To make adjustments to the Wing
Downpressure, tap the “Wings” button at the
bottom of the Home Screen.
The current hydraulic pressure, as well as
the Set Point are displayed. Increasing the
Set Point will transfer more weight from the
center frame of the machine to the wings.
If no wing downpressure is desired, the
operator may place the tractor hydraulic
remote into “Float”.
Important: The wing circuit must be run
in either constant flow or float. Failure to
do so may result in damage to the
machine.
BLADE ANGLE
To make adjustments to the Blade Angle,
tap the “Blade Angle” button at the bottom
of the Home Screen.
The current angle and the target Set Point
are displayed for both the front and rear
blades. Front and Rear blades can be
adjusted independently. The range of
adjustment available to the operator will be
dependent on the Blade Type selection
made in the Settings page.
ROLLING BASKETS
To make adjustments to the Rolling
Baskets, tap the “Rear Baskets” button at
the bottom of the Home Screen.
2-8
OPERATION & MAINTENANCE
From the Rear Baskets screen, select
“Raise”, “Float”, or “Fixed”. The Raise
setting will lift the Baskets off the ground in
the instance that the operator wishes to
utilize only the harrows. The Float setting
will allow the Baskets to “float” with no
additional downpressure. The Fixed setting
applies hydraulic downpressure. Increasing
this Set Point increased the pressure on the
baskets. When the Fixed setting is
selected, the current hydraulic
downpressure will be displayed, as well as
the target pressure.
PRESETS
The IControl App allows the operator to
create presets for machine. These presets
provide the ability to quickly change
machine settings for different conditions.
Presets are displayed at the top of the
Home Screen.
Once the machine has been configured to
achieve satisfactory results, a preset can be
created by tapping the “Add +” button at the
top of the Home Screen. A custom name
can then be input for the preset. The
current machine configuration will then be
saved.
By pressing and holding on an existing
Preset, the operator can rename or
overwrite the preset.
Note: If the operator wishes to “update” a
current Preset after making minor
adjustments, pressing and holding the
Preset, and tapping “overwrite” will allow
keeping the same name.
To activate a Preset, tap the desired Preset
button at the top of the Home Screen.
The operator can then view all settings in
the Preset, and then either tap “Back”, or
“Load”. “Back” returns to the Home Screen,
and “Load” will activate the Preset.
LOCKOUT MODE
To prevent accidental changes to machine
settings, as well as unexpected moving
parts if someone is near the machine, the
operator should use the “Lockout” feature
any time the machine is “active” but sitting
in one place; ex. Troubleshooting, non-
operator passenger in cab, etc.
2-9
OPERATION & MAINTENANCE
To activate Lockout Mode, tap the Lockout
button at the top of the screen.
2-10

Other manuals for VRT Renegade

1

Other Summers Farm Equipment manuals

Summers RP6700 User manual

Summers

Summers RP6700 User manual

Summers SW4350 User manual

Summers

Summers SW4350 User manual

Summers DT9530 User manual

Summers

Summers DT9530 User manual

Summers SFX1630 User manual

Summers

Summers SFX1630 User manual

Popular Farm Equipment manuals by other brands

Comfort WP-25 quick start guide

Comfort

Comfort WP-25 quick start guide

MacDon R85 Operator's manual

MacDon

MacDon R85 Operator's manual

Hagie 204 Operator's manual

Hagie

Hagie 204 Operator's manual

Buhler 480 Assembly instructions

Buhler

Buhler 480 Assembly instructions

Harvest TEC 444T installation manual

Harvest TEC

Harvest TEC 444T installation manual

Wiesenfield WI-CF-100 user manual

Wiesenfield

Wiesenfield WI-CF-100 user manual

Quicke Q 640 instruction manual

Quicke

Quicke Q 640 instruction manual

PremierOne 70550 operating instructions

PremierOne

PremierOne 70550 operating instructions

horsch Terrano 3,5 FX operating instructions

horsch

horsch Terrano 3,5 FX operating instructions

Case IH AXIAL-FLOW 7230 Service manual

Case IH

Case IH AXIAL-FLOW 7230 Service manual

Westeel Magnum Series Operator and installation manual

Westeel

Westeel Magnum Series Operator and installation manual

Datamars AirStick quick start guide

Datamars

Datamars AirStick quick start guide

GREAT PLAINS VT1100-35 Turbo Max Predelivery Manual

GREAT PLAINS

GREAT PLAINS VT1100-35 Turbo Max Predelivery Manual

Yetter MAVERICK HR PLUS 2984 Series Operator's & parts manual

Yetter

Yetter MAVERICK HR PLUS 2984 Series Operator's & parts manual

Farm King 1342 Operator and parts manual

Farm King

Farm King 1342 Operator and parts manual

H&S LOADMASTER 2X Operator's manual

H&S

H&S LOADMASTER 2X Operator's manual

Schlagel RAPID TILL Series Operator's manual

Schlagel

Schlagel RAPID TILL Series Operator's manual

Mandam MBS instruction manual

Mandam

Mandam MBS instruction manual

manuals.online logo
manuals.online logoBrands
  • About & Mission
  • Contact us
  • Privacy Policy
  • Terms and Conditions

Copyright 2025 Manuals.Online. All Rights Reserved.