manuals.online logo
Brands
  1. Home
  2. •
  3. Brands
  4. •
  5. Sunex Tools
  6. •
  7. Jack
  8. •
  9. Sunex Tools 7752C User manual

Sunex Tools 7752C User manual

Other Sunex Tools Jack manuals

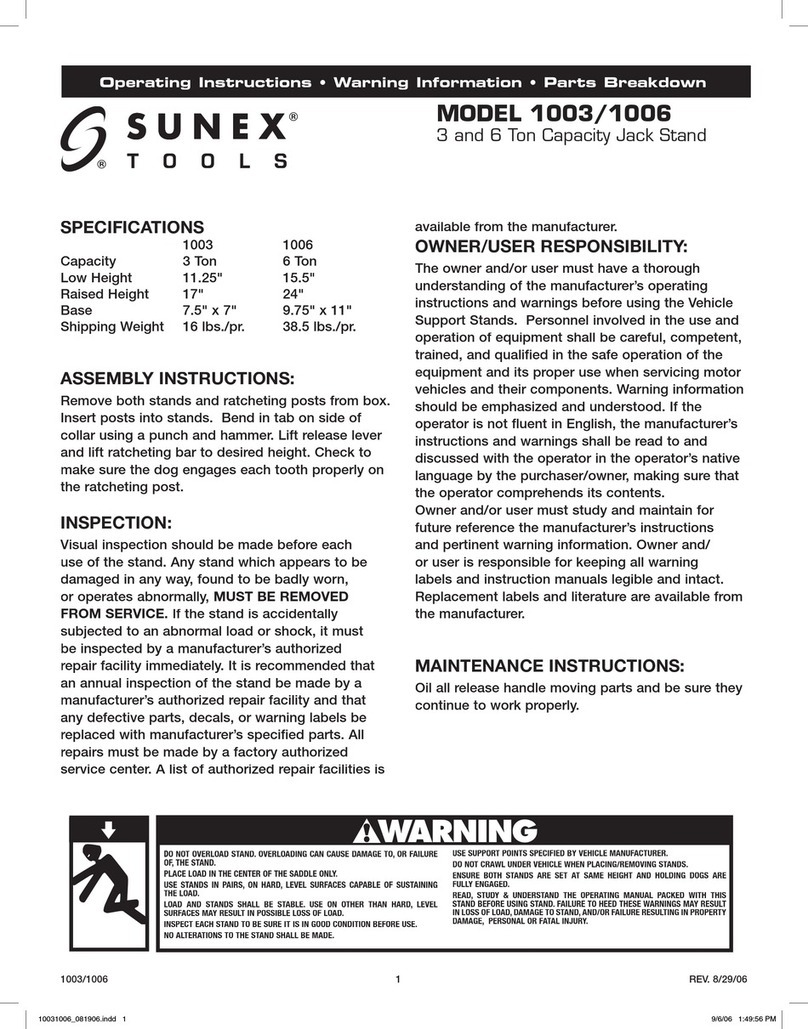
Sunex Tools 4412S User manual

Sunex Tools

Sunex Tools 4412S User manual

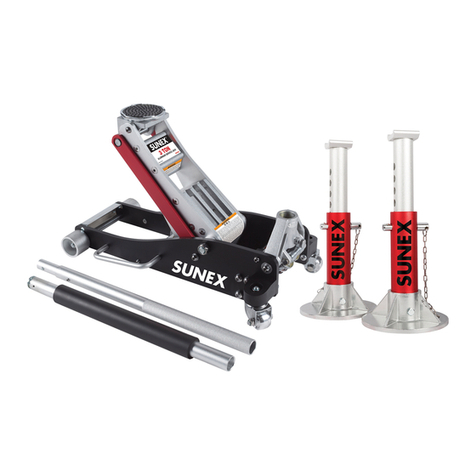
Sunex Tools 4902A User manual

Sunex Tools

Sunex Tools 4902A User manual

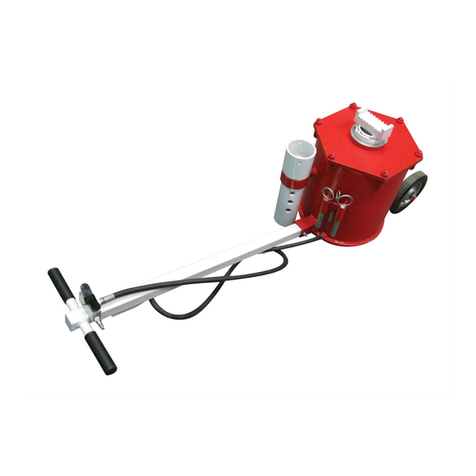
Sunex Tools 7790 User manual

Sunex Tools

Sunex Tools 7790 User manual

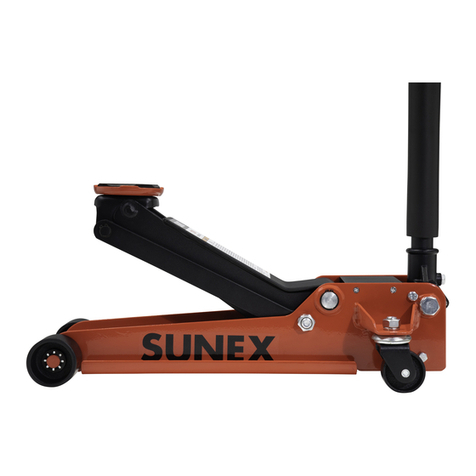
Sunex Tools 6603LP User manual

Sunex Tools

Sunex Tools 6603LP User manual

Sunex Tools 6602ASJ User manual

Sunex Tools

Sunex Tools 6602ASJ User manual

Sunex Tools NSJ0101 User manual

Sunex Tools

Sunex Tools NSJ0101 User manual

Sunex Tools 6613B User manual

Sunex Tools

Sunex Tools 6613B User manual

Sunex Tools 6622A User manual

Sunex Tools

Sunex Tools 6622A User manual

Sunex Tools 6603 User manual

Sunex Tools

Sunex Tools 6603 User manual

Sunex Tools 6613A User manual

Sunex Tools

Sunex Tools 6613A User manual

Sunex Tools 6602LP User manual

Sunex Tools

Sunex Tools 6602LP User manual

Sunex Tools 7796 User manual

Sunex Tools

Sunex Tools 7796 User manual

Sunex Tools 1003AJ User manual

Sunex Tools

Sunex Tools 1003AJ User manual

Sunex Tools 7790 User manual

Sunex Tools

Sunex Tools 7790 User manual

Sunex Tools 6710 User manual

Sunex Tools

Sunex Tools 6710 User manual

Sunex Tools 4412AH User manual

Sunex Tools

Sunex Tools 4412AH User manual

Sunex Tools 7750C User manual

Sunex Tools

Sunex Tools 7750C User manual

Sunex Tools 1003 User manual

Sunex Tools

Sunex Tools 1003 User manual

Sunex Tools 6602SJ User manual

Sunex Tools

Sunex Tools 6602SJ User manual

Sunex Tools 7700B User manual

Sunex Tools

Sunex Tools 7700B User manual

Sunex Tools 6603B User manual

Sunex Tools

Sunex Tools 6603B User manual

Sunex Tools 4420S User manual

Sunex Tools

Sunex Tools 4420S User manual

Sunex Tools 7700C User manual

Sunex Tools

Sunex Tools 7700C User manual

Sunex Tools 6603ASJPK User manual

Sunex Tools

Sunex Tools 6603ASJPK User manual

Popular Jack manuals by other brands

Pittsburgh 62590 Owner's manual & safety instructions

Pittsburgh

Pittsburgh 62590 Owner's manual & safety instructions

Powerbuilt 640405 Operating and maintenance instruction manual

Powerbuilt

Powerbuilt 640405 Operating and maintenance instruction manual

Clarke STRONG-ARM CTJ3000G quick start guide

Clarke

Clarke STRONG-ARM CTJ3000G quick start guide

Clarke CTJ2500QLG Operating & maintenance instructions

Clarke

Clarke CTJ2500QLG Operating & maintenance instructions

Omega Lift Equipment 18122C Operating instructions & parts manual

Omega Lift Equipment

Omega Lift Equipment 18122C Operating instructions & parts manual

Pittsburgh 58816 Owner's manual & safety instructions

Pittsburgh

Pittsburgh 58816 Owner's manual & safety instructions

Unimec TP Assembly instructions

Unimec

Unimec TP Assembly instructions

Sonic 4800703 instructions

Sonic

Sonic 4800703 instructions

Pfaff Merkur M0 Operating	 instruction

Pfaff

Pfaff Merkur M0 Operating instruction

BGS technic 70039 instruction manual

BGS technic

BGS technic 70039 instruction manual

TradeQuip 1128T owner's manual

TradeQuip

TradeQuip 1128T owner's manual

VEVOR TJD-12000SP-F quick start guide

VEVOR

VEVOR TJD-12000SP-F quick start guide

ULTIMATE SPEED URW 2 A1 HYDRAULIC TROLLEY JACK operating instructions

ULTIMATE SPEED

ULTIMATE SPEED URW 2 A1 HYDRAULIC TROLLEY JACK operating instructions

Stels 51131 user manual

Stels

Stels 51131 user manual

Beta 3050/K Operation manual and instructions

Beta

Beta 3050/K Operation manual and instructions

Sealey 1050CXHV manual

Sealey

Sealey 1050CXHV manual

Valex 1650520 Translation of the original instructions

Valex

Valex 1650520 Translation of the original instructions

SW-Stahl 20700L instruction manual

SW-Stahl

SW-Stahl 20700L instruction manual

manuals.online logo
manuals.online logoBrands
  • About & Mission
  • Contact us
  • Privacy Policy
  • Terms and Conditions

Copyright 2025 Manuals.Online. All Rights Reserved.

1
MODEL 7752C OPERATING MANUAL & PARTS BREAKDOWN
Rev. 12/22/99
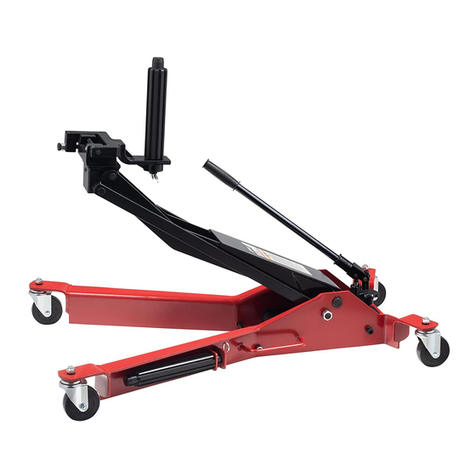
Model 7752C transmission
jack is a mobile lifting
device having a lift
platform assembly suited to
retaining an automotive
transmission, and other
driveline components such
as transfer cases and trans-
axles, and is designed to
support and stabilize the
component during its
installation or removal from
a vehicle.
7752C
1-1/2 Ton Capacity
Heavy Duty
Transmission Jack
Low Height . . . . . . . . . . . . . . . . . . . . . . 9"
Raised Height . . . . . . . . . . . . . . . . . . . 37"
Hydraulic Lift . . . . . . . . . . . . . . . . . . . . 28"
Saddle Forward Tilt . . . . . . . . . . . . . . . . 30°
Saddle Backward Tilt . . . . . . . . . . . . . . . 15°
Saddle Side Tilt . . . . . . . . . . . . . . . . . . ±12°
Base Size . . . 44-1/2" x 25-1/2" x 11-3/8"
Shipping Weight . . . . . . . . . . . . . . .300 Lbs.
P.O. Box 4215 • Greenville, SC 29608
7752C_OpMan_020805.indd 1 2/8/05 12:09:40 PM
2
MODEL 7752C OPERATING MANUAL & PARTS BREAKDOWN
Rev. 12/22/99
ASSEMBLY INSTRUCTIONS
Note: This unit comes fully assembled.
IMPORTANT! BEFORE USE…
Air may become trapped in the hydraulic system
during transit. To purge air:
1. Open release valve by turning handle
counterclockwise.
2. Pump handle rapidly 4 full strokes. This will expel air
that may have entered oil passages during transit.
3. Close release valve by rotating handle clockwise
and pump handle.
4. If lift arm raises, jack is ready for use. If not, repeat
this procedure.
INSPECTION
Visual inspection should be made before each use of
the transmission jack, checking for leaking hydraulic
fluid and damaged, loose or missing parts. Each jack
must be inspected by a manufacturer’s repair facility
immediately, if accidentally subjected to an abnormal
load or shock. Any jack which appears to be damaged
in any way, is found to be badly worn, or operates
abnormally MUST BE REMOVED FROM SERVICE until
necessary repairs are made by a manufacturer’s autho-
rized repair facility. It is recommended that an annual
inspection of the jack be made by a manufacturer’s
authorized repair facility and that any defective parts,
decals or warning labels be replaced with manufactur-
er’s specified parts.
A list of authorized repair facilities is available from the
manufacturer.
OPERATING INSTRUCTIONS
1. To lift load, pump lever to raise saddle to
desired height to contact transmission.
2. Always position the jack so the weight of the
load is equally distributed on the saddle.
3. To tilt lifting head, manipulate the appropriate
pair of adjusting screws (there are two pairs)
located under the lifting head. When one
screw is loosened, the opposite screw should
be tightened by the same amount to maintain
a solid platform.
4. Position corner support brackets and secure the
load with chain.
5. The chain should be pulled over the load
securely and engaged into slot on the opposite
side of the saddle, then tighten wing nut.
6. To lower the jack, slowly open release valve.
Insure that load is lowered slowly.
CAUTION: Keep hands or feet away from the hinge
mechanism of the jack.
MAINTENANCE INSTRUCTIONS
All moving joints require lubrication often. Remove han-
dle and grease the lower end of handle where it rotates
in the handle socket. Grease release valve gears. Using
a grease gun, grease the lift arm pivot shaft grease fit-
ting until grease appears at the end of the shaft. Oil all
lift arm linkages, front wheels and rear casters.
OWNER/USER RESPONSIBILITY
The owner and/or user must have an understanding of
the manufacturer’s operating instructions and warnings
before using the transmission jack. Personnel involved
in the use and operation of equipment shall be careful,
competent, trained, and qualified in the safe operation
of the equipment and its proper use when servicing
motor vehicles and their components. Warning informa-
tion should be emphasized and understood. If the oper-
ator is not fluent in English, the manufacturer’s instruc-
tions and warnings shall be read to and discussed with
the operator in the operator’s native language by the
purchaser/owner, making sure that the operator com-
prehends its contents.
Owner and/or user must study and maintain for future
reference the manufacturer’s instructions and pertinent
warning information. Owner and/or user is responsible
for keeping all warning labels and instruction manuals
legible and intact. Replacement labels and literature are
available from the manufacturer.
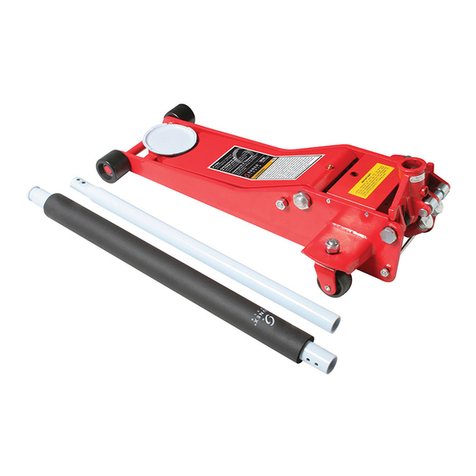
FOR YOUR SAFETY AND TO PREVENT INJURY:
Use Service Jack for
lifting purposes
ONLY.
Always support
vehicle with
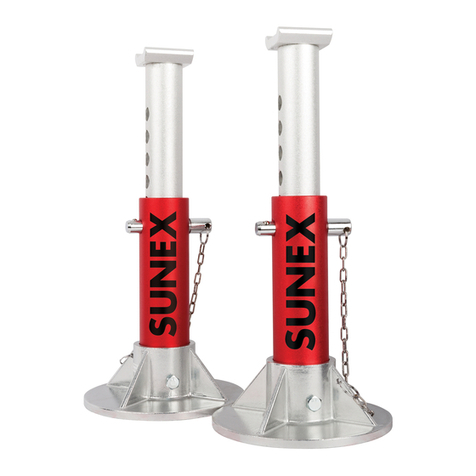
jack stands.
WARNING
Model 1003
3 TON
CAPACITY
RATCHETING
JACK STAND
s WARNING
!
ENSURE BOTH STANDS ARE SET AT SAME HEIGHT & HOLDING DOGS ARE FULLY ENGAGED.
USE STANDS IN PAIRS, ON HARD, LEVEL SURFACES CAPABLE OF SUSTAINING THE LOAD.
LOAD & STANDS SHALL BE STABLE. USE ON OTHER THAN HARD, LEVEL SURFACES MAY
RESULT IN POSSIBLE LOSS OF LOAD.
READ, STUDY & UNDERSTAND THE INSTRUCTION MANUAL PACKED WITH THIS STAND
BEFORE USING STAND.
FAILURE TO HEED THESE WARNINGS MAY RESULT IN LOSS OF LOAD, DAMAGE TO STAND,
AND/OR FAILURE RESULTING IN PROPERTY DAMAGE, PERSONAL OR FATAL INJURY.
DO NOT OVERLOAD STAND. OVERLOADING CAN CAUSE DAMAGE TO, OR FAILURE OF,
THE STAND.
INSPECT EACH STAND TO BE SURE IT IS IN GOOD CONDITION.
NO ALTERATIONS TO THE STAND SHALL BE MADE.
PLACE LOAD IN THE CENTER OF THE SADDLE ONLY.
USE SUPPORT POINTS SPECIFIED BY VEHICLE MANUFACTURER.
DO NOT CRAWL UNDER VEHICLE WHEN PLACING OR REMOVING STANDS.
7752C_OpMan_020805.indd 2 2/8/05 12:09:42 PM
3
MODEL 7752C OPERATING MANUAL & PARTS BREAKDOWN
Rev. 12/22/99
WARRANTY NOTICE
Sunex shop equipment and tools, excluding
accessories, are warranted against defects in
materials or workmanship for a period of 1 year from
original purchase. We will repair or replace at our
option any defective part or unit which proves to be
defective in material or workmanship within this warran-
ty plan. This warranty does not cover damage to equip-
ment or tools arising from alteration, abuse or misuse,
and does not cover any repairs or replacement made
by anyone other than Sunex or its authorized
service centers.
The foregoing obligation is Sunex Tools sole liability
under this or any implied warranty and under no
circumstances shall we be liable for any incidental or
consequential damages.
NOTE: Some states do not allow the exclusion or
limitation of incidental or consequential damages, so
the above limitation or exclusion may not apply to you.
Return equipment or parts to Sunex Tools, 315 Hawkins
Road, Travelers Rest, SC 29690, or to an authorized
service center, transportation prepaid. Be certain to
include your name and address, evidence of the
purchase date, and description of the suspected defect.
If you have any questions about warranty service,
please write to Sunex Tools, P.O. Box 4215, Greenville,
SC 29608. This warranty gives you specific legal rights
and you may also have other rights which vary from
state to state.
WARNING
THE USE OF THIS JACK IS LIMITED TO
THE REMOVAL, INSTALLATION, AND
TRANSPORTATION IN THE LOWERED
POSITION, OF TRANSMISSIONS AND
DIFFERENTIALS. IT MAY BE USED
WITH APPROPRIATE ADAPTERS
MANUFACTURED SPECIFICALLY FOR
THE JACK TO HANDLE OTHER COMPONENTS, SUCH AS
REAR AXLE UNITS AND TRANSFER CASES, WITHIN THE
WEIGHT LIMITATIONS SPECIFIED. NO ALTERATION TO
THE JACK OR ADAPTERS SHALL BE MADE.
BE SURE THE VEHICLE IS APPROPRIATELY SUPPORTED
BEFORE STARTING REPAIRS.
Do NOT Overload. Overloading can Cause Damage To or
Failure of the Jack.
ONLY ATTACHMENTS AND/OR ADAPTERS SUPPLIED BY
THE MANUFACTURER SHALL BE USED.
This Jack is Designed for Use Only on Hard Level
Surfaces Capable of Sustaining the Load. Use on Other
than Hard Level Surfaces Can Result in Jack Instability
and Possible Loss of Load.
Read, Study and Understand the Operating Manual
Packed with this Jack Before Operating.
Failure to Heed These Warnings May Result in Loss
of Load, Damage to Jack, and/or Failure Resulting in
PROPERTY DAMAGE, PERSONAL OR FATAL INJURY.
7752C_OpMan_020805.indd 3 2/8/05 12:09:47 PM
4
MODEL 7752C OPERATING MANUAL & PARTS BREAKDOWN
Rev. 12/22/99
Index Part
No. No. Description Qty.
1 7752C01 4" Swivel Caster 4
2 ** Bolt 16
3 ** Lock Washer 16
4 ** Nut 16
5 7752C05 Clevis Groove Pin 3
6 ***7752C06 Snap Ring 6
7 7752C07 Complete Hyd. Unit 1
8 * U-type Packing 1
9 * Copper Packing 1
10 * O-Ring 1
11 * Steel Ball 1
12 * Steel Ball 1
13 * O-Ring 1
14 * Back-up Ring 1
15 * O-Ring 1
16 * Oil Seal 1
18 * Copper Packing 1
19 * O-Ring 1
Index Part
No. No. Description Qty.
20 * O-Ring 1
21 * Copper packing 1
22 7752C22R Finger (RH) 2
22 7752C22L Finger (LH) 2
23 ** Bolt 4
24 ** Washer 4
25 ** Wing Nut 4
26 7752C26 Handle 1
27 ****7752C27 Chain 1
28 ** Bolt 2
29 ** Washer 2
30 ** Nut 2
31 7752C31 Adjustment Rod Ass'y 1
32 7752C32 Adjustment Rod Ass'y 1
33 ** “J” Bolt 1
34 ** “I” Bolt 1
35 ** Wing Nut 1
*Available only in Seal Kit, Part #7752CSK **Available only in Bolt Kit, Part #7752CBK
***Available individually and in Seal Kit, Part #7752CSK ****Available individually and in Bolt Kit, Part #7752CBK
26
5
20
4
3
1
2
19
21
24
25
9
16
15
14
7
31
23
33
34
35
32
13
18
10
11
8
12
27
30
23 30
28
29
22
6
5
6
7752C_OpMan_020805.indd 4 2/8/05 12:09:49 PM