manuals.online logo
Brands
  1. Home
  2. •
  3. Brands
  4. •
  5. Sunlight Supply
  6. •
  7. Controllers
  8. •
  9. Sunlight Supply TITAN CONTROLS Helios 5 User manual

Sunlight Supply TITAN CONTROLS Helios 5 User manual

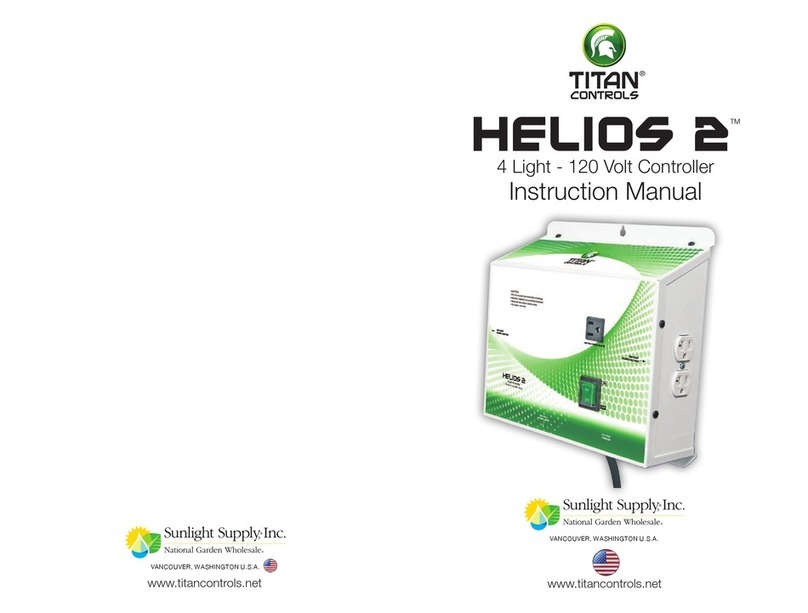
Helios 5TM
4 Light – ETL listed - 240 Volt Controller
Instruction Manual
VANCOUVER, WASHINGTON U.S.A.
®
Helios 5
• Warnings
• Helios 5 – Lighting Controller Overview
• Instructions for Operation
• Troubleshooting Tips
• Controller Specifications
• Installation Examples
• Warranty Information
• Service and Repair Program
Warnings & Cautions
• Read all instructions before operating controller.
*This controller is designed for use with MAGNETIC OR ELECTRONIC BALLASTS.
• Do not put your controller in an area where it can get wet or sprayed.
• Mount your controller securely to the wall using hardware provided.
• When using “bug bombs” in area, cover controller completely to avoid corrosion.
• There are no serviceable parts in controller. Do not attempt to repair the unit.
• Breaking “warranty” seal will void your warranty.
• Do not put paperclips, tools, etc. into unit. Possible electrocution may occur.
• Make sure to verify your power source prior to wiring controller into power source.
• Check that all equipment that will be activated by this controller is the proper voltage.
• This controller is designed for ‘Inside Use’ only.
• Avoid placing the controller near heat generating sources.
• Use caution when operating controller in extremely humid environments.
• Do not use controller for purposes other than the unit was designed to function.
• Use controller within defined environmental specifications.
• Ask your Dealer for tips and techniques regarding the use of this controller.
• Be conscientious when disposing of any products.
• Enjoy your Titan Controls® environmental controller for years to come!
WARRANTY SERVICE: Please read warranty information first
If after reviewing the troubleshooting tips the unit will still not work, you should return it to the
Dealer where you purchased the controller. They will be able to further evaluate the unit and test its
various components and quite possibly will be able to identify and/or fix any problems. If the Dealer
is unable to fix the unit, they will return it to us for factory repair.
If there are no Dealers in your area, you may contact us directly for technical support. If we cannot
help you resolve the problem over the phone, we will issue you a RMA # (return merchandise
authorization) authorizing you to return the unit to us for factory reconditioning (if the unit is under
warranty). Contact the number below for a RMA and shipping address. Complete the form below
and include it with your unit. Also please write the RMA # on the outside of the box.
Please package the unit in its original packaging. If it is damaged in shipment we cannot be
responsible.
Once we receive the unit back, we will repair the controller within 48 hours (business) and return it
to you freight prepaid via FedEx or UPS ground shipment.
Helios 5 –240 Volt / 4 Light Controller
Overview
The Helios 5 lighting controller is specifically designed for operation of high intensity discharge
(HID) lighting systems. The controller will run your lights for any sequence over a 24 hour
period by using a 120 Volt relay activation cord set. The controller can handle up to a maximum
of four (4) 1000 watt HID metal halide or high pressure sodium (HPS) grow lights. There is a
120 Volt accessory outlet located on the front of the controller. This outlet is only active when
your lights are ‘ON’ and may be used to power devices up to 3 amps, such as an in-line lamp
ventilation fan or a pump. The Helios 5 lighting controller provides up to 20 amps of capacity on
a standard 240 volt circuit. The Helios 5 is built with only the highest quality components and
will provide the user with years of trouble free service.
Instructions for Operation
• Please consult with a licensed electrician prior to installation of the Helios 5.
• DO NOT install this controller yourself if you DO NOT fully understand these instructions.
High voltage is dangerous!
• Connect your incoming 240 Volt power to the 3 screws under the protective back cover.
Black/hot leg (left screw), neutral (center screw) & red/hot leg(right screw).
• Securely mount your Helios 5, using the hardware included, near your enclosure and away
from any spray/water/mist, etc.
• Hardwire or plug the controller into a confirmed 240 volt power source.
• Verify that all your wiring connections are tight and that no loose wires are exposed.
• Plug your lights into the outlets on the right and left side of the controller.
• Plug the relay activation cord set into Apollo Series120 Volt wall timer.
• Make sure that all wires and cables have been properly secured.
• Turn on the power switch to activate your light bank. When the relay is activated you will hear
a “Clunk” sound.
• Your Helios 5 will now control your lights at the desired settings until the power is defeated.
• To change your lamps, turn ‘OFF’ the power switch and replace bulb.
• Caution: Lamps are hot and should be allowed to cool completely before handling.
Warranty Information
• Titan Controls® warrants the original purchase of this product against defects in material and
workmanship under normal use for three (3) years from the date of purchase.
• During the warranty period, Titan Controls® will, at our option, and without charge, repair or
replace this product if the controller or any of its components fail or malfunction.
• All returns or repairs must be accompanied by a Return Merchandise Authorization (RMA)
number prior to any service of the product.
• This warranty is expressly in lieu of all other warranties, expressed or implied, including the
warranties of merchantability and fitness for use and of all other obligations or liabilities on the
part of the seller.
• This warranty shall not apply to this product or any part thereof which had been damaged by
accident, abuse, misuse, modification, negligence, alteration or misapplication.
• Controllers with serial numbers or date tags that have been removed, altered or obliterated;
broken seals or that show evidence of tampering; mismatched board serial numbers or
nonconforming parts, are excluded from coverage.
• Titan Controls® makes no warranty whatsoever in respect to accessories or parts not supplied
by Titan Controls®.
• Monetary refunds of the warranty will not be given.
• The Buyer assumes all responsibility regarding the use & installation of this controller.
• All warranty service is provided through the factory or an authorized service representative.
• This warranty shall apply only to the United Sates, including Alaska, Hawaii and territories of the
United States.
• Defective controllers need to be returned with the “proof of purchase/receipt”.
• For additional warranty information, contact a Titan Controls® Technical Service Representative
or your Dealer.
• NOTE: Titan Controls® is a manufacturer of environmental controls. All sales offerings to the
public are done through a nationwide group of Dealers. No sales offerings will be made
directly to the general public.
Service and Repair Program
• For all service and repairs please contact one of our Technical Service Representatives for a
Return Merchandise Authorization (RMA) number.
• All factory service & repairs will be completed within 48 hours of receipt of controller and after
authorization by customer for repairs.
• Titan Controls® will, at its discretion, repair or replace the controller.
• Factory calibration services are available for all Titan Controls®.
• Returning Units: Please contact your retail store for returns.
Troubleshooting Tips
If the Helios 5 is not performing as expected, try the following:
A. Confirm that your power input is active from your breaker panel and providing
240 Volts/ 30 Amps/60 Hz to the controller.
B. Check the voltage input of your incoming cord set using a voltage test meter to verify power is
flowing to the controller.
C. Make sure all of your connections are tight. Loose connections can cause “arcing”.
D. Then confirm that power is active and proper at your 240 volt outlets.
E. Verify that your power cords and ballasts are functioning properly and that there are no shorts
or arcing occurring.
F. Should you find your circuit breaker keeps tripping, check your breakers to verify that they are
the right amperage for your application.
G. If you turn ‘OFF” the power switch and your lights remain on, contact us
immediately for resolution.
H. Still having problems with your Helios 5? Please contact our Technical Service
Representative to assist you further.
Controller Specifications:
• Size = 11”H x 11”W x 4”D
• Weight = 4 lbs.
• Voltage Input = 240 VAC
• Voltage Output = 240 VAC
• Relay Coil Voltage = 120 Volts
• Maximum Amperage = 20 Amps
• Maximum Wattage = 4000 Watts (1000 watts per outlet)
• Hertz = 60Hz
• Electrical Relay Operations = 100,000 Cycles
• RoHS compliant = Yes
• Storage Temperature = 32°F (0°C) to 135°F (57°C)
• Operating Temperature = 40°F (5°C) to 125°F (52°C)
Installation Example
to 30 Amp
Power Source
120 Volt
to 120 Volt
Timer
Fan
to 240 Volt Ballast
to 240 Volt Ballast
Sun System R
Sun System R
to 240 Volt Ballast
to 120 Volt
Timed Outlet
to 240 Volt Ballast
Helios 5
240 Volt
Sun System R
Sun System R
Titan Apollo
24 HR
Timer
Hot NeutralGround Hot
Controlling a Light Bank
Installation
Wiring Diagram

Other Sunlight Supply Controllers manuals

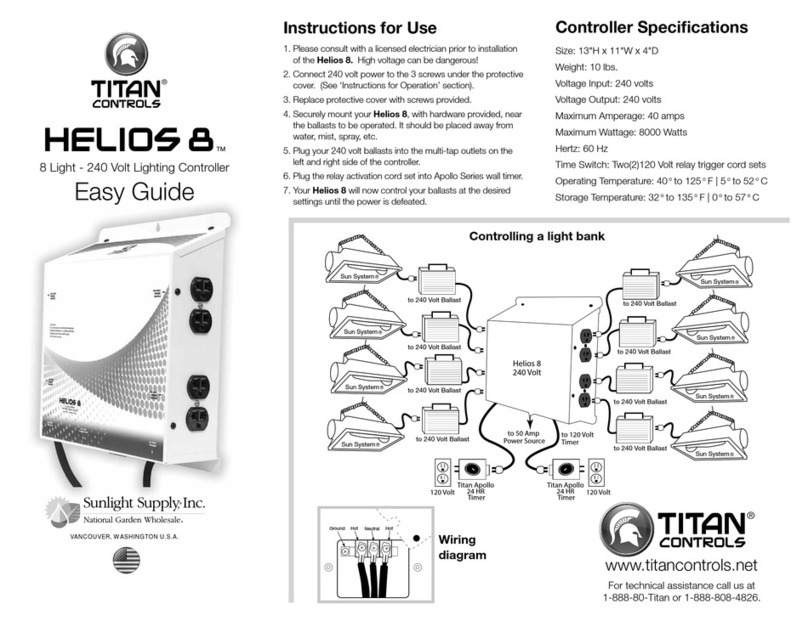
Sunlight Supply TITAN CONTROLS HELIOS 8 Product information sheet

Sunlight Supply

Sunlight Supply TITAN CONTROLS HELIOS 8 Product information sheet

Sunlight Supply TITAN CONTROLS HELIOS 8 User manual

Sunlight Supply

Sunlight Supply TITAN CONTROLS HELIOS 8 User manual

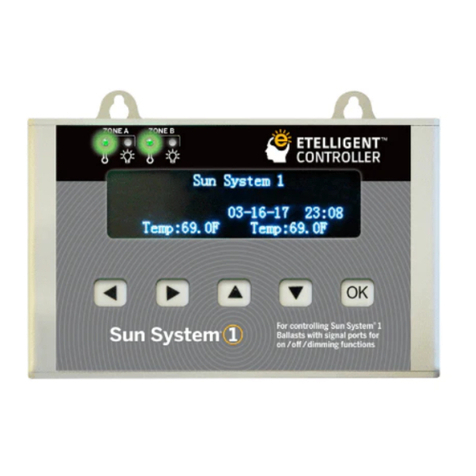
Sunlight Supply Sun System 1 User manual

Sunlight Supply

Sunlight Supply Sun System 1 User manual

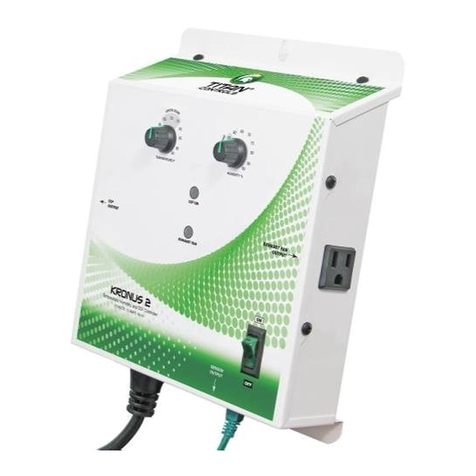
Sunlight Supply TITAN CONTROLS KRONUS 2 User manual

Sunlight Supply

Sunlight Supply TITAN CONTROLS KRONUS 2 User manual

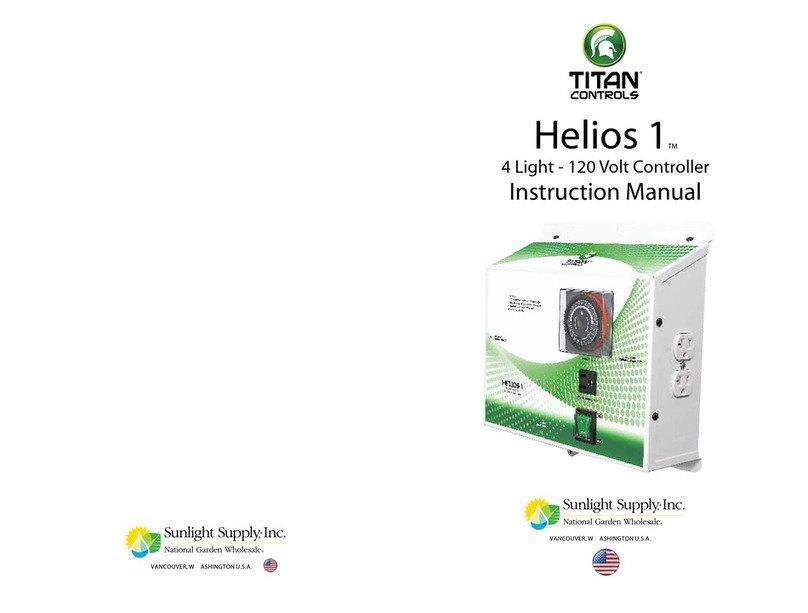
Sunlight Supply Titan Controls Helios 1 User manual

Sunlight Supply

Sunlight Supply Titan Controls Helios 1 User manual

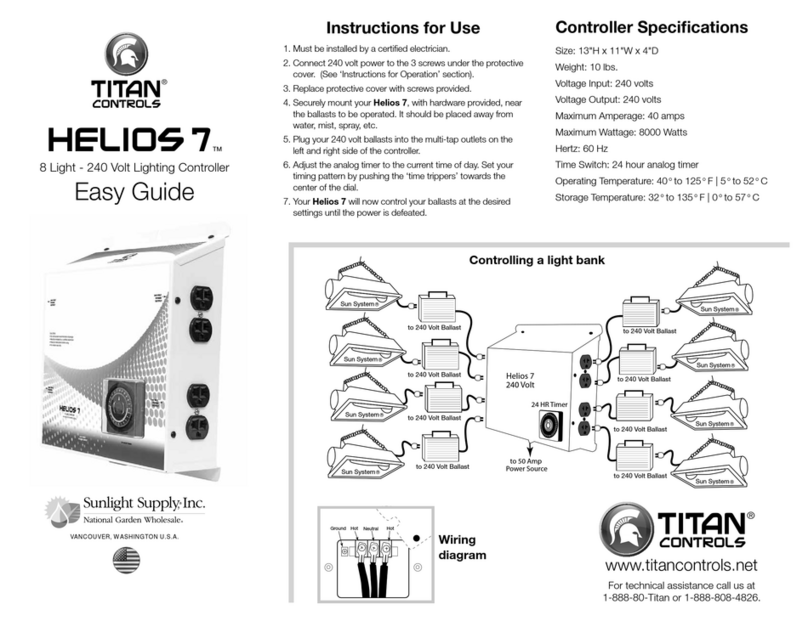
Sunlight Supply Titan Controls Helios 7 Product information sheet

Sunlight Supply

Sunlight Supply Titan Controls Helios 7 Product information sheet

Sunlight Supply TITAN CONTROLS HERCULES 2 User manual

Sunlight Supply

Sunlight Supply TITAN CONTROLS HERCULES 2 User manual

Sunlight Supply Titan Controls Helios 2 User manual

Sunlight Supply

Sunlight Supply Titan Controls Helios 2 User manual

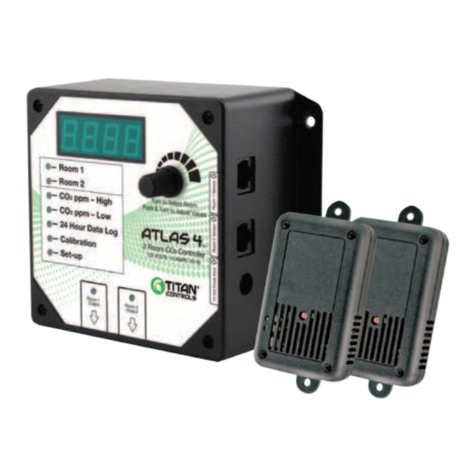
Sunlight Supply Titan Controls Atlas 4 User manual

Sunlight Supply

Sunlight Supply Titan Controls Atlas 4 User manual

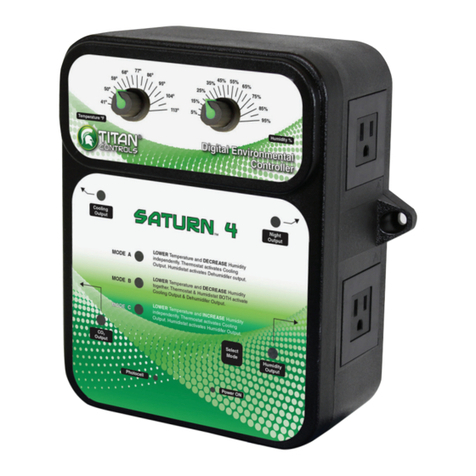
Sunlight Supply TITAN Controls Saturn 4 User manual

Sunlight Supply

Sunlight Supply TITAN Controls Saturn 4 User manual

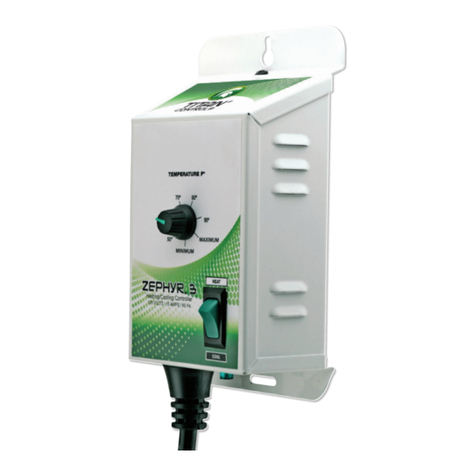
Sunlight Supply TITAN CONTROLS ZEPHYR 3 User manual

Sunlight Supply

Sunlight Supply TITAN CONTROLS ZEPHYR 3 User manual

Popular Controllers manuals by other brands

Syba SY-PEX40015 user manual

Syba

Syba SY-PEX40015 user manual

Fisher MR95L instruction manual

Fisher

Fisher MR95L instruction manual

Mitsubishi FX3U-32DP installation manual

Mitsubishi

Mitsubishi FX3U-32DP installation manual

Module Electronic CHS-06.01 manual

Module Electronic

Module Electronic CHS-06.01 manual

Control Techniques unidrive sp Advanced user's guide

Control Techniques

Control Techniques unidrive sp Advanced user's guide

d2itsu CDV-46 Installation and maintenance manual

d2itsu

d2itsu CDV-46 Installation and maintenance manual

SHITEK EPF Series user manual

SHITEK

SHITEK EPF Series user manual

LEGRAND 0 784 48 quick start guide

LEGRAND

LEGRAND 0 784 48 quick start guide

SmartLine SL1600 installation instructions

SmartLine

SmartLine SL1600 installation instructions

Sorel MTDC Installation and operating instructions

Sorel

Sorel MTDC Installation and operating instructions

WatchNet WAC 1D2T MICRO/E manual

WatchNet

WatchNet WAC 1D2T MICRO/E manual

National Instruments sbRIO-9637 user manual

National Instruments

National Instruments sbRIO-9637 user manual

Swagelok TBVS8 user manual

Swagelok

Swagelok TBVS8 user manual

ADLINK Technology PXI -3950 user manual

ADLINK Technology

ADLINK Technology PXI -3950 user manual

COMEXIO ZC300 manual

COMEXIO

COMEXIO ZC300 manual

GREISINGER GIR 230 Pt manual

GREISINGER

GREISINGER GIR 230 Pt manual

Emerson Fisher L2e Instruction manual supplement

Emerson

Emerson Fisher L2e Instruction manual supplement

Danfoss AFQ 2 instructions

Danfoss

Danfoss AFQ 2 instructions

manuals.online logo
manuals.online logoBrands
  • About & Mission
  • Contact us
  • Privacy Policy
  • Terms and Conditions

Copyright 2025 Manuals.Online. All Rights Reserved.