SECTION 1: FEATURES
SECTION 1
Features
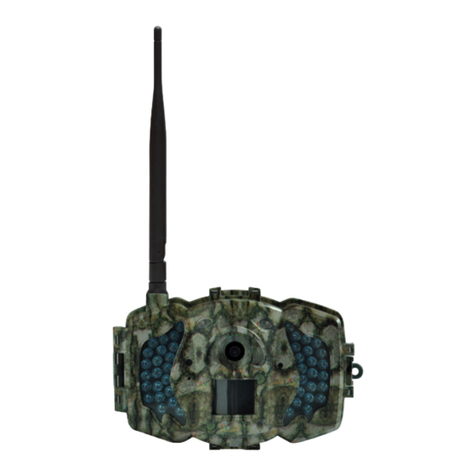
The 940-GSM6 Field Surveillance Camera is a rugged, water-repellent outdoor camera for use in extreme temperature conditions. It
includes the MMS (Multimedia Messaging Service) module for transmitting video and pictures to a phone or email address. With its
highly sensitive passive infra-red (PIR) sensors, the camera detects the sudden change of ambient temperature caused by moving
objects in a region of interest (ROI), triggers to take pictures/videos, and sends the images via a GSM network to the user’s cell
phone or email account. It includes:
• Selectable photo resolution: 1.3, 5 or 12 megapixel
• Selectable video size: 320 × 240, 640 × 480, or 1280 × 720 pixels
• SMS Remote Control program (RCP) for conguring camera settings remotely
• No-glow 940 nm IR LEDs with 65 foot illumination
• Infrared night vision LEDs for ash range as far as 30 feet
• Operates in either camera only, camera + video, or video only modes. In camera + video mode, camera takes both pictures
and video at every trigger event
• Ultra-low standby power consumption. Extremely long in-eld life (in standby mode, up to 6 months with 8 × AA batteries)
• Unique side-prep sensor design provides wider sensing angle and enhances the camera response speed
• Perform in the temperatures from -22°F ~ 158°F
• Compact size (5 ½ x 3 ½ x 2 ½ inches). Designed to deploy covertly
• Quick trigger time (camera power on, 0.6 second)
• Time Lapse photo/video recording for taking pictures/videos at a specied interval
• Timer setting can program the camera to only work in specied periods every day. Work together with Time Lapse settings.
• Easy mounting on a tree or post. Easy to aim.
• Serial Number setting enables you to code locations on the photo. This helps multi-camera users identify the location when
reviewing the photos
• Built-in 2¼” LCD color display to review images and videos
• Date, time, temperature and moon phase can be stamped on the photo
• Lockable and password protected
• MMS image size: 640 x 480 pixels
• If the local mobile signal is poor and MMS cannot be sent, camera includes an SMS backup feature that transmits picture
time and camera serial number.
• Congurable with the MMS function either directly on the built-in LCD display or by using the enclosed media with a
computer
• Advanced Remote Cellular Technology transmits images to your cell phone and email account constantly at low battery
consumption and short transmission time
• Automatically sends text alert when battery power level is low
• Checks cellular signal information on the built-in LCD display in the eld
• MMS pictures saved on a removable SD card
• Operates globally via GSM/GPRS networks. Supports four bands: 850 / 900 / 1800 / 1900 MHz.
