manuals.online logo
Brands
  1. Home
  2. •
  3. Brands
  4. •
  5. suprabeam
  6. •
  7. Flashlight
  8. •
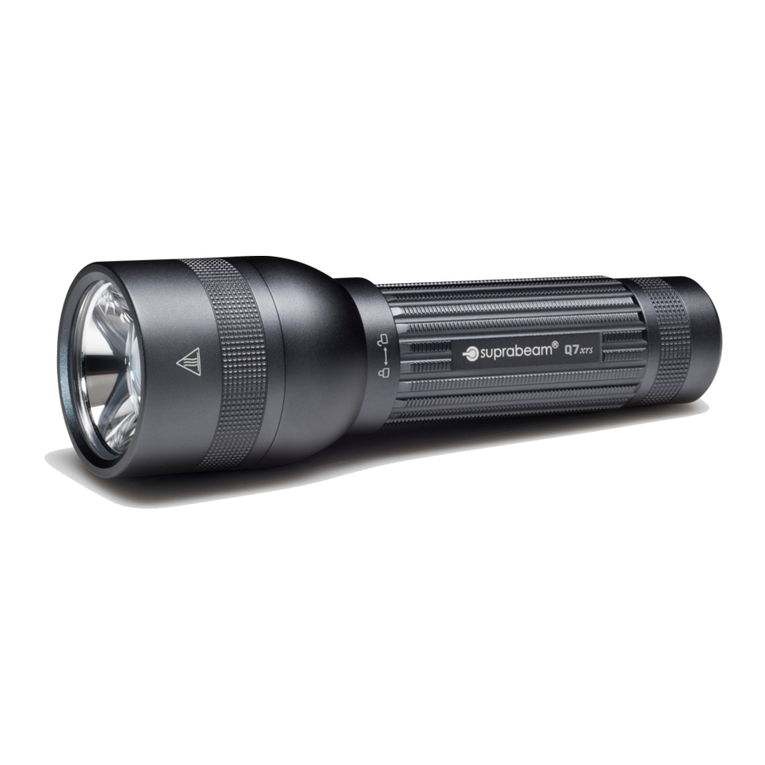
  9. suprabeam Q Series User manual

suprabeam Q Series User manual

TROUBLESHOOTING GUIDE
This document is intended to clarify and explain the most frequent questions regarding errors and issues with
Suprabeam flashlights and headlamps.
We encourage you to read it in order to get familiar with possible issues. Feel free to come back to it as often as
necessary, and to contact us in case you need any further assistance.
The Troubleshooting Guide is divided in to main product groups:
• Torches/Flashlights:
• Q-series
• Headlamps:
• V-series
• S-series
• Multilamps:
• M-series
An important information about the product is the “batch code” as it enables us to track the product that you are
experiencing issues with.
All Suprabeam products are marked with a batch code. The batch code consists of two letters and one digit (Example:
GK-1) and can be found on a white sticker when removing the battery.
You can find it inside the tube, or inside the battery pack
Headlamps:
Open the battery pack and remove the rechargeable battery or the alkaline batteries to reveal the white sticker inside
the battery pack.
Flashlights:
Unscrew the switch and remove the rechargeable battery or alkaline batteries. On Q3, Q3classic, Q3defend, Q4,
Q4defend the white sticker is found on the side of the battery pack, on all other torches the white sticker will be
inside the tube.
Multilamps:
Unscrew the endcap and remove the battery to reveal the white sticker.
USE
BATCH CODE
TROUBLESHOOTING GUIDE
Torches/Flashlights: Q-series
This issue may be due to an incorrect contact between the battery and the contact points of the flashlight. Possible
causes for this are:
1
2
UNABLE TO TURN ON THE FLASHLIGHT / FLICKERING
Please check that the flashlight is clean,
particularly between the tube and the tail
cap:
1) Remove the tail cap.
2) Make sure that the flashlight is clean,
particularly around the highlighted area.
DIRT
There could be a problem with the switch. In
this case remove the tail cap completely and
try with a new unit if available.
SWITCH
1
2
Make sure that the security tape of the
battery has been removed:
1) Check for any security tape on the
flashlight.
2) Remove the tail cap, and then remove the
tape protecting the battery.
SECURITY TAPE
TROUBLESHOOTING GUIDE
1
2
OBSTRUCTING OBJECTS
Control the interior of the tube for any
object that may obstruct the contacts. Our
flashlights have a “Batch nr.” sticker located
inside the body of the flashlight. In some
cases this sticker may fall inside the tube.
1) Look inside the tube of the flashlight.
2) Make sure that the “Batch nr.” sticker
is placed properly and not fallen at the
bottom of the tube. Look also for any
other objects.
In some rare cases, it could happen that
the pins of the battery pack (only found on
some Alkaline products) get stuck or sunk. If
this is the case, it is necessary to take them
out to their normal position.
1) Check for any of the three pins to be stuck
or sunk inside the battery pack.
2) Take the pin out with tweezers.
12
BATTERY
Check that the battery is properly placed
and not drained from power.
1) Make sure that the battery is placed
correctly. The minus - and + sides should
be placed according to the indications on
the battery or battery compartment.
2) Close the flashlight and tighten the tail
cap firmly to ensure a proper contact.
NOTE: Replace the battery immediately in
case it is damaged in any way.
TROUBLESHOOTING GUIDE
1
2
PROBLEMS WITH THE FOCUS
When it gets very dicult to use the focus,
most of the time it is caused by insucient
cleaning. Make sure that the flashlight is
clean around the area of the focus. Use a
damp cloth to clean it.
1) Turn the head to open the focus.
2) Make sure that the flashlight is clean,
particularly around the highlighted area.
1
2
Follow these steps in order to replace a lens:
1) Unscrew the topmost part of the head.
2) Locate the security ring inside the head.
Unscrew this ring for disassembling the
head.
3) Replace the lens and reassemble the
head firmly.
REPLACING A DAMAGED LENS
3
12
3
1
2
TROUBLESHOOTING GUIDE
Headlamps: V-series
Make sure that the batteries are not drained,
and placed correctly. Follow the signs
engraved in the battery pack.
UNABLE TO TURN ON THE HEADLAMP
BATTERIES
Make sure the battery is charged before
using it. Place it accordingly inside the
battery pack.
Make sure that the battery is placed
correctly. The “+ -” symbols are engraved
at the upper left corner of the battery. This
corner should be in contact with the pins of
the battery pack.
NOTE: Replace the battery immediately in
case it is damaged in any way.
UNABLE TO TURN ON THE HEADLAMP
BATTERY
Make sure that the security tape of the
battery has been removed.
SECURITY TAPE
Check for any visible damages on the cable.
If any, replace the cable.
DAMAGED CABLE
TROUBLESHOOTING GUIDE
Click!
Click!
0°
1
2
Follow these simple steps for connecting
the cable correctly:
1) The short side of the cable will be
connected to the battery pack. The long
side of the cable will be connected to the
headlamp.
2) To avoid damaging the pins make sure to
bring the cable as straight as possible to
the port.
3) Connect the cable firmly, you may hear a
light “click” when doing so.
REPLACING THE CABLE
3
TROUBLESHOOTING GUIDE
When it gets dicult to change the angle
of the head, most of the time it is caused by
insucient cleaning. Please check that the
head of the headlamp is clean:
1) Rotate the head of the lamp to open it.
2) Make sure that the headlamp is clean,
particularly around the highlighted area.
Use a damp cloth to clean it.
3) The head can be partially removed to
further clean its axis.
UNABLE TO ADJUST THE ANGLE
1 2
1
2
Follow these steps in order to replace a lens:
1) Unscrew the foremost part of the head.
2) Disassemble the head, replace the lens
and assembly the head firmly.
REPLACING A DAMAGED LENS
3
PROBLEMS WITH THE FOCUS
When it gets dicult to use the focus,
most of the time it is caused by insucient
cleaning. Make sure that the flashlight is
clean around the area of the focus. Use a
damp cloth to clean it.
1) Slide the head out to open the focus.
2) Make sure that the flashlight is clean,
particularly around the highlighted area.
12
TROUBLESHOOTING GUIDE
Headlamps: S-series
Make sure the battery/batteries are not
depleted. Place it/them accordingly inside
the battery pack.
Make sure that the battery/batteries are
placed correctly. The “+ -” symbols are
marked on the battery/batteries.
NOTE: Rechargeable batteries must
immediately be replaced in case they
are damaged in any way.
UNABLE TO TURN ON THE HEADLAMP
BATTERY
When it gets dicult to change the angle
of the head, most of the time it is caused by
insucient cleaning. Please check that the
head of the headlamp is clean:
1) Rotate the head of the lamp to open it.
2) Make sure that the headlamp is clean,
particularly around the highlighted area.
Use a damp cloth or old toothbrush to
clean it.
UNABLE TO ADJUST THE ANGLE
TROUBLESHOOTING GUIDE
Multilamps: M-series
12
BATTERY
Check that the battery is properly placed
and not drained from power.
1) Make sure that the battery is placed
correctly. The minus - and + sides should
be placed according to the indications on
the battery or battery compartment.
2) Close the flashlight and tighten the tail
cap firmly to ensure a proper contact.
NOTE: Replace the battery immediately in
case it is damaged in any way.
UNABLE TO TURN ON THE MULTILAMP
There could be a problem with the
connectivity inside the tailcap. Unscrew the
locking ring inside the tail cap and turn it up
and down in the thread several times. Then
securely tighten the locking ring.
TAILCAP CONNECTION

This manual suits for next models

3

Other suprabeam Flashlight manuals

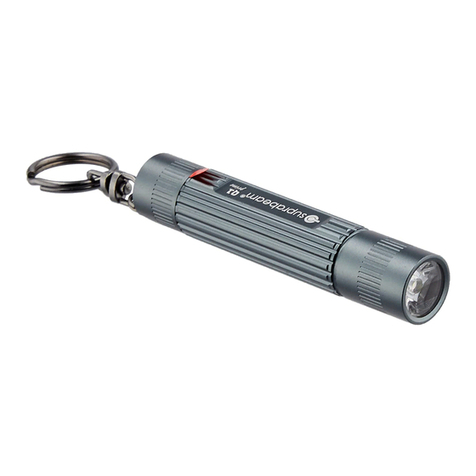
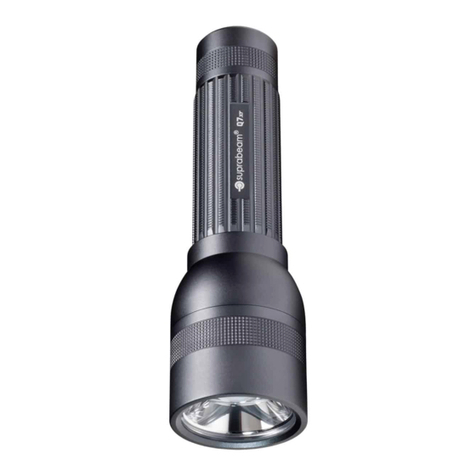
suprabeam Q7c User manual

suprabeam

suprabeam Q7c User manual

suprabeam V3 air User manual

suprabeam

suprabeam V3 air User manual

suprabeam Q1mini Operating instructions

suprabeam

suprabeam Q1mini Operating instructions

suprabeam I2r User manual

suprabeam

suprabeam I2r User manual

suprabeam Q1 User manual

suprabeam

suprabeam Q1 User manual

suprabeam W6r User manual

suprabeam

suprabeam W6r User manual

suprabeam W2r User manual

suprabeam

suprabeam W2r User manual
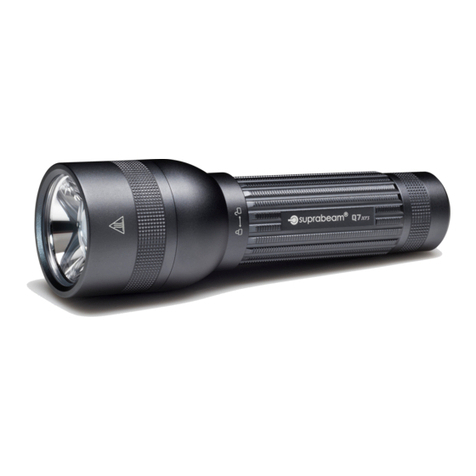
suprabeam Q3 User manual

suprabeam

suprabeam Q3 User manual

suprabeam D2r User manual

suprabeam

suprabeam D2r User manual

suprabeam D4r User manual

suprabeam

suprabeam D4r User manual

suprabeam I4r User manual

suprabeam

suprabeam I4r User manual

suprabeam Q1 User manual

suprabeam

suprabeam Q1 User manual
suprabeam V3r User manual

suprabeam

suprabeam V3r User manual
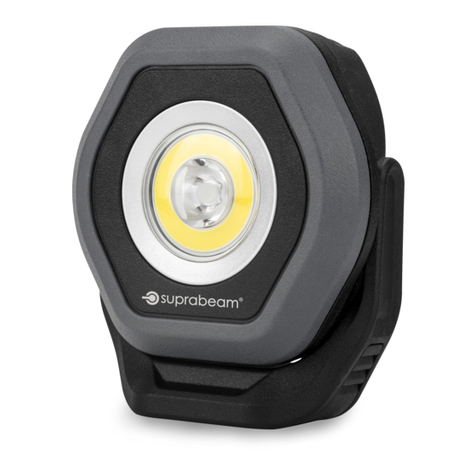
suprabeam Q7xr Instruction manual

suprabeam

suprabeam Q7xr Instruction manual

suprabeam W4r User manual

suprabeam

suprabeam W4r User manual

Popular Flashlight manuals by other brands

Bayco Products NightStick XPP-5422GX instruction manual

Bayco Products

Bayco Products NightStick XPP-5422GX instruction manual

Philips SFL3121 Specifications

Philips

Philips SFL3121 Specifications

Lezyne Super Drive XL user guide

Lezyne

Lezyne Super Drive XL user guide

Metabo ULA 14.4-18 Original instructions

Metabo

Metabo ULA 14.4-18 Original instructions

Pelican PeliLite 1800 operating instructions

Pelican

Pelican PeliLite 1800 operating instructions

Walter xl1000 Operation manual

Walter

Walter xl1000 Operation manual

Osram LEDinspect PRO POCKET 280 quick start guide

Osram

Osram LEDinspect PRO POCKET 280 quick start guide

Beta 1834RR Instructions for use

Beta

Beta 1834RR Instructions for use

Silva EXCEED 2 Series quick guide

Silva

Silva EXCEED 2 Series quick guide

NightSearcher EXPLORER MINI user manual

NightSearcher

NightSearcher EXPLORER MINI user manual

Black & Decker 9506 instruction manual

Black & Decker

Black & Decker 9506 instruction manual

FALCON EYE FBR0112 quick start guide

FALCON EYE

FALCON EYE FBR0112 quick start guide

Skil 2897 Operating and troubleshooting guide

Skil

Skil 2897 Operating and troubleshooting guide

IKEA ART EVENT 2021 manual

IKEA

IKEA ART EVENT 2021 manual

EagleTac G25C2 instruction manual

EagleTac

EagleTac G25C2 instruction manual

Seiler P1181 Operation manual

Seiler

Seiler P1181 Operation manual

Daihen MWXC-2001 instruction manual

Daihen

Daihen MWXC-2001 instruction manual

Fiilex AL250 user manual

Fiilex

Fiilex AL250 user manual

manuals.online logo
manuals.online logoBrands
  • About & Mission
  • Contact us
  • Privacy Policy
  • Terms and Conditions

Copyright 2025 Manuals.Online. All Rights Reserved.