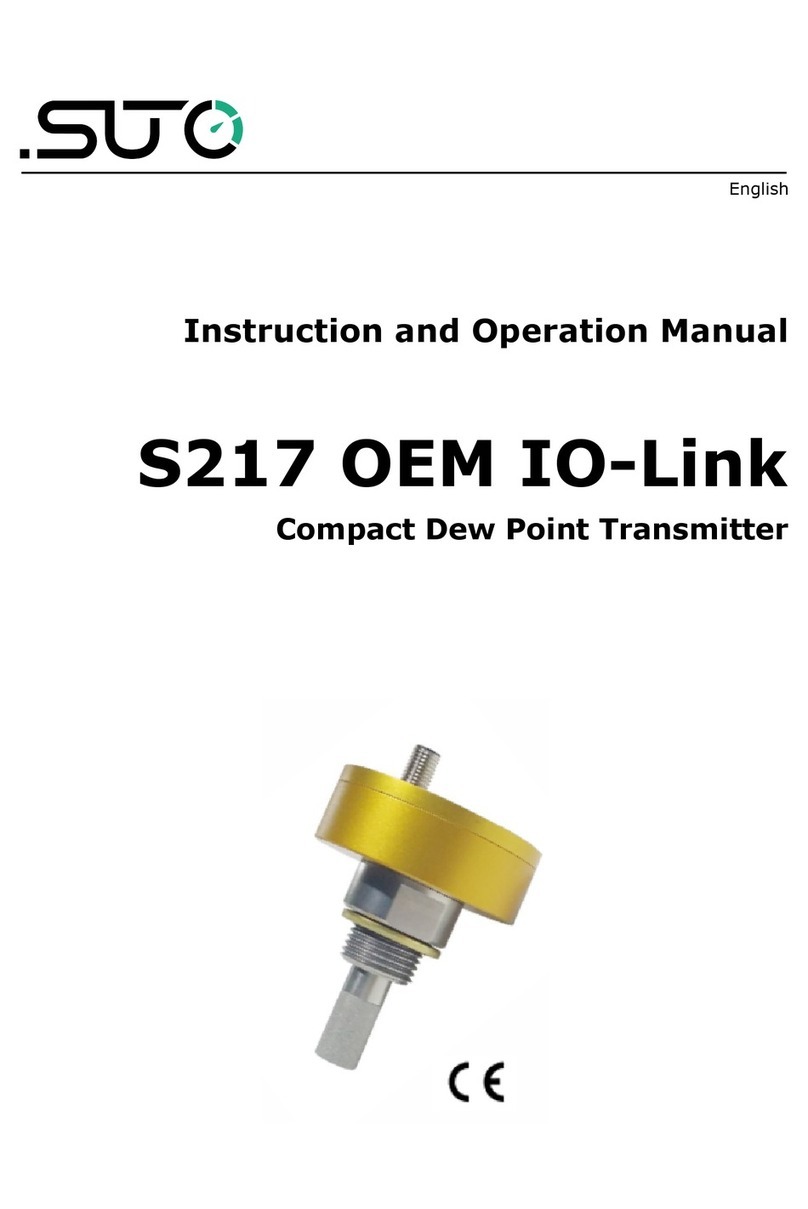
SUTO S220 OEM Manual

English
Instruction and Operation Manual
S220 OEM
Dew Point Transmitter
with UNF5 8” connection

Dear Customer,
Thank you for choosing our product.
The operating instructions must be read in full and carefully observed
before starting up the device. The manufacturer cannot be held liable
for any damage which occurs as a result of non-observance or non-
compliance with this manual.
Should the device be tampered with in any manner other than a
procedure which is described and specified in the manual, the warranty
is cancelled and the manufacturer is exempt from liability.
The device is destined exclusively for the described application.
S TO offers no guarantee for the suitability for any other purpose.
S TO is also not liable for consequential damage resulting from the
delivery, capability or use of this device.
2 S220 OEM

Table of contents
1 Safety Instructions......................................................................4
2 Registered Trademarks................................................................6
3 Application.................................................................................7
4 Features....................................................................................7
5 Technical Data............................................................................8
5.1 General................................................................................8
5.2 Electrical Data.......................................................................9
5.3 Output Signals......................................................................9
5.4 Accuracy .............................................................................9
6 Dimensional Drawing.................................................................10
7 Installation ..............................................................................12
7.1 Installation Requirements.....................................................13
7.2 Installation Procedure .........................................................14
7.2.1 Install without Measuring Chamber..................................14
7.2.2 Install with Measuring Chamber.......................................15
7.2.3 Install with By-pass Measuring Chamber...........................16
7.3 Remove the Dew Point Transmitter........................................17
7.4 Electrical Connection ...........................................................18
7.5 Connection between S220 and Customer Equipment................19
8 Display (Option)........................................................................20
8.1 Display Information.............................................................20
8.2 Displayed Values.................................................................20
8.3 Display Rotation..................................................................20
9 Signal Outputs..........................................................................21
9.1 Analog Output ....................................................................21
9.2 Modbus/RT Output ............................................................21
9.2.1 Modbus/RT Informtion .................................................21
9.2.2 Holding Register Table for Modbus/RT ............................23
10 Optional Accessories................................................................26
10.1 Measuring Chamber...........................................................26
10.2 Service Kit........................................................................26
11 Calibration..............................................................................27
12 Maintenance...........................................................................27
13 Disposal or Waste....................................................................27
S220 OEM 3

1 Safety Instructions
Please check if this instruction manual matches with the
product type.
Please observe all notes and instructions indicated in this
manual. It contains essential information which must be
observed before and during installation, operation and
maintenance. Therefore this instruction manual must be read carefully
by the technician as well as by the responsible user or qualified
personnel.
This instruction manual must be available at the operation site of the
Dew Point Sensor at any time. In case of any obscurities or questions,
regarding this manual or the product, please contact the manufacturer.
WARNING!
Compressed air!
Any contact with quickly escaping air or bursting
parts of the compressed air system can lead to
serious injuries or even death!
•Do not exceed the maximum permitted pressure range (see
sensors label).
•Only use pressure tight installation material.
•Avoid that persons get hit escaping air or bursting parts of the
instrument.
•The system must be pressure-less during maintenance work.
WARNING!
Voltage used for supply!
Any contact with energized parts of the product, may
lead to a electrical shock which can lead to serious
injuries or even death!
•Consider all regulations for electrical installations.
•The system must be disconnected from any power supply during
maintenance work.
•Any electrical work on the system is only allowed by authorized
qualified personal.
4 S220 OEM

1 Safety Instructions
ATTENTION!
Permitted operating parameters!
Observe the permitted operating parameters, any
operation exceeding this parameters can lead to
malfunctions and may lead to damage on the
instrument or the system.
•Do not exceed the permitted operating parameters.
•Make sure the product is operated in its permitted limitations.
•Do not exceed or undercut the permitted storage and operation
temperature and pressure.
General safety instructions
•It is not allowed to use the product in explosive areas.
•Please observe the national regulations before/during installation
and operation.
Remarks
•It is not allowed to disassemble the product.
•Always use spanner to mount the product properly.
ATTENTION!
Measurement values can be affected by malfunction!
The product must be installed properly and
frequently maintained, otherwise it may lead to
wrong measurement values, which can lead to
wrong results.
S220 OEM 5

1 Safety Instructions
Storage and transportation
•Make sure that the transportation temperature of the device is
between -30 ... +70°C.
•For transportation it is recommended to use the packaging which
comes with the device.
•Please make sure that the storage temperature of the device is
between -20 ... +50°C.
•Avoid direct V and solar radiation during storage.
•For the storage the humidity must be <95% rH, no condensation.
2 Registered Trademarks
S TO®
Registered trademark of S TO iTEC
MODB S®
Registered trademark of the Modbus Organization, Hopkinton, SA
6 S220 OEM

3 Application
3 Application
The S220 OEM Dew Point Transmitter is an industrial instrument
designed for measuring dew point and related parameters in
compressed air or industrial gases under specified operating conditions
(See next page ).
Parameter Default unit
Temperature °C
Humidity % rH
Dew point °C Td
Pressure (optional) bar (g)
Remark: You can change the units using the service
kit (optional) or the S4C-DP mobile App.
The S220 OEM Dew Point Transmitter is mainly used in compressed air
systems in the industrial environment, and not developed to be used in
explosive areas. To use it in explosive areas, please contact the
manufacturer.
4 Features
•The Dew Point Transmitter S220 is applicable for measuring down
to -100°C Td.
•Optional display for on-site values. The display can be rotated
340° horizontally to ease your access to readings.
•Various signal output options: 4 ... 20 mA 2-wire or 4 ... 20 mA 3-
wire + Modbus RT .
•Optional integrated pressure sensor.
•IP65 casing provides robust protection in rough industrial
environment.
•Very fast response time ensures safe and reliable indication
whenever dew points are out of valid ranges.
•High accuracy of ± 2°C Td dew point.
S220 OEM 7

5 Technical Data
5 Technical Data
5.1 General
Parameters Standard unit dew point: °C Td
Standard unit temperature: °C
other units: °F, K
Standard unit humidity: % rH
Standard unit pressure: bar (g)
Principle of measurement Capacitive method and frequency method
Measuring range Dew point
Relative Humidity
Temperature
Pressure (option)
: -100 ... +20°C Td
: 0 ... 90% rH
: -30 ... +70°C
: 0 ... 1.6 MPa
Sensor Dew point sensor: QCM + Polymer
Temperature sensor: Pt100
Pressure sensor: Piezo resistive type
Measuring medium Air, Argon, O2, N2, CO2
Response time (T90)
@4 l/min 0 °C Td → -80 °C Td ≤ 420 sec
-80 °C Td → 0 °C Td ≤ 90 sec
Ambient temperature 0 ... +50°C
Ambient humidity 0 ... 95% rH
Operating pressure -0.1 ... 1.6 MPa
Casing material Casing: Aluminium alloy
Process thread: Stainless steel 1.4301
(S S 304)
Display cover: PC + ABS
Protection class IP65
Display (optional) 0.66” OLED display for displaying the
measured value and unit
340° horizontally rotatable*
Dimensions See dimensional drawing on the page 10
Screwing thread NF5/8” thread
Weight 180 g
8 S220 OEM

5 Technical Data
* The rotation force cannot exceed 3.0 N.m.
5.2 Electrical Data
Power supply 15 ... 30 VDC
Current consumption 2-wire: 4 ... 20 mA
3-wire + Modbus/RT : 40 mA @ 24 VDC
5.3 Output Signals
Analog output 4 ... 20 mA 2-wire
Analog output scaling 4 mA
20 mA
= -100°C Td
= +20°C Td
Modbus output Modbus/RT
Modbus communication Mode: RT
Baud rate: 19200
Device address: last 2 digits of serial number
Framing / parity / stop bit: 8 / N / 1
Response time: 1 second
Response delay: 0 ms
Interframe spacing: 7 char
5.4 Accuracy
Accuracy Dew point:
±1 °C Td (0 ... 20°C Td)
±2 °C Td (-70 ... 0°C Td)
±3 °C Td (-100 ... -70°C Td)
Temperature: ± 0.3°C
Pressure: 0.5% FS
Repeatability of dew point ± 0.5°C
Stated accuracy at Ambient/process temperature 23°C ± 3°C
Ambient/process humidity <95% rH, no
condensation
Airflow > 2 l/min at sensor tip
S220 OEM 9

7 Installation
7 Installation
Before installing the S220 OEM, please make sure that all components
listed below are included in your package.
Qty Description Order No. (Verion dependent)
1 S220 OEM Dew Point
Transmitter
S699 2204
S699 2206
1 Depending on orders:
M12 plug or M12 cable
Plug: C219 0059
Cable: A553 0104/A553 0105
1 Instruction manual No P/N
1 Calibration certificate No P/N
The S220 OEM Dew Point Transmitter is offered in different versions.
Depending on the version the options might be different, see table
below for an overview about the different versions, their signal outputs
and available options.
S220 OEM Dew Point Transmitter versions
Order No. Version
S699 2204 Dew Point Transmitter with 2-wire analog and SDI output
S699 2206 Dew Point and Pressure Transmitter with 3-wire analog
and Modbus/RT output
Display options
Order No. Code Description
A Without display
A1386 B
OLED Display option for S220 OEM 3-wire
Analog and Modbus version
(i.e., for S699 2206)
In any case, if you need support to choose the right version for your
application, please feel free to contact S TO sales support.
12 S220 OEM

7 Installation
7.1 Installation Requirements
•The device is for indoor use only! At an outdoor installation, it
must be protected from solar radiation and rain.
•It is strongly recommend not to install the S220 permanently in a
wet environment, which usually exists right after a compressor
outlet.
•The flowing air or gas must pass the sensor tip for a proper
measurement. This can be realized with a measurement chamber.
For an installation without the measuring chamber, you must
insert the device to the required depth, as described in section
7.2.1 Install without Measuring Chamber.
•Sensor orientation requirement
Install the device only in
the recommended area, as
shown in picture on the
left.
The angle between the
device and the centre
vertical line of the tube
must be greater than 30°.
An upside down installation
is not permitted.
ATTENTION!
Wrong measurement is possible if the instrument is
not installed correctly.
S220 OEM 13

7 Installation
7.2 Installation Procedure
7.2.1 Install without Measuring Chamber
This is the full flow installation. The sensor is in the pipe. Install through
a nozzle.
•Install the device only
if the system is
pressure-less.
•Check the size of the
nozzle and make sure
that no less than 1/3
of the sensor tip is
inside of the pipe.
•The inner thread of
the nozzle must be
NF5/8”.
14 S220 OEM

7 Installation
7.2.2 Install with Measuring Chamber
1. Mount the transmitter on the
measuring chamber by using
the NF5/8” connection.
2. Make sure the transmitter is
tightly sealed, therefore the
sealing ring on the transmitter
must be used.
3. Connect the measuring
chamber to the compressed
air system using a quick
connector. Make sure the Dew
Point Transmitter is screwed
on the chamber before
connecting.
The measuring chamber will
create a purge flow.
S220 OEM 15

7 Installation
7.2.3 Install with By-pass Measuring Chamber
Two installation methods are available for this kind of measuring
chamber:
Method 1: Full pass through by-pass installation
This method is to be used when the full air flow is passing through the
measuring chamber.
1. Connect the inlet of the chamber using a 6 mm teflon hose to your
system.
Note: The full flow must pass the measuring chamber. Ensure a
certain flow rate to get fast response time.
2. Connect the outlet of the chamber to your system using the 6 mm
hose quick connector.
See figure below for details.
16 S220 OEM

7 Installation
Method 2: By-pass installation
Note: In order to use the measurement chamber in a by-pass you must
ensure a pressure difference between P1 and P2 as indicated in the
picture below.
1. Connect the inlet of the chamber to your pipe system.
2. Connect the outlet of the chamber to your pipe system where the
pressure is known to be lower than the inlet pressure.
Note: The pressure difference P1 > P2 is needed to create a by-pass
flow through the chamber. If there is no pressure difference between P1
and P2, there will be no flow through the chamber and therefore the
response time will be very slow or the device will not even respond at
all to the dew point changes.
7.3 Remove the Dew Point Transmitter
nscrew the device off the measurement chamber or from the nozzle.
S220 OEM 17

7 Installation
Please make sure that the system is pressure-less before the Dew Point
Transmitter is removed.
7.4 Electrical Connection
Connection pins of the M12 plug
Connection pins
(View onto the connector)
Pin assignment of the M12 plug
Dew Point Transmitter version: S699 2204
Output signal: 2-wire Analog output and SDI
Pin 1 Pin 2 Pin 3 Pin 4 Pin 5
SDI -VB
(Analog loop)
+VB
(Analog loop)
N/A N/A
Brown White Blue Black Gray
Dew Point Transmitter version: S699 2206
Output signal: 3-wire Analog output and Modbus/RT
Pin 1 Pin 2 Pin 3 Pin 4 Pin 5
+I
4 … 20 mA
-VB+VBD+
Modbus/RT
D-
Modbus/RT
Brown White Blue Black Grey
Legend to pin assignment
SDI Digital signal (internal use) +l Active 4 … 20 mA signal
-VB Negative supply voltage NA Not applicable
+VB Positive supply voltage D+ Modbus/RT data +
D- Modbus/RT data -
18 S220 OEM

7 Installation
ATTENTION!
Do not screw the M12 plug using force. Otherwise, it
may damage the connecting pins.
7.5 Connection between S220 and Customer Equipment
This section provides figures to show how S220 outputs connect with
the customer equipment.
2-wire analog output
3-wire analog and
Modbus/RT outputs
S220 OEM 19

7 Installation
Modbus/RT output
8 Display (Option)
8.1 Display Information
The dew point transmitter S220 can be equipped with an optional
display directly mounted on the sensor. The display shows the live
values of Dew point, Temperature, Humidity and Pressure (if the dew
point transmitter with a pressure sensor).
8.2 Displayed Values
The display automatically cycles through all values every 3 seconds.
This means the display is showing every 3 seconds the live values of
Dew point, Temperature, Humidity and Pressure (if the dew point
transmitter with pressure sensor) and is cycling through these
automatically.
8.3 Display Rotation
The display can be easily rotated by 340° to fit your application. To do
this, please loosen the two hex-screws at both sides of the dew point
transmitter. Do not full unscrew them, only loosen them. Now you can
turn the display by 340°. When the desired position is achieved, tighten
the two hex-screws from both sides to fix the display position.
20 S220 OEM
This manual suits for next models
2
Table of contents
Other SUTO Transmitter manuals
Popular Transmitter manuals by other brands

DRAKE
DRAKE T-4XC instruction manual

Harris
Harris MW-5 Service bulletin

ALFAtron
ALFAtron ALF-TP405PT manual

Electronic Broadcast Equipment
Electronic Broadcast Equipment SIRIO 2000T User and maintenance manual

Leuze electronic
Leuze electronic DDLS 508 operating instructions

Beyerdynamic
Beyerdynamic Synexis TP8 Product information