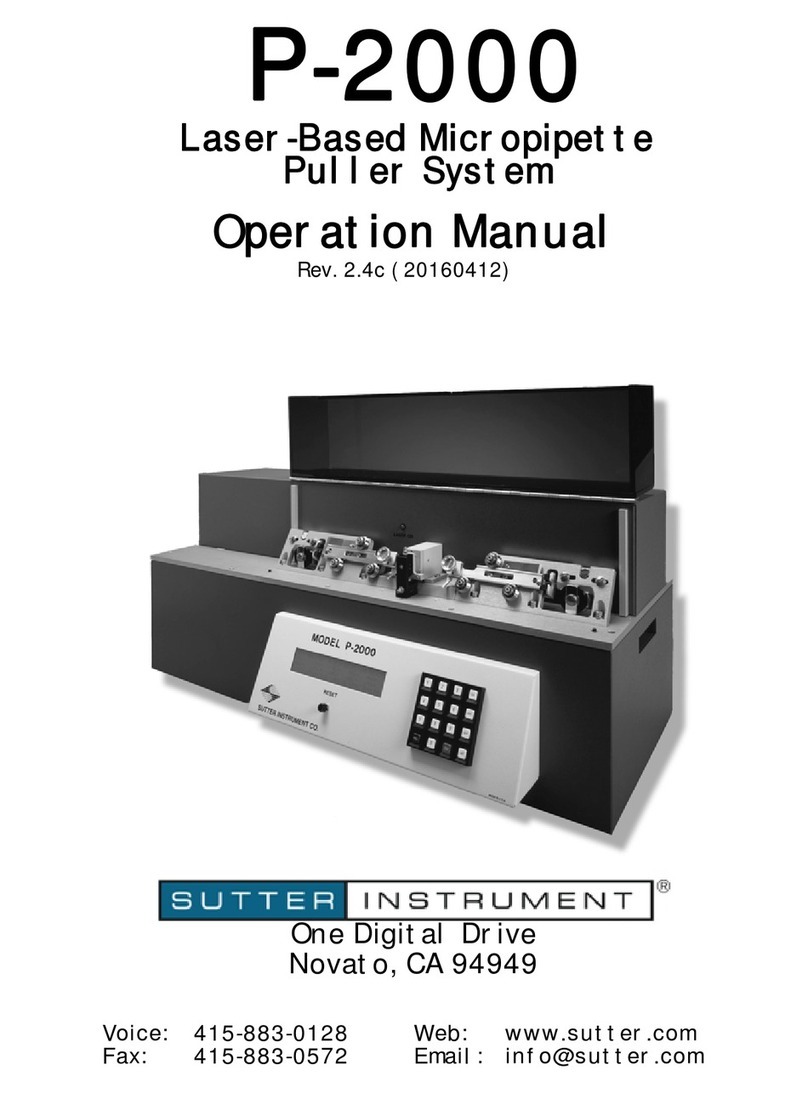
Sutter Instrument P2000/G User manual

P2000/G Laser-Based Micropipette Puller Quick Start Guide
Warning to Users: Never adjust the black micropositioner which holds the retroreflective mirror (retromirror) without explicit
instruction from Sutter Instrument Co. This has been carefully calibrated to ensure optimal performance of your instrument.
First Time Setup
1. Remove the instrument from the box and place on a flat surface. Retain the box and packing
materials. These are needed in case the instrument needs to be shipped.
2. Lift the acrylic lid and remove the two red plastic rectangles. Retain these in case the instrument
needs to be returned to the factory. Remove the rubber bands holding the puller bars together.
3. Loosen the shipping screw by turning it counterclockwise several turns. Leave the screw partially
threaded into the puller. You will need to retighten this screw if the instrument needs to be shipped.
4. Insert the supplied power cord in the power entry module on the back of the instrument. Plug the
cord into a power source.
5. Power the unit on by toggling the switch on the left side of the puller.
6. Ensure the tilt setting has not changed during shipping by running a thermal paper test. The
following sections describe accessing a program and loading glass, which must be done prior to this
test.
Selecting and Loading a Program
1. At power on, the home screen prompts you to select a program. Using the keypad, enter a number from 0-99 and press <ENTR>
to access that program. Some programs were loaded at the factory. Refer to the operations manual for detail on these.
2. Each program has 5 parameter spaces (HEAT, FIL, VEL, DEL, PUL). These spaces can be populated with values in either of 2 ways:
i. Entering 3 digits will fill a parameter space and advance to the next. For values less than 100, values can be loaded with
leading zeros (e.g. 005, 040, etc.)
ii. Entering fewer than 3 digits followed by the <ENTR> key. You can advance to the next parameter without changing the
value of the current one by keying <ENTR> without entering any digits.
3. Exit a program and return to the home screen by depressing the black <RESET> switch
Loading Glass
1. Loosen the glass clamps on both puller bars by turning the knobs counterclockwise.
2. Insert a piece of capillary glass into the top groove of one puller bar. Start with the
whole capillary behind the glass clamp.
3. With your thumb near the end of the capillary farthest from the shroud, slide the
capillary towards the center of the puller until the far end of the capillary is outside of
the cutout in the puller bar.
4. Still holding the back end of the capillary, clamp the glass snugly.
5. Release the puller bars from their clip locks by depressing the flat metal spring behind
each bar and then pulling the bars forward slightly.
Tilt micrometer with
shipping screw partially
removed
Load glass here
Do NOT load glass here
Step 3

6. Advance both puller bars completely forward using the finger holds. A puller bar is
completely advanced when the slot cut in the bar touches the edge of the stop screw
in that slot.
7. Holding the puller bars together with one hand, slightly loosen the clamp holding the
glass, so the glass can be advanced without falling out of the top groove of the bar.
8. Advance the glass until an even length of glass is on either side of the
shroud/retromirror.
9. Still holding the bars together, lock the glass in this position by tightening the clamps
on both bars. Tighten the clamps snugly. Do not overtighten.
Running a Thermal Paper Test and Adjusting the Tilt Micrometer
1. Remove the shroud by loosening the two screws which hold it in place and lifting it straight up.
2. Load a piece of glass, preferably one with a 1 mm OD.
3. Place a piece of thermal paper between the glass and the metal retromirror with the heat-sensitive side of the paper facing the
glass. The heat-sensitive side of the paper is slightly glossy while the insensitive size has clearly visible red inclusions.
4. Access program 51.
5. Close the lid and press the green <PULL> button. The laser will not fire if the lid is open.
6. Remove the thermal paper without unloading the glass. You should see a burn mark with two lobes. These should be of equal
size. If the upper lobe is larger, turn the tilt micrometer counterclockwise less than ¼ turn and repeat the test. If the lower lobe is
larger, turn the micrometer clockwise. If there is only one elliptical burn mark with a lighter grey or white center, the laser is
completely missing the glass. Refer to the label on the back of the instrument and reset the tilt micrometer to this factory setting.
7. Repeat steps 3-6 until both lobes are of equal size.
8. Clean the retromirror as outlined in the maintenance section.
Pulling a Pipette
1. Access a program of your choice. Consult the manual before designing your own programs to understand the parameters.
Programming advice can be obtained by contacting Sutter technical support (info@sutter.com)
2. Load a piece of glass, close the cover, and press <PULL>. The puller will run through the programmed lines in order. If the glass
fails to separate, the program will loop back to the first line and start again until a pipette is pulled. Refer to the manual for
information on looping and multiple line programs. If the laser is on continuously for more than 50 seconds the program will time
out. This usually indicates either incorrect loading of glass or a bad program.
3. After the glass has separated, but before opening the lid, the puller will display information about the pull (number of loops, last
line used, and heat-on time). For a stable program, the first 2 values should not vary between pulls, and the heat-on time should
not vary by more than 1 second.
Good
adjustment
Laser too high. Turn
micrometer
counterclockwise
Laser Too Low.
Turn micrometer
clockwise
Complete miss.
Reset micrometer
to factory default
Sensitive Side
Insensitive Side
Step 5
Step 7
Step 8
Stop Screw

Running a Ramp Test
It can be useful to use a RAMP value as a starting point for the heat value. The RAMP value is an empirical measurement of the laser
output required to work the glass. The RAMP value is unique for each combination of glass and FIL value.
1. Access any program
2. Press <CLR>. This will bring up a screen asking if you want to clear the program. Key <0> for no.
3. There will now be a list of control functions on the screen, press <1> to access the RAMP test function.
4. Load a piece of glass, close the lid, and press <PULL>. You will be prompted enter a filament (FIL) value. Enter the value you would
like to use for your program and press <ENTR>.
5. The puller will increase the laser output until the glass just begins to melt. The value at which this occurs is the RAMP value. Note
this somewhere, as the puller does not retain it in memory.
Maintenance and Troubleshooting
While Sutter Instrument Co. is always happy to support our products, some basic maintenance and troubleshooting can be done by
users to prevent and address minor problems and simplify the diagnosis of larger issues.
1. Cleaning the Retromirror:
The retromirror should be cleaned weekly or bi-weekly, depending on the frequency of use. Residue from the glass is deposited on
the retromirror by the laser. If not removed, the residue is baked into the mirror on subsequent pulls, necessitating the mirror’s
replacement. The mirror should also be cleaned after finishing a thermal paper test.
i. Remove the shroud.
ii. Observe the curved surface of the retromirror using the mirrored tile which you received with the puller. A clean
retromirror is equally reflective across its whole surface
iii. Wet a piece of optical tissue or lens paper with 100% ethanol, isopropanol, or acetone. Never use any other type of cloth
or cleaners
iv. Clean the mirror by wiping it several times and allowing the solvent to evaporate. Do not touch wet portions of the lens
paper with ungloved fingers. This can transfer oils from your hands onto the mirror.
v. If any cloudy, discolored, or unreflective spots remain the mirror is damaged and must be replaced.
vi. Replace the shroud.
2. If a program which previously worked consistently has become inconsistent, check the tilt micrometer alignment with a thermal
paper test, clean the mirror, and confirm that the glass is being properly loaded.
3. If you believe the puller is failing to heat the glass, do the following and then reach out to Sutter technical support
i. Run a thermal paper test and check that the tilt micrometer is properly aligned.
ii. Clean the retromirror and check for damage
iii. Run default program 2 using Q100-70 glass, a sample of which was provided with your puller, and note the information
given in the post-pull report.
iv. Check the label on the back of the instrument for the serial number of this instrument. This is on a silver sticker on which
a bar code is also printed.
Clean
Dirty
Damaged
Images of the retromirror in different states of repair. On instruments produced After January of 2020, the
gold plated retromirror was replaced with a chrome plated mirror. Instructions for care are identical

Limitations of the P-2000/G
Because of the nature of the heat source on the P-2000, there are some intrinsic limitations on the performance of the instrument.
These are elaborated below:
1.Tips pulled on the P-2000/G will almost always be eccentric (i.e., the tip will not sit at the exact center of the pipette’s diameter). At
the factory, we tune the instrument so that this eccentricity is less than 100 µm in the plane of the laser and less than 20 µm in the
plane perpendicular to the laser when using 1 mm OD quartz capillaries. Eccentricity increases with outer diameter. Usually, this is
a cosmetic issue and does not affect the usefulness of the pipettes produced.
2.The heat from the laser dissipates immediately when the laser shuts off. There is essentially no gradual decrease in the temperature.
This means that the P-2000/G is not ideal for pulling pipettes with long, parallel, tapers, such as those use for ICSI or pronuclear
injection. A filament puller, such as a P-97 or P-1000, is a better choice for this sort of pipette.
3.The P-2000 only scans the laser horizontally, meaning the starting diameter of the capillary is limited by the diameter of the laser
beam. Though possible, it is not recommended to pull capillaries with an outer diameter over 1.5 mm. The P-2000/G performs best
when used with capillaries with an outer diameter of 1.2 mm or less.
4.The efficiency of the P-2000 laser decays use-independently over time. Any given laser is usually expected to last between 10 and
20 years with most lasting upwards of 15 years. Laser replacement must be carried out at our factory.
Use the QR codes below to access video tutorials on the information covered in this guide:
SERVICE & SUPPORT
Thank you for choosing Sutter Instrument products. To guarantee the highest standards of quality and performance, every
instrument is fabricated on-site by highly skilled technicians. The instrument contained herein has been assembled with care
and tested to assure it meets rigid quality control standards.
We hope that our instruments and products continually meet your needs. However, should a problem arise, please contact
our technical support staff to discuss your concerns. If the instrument requires factory service, we will furnish shipping
instructions. Items under warranty will be repaired free of any costs for parts or service. Both delivery and return shipping
costs are the responsibility of the owner.
This product carries a limited warranty of 2 years for parts and labor
Our office hours are 8:00 am to 5:00 pm Pacific time, Monday through Friday.
Sutter Instrument
One Digital Drive
Novato, CA 94949, USA
www.Sutter.com
Phone 1.888.883.0128
Fax 1.888.883.0900
Intl. Phone +1.415.883.0128
Intl. Fax +1.415.883.0572
Loading Glass
Thermal Paper
Test
RAMP Test
Pulling a
Pipette
Table of contents
Other Sutter Instrument Laboratory Equipment manuals

Sutter Instrument
Sutter Instrument P-1000 User manual

Sutter Instrument
Sutter Instrument MP-225 User manual

Sutter Instrument
Sutter Instrument MPC-78 User manual

Sutter Instrument
Sutter Instrument TRIO MP-235 User manual

Sutter Instrument
Sutter Instrument Lambda DG-4 User manual

Sutter Instrument
Sutter Instrument P-97 Installation manual

Sutter Instrument
Sutter Instrument LB10-3 User manual

Sutter Instrument
Sutter Instrument LAMBDA 10-B User manual

Sutter Instrument
Sutter Instrument P-2000 User manual

Sutter Instrument
Sutter Instrument XenoWorks BRM User manual