manuals.online logo
Brands
  1. Home
  2. •
  3. Brands
  4. •
  5. SW-Motech
  6. •
  7. Motorcycle Accessories
  8. •
  9. SW-Motech FSC.11.619.10001/B User manual

SW-Motech FSC.11.619.10001/B User manual

Anbauanleitung / Mounting Instructions
1
Copyright by
SW-MOTECH GmbH & Co. KG
Irrtümer und Änderungen vorbehalten. Technische und Design-Änderungen vorbehalten.
Errors and omissions expected. Technical and design-modifications are subjects to change.
Konfektionierung durch / Packed by: Datum der Konfektionierung / Date of Packing:
SW-MOTECH GmbH & Co. KG
Ernteweg 8/10
35282 Rauschenberg
Germany
Tel. / phone + 49 (0)6425 / 8168 - 050
Fax / fax + 49 (0)6425 / 8168 - 10
[email protected]
www.sw-motech.com
DEUTSCH - Vielen Dank, dass Sie sich für dieses Premium-Produkt von
SW-MOTECH entschieden haben. Bitte besuchen Sie unseren Webshop für
weitere Informationen wie Modellzuweisungen und PDF-Anbauanleitung.
Erforderliche Dokumente (z. B. ABE) stehen als Download zur Verfügung.
Die Montage und / oder Wartung dieses Produkts erfordert ein gutes
technisches Verständnis! Zu Ihrer eigenen Sicherheit empfiehlt SW-MOTECH,
die Montage und / oder Wartung durch eine Fachwerkstatt durchführen zu
lassen! SW-MOTECH übernimmt keine Haftung für Schäden, die durch eine
unsachgemäße Montage und / oder Wartung verursacht wurden!
Beachten Sie alle in der Anbauanleitung angegebenen Hinweise und die für
die Montage relevanten Informationen im Fahrzeughandbuch. Nichtbeachtung
kann zu Schäden am Fahrzeug bzw. zur Gefährdung des Fahrers führen!
Diese Anbauanleitung ist nach unserem derzeitigen Kenntnisstand verfasst
worden. Rechtliche Ansprüche auf Richtigkeit bestehen nicht.
Dieses Produkt wurde für Fahrzeuge im Werkszustand entwickelt. Die
Kompatibilität mit Original-Zubehörteilen bzw. den Zubehörteilen anderer
Hersteller kann nicht gewährleistet werden. Stellen Sie des Weiteren VOR
Montage dieses Produkts sicher, dass sich alle beweglichen Teile (z. B. die
Kette) im ursprünglichen Wartungszustand befinden. Montiertes Zubehör
kann das Fahrverhalten und/oder die Stabilität Ihres Fahrzeugs verändern.
ALLGEMEINE HINWEISE
Beachten Sie die landesspezifischen Vorschriften für Zulassung / Betrieb Ihres
Fahrzeugs bzw. anwendbare TÜV-Vorschriften. Lassen Sie eintragungspflichtige
Teile nach Montage durch Ihre Prüfstelle in die Fahrzeugpapiere eintragen.
VORBEREITUNG: Lesen Sie die Anbauanleitung aufmerksam und stellen Sie
sicher, dass alle Teile der Stückliste vorhanden sind. Achten Sie darauf, dass
Ihr Fahrzeug sicher steht und nicht umfallen kann. Schalten Sie den Motor ab
und ziehen Sie den Zündschlüssel. Lassen Sie ggf. den Motor / Auspuff abkühlen.
Klemmen Sie bei Arbeiten an der Elektrik die Fahrzeugbatterie ab. Verwenden
Sie geeignetes Werkzeug. Lassen Sie sich von einer zweiten Person helfen.
MONTAGE: Alle vom Motorrad gelösten Teile und Verbindungen sind gemäß
den Fahrzeugherstellerangaben wieder zu montieren oder durch die von
SW-MOTECH gelieferten Teile zu ersetzen. Sichern Sie, falls nicht anderweitig
definiert, alle Gewinde mit mittelstarker, flüssiger Schraubensicherung.
Alle nicht durch SW-MOTECH definierten Anzugsmoment-Vorgaben müssen
beim Fahrzeughersteller oder einer Fachwerkstatt erfragt werden!
FUNKTIONSKONTROLLE: Stellen Sie nach der Montage sicher, dass alle zuvor
gelösten Teile und Verbindungen wieder ordnungsgemäß montiert wurden.
Achten Sie außerdem auf die uneingeschränkte Freigängigkeit und einwandfreie
Funktion sämtlicher Fahrzeugteile. Kabel, Züge und Schläuche dürfen nicht
scheuern und / oder geklemmt werden. Führen Sie vor Fahrtbeginn eine
umfassende Funktionskontrolle durch. Überprüfen Sie nach den ersten 50 km
und anschließend in regelmäßigen Abständen das Anzugsmoment aller
Schraubverbindungen und den ordnungsgemäßen Sitz des Produkts.
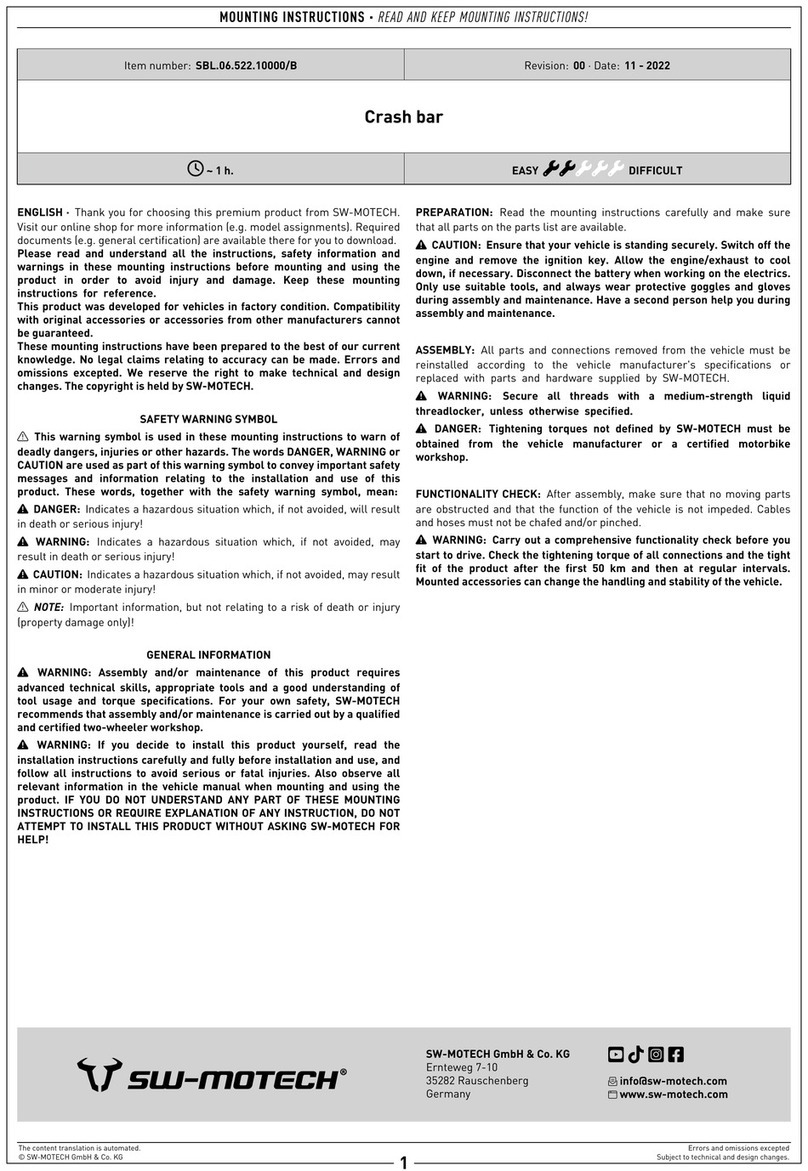
ENGLISH - Thank you for choosing this premium product from SW-MOTECH.
Please visit our webshop for additional information, such as application charts
and PDF mounting instructions. Any other documents that may be required
(e.g. ABE certifications), are also available for download at our webshop.
Installation and / or maintenance of this product require good technical
understanding! For your own safety SW-MOTECH recommends having
installation and / or servicing carried out by a specialist workshop!
SW-MOTECH assumes no liability for damage caused by improper installation
and / or maintenance work!
Carefully follow all the directions given in the mounting instructions and pay
attention to all relevant information in the vehicle manual during assembly.
Nonconformance can lead to vehicle damage or even endanger the driver!
These mounting instructions are written based on our current state of
knowledge. Legal requirements for accuracy do not exist.
This product was developed for vehicles in their factory setting. Compatibility
with original accessory parts or other manufacturers’ accessory parts is not
guaranteed. Furthermore, BEFORE installing this product, make sure that
all moving parts (e.g. the chain) are in the original state of maintenance.
Installed accessories can change the driving behaviour and / or stability of
your vehicle.
GENERAL INFORMATION
Observe the country-specific regulations concerning vehicle registration /
operation as well as TÜV regulations if applicable. If required, register installed
parts in the vehicle documents through an appropriate inspection authority.
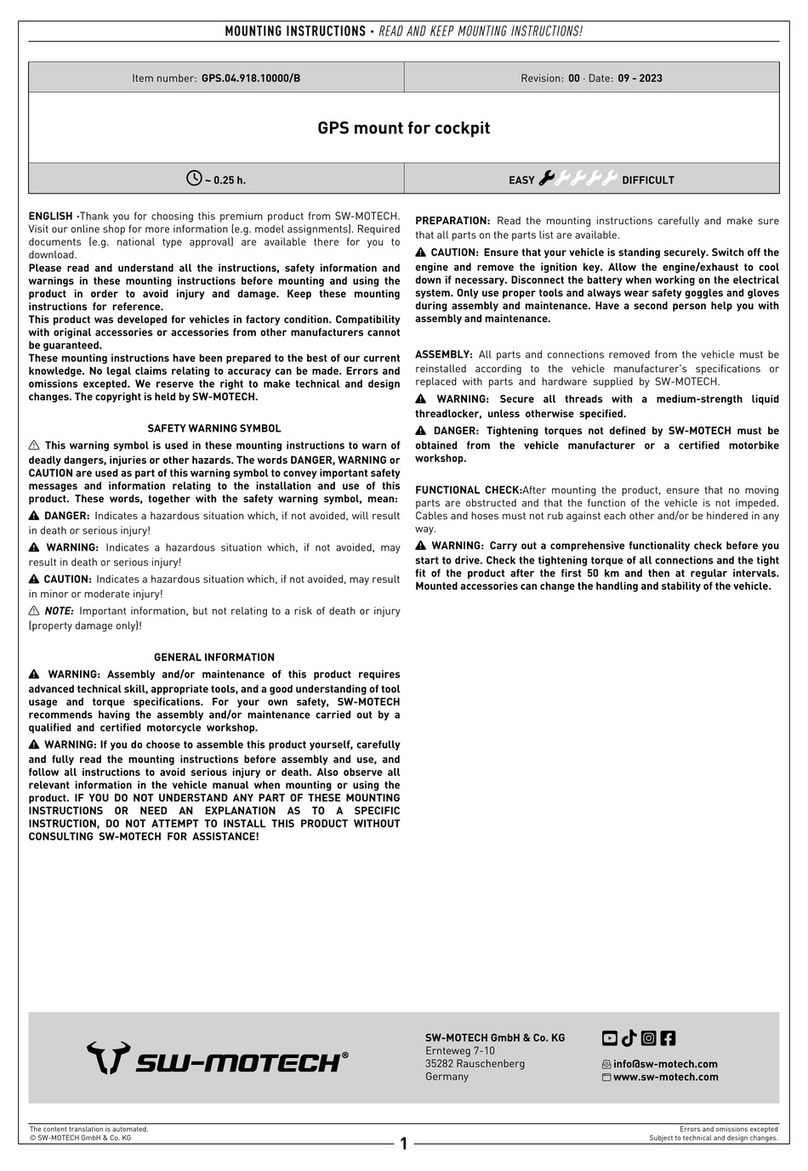
PREPARATION: Read the mounting instructions carefully and make sure that
all items of the parts list are included. Make sure that your vehicle is parked
safely and cannot fall over. Turn off the engine and remove the ignition key.
Let the motor / exhaust cool off if necessary. Disconnect the vehicle battery
when working on the electrical system. Use appropriate tools. Have another
person to help you.
MOUNTING: All parts and connections removed from the vehicle must be
reinstalled in accordance with the vehicle manufacturers’ specifications or
replaced by parts delivered by SW-MOTECH. Secure all threads, unless
otherwise specified, with medium-strength liquid thread locker.
Torque specifications undefined by SW-MOTECH must be obtained from the
vehicle manufacturer or by a specialist workshop!
FUNCTION CHECK: After installation make sure that all parts and connections
previously removed are properly replaced. Also make sure that no moving parts
are obstructed and no function of the vehicle is hindered in any way. Cables
and hoses must not rub and / or be pinched. Before starting to ride, perform
a comprehensive check of all functions. After the first 50 km and then at regular
intervals, check the tightening torque of all screw connections and the proper
fit of the product.
Schalthebel
Art.-Nr. / Item No.: FSC.11.619.10001/B Revision: 00 · Datum / Date: 02 - 2023
Gear Lever
PRODUKTSPEZIFISCHE HINWEISE
ACHTUNG: Die Kurven- und Bodenfreiheit kann bei extremer Schräglage
durch dieses Produkt eingeschränkt werden!
ACHTUNG: Stellen Sie nach Montage des Schalthebels sicher, dass die
Freigängigkeit aller Komponenten im Montagebereich gewährleistet ist!
Schalten Sie alle Gänge durch und stellen Sie sicher, dass die Justierung des
Schalthebels Ihrer Fahrergonomie entspricht!
PRODUCT SPECIFIC INFORMATION
ATTENTION: While cornering at extrem lean angles, ground clearance can
be reduced by using this product!
ATTENTION: After installation of the lever ensures that the clearance of all
components is unobstructed! Check all gears and make sure that the
adjustment of the lever is accorded to your driving ergonomics!
Stückliste / Parts List
2
Copyright by
SW-MOTECH GmbH & Co. KG
Irrtümer und Änderungen vorbehalten. Technische und Design-Änderungen vorbehalten.
Errors and omissions expected. Technical and design-modifications are subjects to change.
Alle Maßangaben in Millimeter. / All measurements in millimeters. · * Der zweite Wert gibt die Gesamtanzahl des jeweiligen Artikels in der Lieferung an. / * The second number indicates the total quantity of the listed part in the delivery.
Artikel Part N·m
(1) FSC.11.619.900.01 Schalthebel Gear Lever 1 / 1
(2) FSC.00.127.700 Auftritt Pedal 1 / 1
(3) M6 x 16; DIN 7991 Senkkopfschraube Countersunk Screw 1 / 1 6
(4) M6; DIN 985 Mutter, selbstsichernd Lock Nut 1 / 1
(5) - Gelenkkopf; Rechtsgewinde Swivel Head; right-hand thread 1 / 1
(6) M6 x 25; ISO 7380 Linsenkopfschraube; ohne Flansch Lenshead Screw; without flange 1 / 1 6
(7) FSC.11.619.002 Distanzbuchse Spacer 1 / 1
(8) FSC.00.127.011 Auftritt-Verlängerung Pedal Extension 1 / 1
(9) M6 x 25; DIN 912 Innensechskantschraube Hexagon Socket Screw 1 / 1 6
(10) FSC.00.127.022 Gummihülse Rubber Sleeve 1 / 1
Nr.
No.
Anzahl *
Quantity *
Art.-Nr. / Bezeichnung
Item No. / Description
1 2
3
4
5
6
7
8
9
10
Montage / Mounting
3
Copyright by
SW-MOTECH GmbH & Co. KG
Irrtümer und Änderungen vorbehalten. Technische und Design-Änderungen vorbehalten.
Errors and omissions expected. Technical and design-modifications are subjects to change.
Verschrauben Sie die gezeigten
Teile am Schalthebel (1), wie in der
Zeichnung dargestellt. Ziehen Sie
die Schraube (3) noch nicht an.
ACHTUNG: Verwenden Sie flüssige
Schraubensicherung.
Ziehen Sie Schraube (6) wie in der
Stückliste vorgegeben an.
Attach the shown parts to the gear
lever (1), as shown in the drawing.
Do not fully tighten screw (3) yet.
ATTENTION: Use liquid thread
locker!
Tighten screw (6) as specified in the
parts list.
1
2
7
6
1
5
3
4
Original Teil.
Original Part.
Original Teil.
Original Part.
Schmierfett benutzen!
Use grease here!
Lösen Sie die Schraube und
Umlenkstange vom
Original-Schalthebel und entfernen
Sie diesen vom Fahrzeug.
Verschrauben Sie den Schalthebel
(1) mit der Umlenkstange (min. 6
Gewindegänge); kontern Sie die
Gewinde mit den Muttern.
Verschrauben Sie den Schalthebel
(1) mit der original Schraube am
Fahrzeug.
ACHTUNG: Verwenden Sie flüssige
Schraubensicherung.
Ziehen Sie die original Schraube
nach Herstellerangaben an.
Stellen Sie den Schalthebel (1) über
die Umlenkstange und den Auftritt
(2) entsprechend Ihren
Fahrgewohnheiten ein; ziehen Sie
abschließend die Schraube (3) wie
in der Stückliste vorgegeben an.
Loosen the screw and guide rod
from the original lever and remove
it from the vehicle.
Attach the gear lever (1) with the
guide rod (min. 6 threads). Counter
the threads with the nuts. Mount
the gear lever (1) with the original
screw to the vehicle.
ATTENTION: Use liquid thread
locker!
Tighten the original screw specified
by vehicle manufacturer.
Adjust the lever (1) by the guide rod
and pedal (2) according to your
driving ergonomics. Finally tighten
screw (3) as specified in the parts
list.
2
Montage / Mounting
4
Copyright by
SW-MOTECH GmbH & Co. KG
Irrtümer und Änderungen vorbehalten. Technische und Design-Änderungen vorbehalten.
Errors and omissions expected. Technical and design-modifications are subjects to change.
HINWEIS: Dieser Montageschritt ist
optional.
Option [A]: Entfernen Sie die im
Auftritt (2) vormontierte Schraube.
Verschrauben Sie die Auftritt-Ver-
längerung (8) mit dem Auftritt (2).
ACHTUNG: Verwenden Sie flüssige
Schraubensicherung!
Ziehen Sie die Schraube wie in der
Stückliste vorgegeben an.
Option [B]: Stülpen Sie die
Gummihülse (10) über den Auftritt
(2). Achten Sie darauf, dass die
innenliegenden Ringe der
Gummihülse (10) in den
Vertiefungen des Auftritts (2) sitzen.
NOTICE: This step is optional.
Option [A]: Remove the pre-moun-
ted screw from the pedal (2).
Screw the pedal extension (8) to the
pedal (2).
ACHTUNG: Use medium-
strength liquid thread locker!
Tighten the screw as specified in
the parts list.
Option [B]: Place the rubber sleeve
(10) over the pedal (2). Make sure
that the inner rings of the rubber
sleeve (10) are seated in the
recesses of the pedal (2).
3
2
10
9
8
2
A
B

Other SW-Motech Motorcycle Accessories manuals

SW-Motech ALU-RACK GPT.06.627.15000/B User manual

SW-Motech

SW-Motech ALU-RACK GPT.06.627.15000/B User manual

SW-Motech KFT.07.975.30000/B User manual

SW-Motech

SW-Motech KFT.07.975.30000/B User manual

SW-Motech KFT.05.765.70000/S User manual

SW-Motech

SW-Motech KFT.05.765.70000/S User manual

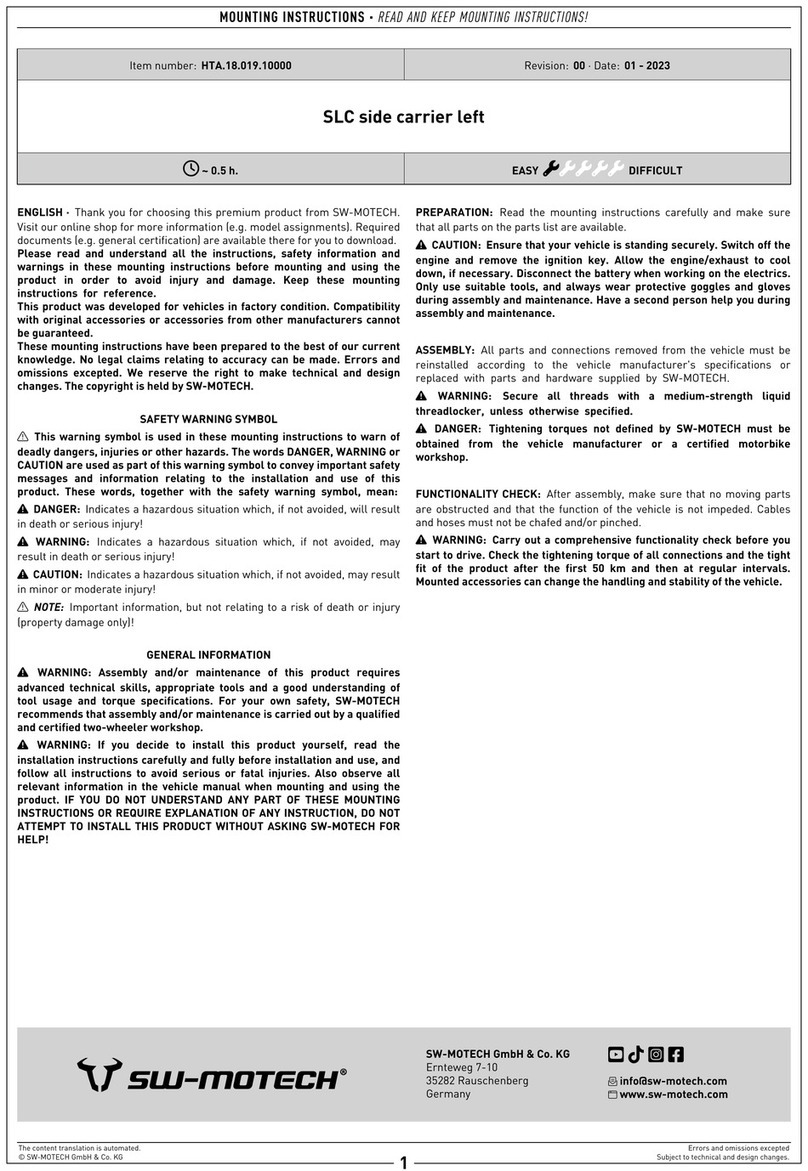
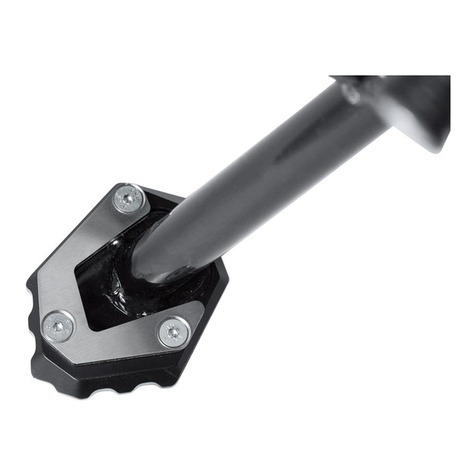
SW-Motech HTA.18.019.10000 User manual

SW-Motech

SW-Motech HTA.18.019.10000 User manual

SW-Motech ADVENTURE-RACK User manual

SW-Motech

SW-Motech ADVENTURE-RACK User manual

SW-Motech BC.WPB.00.002.20000 User manual

SW-Motech

SW-Motech BC.WPB.00.002.20000 User manual

SW-Motech STS.01.548.10000 User manual

SW-Motech

SW-Motech STS.01.548.10000 User manual

SW-Motech BLAZE H User manual

SW-Motech

SW-Motech BLAZE H User manual

SW-Motech QUICK-LOCK EVO User manual

SW-Motech

SW-Motech QUICK-LOCK EVO User manual

SW-Motech LC1 User manual

SW-Motech

SW-Motech LC1 User manual

SW-Motech GPT.17.925.65000/B User manual

SW-Motech

SW-Motech GPT.17.925.65000/B User manual

SW-Motech QUICK-LOCK EVO User manual

SW-Motech

SW-Motech QUICK-LOCK EVO User manual

SW-Motech KFT.04.835.65000/B User manual

SW-Motech

SW-Motech KFT.04.835.65000/B User manual

SW-Motech LPS.11.667.10000/B User manual

SW-Motech

SW-Motech LPS.11.667.10000/B User manual

SW-Motech TRT.00.640.32400/B User manual

SW-Motech

SW-Motech TRT.00.640.32400/B User manual

SW-Motech ADV.05.765.75000/S User guide

SW-Motech

SW-Motech ADV.05.765.75000/S User guide

SW-Motech ALU-RACK User guide

SW-Motech

SW-Motech ALU-RACK User guide

SW-Motech STP.08.590.10500/B User manual

SW-Motech

SW-Motech STP.08.590.10500/B User manual

SW-Motech TRT.00.475.32400/B User manual

SW-Motech

SW-Motech TRT.00.475.32400/B User manual

SW-Motech KFT.22.995.60100/B User manual

SW-Motech

SW-Motech KFT.22.995.60100/B User manual

SW-Motech Hecktasche Drybag 350 User manual

SW-Motech

SW-Motech Hecktasche Drybag 350 User manual

SW-Motech KFT.05.876.70101/B User manual

SW-Motech

SW-Motech KFT.05.876.70101/B User manual

SW-Motech BLAZE HTA.22.740.80900/B User manual

SW-Motech

SW-Motech BLAZE HTA.22.740.80900/B User manual

SW-Motech TraX ALU-BOX User manual

SW-Motech

SW-Motech TraX ALU-BOX User manual

Popular Motorcycle Accessories manuals by other brands

Sealey WCT02 instructions

Sealey

Sealey WCT02 instructions

optrel e3000X Startup guide

optrel

optrel e3000X Startup guide

LUIMOTO DL1 installation instructions

LUIMOTO

LUIMOTO DL1 installation instructions

hepco & becker 6704543 00 01 manual

hepco & becker

hepco & becker 6704543 00 01 manual

Sharper Image 207559 user guide

Sharper Image

Sharper Image 207559 user guide

Saddlemen I14-07 Series User's guide & installation instructions

Saddlemen

Saddlemen I14-07 Series User's guide & installation instructions

TERMOSCUD R240 PRO instruction manual

TERMOSCUD

TERMOSCUD R240 PRO instruction manual

Vertix Raptor RTR-RC-01 Mounting guide

Vertix

Vertix Raptor RTR-RC-01 Mounting guide

SRC H-AFT18-15-01-SL Mounting instructions

SRC

SRC H-AFT18-15-01-SL Mounting instructions

KTM Power Parts 61302931044 Information

KTM Power Parts

KTM Power Parts 61302931044 Information

rizoma Namic user manual

rizoma

rizoma Namic user manual

Gammatronix Black top Dual System installation manual

Gammatronix

Gammatronix Black top Dual System installation manual

LSL 712D047 Series FITTING INSTRUCTION

LSL

LSL 712D047 Series FITTING INSTRUCTION

R&G CP0487 Fitting instructions

R&G

R&G CP0487 Fitting instructions

Sentidrive SENTINELLE quick start guide

Sentidrive

Sentidrive SENTINELLE quick start guide

hepco & becker 5014566 00 01 quick start guide

hepco & becker

hepco & becker 5014566 00 01 quick start guide

BQuazy Heel Toe Shifter instructions

BQuazy

BQuazy Heel Toe Shifter instructions

PUIG 7725 Mounting instructions

PUIG

PUIG 7725 Mounting instructions

manuals.online logo
manuals.online logoBrands
  • About & Mission
  • Contact us
  • Privacy Policy
  • Terms and Conditions

Copyright 2025 Manuals.Online. All Rights Reserved.