manuals.online logo
Brands
  1. Home
  2. •
  3. Brands
  4. •
  5. SW-Motech
  6. •
  7. Motorcycle Accessories
  8. •
  9. SW-Motech SBL.23.017.10000/B User manual

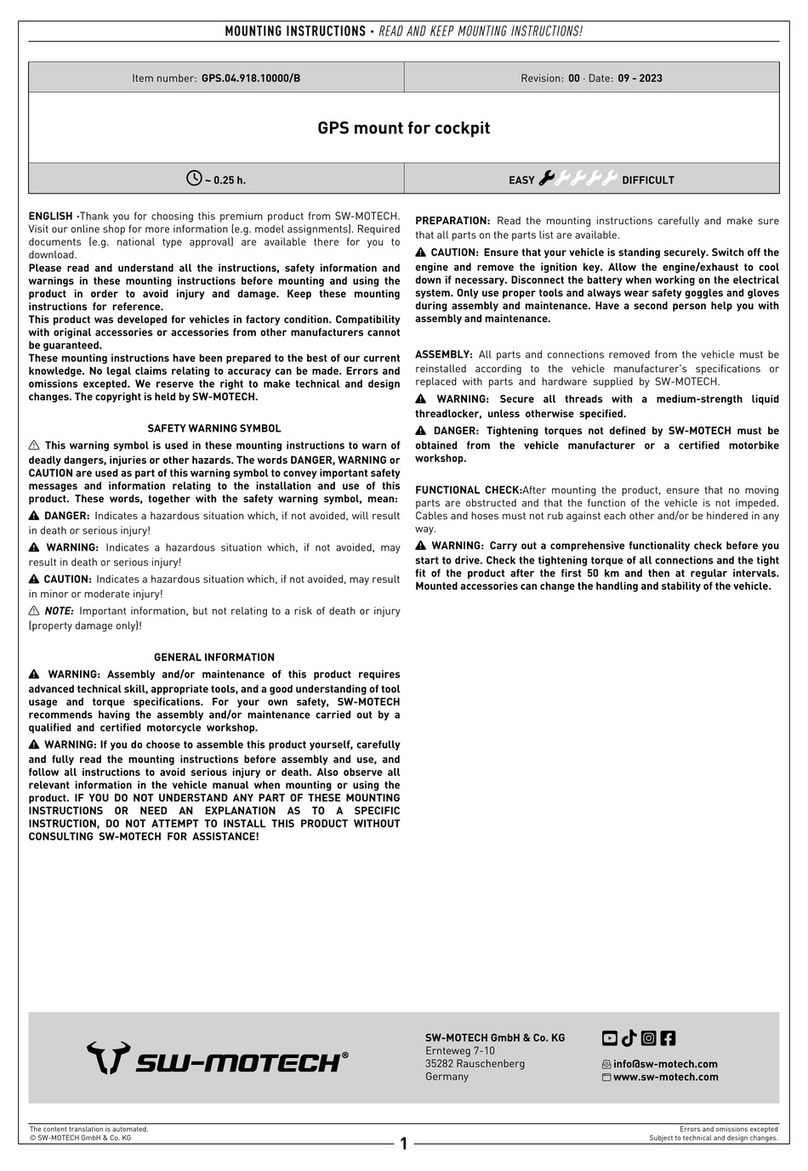
SW-Motech SBL.23.017.10000/B User manual

Item number: SBL.23.017.10000/B Revision: 00 · Date: 03 - 2023
Crash bar
 ~ 1.5 h. EASY  DIFFICULT
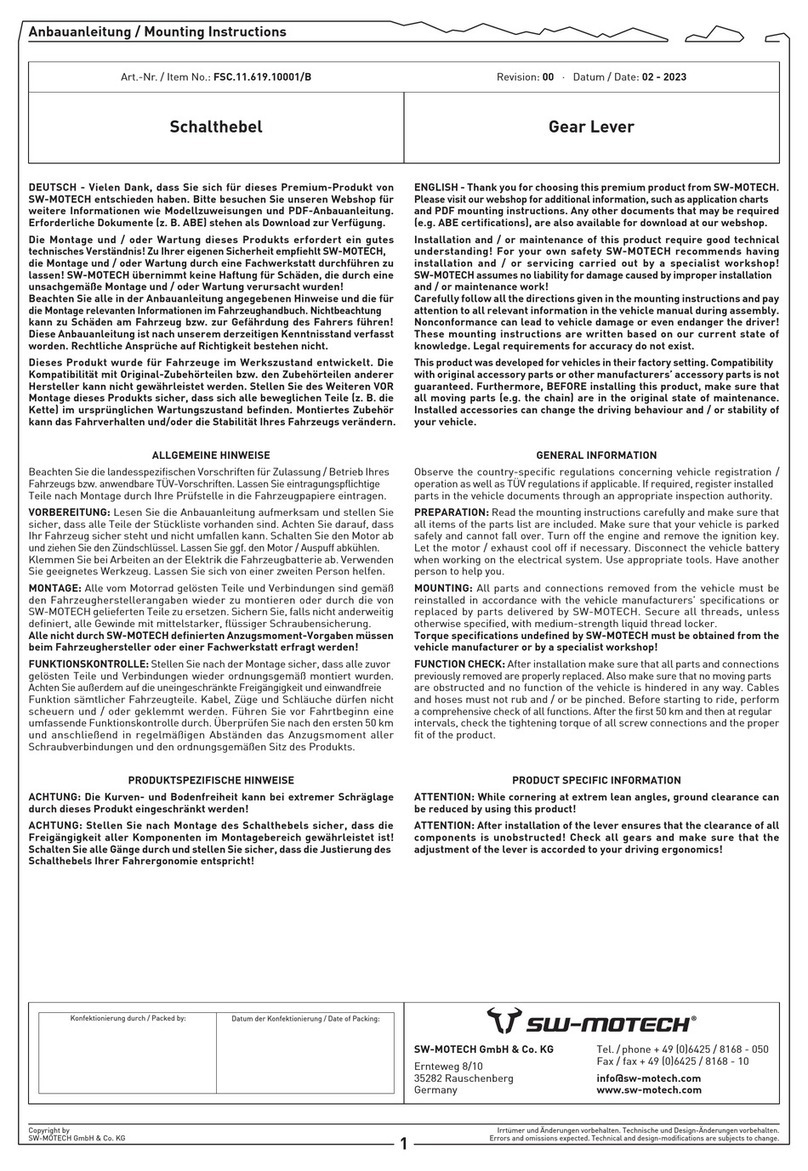
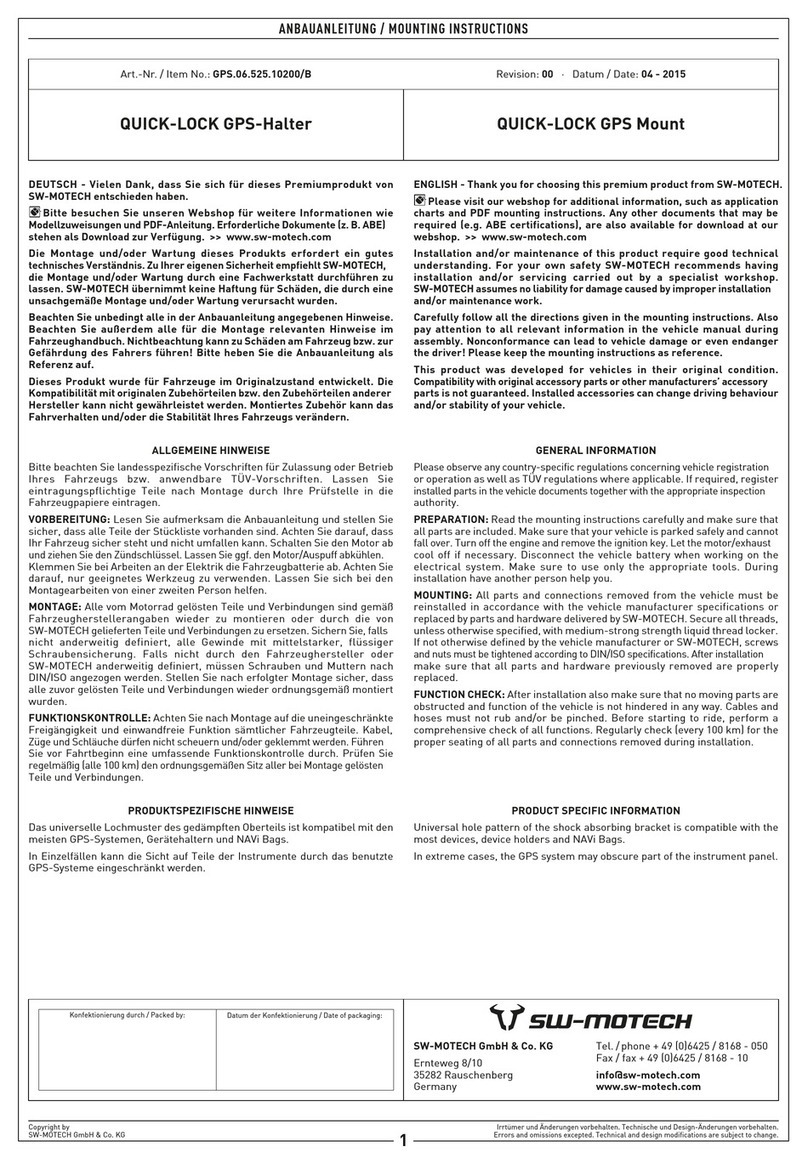
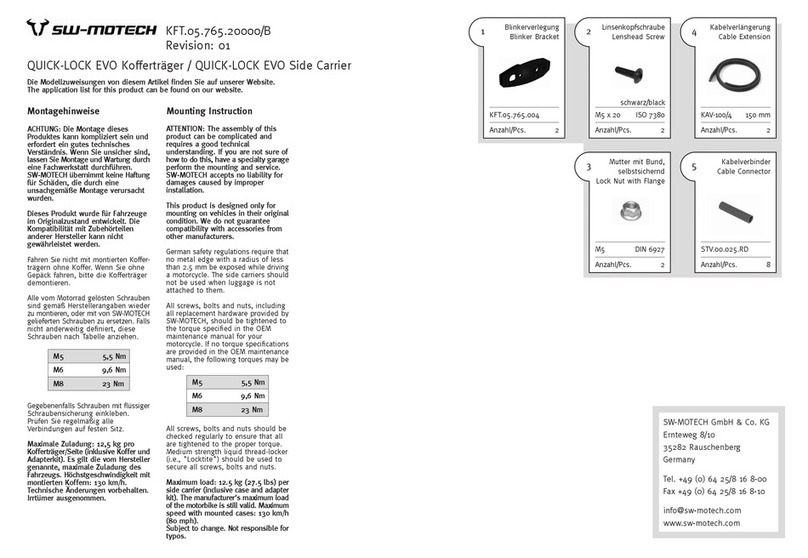
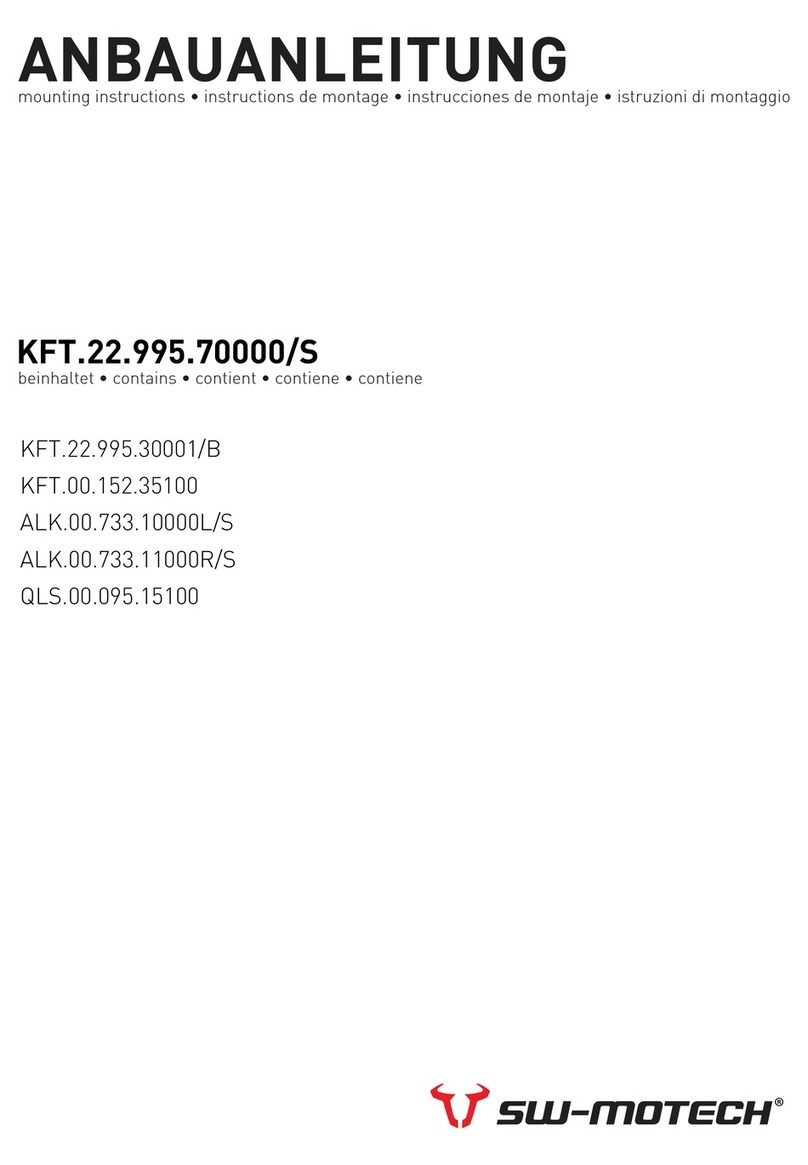
ENGLISH ·Thank you for choosing this premium product from SW-MOTECH.
Visit our online shop for more information (e.g. model assignments). Required
documents (e.g. national type approval) are available there for you to
download.
Please read and understand all the instructions, safety information and
warnings in these mounting instructions before mounting and using the
product in order to avoid injury and damage. Keep these mounting
instructions for reference.
This product was developed for vehicles in factory condition. Compatibility
with original accessories or accessories from other manufacturers cannot
be guaranteed.
These mounting instructions have been prepared to the best of our current
knowledge. No legal claims relating to accuracy can be made. Errors and
omissions excepted. We reserve the right to make technical and design
changes. The copyright is held by SW-MOTECH.
SAFETY WARNING SYMBOL
 This warning symbol is used in these mounting instructions to warn of
deadly dangers, injuries or other hazards. The words DANGER, WARNING or
CAUTION are used as part of this warning symbol to convey important safety
messages and information relating to the installation and use of this
product. These words, together with the safety warning symbol, mean:
 DANGER: Indicates a hazardous situation which, if not avoided, will result
in death or serious injury!
 WARNING: Indicates a hazardous situation which, if not avoided, may
result in death or serious injury!
 CAUTION: Indicates a hazardous situation which, if not avoided, may result
in minor or moderate injury!
 NOTE: Important information, but not relating to a risk of death or injury
(property damage only)!
GENERAL INFORMATION
 WARNING: Assembly and/or maintenance of this product requires
advanced technical skill, appropriate tools, and a good understanding of tool
usage and torque specifications. For your own safety, SW-MOTECH
recommends having the assembly and/or maintenance carried out by a
qualified and certified motorcycle workshop.
 WARNING: If you do choose to assemble this product yourself, carefully
and fully read the mounting instructions before assembly and use, and
follow all instructions to avoid serious injury or death. Also observe all
relevant information in the vehicle manual when mounting or using the
product. IF YOU DO NOT UNDERSTAND ANY PART OF THESE MOUNTING
INSTRUCTIONS OR NEED AN EXPLANATION AS TO A SPECIFIC
INSTRUCTION, DO NOT ATTEMPT TO INSTALL THIS PRODUCT WITHOUT
CONSULTING SW-MOTECH FOR ASSISTANCE!
PREPARATION: Read the mounting instructions carefully and make sure
that all parts on the parts list are available.
 CAUTION: Ensure that your vehicle is standing securely. Switch off the
engine and remove the ignition key. Allow the engine/exhaust to cool
down if necessary. Disconnect the battery when working on the electrical
system. Only use proper tools and always wear safety goggles and gloves
during assembly and maintenance. Have a second person help you with
assembly and maintenance.
ASSEMBLY: All parts and connections removed from the vehicle must be
reinstalled according to the vehicle manufacturer's specifications or
replaced with parts and hardware supplied by SW-MOTECH.
 WARNING: Secure all threads with a medium-strength liquid
threadlocker, unless otherwise specified.
 DANGER: Tightening torques not defined by SW-MOTECH must be
obtained from the vehicle manufacturer or a certified motorbike
workshop.
FUNCTIONAL CHECK:After mounting the product, ensure that no moving
parts are obstructed and that the function of the vehicle is not impeded.
Cables and hoses must not rub against each other and/or be hindered in any
way.
 WARNING: Carry out a comprehensive functionality check before you
start to drive. Check the tightening torque of all connections and the tight
fit of the product after the first 50 km and then at regular intervals.
Mounted accessories can change the handling and stability of the vehicle.
MOUNTING INSTRUCTIONS · READ AND KEEP MOUNTING INSTRUCTIONS!
SW-MOTECH GmbH & Co. KG
Ernteweg 7-10
35282 Rauschenberg
Germany
   
 [email protected]
 www.sw-motech.com
The content translation is automated.
© SW-MOTECH GmbH & Co. KG Errors and omissions excepted
Subject to technical and design changes.
1
Take note of the symbols and what they mean in the
ASSEMBLY section. If the term OEM appears in the
ASSEMBLY section, the vehicle manufacturer's
specifications must be observed and applied.
If you have any questions, please don't hesitate to contact
our Customer Service team or our distributors. You can
find our telephone number and a list of our distributors in
our online shop:
www.sw-motech.com
Do not use thread lock: Indicates that no liquid
thread lock should be used at this point. Tighten/note the tightening torque information:
Indicates the tightening torque of a part specified by SW-
MOTECH or the vehicle manufacturer (OEM).
Use thread locker: Indicates that a thread must be
coated with liquid thread locker. H (HIGH): high
strength; M (MEDIUM): medium strength; L (LOW):
low strength.
LEGEND OVERVIEW · READ AND KEEP MOUNTING INSTRUCTIONS!
The content translation is automated.
© SW-MOTECH GmbH & Co. KG Errors and omissions excepted
Subject to technical and design changes.
2
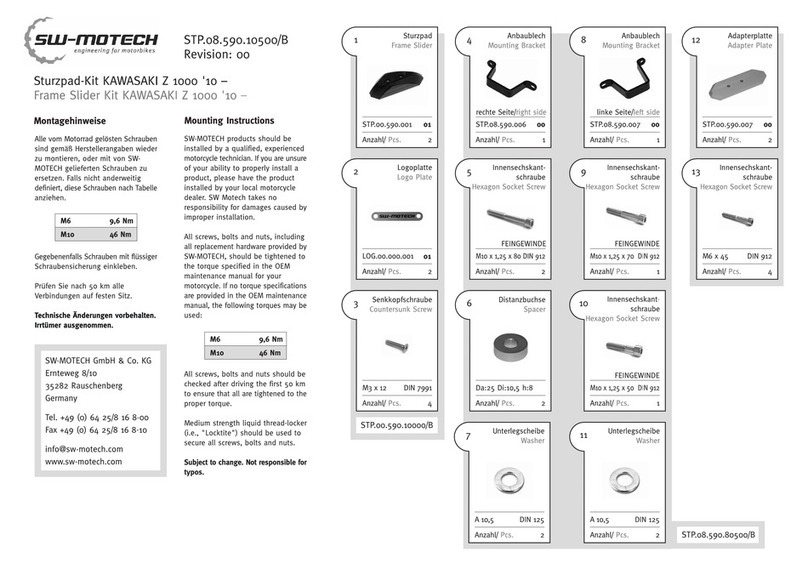
51
SBL.23.017.901.01.11
1/1
2
M10 x 180; DIN 931
SC.ST.10.180.01.931.088
1/1
3
Ø 25 / Ø 10.5 / h 4
DB.ST.0250.0105.0040.01
1/2
4
Ø 30 / ø 10.5 / h 44
DB.ST.0300.0105.0440.02
1/1
5
Ø 30 / ø 10.5 / h 12
DB.ST.0300.0105.0120.02
1/1
6
M10; ISO 4032
MU.ST.10.01.4032.08
1/2
7
M12 x 40; DIN 912
SC.ST.12.040.01.912.088
1/1
8
ø 13; DIN 125
US.ST.130.02.125
2/4
9
M12; DIN 985
MU.ST.12.01.985.08
1/2
10
M6 x 25; DIN 912
SC.ST.06.025.02.912.088
3/3
11
ø 6.4; DIN 125
US.ST.064.02.125
3/6
612
SBL.23.017.902.01.11
1/1
13
M10 x 190; DIN 931
SC.ST.10.190.01.931.088
1/1
14
Ø 25 / Ø 10.5 / h 4
DB.ST.0250.0105.0040.01
1/2
15
Ø 30 / ø 10.5 / h 15
DB.ST.0300.0105.0150.02
1/1
16
M10; ISO 4032
MU.ST.10.01.4032.08
1/2
17
M12 x 50; DIN 912
SC.ST.12.050.01.912.088
1/1
18
ø 13; DIN 125
US.ST.130.02.125
2/4
19
Ø 25 / ø 12.5 / h 15
DB.00.250.125.015.01
1/1
20
M12; DIN 985
MU.ST.12.01.985.08
1/2
21
M6 x 40; DIN 912
SC.ST.06.040.02.912.088
3/3
22
ø 6.4; DIN 125
US.ST.064.02.125
3/6
23
Ø 12 / ø 8.4 / h 15
DB.ST.120.084.015.01
3/3
724
M6 x 16; DIN 912
SC.ST.06.016.02.912.088
2/2
25
M6; DIN 985
MU.ST.06.01.985.08
2/2
26
KES.RD.260.0270.02.GL
2/2
27
SBL.00.051.005/B
2/2
PARTS LIST · READ AND KEEP MOUNTING INSTRUCTIONS!
The content translation is automated.
© SW-MOTECH GmbH & Co. KG Errors and omissions excepted
Subject to technical and design changes.
3
1
 WARNING: Always wear eye and hand protection!
 WARNING: Always use suitable tools!
Loosen the screws shown and push the fairing slightly outwards.
Remove the coolant reservoir from the vehicle frame.
MOUNTING STEP · READ AND KEEP MOUNTING INSTRUCTIONS!
The content translation is automated.
© SW-MOTECH GmbH & Co. KG Errors and omissions excepted
Subject to technical and design changes.
4
2
Loosen the screws and remove the fairing shown from the left-hand side of
the vehicle.
MOUNTING STEP · READ AND KEEP MOUNTING INSTRUCTIONS!
The content translation is automated.
© SW-MOTECH GmbH & Co. KG Errors and omissions excepted
Subject to technical and design changes.
5
3
Loosen the screws and remove the fairing shown from the right-hand side of
the vehicle.
MOUNTING STEP · READ AND KEEP MOUNTING INSTRUCTIONS!
The content translation is automated.
© SW-MOTECH GmbH & Co. KG Errors and omissions excepted
Subject to technical and design changes.
6
4
 WARNING: Risk of injury!
Print out the page with the templates. Make sure that the scaling in your
printer settings is set to 100%.
 NOTE: Check the template measurements for accuracy after printing!
Carefully cut out the side-specific templates.
Attach the templates to the inside of the dismantled plastic fairings with
adhesive tape.
Using a suitable 6 mm drill, make a pilot hole in the marked center of the
templates.
Drill the fairings according to the respective template dimensions.
Trim the edges of the cut-outs.
Now reassemble the fairing parts and coolant reservoir and mount them onto
the vehicle.
Tighten the screws according to the manufacturer's instructions.
MOUNTING STEP · READ AND KEEP MOUNTING INSTRUCTIONS!
The content translation is automated.
© SW-MOTECH GmbH & Co. KG Errors and omissions excepted
Subject to technical and design changes.
7
5
1×1
2×1
M 75 Nm
3×1
4×1
5×1
6×1
7×1
75 Nm
8×2
9×1
10 ×3
M OEM
11 ×3
Screw the left-hand crash bar (1) to the vehicle.
 WARNING: Use liquid thread locker for screws (2) and (10)!
Do not tighten the screws yet.
MOUNTING STEP · READ AND KEEP MOUNTING INSTRUCTIONS!
The content translation is automated.
© SW-MOTECH GmbH & Co. KG Errors and omissions excepted
Subject to technical and design changes.
8
6
12 ×1
13 ×1
75 Nm
14 ×1
15 ×1
16 ×1
17 ×1
75 Nm
18 ×2
19 ×1
20 ×1
21 ×3
M OEM
22 ×3
23 ×3
Screw the right-hand crash bar (12) to the vehicle.
 WARNING: Use liquid thread locker for screws (13) and (21)!
Do not tighten the screws yet.
MOUNTING STEP · READ AND KEEP MOUNTING INSTRUCTIONS!
The content translation is automated.
© SW-MOTECH GmbH & Co. KG Errors and omissions excepted
Subject to technical and design changes.
9
7
24 ×2
9.6 Nm
25 ×2
26 ×2
27 ×2
Screw the crash bars (1) and (12) together along the upper connectors as
shown in the detailed drawing.
When all components have been loosely attached, tighten the screws (10),
(13) and (21) according to the manufacturer's instructions!
Tighten the remaining screws as specified in the mounting instructions!
Finally, insert the plastic plugs (26) and end caps (27) into the openings on the
crash bars on both sides.
MOUNTING STEP · READ AND KEEP MOUNTING INSTRUCTIONS!
The content translation is automated.
© SW-MOTECH GmbH & Co. KG Errors and omissions excepted
Subject to technical and design changes.
10
PRODUCT-SPECIFIC NOTES
 WARNING: This product may inhibit cornering and ground clearance in
cases of extreme inclination!
 NOTE: Please observe the country-specific regulations for the
registration/operation of your vehicle or any applicable TÜV regulations. After
installation, parts subject to registration should be entered in the vehicle
documents by your test center.
PRODUCT INFORMATION · READ AND KEEP MOUNTING INSTRUCTIONS!
The content translation is automated.
© SW-MOTECH GmbH & Co. KG Errors and omissions excepted
Subject to technical and design changes.
11

Other SW-Motech Motorcycle Accessories manuals

SW-Motech QUICK-LOCK EVO User manual

SW-Motech

SW-Motech QUICK-LOCK EVO User manual

SW-Motech KFT.19.806.65000/B User manual

SW-Motech

SW-Motech KFT.19.806.65000/B User manual

SW-Motech GPS.04.918.10000/B User manual

SW-Motech

SW-Motech GPS.04.918.10000/B User manual

SW-Motech BLAZE H User manual

SW-Motech

SW-Motech BLAZE H User manual

SW-Motech Burkbusters HPR.00.666.10300/BK User manual

SW-Motech

SW-Motech Burkbusters HPR.00.666.10300/BK User manual

SW-Motech SBL.01.971.10000/B User manual

SW-Motech

SW-Motech SBL.01.971.10000/B User manual

SW-Motech GPT.07.782.65100/B User manual

SW-Motech

SW-Motech GPT.07.782.65100/B User manual

SW-Motech QUICK-LOCK TRE.00.475.116 User manual

SW-Motech

SW-Motech QUICK-LOCK TRE.00.475.116 User manual

SW-Motech LPS.11.667.10000/B User manual

SW-Motech

SW-Motech LPS.11.667.10000/B User manual

SW-Motech KFT.05.876.70101/B User manual

SW-Motech

SW-Motech KFT.05.876.70101/B User manual

SW-Motech BC.HTA.07.740.30301 User manual

SW-Motech

SW-Motech BC.HTA.07.740.30301 User manual

SW-Motech ADV.05.765.75000/B User manual

SW-Motech

SW-Motech ADV.05.765.75000/B User manual

SW-Motech Blaze Panniers Set H User manual

SW-Motech

SW-Motech Blaze Panniers Set H User manual

SW-Motech MSS.22.995.10000/B User manual

SW-Motech

SW-Motech MSS.22.995.10000/B User manual

SW-Motech KFT.01.890.65000/B User manual

SW-Motech

SW-Motech KFT.01.890.65000/B User manual

SW-Motech DAKAR User manual

SW-Motech

SW-Motech DAKAR User manual

SW-Motech SBL.22.995.10000/B User manual

SW-Motech

SW-Motech SBL.22.995.10000/B User manual

SW-Motech HTA.18.019.10000 User manual

SW-Motech

SW-Motech HTA.18.019.10000 User manual

SW-Motech TRT.00.787.32400/B User manual

SW-Motech

SW-Motech TRT.00.787.32400/B User manual

SW-Motech KFT.22.995.70000/S User manual

SW-Motech

SW-Motech KFT.22.995.70000/S User manual

SW-Motech GPT.11.901.65000/B User manual

SW-Motech

SW-Motech GPT.11.901.65000/B User manual

SW-Motech Legend Gear LH1 User manual

SW-Motech

SW-Motech Legend Gear LH1 User manual

SW-Motech TRT.00.640.32400/B User manual

SW-Motech

SW-Motech TRT.00.640.32400/B User manual

SW-Motech FRS.07.011.10600/S User manual

SW-Motech

SW-Motech FRS.07.011.10600/S User manual

Popular Motorcycle Accessories manuals by other brands

probrake BM10-6 Mounting instruction

probrake

probrake BM10-6 Mounting instruction

KTM Power Parts 60303990044 Information

KTM Power Parts

KTM Power Parts 60303990044 Information

Cobra 02-6468 instruction manual

Cobra

Cobra 02-6468 instruction manual

ORORO HEATED MITTENS manual

ORORO

ORORO HEATED MITTENS manual

hepco & becker SPORTRACK 6707564 00 01 quick start guide

hepco & becker

hepco & becker SPORTRACK 6707564 00 01 quick start guide

hepco & becker 5017554 00 01 manual

hepco & becker

hepco & becker 5017554 00 01 manual

R&G ECS0126BK Fitting instructions

R&G

R&G ECS0126BK Fitting instructions

Shad Y0XM20ST manual

Shad

Shad Y0XM20ST manual

Petzl ALVEO BEST quick guide

Petzl

Petzl ALVEO BEST quick guide

optrel p550 user manual

optrel

optrel p550 user manual

Yoshimura 225851S721 manual

Yoshimura

Yoshimura 225851S721 manual

Whelen Engineering Company ION V-Series installation guide

Whelen Engineering Company

Whelen Engineering Company ION V-Series installation guide

Deca WM23 instruction manual

Deca

Deca WM23 instruction manual

hepco & becker 650.961 00 01 instructions

hepco & becker

hepco & becker 650.961 00 01 instructions

Denali DialDim DNL.WHS.22800 instruction manual

Denali

Denali DialDim DNL.WHS.22800 instruction manual

Powerlet PKT-065 Installation

Powerlet

Powerlet PKT-065 Installation

SCHUBERTH F 220 manual

SCHUBERTH

SCHUBERTH F 220 manual

FLYelectronics MotoMonitor user manual

FLYelectronics

FLYelectronics MotoMonitor user manual

manuals.online logo
manuals.online logoBrands
  • About & Mission
  • Contact us
  • Privacy Policy
  • Terms and Conditions

Copyright 2025 Manuals.Online. All Rights Reserved.