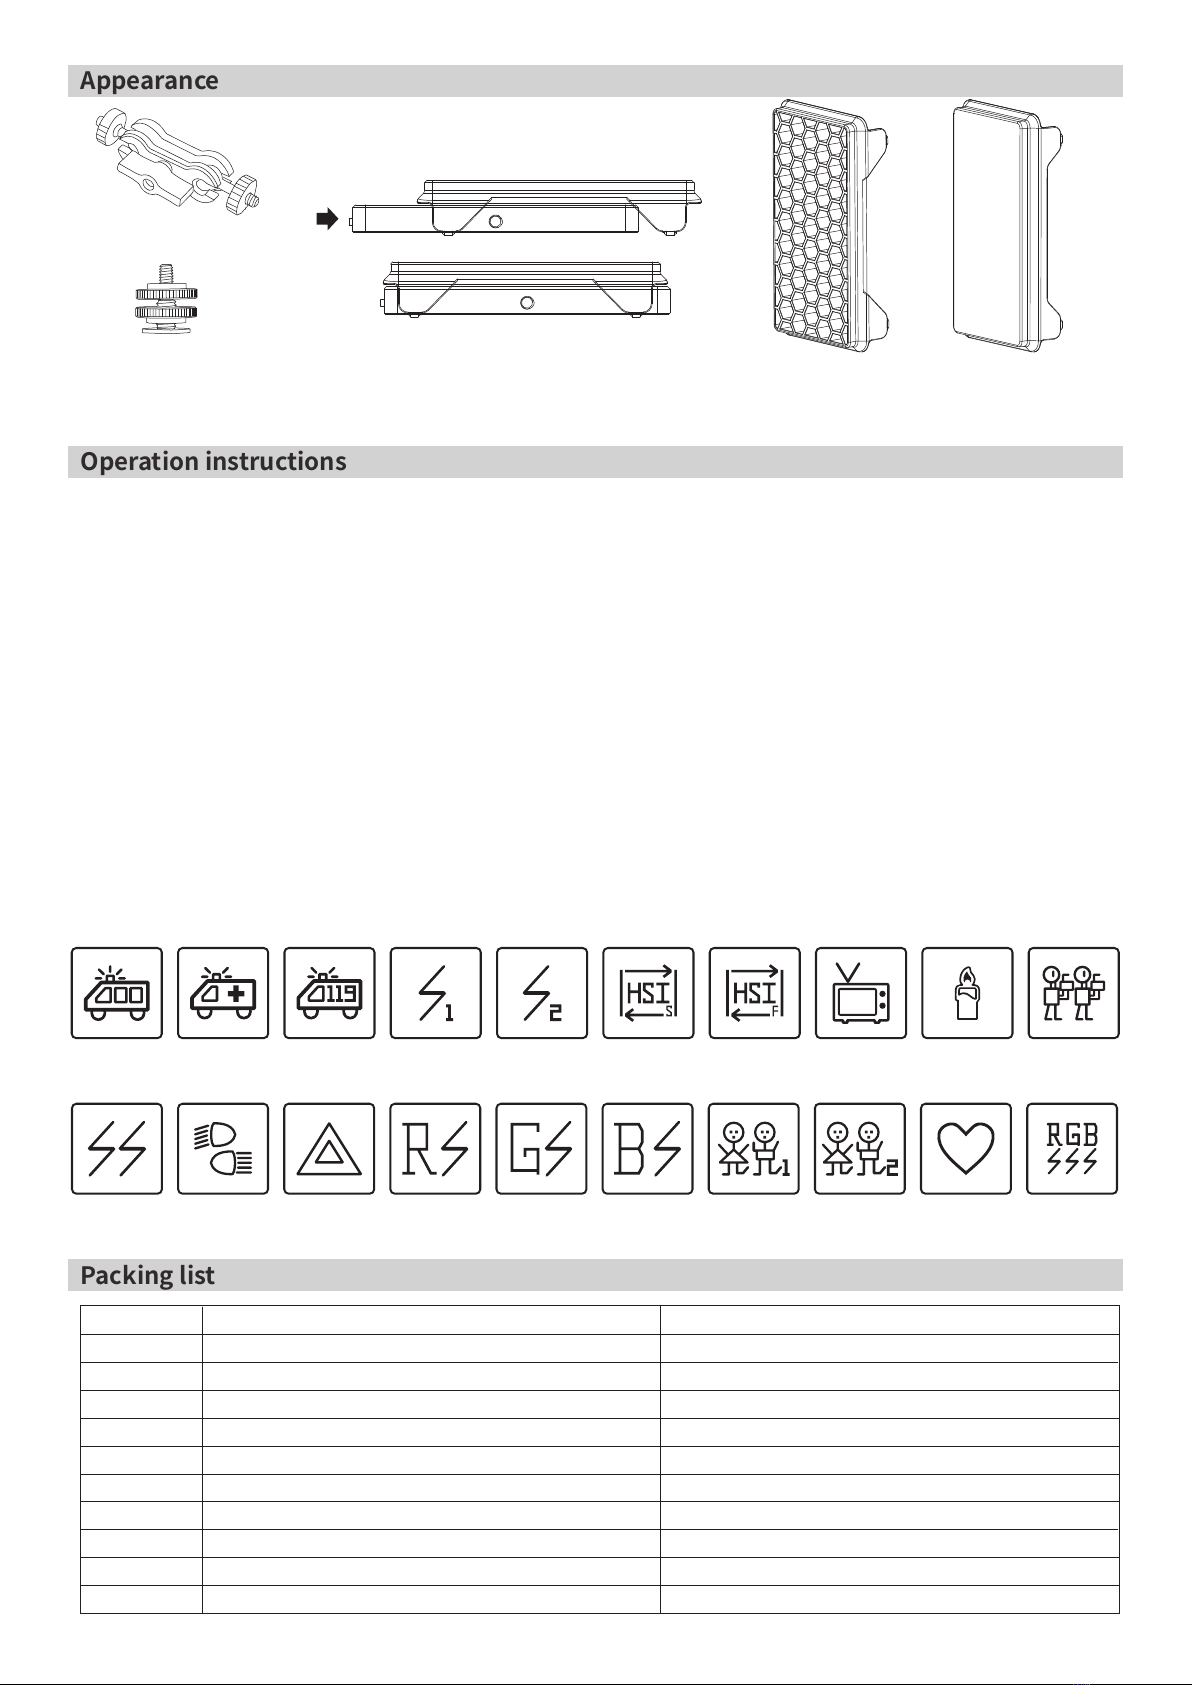
Fig. 4 Bracket
Fig. 5 Cold-shoe Fig. 6 Installation of Honeycomb/diffuser Fig. 7 Honeycomb Fig. 8 Diffuser
1. Install
● Honeycomb/diffuser installation
See fig.6
● Light installation
Based on usage requirements,there are two install way
below for choosing:
1)Install the light on the tripod、camera or other shooting
equipment by 1/4" mounting hole(Fig.2③).
2)Interior magnet module(Fig.2②),both front、back、side
face are able to attract on most metal, multiple lights can
also be combined by magnetic attraction.
2. Operation instructions
● Power switch/Mode button
1) Turn ON/OFF
Long press power switch button (Fig.3⑤)for about 1.5
sec, turn ON/OFF the light
2)Mode change
Press MODE button(Fig.3⑤)to change the working mode,
the working mode of this light including CCT mode、HSI
mode and preset scene mode.
● Color temperature Adjustment
1) In CCT mode, adjust “up/down” button(Fig.3⑥)to change
color temperature.
2) Color temperature adjustment range:2700K-6500K,
adjustment step size: 50K.
● Intensity Adjustment
1) In CCT mode or HSI mode, move intensity button (Fig.3⑦)to
change intensity.
2 ) Intensity adjustment range:0%-100%, adjustment step size: 1%
● HSI Adjustment
In HSI mode, press “up/down” button (Fig3 ⑥) to choose the
parameters :H/S(The selected parameter will have a shading
color block display),after choosing the parameters, move
“up/down” button(Fig.3⑥)to set the parameters.
1) H adjusting range: 001°-360°, adjustment step size: 1°;
2) S adjusting range:0-100, adjustment step size: 1.
● Scene mode Adjustment
In scene mode, move “up/down” button(Fig.3⑥) to choose
below scene:
Strobe Double flash Red flash Green flash Blue flash PARTY1 PARTY 2 RGB Strobe
No.
1
2
3
4
5
6
7
8
9
10
Details
S-2712 light
Storage bag
Bracket
Cold-shoe
USB charging cable
Sticker
User manual
Warranty card
Diffuser
Honeycomb
Quantity
X
1
X
1
X
1
X
1
X
1
X
1
X
1
X
1
X
1
X
1
Police Ambulance Fire truck Lighting 1 Lighting 2 HSI demo HSI demo Screen Candle Paparazzi
(slow) (fast)
High and low
beam bulb
Breathing
white


