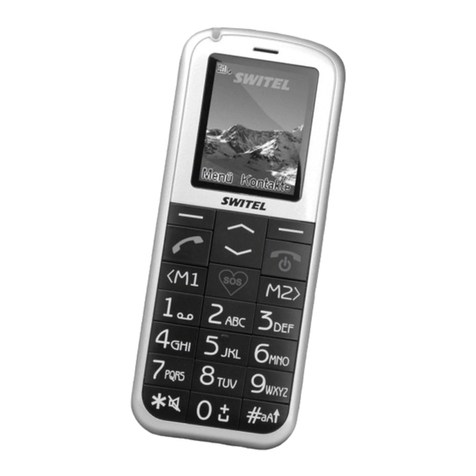
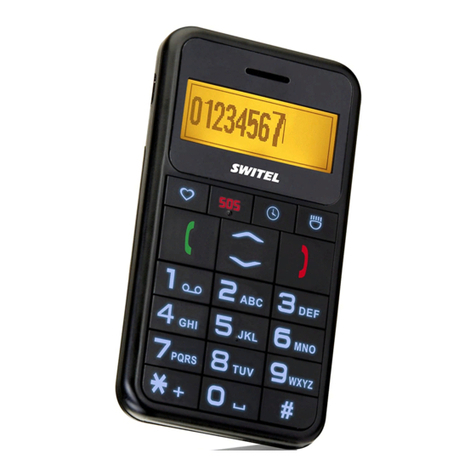
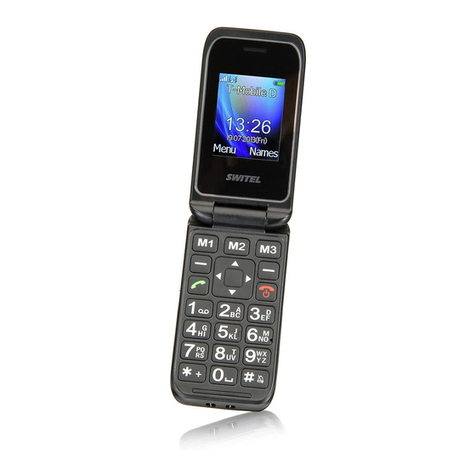
switel M100 User manual

Mobile Phone M100
Operating Instructions
English

2

3
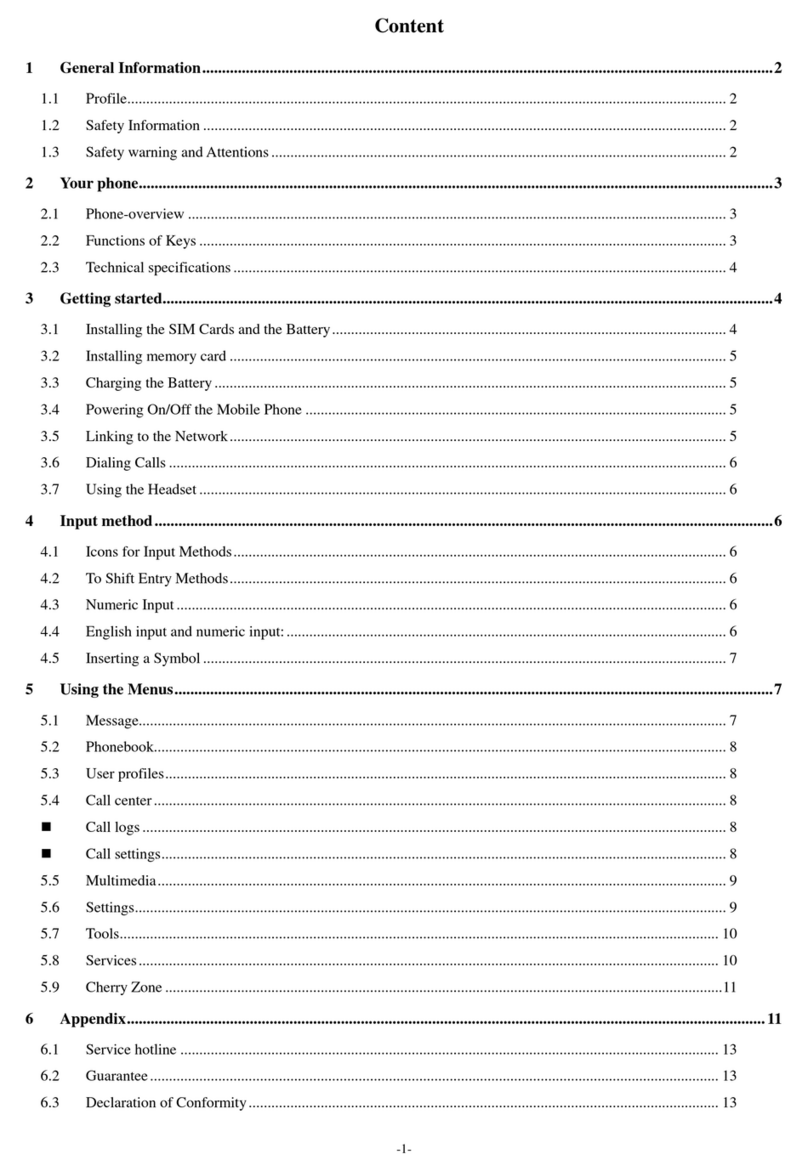
1 Intended use 4......................
2 Product safety Information 4............
3 Your Mobile Phone 7.................
4Keys 8...........................
5 Menu Icons/ Screen Icons 9............
6 Battery 9..........................
7 Menu tree 12........................
8WriteText 13........................
9 SMS Remote Control Function 16.........
10 Shortcut Key 18......................
11 Care and Maintenance 22...............
12 Troubleshooting 24...................
13 Technical Data 26....................
14 Declaration of Conformity 26.............
15 Guarantee 27.......................

4
1 Intended use
This mobile phone is designed for use to a mobile phone network. Any other use is considered
unintended use. Unauthorised modification or reconstruction is not permitted. Under no circum-
stances open the device or complete any repair work yourself.
2 Product safety Information
Please read these simple guidelines. Not following them may be dangerous or illegal.
Switch off the phone in the vicinity of chemical plants, gas stations and other loca-
tions containing explosive objects.
Keep the phone far away from children.
When driving, please use the hands free calling device (purchased separately) to
ensure safety. Please park the car at roadside for communication unless in emer-
gency.
Switch off the phone when boarding an airplane and do not switch the phone on
during the flight.
Be careful when using the mobile phone in the vicinity of such devices as pacema-
kers, hearing aids and other electro-medical equipment, which may be interfered by
the mobile phone.
No guarantee for the accessories and parts not produced by the original factory.
Never attempt to disassemble the phone by yourself. Contact the supplier in case of
any trouble with your mobile phone.

5
Do not recharge the phone without battery being installed.
Charge the phone in well-ventilated environment and keep away from inflammable
and high explosive articles.
To avoid demagnetization, keep the handset away from magnetic substances, such
as magnetic discs or credit cards.
Keep the phone away from liquid. If soaking or erosion occurs, take the battery out
and contact the supplier.
Avoid using the phone in too high or too low temperature environments. Never leave
the phone exposed under direct sunlight, in high humidity or in a dusty environment.
Do not use liquid or a damp cloth with strong detergents to clean the handset.
Packing list
Check all the components according to the packing list when you open the package. Please
contact with the dealer or seller in time when you find some missing or destroyed.
1 Handset 1 Adaptor
1 Battery 1 Earplug
1 Manual 1 Desktop charging unit

6
Disposal
In order to dispose of your device, take it to a collection point provided by your local
public waste authorities (e.g. recycling centre). According to laws on the disposal of
electronic and electrical devices, owners are obliged to dispose of old electronic and
electrical devices in a separate waste container. The symbol indicates that the de-
vice must not be disposed of in normal domestic waste!
Batteries represent a hazard to health and the environment!
Never open, damage or swallow batteries or allow them to pollute
the environment. They may contain toxic, ecologically hazardous
heavy metals.
You are legally obliged to dispose of power packs and batteries at the point of sale or in the
corresponding containers at collection points provided by local public waste authorities. Dis-
posal is free of charge. The symbols indicate that the batteries must not be disposed of in nor-
mal domestic waste and that they must be brought to collection points provided by local public
waste authorities.
Packaging materials must be disposed of according to local regulations.

7
3 Your Mobile Phone
1 Torch 2 Earpiece 3 Main Screen
4 Love Key 5 Menu key 6 ESC key
7 End Key 8 Up/Down key 9 Send key
10 Keypad 11 Keylock Slide button 12 + / - key
13 Torch Slide button 14 SOS key 15 Battery Cover
16 Charging Interface 17 Headset interface

8
4 Keys
Menu Key Dial or answer a call.
In the standby mode, press the key to enter main menu. At the
menu state, enter sub-menu or the interface of menu.
ESC Key In the standby state, press the key to enter inbox. In the Functions
list status, return to previous menu.
Send key Dial or answer a call. In the standby state, press the key to enter
outgoing call list.
End key End a call. Long press this key to turn on or off the phone.
Love key Press the key to enter love number list.
Up/Down Key Used to scroll the functions list in main menu. In Edit mode, move
the cursor. In the standby mode, press up or down key to enter
profiles menu or tools menu.
Keypad Used to input numbers, letters and some characters. In standby
mode, press and hold # key to open vibrant profiles; Press and hold
the Key ”0” to switch on/off the Hearing aid function. In the Edit
screen, press # to change the input method; press * to switch to the
Symbol interface.
TorchslideButton Push Upward or Downward to turn on or off the Torch light.
Up/Down side button Press it to adjust the volume.
Keylockslidebutton Push Upward or Downward to turn on or off locked the key
SOS Key Press and hold the SOS Shortcut Key for 3s to dial SOS number.

9
5 Menu Icons/ Screen Icons
Received signal strength
Earphone
New Short Message
Alarm on
International Roam
or Call divert (Changing by line)
Battery power level
Silence
Vibration
6 Battery
The lithium battery of the mobile phone can be immediately used after unpacking. A new bat-
tery performs best after performing a full charge/discharge 3 times.
Installing the battery
1. Insert the battery by aligning the gold contacts in the battery compartment on
the phone.
2. Push down on the upper section of the battery until it clicks into place.

10
Removing the battery
1. Ensure that your mobile phone is switched off.
2. Remove the battery cover.
3. Pull the battery up and remove it from the mobile phone.
Charging the battery
Your phone is powered by a rechargeable battery. Connect your travel adapter to the bottom of
your mobile phone. Connect the other end of the travel adapter to the mains socket. If you are
charging the battery when the mobile phone is switched off, the display will show the battery
icon with the bars moving from right to left. If charging the battery when the mobile is switched
on, the display will show the battery icon with a lightning strike. When the battery is fully
charge, disconnect the charger.
Insert the SIM card
Insert the SIM card as following steps.
1. Switch off the phone and disconnect it from the charger.
2. Remove the battery cover and checkout the battery.
3. Hold your SIM card with the chamfer oriented as following picture and slide it
into the card holder with metal interface down.
4. Replace the battery and its cover.

11
SIM card
Every mobile phone has a SIM card (Subscriber Identity Module). This is a micro-chip that
holds your personal information such as names and phone numbers. Your phone won’t work
without it. If you already have contacts on your SIM card, they can be transferred in most
cases.
Power ON/OFF
Hold End key to Power on/off the phone. Note: Make sure the SIM card and the battery have
been inserted before booting.

12
7Menutree
1. Phone Book
SPhone Book
SLove Number
2. Message
SWrite message
SInbox
SOutbox
SDrafts
SVoice Mail
SBroadcast
Message
SDelete All
SCheck Storage
SMessage Counter
SMessage Setup
SSIM Tool Kit
3. Call Records
SIncoming Calls
SOutgoing Calls
SMissed Calls
SDelete
SCall Duration
4. FM Radio
5. Alarm
6. Tools
SCalendar
STo Do List
SCalculator
SConvertor
SWorld Clock
7. Profiles
SStandard
SConference
SOutdoor
SIndoor
SHeadset
8. Settings
SClock Settings
SSOS Settings
SPhone Setting
SCall Settings
SNetwork Settings
SSecurity
SFactory Default

13
8 Write Text
Change input mode: press # key to change the input mode (Eng, Abc, abc, ABC, 123) ABC,
Abc and abc input: press the number keys 2-9 to input letters. Input the characters followed the
order of letters on the keys. Press the key once to input the first letter, press it twice to input
the second one and so on.
In the Eng input, When entering a word, you only need to enter the target key once, the phone
will present those possible matches by use of the association function; you can press the Up/
Down key to select your desired word, and press Menu key or * key to confirm to select the
cursor character.
123 input: Press the keys to input the corresponding numbers.
Input Symbol: Press the * key to select the symbol.
Input Space: Press key 0 to input space, it does not input space in 123 mode.
Delete Character: Press End key to clear a character in the front of cursor. Press and hold
End key to delete all characters in the front of cursor.
Move cursor: Press the Up or Down key to move the cursor left or right.
Adding phone book
SMenu > Phone Book >Phone Book.
SPress MENU key and select Create.
SSelect Save to SIM or Save to Phone.
SEnter the contact’s phone name and press MENU key to confirm.
SEnter the number and confirm it by MENU key.

14
Making and receiving call
Dialing a Number
SIn standby mode, enter the telephone number and press the Send Key to dial.
SPress End key to end the call.
Dialing a Number stored in Phonebook
Searching desired number in Phonebook List: Input character contained in the initial letter of
the desired name, and then press Up/Down Key to find out the desired.
Press Send Key to dial.
Dialing a Number stored in Call Records
Menu > Call Records >Incoming Calls >Incoming Calls >Outgoing Calls.
Press Up/Down Key to select your desired number, Press the Menu Key to select dial to dial
the number.
Speed Dial
Edit the speed dial numbers in Menu > Settings >Phone Setting >Speed Dial.
In Standby state, hold on press the numerals (2 - 9), you can dial out the number when you set
in the Speed Dial submenu.
Adjusting Volume
Press the Up and Down key to adjust the volume directly during a call.
Answering a Call
The phone will ring or vibrate when call coming.
SPress Send Key to answer it.
SPress End key directly to refuse it.
SPress End key to end it during calling.

15
Sending text message
1. Menu > Message >Write message
2. Write text message. For more information on writing, refer to section “Writing text”.
3. Send: press Menu key to do as follow.
SSelect Send to send the message to one person;
SSelect Send and Save to send and save it into Outbox;
SSelect Send to Many to send it to more than one person, and select the names from
the phone book list;
SSelect Save to save it to drafts.
Receiving text message
Once receiving a message, the mobile phone will ring, prompt, and show off a new message
icon.
1. Press Send key to enter receiver message list, Use Up or Down key to select one
message, press Menu key again to read the message.
2. Use Up or Down key to read the message.
3. Press Menu key for Text Reply,Delete,Extract Number ,Foward,Edit or Dial Back.

16
9 SMS Remote Control Function
One may through another handset SMS remote control another mobile phone, be possible the
remote control set Dial Love Number, remote control to establish one to seek help the number,
the remote control increase the telephone number, the remote control establishment alarm
clock which saves on the handset.
Setting Love Number
Edit: AT+L: name: num: password
[For example:] AT+L: Jack: 13333333333:1234
Jack’s Love Number is 13333333333.
The maximum storage is 5 Love Number.IfaLove Number set by remote SMS and this entry
has the same name but with different number, the old Love Number will be replaced by the new
one.
Note: when the phone had saved up to 5 Love Number, If user want to add another Love
Number with the same name but different number, then the old Love Number will be replaced
by the new one, but if the Love Number is new, the care phone would prompt you that whether
to replace exist one.
Setting SOS Number
Edit: AT+S: name: num: password
[For example:] AT+S: Jack: 13333333333:1234
Jack’ SOS Number is 13333333333.
Note: when the phone had saved up to 5 SOS numbers, If user want to add another SOS
number with the same name but different number, then the old SOS number will be replaced by
the new one, but if the SOS number is new, the care phone would prompt you that whether to
replace exist one.
Adding New Entry
Edit: AT+P: name: num: password
[For example:] AT+P: Jack: 13333333333:1234

17
Jack’ new entry is 13333333333.
Setting Alarm
Edit: AT+A:hh: mm: content: password
[For example:] AT+A:06:30: Good Morning :1234
The alarm time is 6:30. The content is ”Good Morning”.
1. Time Format must be 24-hour.
2. The content: The character’s limit is 70.
Note:
SThe password default 1234, it can change in Menu > Settings >Security >Change
verified Code.
SAbove letters (ATL, ATS, ATP, ATA) need input Capital characters.
SName: if the character of name exceed to 30 characters, it will cut the character
from 31th.
SNumber: if the character of number exceed to 40 characters, it will cut from 41th.
SAfter care phone had receive remote control message, it would send a report about
successfully or unsuccessfully to controlling side.

18
10 Shortcut Key
Electric Torch Shortcut Key
Press the Torch slide button up/down to switch on/off the electric torch.
Key lock Shortcut Key
Press the Keylockslidebuttonup/down to switch on/off the lock key.
Hearing aid Shortcut Key
Press and hold the Key ”0” to switch on/off the Hearing aid function. The Hearing aid can be
activated until you plug into headset.
Shortcut Key Love Number
Press Love Key to get the Love Number lists in standby mode and press the Up or Down key
to select the desired one. When you view Love Number, you can press Menu key to do as fol-
low:
Dial: Dial out the Love Number.
Edit: Edit Love Number. You can Input the number and then Input the name.
Press the Menu Key preservation, presses the ESC key not to preserve the establishment.
Delete: You can press the Menu key to delete the current Love Number when select Delete,
press the ESC key to return to the previous.
SOS Shortcut Key
Press and hold the SOS Shortcut Key for 3s to dial the SOS number under any condition,
even the phone locked.
Attention:
1. The SOS holds a maximum of five SOS number.
2. The phone will dial out automatically and sound a note of warning last 3 seconds by
pressing the SOS key without release. If the press is a misoperation, press the End key
to cancel the misoperation.

19
3. If the SOS number is dialed out, the phone will send message firstly. It will turn into
calling link state after the message being sent out successfully or fail. The phone will
turn into hand free mode if the call connected.
4. If the SOS number. Can’t be connected, the phone will dial next SOS number out until
the call connected. If no SOS number answers, the phone will dial out last 2 times.
5. The SOS operation can be cancelled by pressing the ESC key.
6. If the number is empty or you want to edit the SOS number, you can go to Menu >
Settings >SOS Settings tosetitasfollows.
SOS Settings SOS Settings
It can be set On or Off.
SOS Number
In SOS Number list, total 5. You can press the Menu key to select Edit or Delete.
SOS Light
It can be set On or Off.
SMS Reminder
It can be set On or Off.
SOS Message:
The message can be edited. The default message is ”Help!”

20
Function Description Selection
Add new
Phone Book
Add the new contacts to
phone book
Menu→Phone Book→Phone
Book→Create
Edit Phone Book Edit phone book Menu→Phone Book→Phone
Book→Search→Option→Edit
Send Message Send text message to
mobile phone
Menu→Message→Write
message→Option→Send
Read Message View the received, sent,
save message
Menu→Message→In-
box√Outbox√Drafts
Voice Mail Receive and listen to voice
message
Menu→Message→Voice Mail
Message Setup The settings about message Menu→Message Setup
Recent calls View all recent calls Menu→Call Records→Incoming
Calls√Outgoing Calls√Missed Calls
Call Duration View call duration Menu→Call Records→Call Duration
Alarm Set alarm alert time Menu→Alarm
Calendar View Calendar Menu→Tools→Calendar
To Do List To record and view to do list Menu→Tools→To Do List
Calculator Acalculator Menu→Tools→Calculator
Convertor By use of this function, you
can convert Currency, Land
measure, Energy, Length,
Quality, Power, Pressure,
Temperature, Time, Velocity,
Volume, etc.
Menu→Tools→Convertor
World Clock Only for you view the world
clock.
Menu→Tools→World Clock
Table of contents
Other switel Cell Phone manuals

switel
switel M 200 User manual

switel
switel eSmart M3 User manual

switel
switel Handy ME10 User manual

switel
switel M 170 BRAVO User manual

switel
switel S 4502 D SPARK User manual

switel
switel S 4000 D ARMOR User manual

switel
switel M 270 MAPA User manual

switel
switel VS700 User manual

switel
switel S 55 D SPEED User manual

switel
switel M222 User manual

switel
switel M 190 User manual

switel
switel M228 User manual

switel
switel M215 User manual

switel
switel eSmart M2 User manual

switel
switel M550 User manual

switel
switel S 50 D SKY User manual

switel
switel Zurich M210 User manual

switel
switel M500 User manual
switel
switel m220 classico User manual
switel
switel M 180 User manual