Instrucciones para el control remoto
He aquí los comandos que se pueden usar con su control remoto para la luz flexible.
Este aparato cumple con la Parte 15 de las Regulaciones de la FCC.
El funcionamiento está sujeto a las dos condiciones siguientes:
(1) puede que este aparato no ocasione interferencia dañina, y
(2) este aparato debe ser capaz de aceptar cualquier interferencia recibida, incluyendo la interferencia que
pudiera ocasionar el funcionamiento no deseado.
Advertencia: Los cambios o modificaciones a esta unidad que no sean expresamente aprobados por la parte
responsable de su cumplimiento con las regulaciones podrían anular la autoridad del usuario para usar este
equipo.
NOTA: Este equipo ha sido probado y se ha determinado que cumple con los límites para los equipos
digitales de Clase B, en consonancia con la Part 15 de las Regulaciones de la FCC. Estos límites están
diseñados para brindar una protección razonable contra la interferencia dañina en las instalaciones
residenciales. Este equipo genera, usa y puede irradiar energía de radiofrecuencia y, de no instalarse y
usarse según las instrucciones, pudiera ocasionar interferencia dañina a las comunicaciones radiales. Sin
embargo, no existe garantía de que no se producirá interferencia en una instalación particular. Si este
equipo ocasionara interferencia dañina a la recepción radial o televisiva, lo que se puede determinar
apagando y encendiendo el equipo, se le exhorta al usuario a eliminar la interferencia mediante una o
varias de las siguientes medidas:
-Reoriente o reubique la antena receptora.
-Aumente la separación entre el equipo y el receptor.
-Conecte el equipo a un tomacorriente de un circuito diferente al circuito al que está conectado el
receptor.
-Pida ayuda a un concesionario o técnico de radio/TV experimentado.
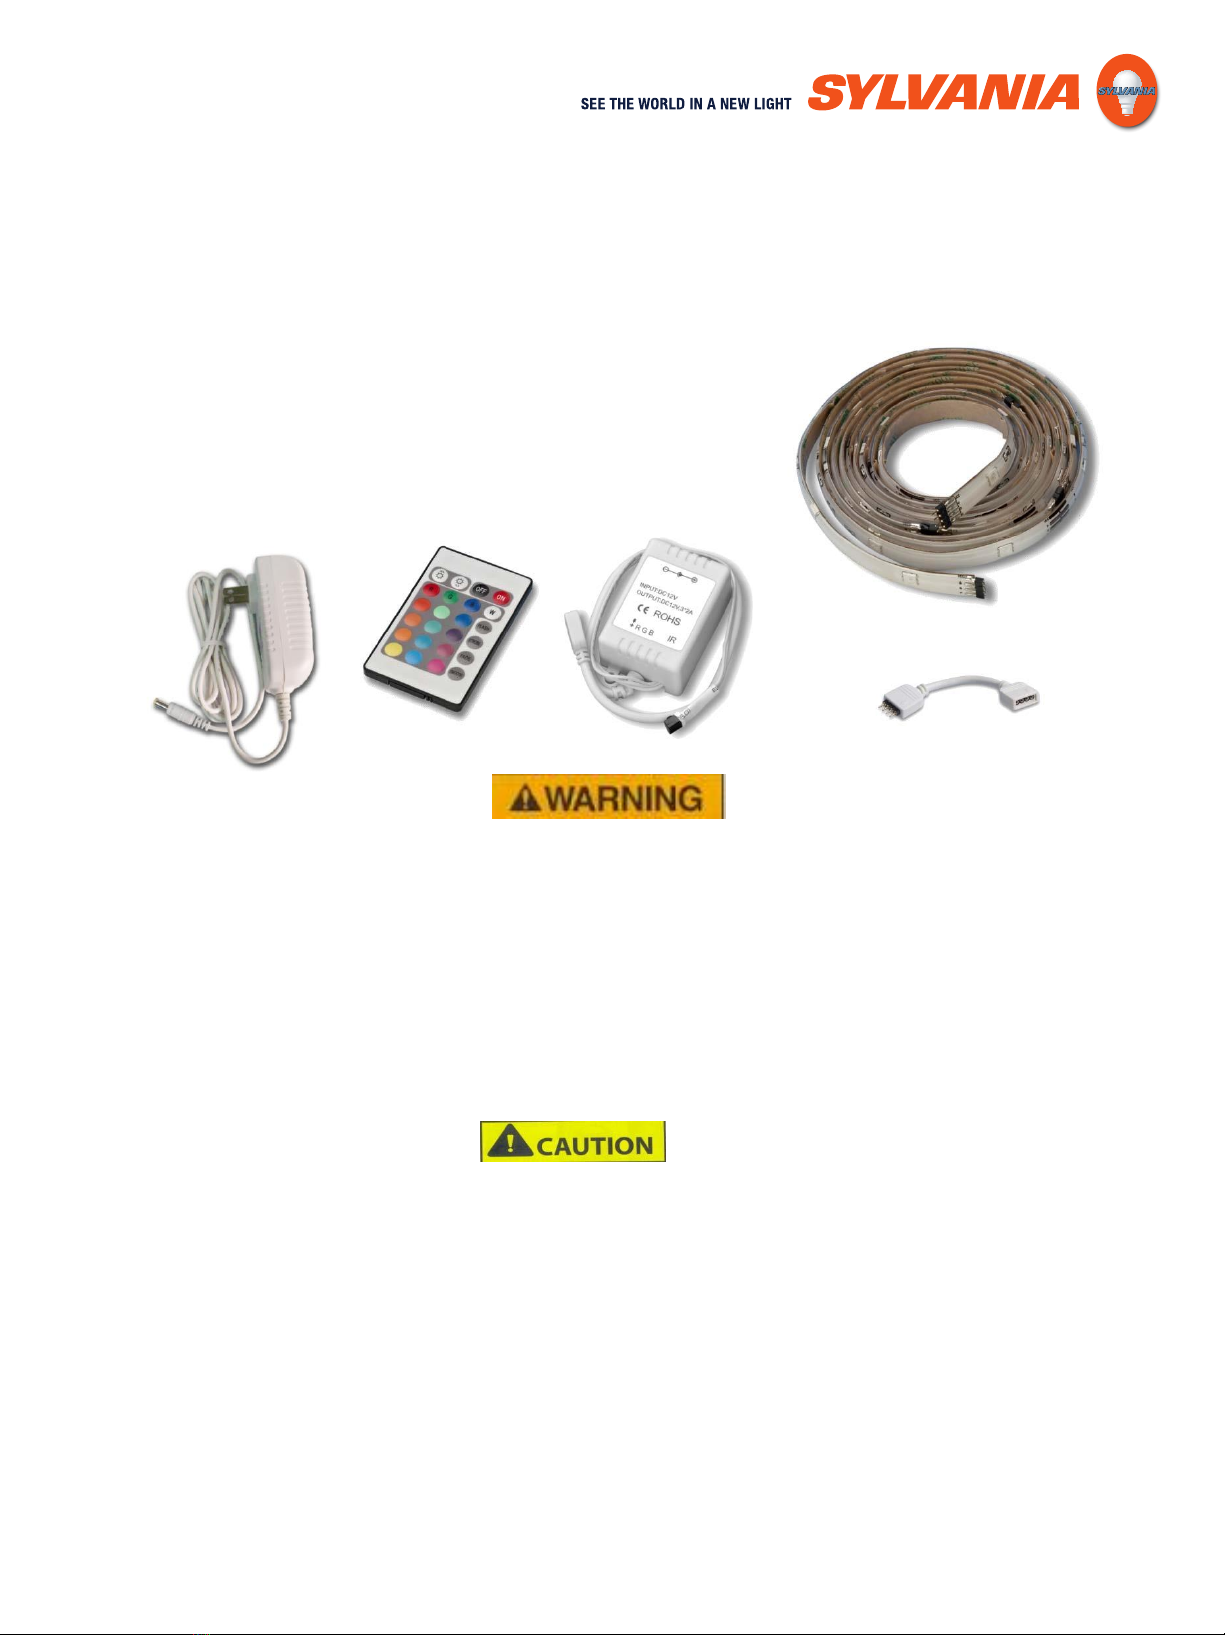
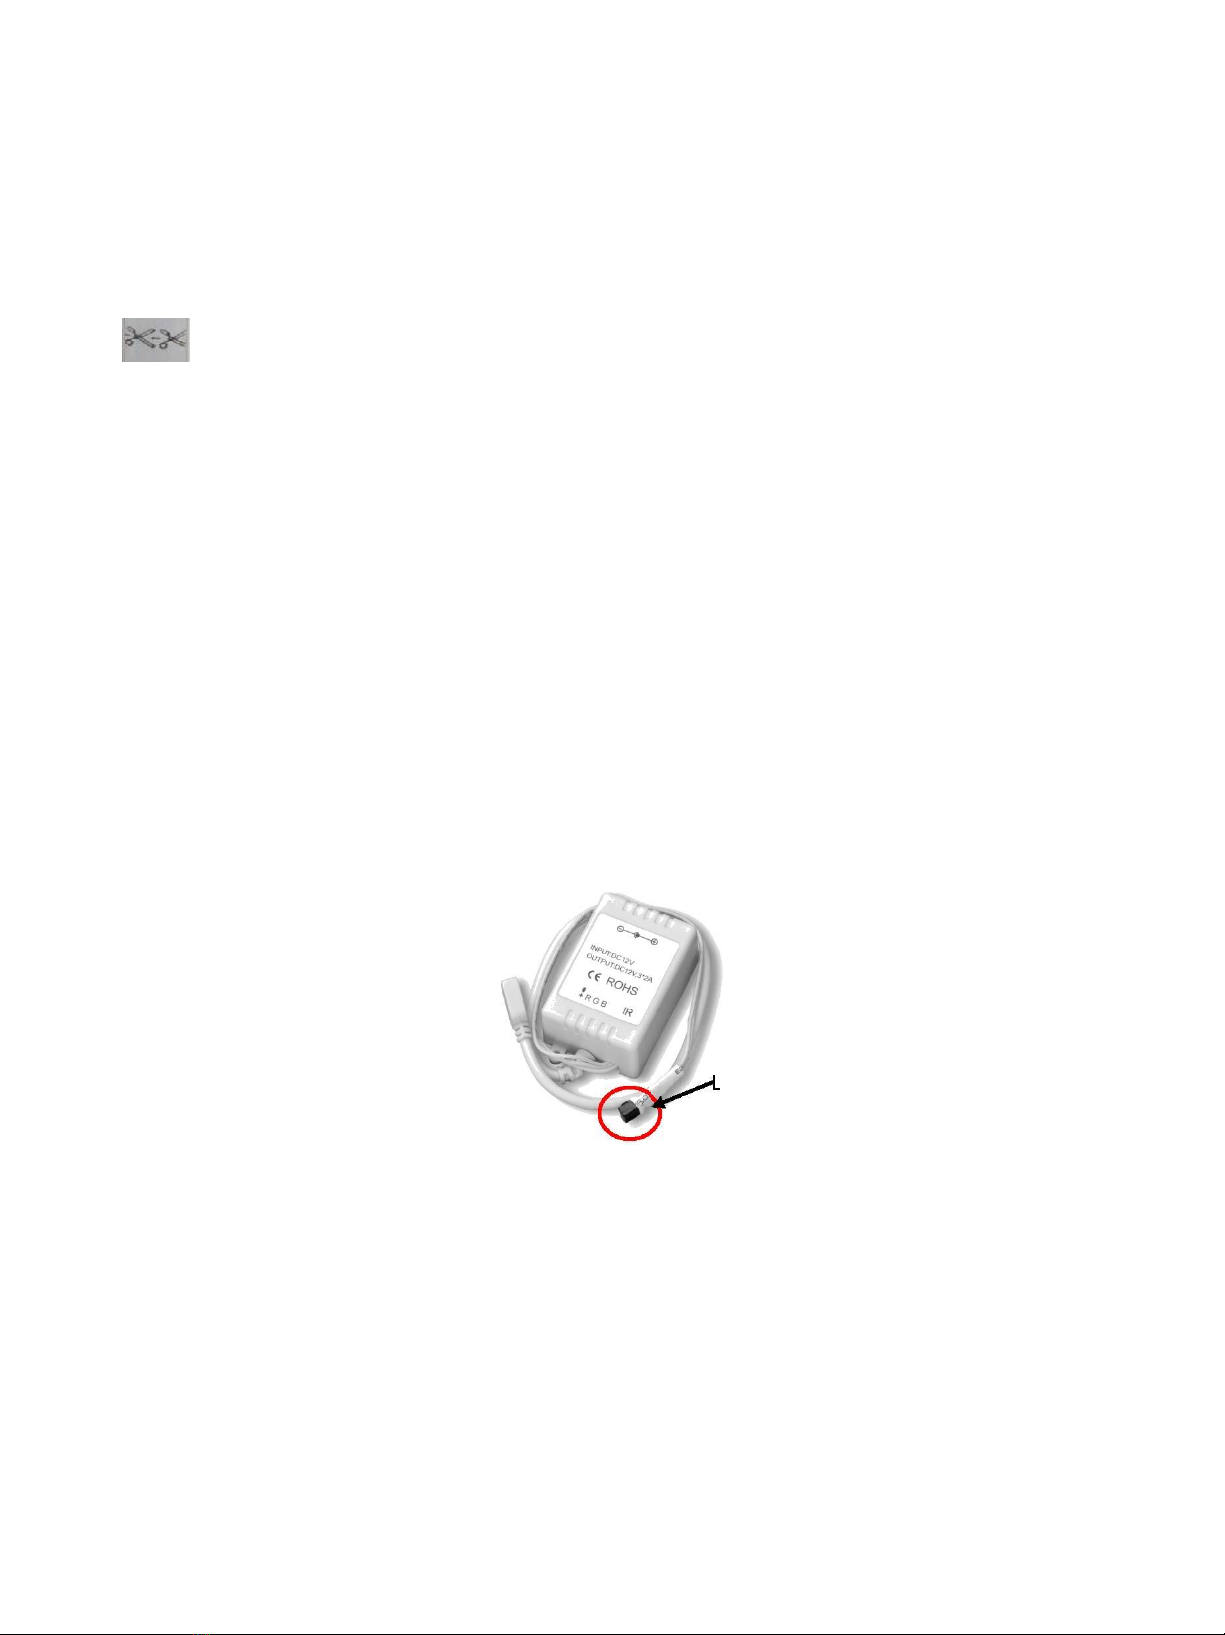
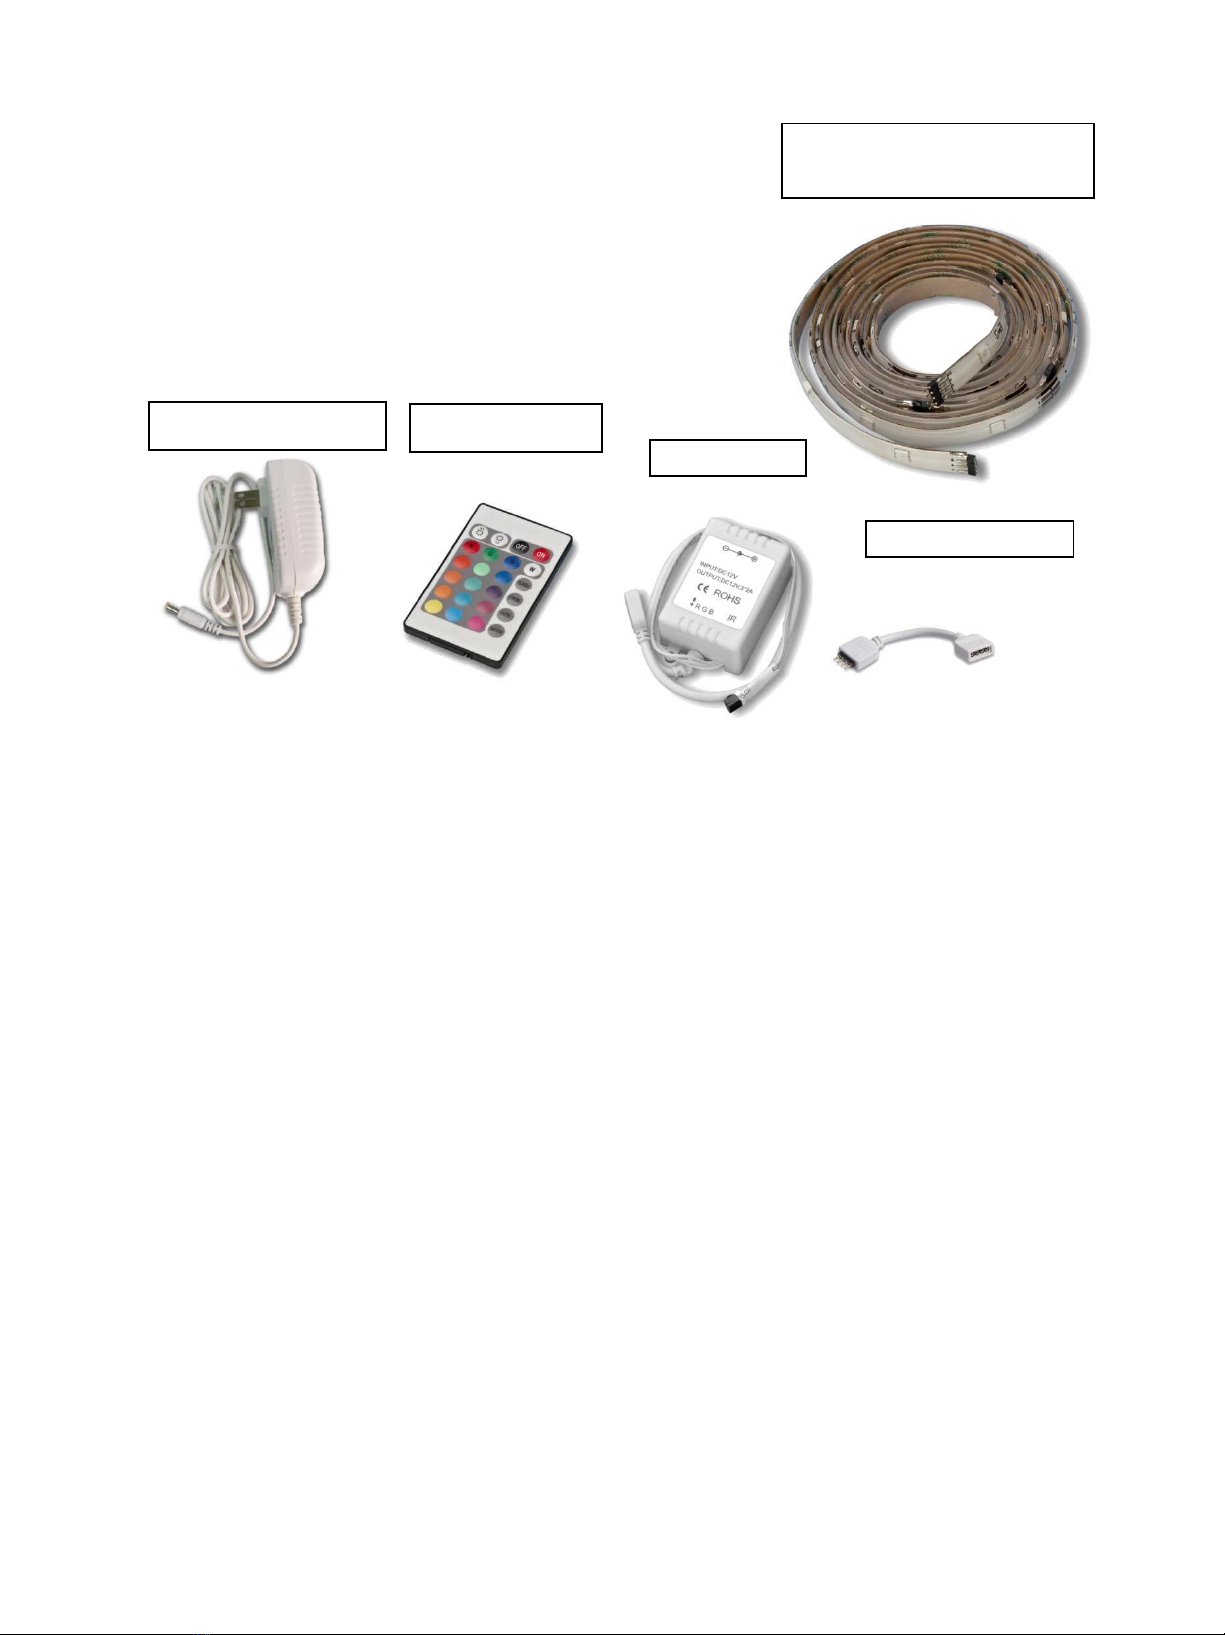
Controlador
Conector flexible
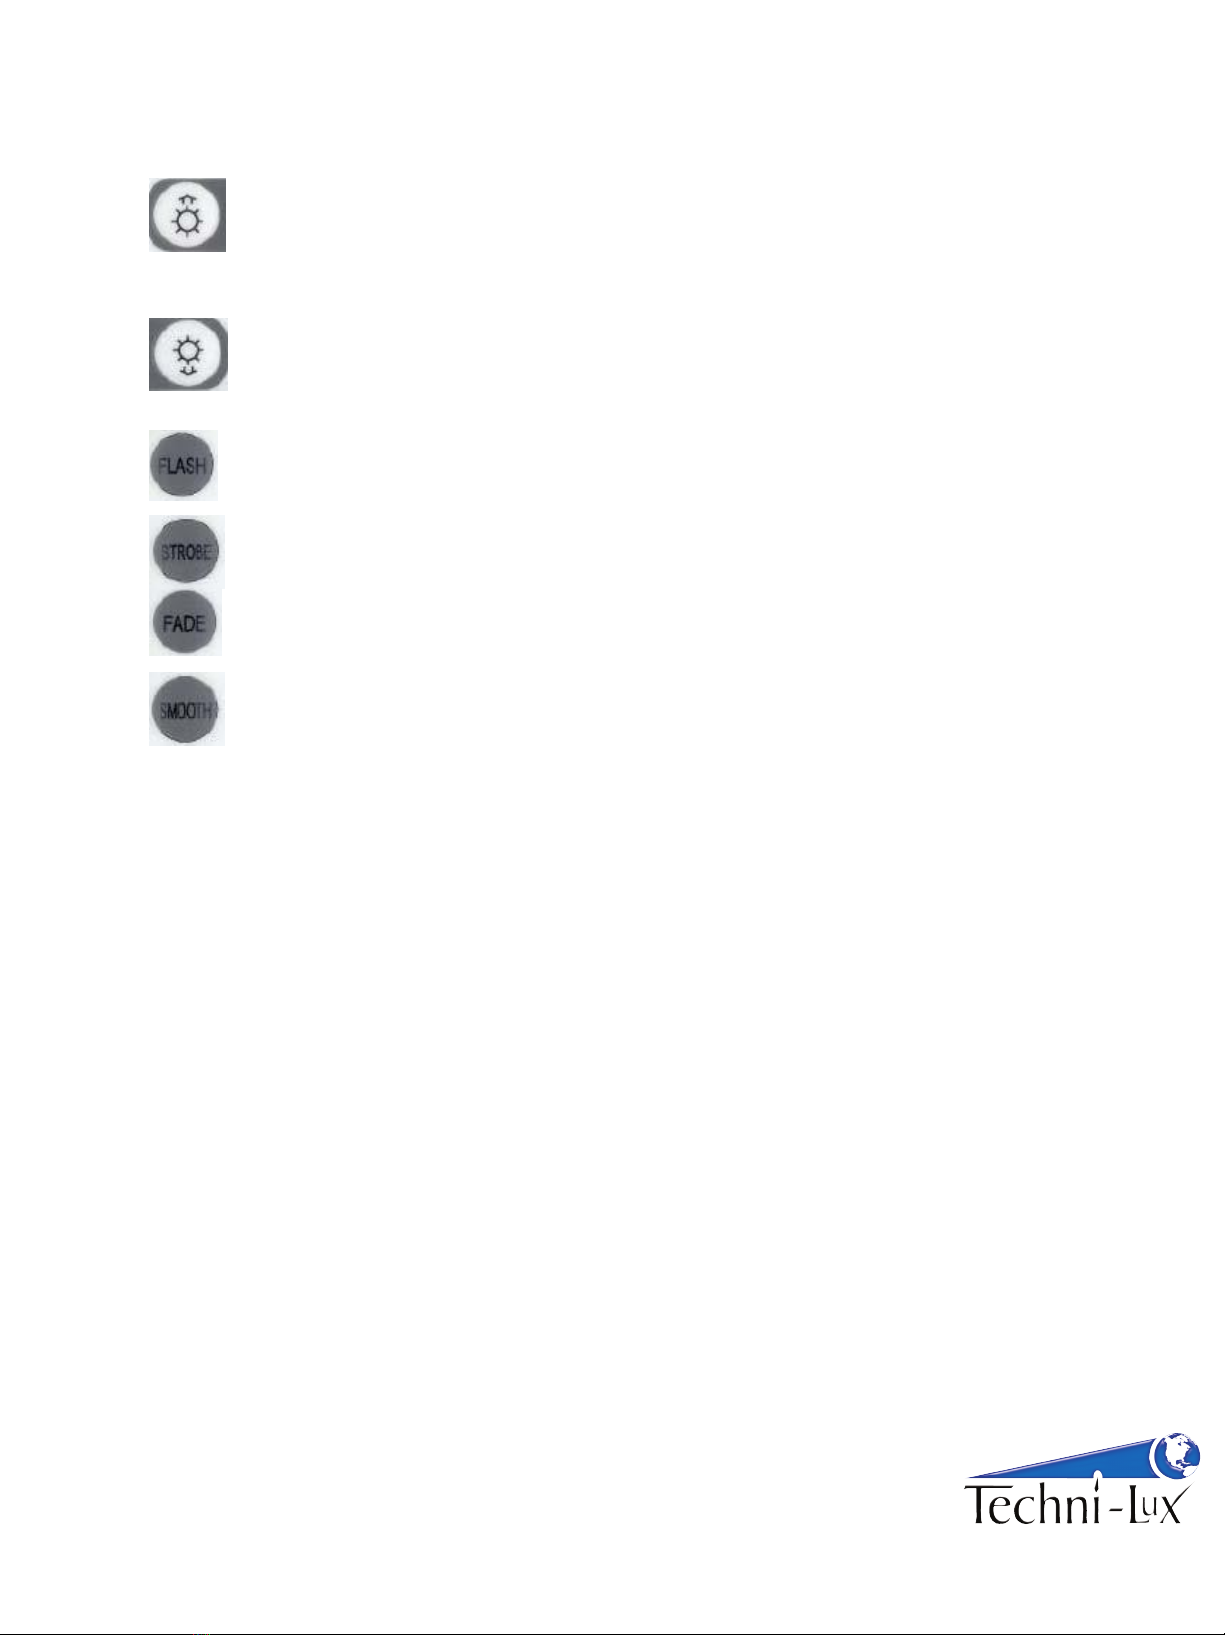
Aumenta la
intensidad (colores
enteros)
Aumenta la
velocidad (efectos)
Reduce la intensidad
(colores enteros)
Reduce la velocidad
(efectos)
Cambia entre
diversos colores
Se atenúa
uniformemente y
Cambia entre rojo,
verde, azul
',675,%8725
Phone: 407-857-8770
Fax: 407-857-8771
www.techni-lux.com