manuals.online logo
Brands
  1. Home
  2. •
  3. Brands
  4. •
  5. System Sensor
  6. •
  7. Control Unit
  8. •
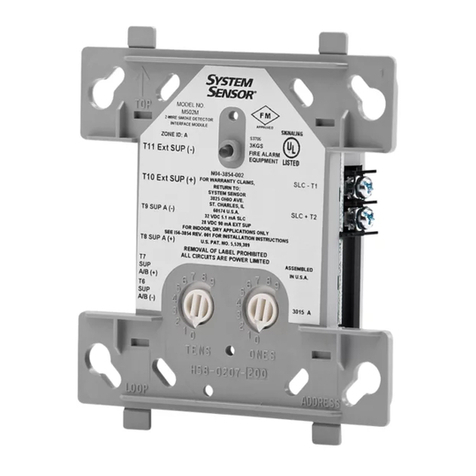
  9. System Sensor M500M User manual

System Sensor M500M User manual

M500-05-00 1 I56-314-14
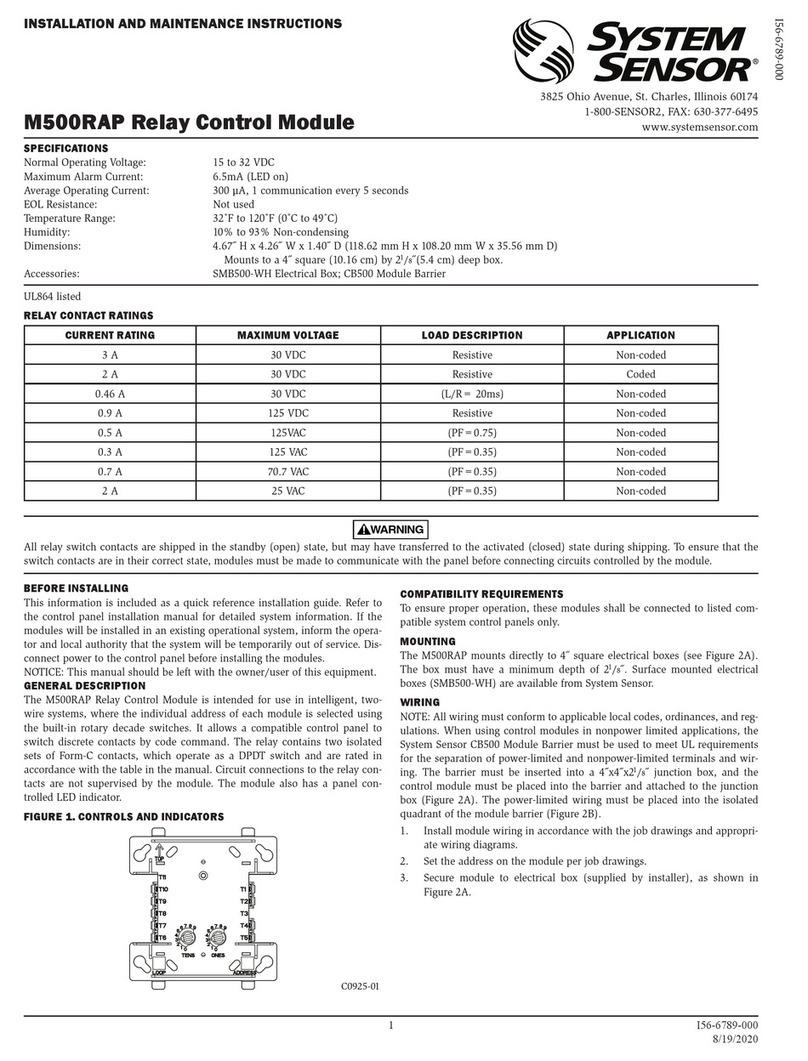
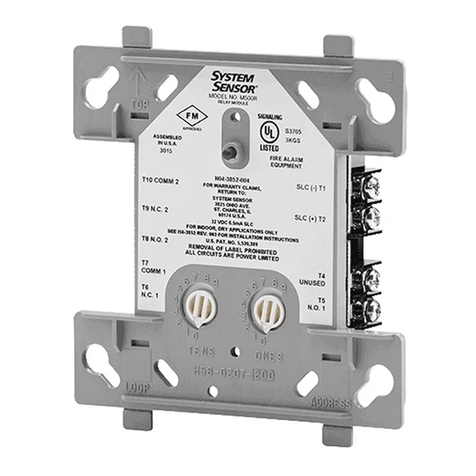
M500M Monitor Module and
M500CH Control Module
INSTALLATION AND MAINTENANCE INSTRUCTIONS
A Division of Pittway
3825 Ohio Avenue, St. Charles, Illinois 60174
1-800-SENSOR2, FAX: 630-377-6495
Before Installing
This information is included as a quick reference installation
guide. Refer to the control panel installation manual for detailed
system information. If the modules will be installed in an existing
operational system, inform the operator and local authority that
the system will be temporarily out of service. Disconnect power to
the control panel before installing the modules.
NOTICE: This manual should be left with the owner/user of this
equipment.
General Description
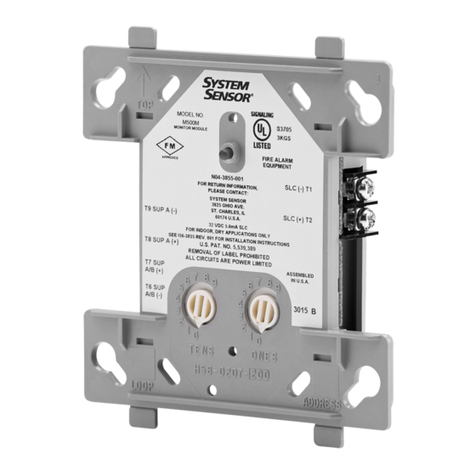
M500M Monitor Modules provide a two-wire, or fault-tolerant,
initiating circuit for normally open contact fire alarm and supervi-
sory devices, or either normally open or normally closed security
devices. The LED indicator can be latched on or returned to the
normal mode by code command from the panel. Convenient ro-
tary decade switches are used to set the address of each module.
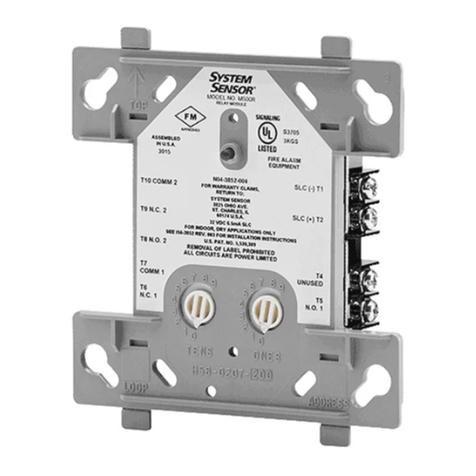
M500CH Control Modules allow a compatible control panel to
switch discrete contacts by code command. The control module
has a status LED that can be latched on or returned to the normal
mode by code command from the panel. Rotary decade switches
are used to set the address of each module.
The control module offers two modes of switching operation. As
shipped, the module is configured for switching an external
power source to notification appliances. The external power
source can be a DC power supply or an audio amplifier (up to
70.7 Vrms). In this mode, the module reports supervision status of
the connected loads to the control panel. Load circuit status is re-
ported as a NORMAL, OPEN, or SHORTED circuit. Two pairs of
output termination points are available for fault-tolerant wiring.
The second mode of switching operation allows the panel to con-
trol one Form-C (SPDT) set of contacts. Circuit connections to the
contacts are not supervised by the module. This mode is enabled
by breaking two external tabs on the module.
Compatibility Requirements
To insure proper operation, these modules shall be connected to
listed compatible system control panels only.
Mounting M500M and M500CH Devices
M500M and M500CH modules mount directly to 4" square electri-
cal boxes as shown in Figure 2A. The box must have a minimum
depth of 21 /8".
Wiring
NOTE: All wiring must conform to applicable local codes, ordi-
nances and regulations. When using control modules in
nonpower limited applications, the System Sensor CB500
Module Barrier must be used to meet UL requirements
for the separation of power-limited and nonpower-lim-
ited terminals and wiring. The barrier must be inserted
in a 4"x4"x21 /8" junction box, and the control module
Figure 1. Monitor and control module controls and
indicators:
Figure 2A. Module mounting with barrier:
must be placed into the barrier and attached to the junc-
tion box (Figure 2A). The power-limited wiring must be
placed into the isolated quadrant of the module barrier
(Figure 2B).
1. Install module wiring in accordance with the job drawings and
appropriate wiring diagrams (Figures 3 - 9).
2. Set the address on the module per job drawings.
3. Secure module to electrical box (supplied by installer), as
shown in Figure 2A.
Magnet Test
The monitor and control modules can be tested with a test mag-
net available from System Sensor (M02-04-01, see Figure 1). The
magnet test checks the module electronics and connections to the
control panel. Interfaced initiating and indicating devices must be
tested independently.
STATUS LED
ROTARY DECADE
ADDRESS SWITCHES
MAGNET TEST
POSITION
27
0
1
3
4
5
6
8
9
27
0
1
3
4
5
6
8
9
ISOLATED
QUADRANT
A78-2611-00
Figure 2B:
A78-2610-00
A78-2318-00
M500-05-00 2 I56-314-14
M500M Monitor Module Wiring Diagrams
Figure 3. Typical 2-wire initiating circuit configuration, NFPA Style A or B:
Figure 4. Typical fault tolerant initiating circuit configuration, NFPA Style D:
M500CH Control Module Wiring Diagrams
Figure 5. Typical indicating circuit configuration, NFPA Style W:
A78-2280-17
A78-2281-08
A78-2282-15
1 (–)
2 (+)
MODULE
FROM PANEL OR
(+)
(–)
TO NEXT
(+)
(–)
DEVICE
(+)
(–)
MONITOR
CONNECT MODULES TO LISTED COMPATIBLE
32 VDC MAX.
TWISTED PAIR
IS RECOMMENDED
(–)9
(+)8
(+)7
(–)6
M500M
CONTROL PANELS ONLY
PREVIOUS DEVICE
COMMUNICATION LINE
ALL WIRING SHOWN IS SUPERVISED AND POWER LIMITED
47 K EOL
RESISTOR
A2143-00
ANY NUMBER OF UL LISTED CONTACT CLOSURE
DEVICES MAY BE USED. DO NOT MIX FIRE
ALARM INITIATING, SUPERVISORY, OR
SECURITY DEVICES ON THE SAME MODULE.
INITIATING DEVICE CIRCUIT - NFPA STYLE A OR B
POWER LIMITED: 230 µA MAX @ 12 VDC MAX
IDC INSTALLATION WIRING SHALL NOT
EXCEED 40 OHMS OR 2500 FEET, 12 - 18 AWG.
INSTALL CONTACT CLOSURE DEVICES PER
MANUFACTURER'S INSTALLATION INSTRUCTIONS.
1 (–)
2 (+)
MODULE
FROM PANEL OR
(+)
(-)
TO NEXT
(+)
(–)
DEVICE
(+)
(–)
MONITOR
CONNECT MODULES TO LISTED COMPATIBLE
(–)9
(+)8
(+)7
(–)6
M500M
CONTROL PANELS ONLY
PREVIOUS DEVICE
COMMUNICATION LINE
ALL WIRING SHOWN IS SUPERVISED AND POWER LIMITED
EOL RESISTOR
IS INTERNAL AT
TERMINALS 8 & 9.
ANY NUMBER OF UL LISTED CONTACT CLOSURE
DEVICES MAY BE USED. DO NOT MIX FIRE
ALARM INITIATING, SUPERVISORY, OR
SECURITY DEVICES ON THE SAME MODULE.
INITIATING DEVICE CIRCUIT - NFPA STYLE D
POWER LIMITED: 230 µA MAX @ 12 VDC MAX
IDC INSTALLATION WIRING SHALL NOT
EXCEED 40 OHMS OR 2500 FEET, 12 - 18 AWG.
INSTALL CONTACT CLOSURE DEVICES PER
MANUFACTURER'S INSTALLATION INSTRUCTIONS.
32 VDC MAX
TWISTED PAIR
IS RECOMMENDED
1 (-)
2 (+)
MODULE
FROM PANEL OR (+)
(-) TO NEXT
(+)
(-)
DEVICE
(+)
(-)
3 (-)
4 (+)
(+) 9
(-) 8
(-) 7
(+) 6
XXX 5
CONTROL
(-)
(+)
47K EOL
RESISTOR
A2143-00
UL LISTED EOL RELAY
SHOWN ENERGIZED
24 VDC COIL
A77-716B
XXX - DO NOT
USE TERMINAL 5
TO NEXT CONTROL MODULE OR END
OF LINE RELAY (EOLR); ONE EOLR
REQUIRED PER 24 VDC BRANCH CIRCUIT
MODULE POLARITIES ARE
SHOWN IN ALARM
CONNECT MODULES TO LISTED COMPATIBLE
USE UL LISTED INDICATING APPLIANCES
RESISTIVE: 2 A @ 30 VDC
INDUCTIVE: 1 A @ 30 VDC (.6 PF)
PILOT DUTY: .6 A @ 30 VDC (.35 PF)
MAXIMUM LOAD:
32 VDC MAX.
IS RECOMMENDED
24 VDC BRANCH CIRCUIT
3 & 4. BREAK WIRE RUN TO PROVIDE
SUPERVISION OF CONNECTIONS.
DO NOT LOOP WIRE ON TERMINALS
ALL WIRING SHOWN IS SUPERVISED AND POWER LIMITED
(-)
(+)
ISOLATED, REGULATED, 24 VDC
POWER SUPPLY, LISTED FOR FIRE
PROTECTION WITH BATTERY BACKUP
(MONITOR LOSS OF PRIMARY POWER)
TWISTED PAIR
M500CH
CONTROL PANELS ONLY
INDICATING APPLIANCE CIRCUIT (IAC) - NFPA STYLE W
COMMUNICATION LINE
PREVIOUS DEVICE
EXTERNAL POWER SOURCE MUST BE
POWER LIMITED PER NFPA 70
(-)
(+)
OR EQUAL
M500-05-00 3 I56-314-14
Figure 7. Typical wiring for speaker supervision and switching, NFPA Style W:
Figure 8. Typical fault tolerant wiring for speaker supervision and switching, NFPA Style X:
A78-2284-14
Figure 6. Typical fault tolerant indicating circuit configuration, NFPA Style X:
A78-2283-06
1 (–)
2 (+)
MODULE
FROM PANEL OR
(+)
(–)
TO NEXT
(+)
(–)
DEVICE
(+)
(–)
3 (–)
4 (+)
(+) 9
(–) 8
(–) 7
(+) 6
XXX 5
CONTROL
(–)
(+)
(–)
(+)
UL LISTED EOL RELAY
SHOWN ENERGIZED
24VDC COIL
A77-7168
OR EQUAL
XXX - DO NOT
USE TERMINAL 5
TO NEXT CONTROL MODULE OR END
OF LINE RELAY (EOLR); ONE EOLR
REQUIRED PER 24 VDC BRANCH CIRCUIT
MODULE POLARITIES ARE
SHOWN IN ALARM
CONNECT MODULES TO LISTED COMPATIBLE
USE UL LISTED INDICATING APPLIANCES
RESISTIVE: 1.5 A @ 30 VDC*
INDUCTIVE: 1 A @ 30 VDC (.6 PF)
PILOT DUTY: .6 A @ 30 VDC (.35 PF)
MAXIMUM LOAD:
24 VDC BRANCH CIRCUIT
3 & 4. BREAK WIRE RUN TO PROVIDE
SUPERVISION OF CONNECTIONS.
DO NOT LOOP WIRE ON TERMINALS
ALL WIRING SHOWN IS SUPERVISED
AND POWER LIMITED
(+)
ISOLATED REGULATED, 24 VDC
POWER SUPPLY, LISTED FOR FIRE
PROTECTION WITH BATTERY BACKUP
(MONITOR LOSS OF PRIMARY POWER)
EXTERNAL POWER SOURCE MUST BE
POWER LIMITED PER NFPA 70
M500CH
CONTROL PANELS ONLY
INDICATING APPLIANCE CIRCUIT (IAC) - NFPA STYLE X
PREVIOUS DEVICE
EOL RESISTOR IS
INTERNAL AT
TERMINALS 8 & 9
32 VDC MAX.
TWISTED PAIR
IS RECOMMENDED
COMMUNICATION LINE
(–)
1 (–)
2 (+)
MODULE
FROM PANEL OR
(+)
(–)
TO NEXT
(+)
(–)
DEVICE
(+)
(–)
3 (–)
4 (+)
(+) 9
(–) 8
(–) 7
(+) 6
XXX 5
CONTROL
(–)
(+)
(–)
(+)
XXX - DO NOT
USE TERMINAL 5
TO NEXT CONTROL MODULE
LAST MODULE MUST RETURN
WIRES FOR SUPERVISION
MODULE POLARITIES ARE
SHOWN IN ALARM
CONNECT MODULES TO LISTED COMPATIBLE
AUDIO BRANCH CIRCUIT
3 & 4. BREAK WIRE TO ENSURE
SUPERVISION OF CONNECTIONS.
DO NOT LOOP WIRE AROUND TERMINALS
ALL WIRING SHOWN IS SUPERVISED.
(+)
M500CH
CONTROL PANELS ONLY
PREVIOUS DEVICE
47 K EOL
RESISTOR
A2143-00
32 VDC MAX.
TWISTED PAIR
IS RECOMMENDED
COMMUNICATION LINE
(–)
AUDIO AMPLIFIER
70.7 Vrms MAX.
SPEAKER SWITCHING CIRCUIT - NFPA STYLE W
SPEAKERS MUST BE LISTED FOR FIRE PROTECTION
MAXIMUM LOAD: 43.75 WATTS MAX.
UP TO 70.7 Vrms
(.35 POWER FACTOR)
WIRES MUST BE SUPERVISED PER NFPA
AMP. WIRE
SUPERVISION
CIRCUIT
WHEN A 70.7V AUDIO AMPLIFIER IS USED, TERMINALS 1 AND 2 ARE POWER LIMITED,
WHILE TERMINALS 3-9 ARE NONPOWER LIMITED. IN THIS CASE THE CB500 BARRIER
IS REQUIRED. OTHERWISE, ALL TERMINAL WIRING IS POWER LIMITED.
THE CB500
INCLUDES A LABEL INDICATING WHICH TERMINALS ARE NONPOWER LIMITED. THIS
LABEL MUST BE PLACED OVER THE POWER-LIMITED TERMINAL INFORMATION ON
THE NAMEPLATE LABEL, PRESENT ON THE MODULE HOUSING.
1 (–)
2 (+)
FROM PANEL OR
(+)
(–)
TO NEXT
(+)
(–)
DEVICE
(+)
(–)
3 (–)
4 (+)
(+) 9
(–) 8
(–) 7
(+) 6
XXX 5
CONTROL MODULE
(–)
(+)
(–)
(+)
XXX - DO NOT
USE TERMINAL 5
TO NEXT CONTROL MODULE
LAST MODULE MUST RETURN
WIRES FOR SUPERVISION
MODULE POLARITIES ARE
SHOWN IN ALARM
CONNECT MODULES TO LISTED COMPATIBLE
AUDIO BRANCH CIRCUIT
3 & 4. BREAK WIRE TO ENSURE
SUPERVISION OF CONNECTIONS.
DO NOT LOOP WIRE AROUND TERMINALS
ALL WIRING SHOWN IS SUPERVISED.
(+)
M500CH
CONTROL PANELS ONLY
PREVIOUS DEVICE
EOL RESISTOR IS
INTERNAL AT
TERMINALS 8 & 9
32 VDC MAX.
SHIELDED, TWISTED
PAIR IS RECOMMENDED
COMMUNICATION LINE
(–)
AUDIO AMPLIFIER
70.7 Vrms MAX.
AMP. WIRE
SUPERVISION
CIRCUIT
SPEAKER SWITCHING CIRCUIT - NFPA STYLE X
SPEAKERS MUST BE LISTED FOR FIRE PROTECTION
MAXIMUM LOAD: 43.75 WATTS MAX.
UP TO 70.7 Vrms
(.35 POWER FACTOR)
(+) (–)
WIRES MUST BE SUPERVISED PER NFPA BYPASS CAPACITORS : 100 µf, 10V
A2143-20 NONPOLARIZED
<10 µA LEAKAGE
A78-2285-03
WHEN A 70.7V AUDIO AMPLIFIER IS USED, TERMINALS 1 AND 2 ARE POWER LIMITED,
WHILE TERMINALS 3-9 ARE NONPOWER LIMITED. IN THIS CASE THE CB500 BARRIER
IS REQUIRED. OTHERWISE, ALL TERMINAL WIRING IS POWER LIMITED.
THE CB500
INCLUDES A LABEL INDICATING WHICH TERMINALS ARE NONPOWER LIMITED. THIS
LABEL MUST BE PLACED OVER THE POWER-LIMITED TERMINAL INFORMATION ON
THE NAMEPLATE LABEL, PRESENT ON THE MODULE HOUSING.
A78-2285-15
M500-05-00 4 I56-314-14
© System Sensor 1999
Figure 9. Control module in relay output mode:
WARNING
Control Module switch contacts are shipped in the standby state (open). Contacts may have transferred to the activated state (closed)
during shipping.
The module utilizes a mechanical latching-type relay that can change states due to shock or jarring. The control panel controls this re-
lay with “STANDBY” and “ALARM” control commands. To insure that the switch contacts are in the standby state, control modules
must be made to communicate with the panel before connecting circuits controlled by the module.
1 (–)
2 (+)
MODULE
FROM PANEL OR
(+)
(–)
TO NEXT
(+)
(–)
DEVICE
(+)
(–)
CONTROL
CONNECT MODULES TO LISTED COMPATIBLE
32 VDC MAX.
IS RECOMMENDED
9
8
7
6
5
3
4
RELAY COMMON
NORMALLY CLOSED
FORM "C" RELAY OPERATION WHEN
BOTH TABS J1 AND J2 ARE BROKEN.
J1 & J2
MODULE DOES NOT SUPERVISE CIRCUITS
CONTROLLED BY FORM C CONTACT.
NORMALLY OPEN
RELAY CONTACT RATINGS:
INDUCTIVE: 1 A @ 30 VDC (.6 PF)
RESISTIVE: 2 A @ 30 VDC
PILOT DUTY: .6 A @ 30 VDC (.35 PF)
.3 A @ 110 VDC (.35 PF)
.3 A @ 120 VAC (.35 PF)
M500CH
TWISTED PAIR
CONTROL PANELS ONLY
PREVIOUS DEVICE
COMMUNICATION LINE
BREAK OFF TABS
J1 & J2 TO ENABLE
FORM C OPERATION
ALL WIRING SHOWN IS POWER LIMITED
A78-2286-02
A78-1953-02

This manual suits for next models

1

Other System Sensor Control Unit manuals

System Sensor M502M User manual

System Sensor

System Sensor M502M User manual

System Sensor i3 Series User manual

System Sensor

System Sensor i3 Series User manual

System Sensor M500SA User manual

System Sensor

System Sensor M500SA User manual

System Sensor EM-1SRI User manual

System Sensor

System Sensor EM-1SRI User manual

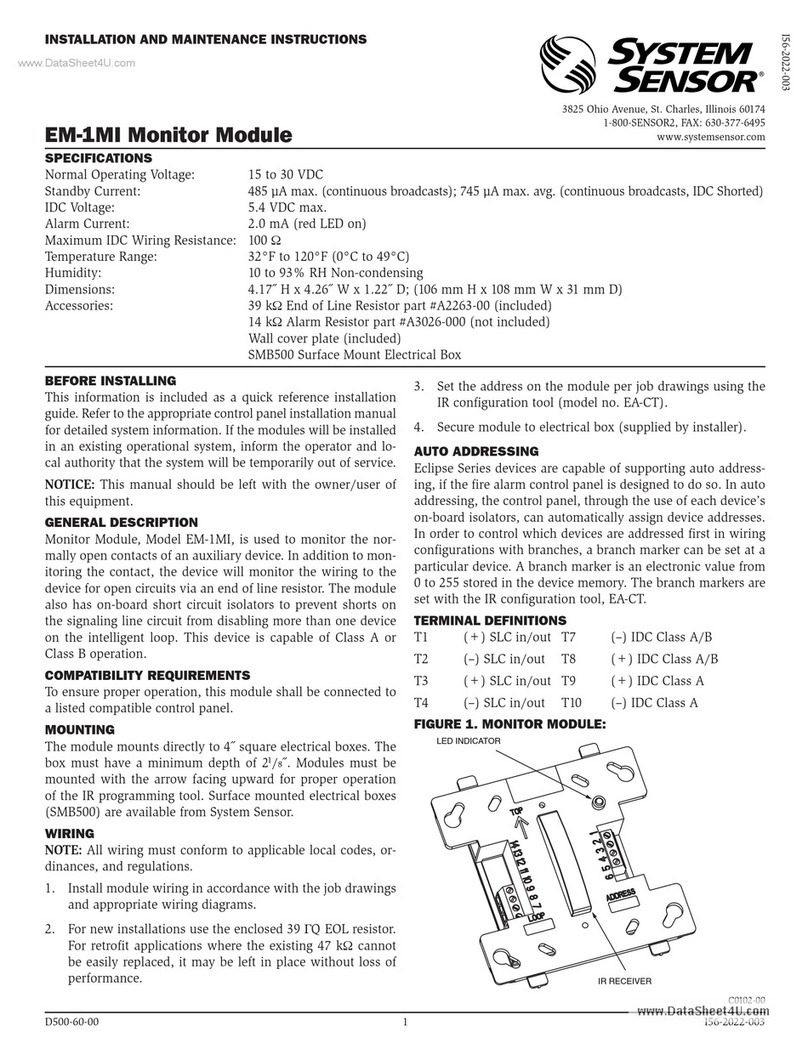
System Sensor EM-1MI User manual

System Sensor

System Sensor EM-1MI User manual

System Sensor 500 Series User manual

System Sensor

System Sensor 500 Series User manual

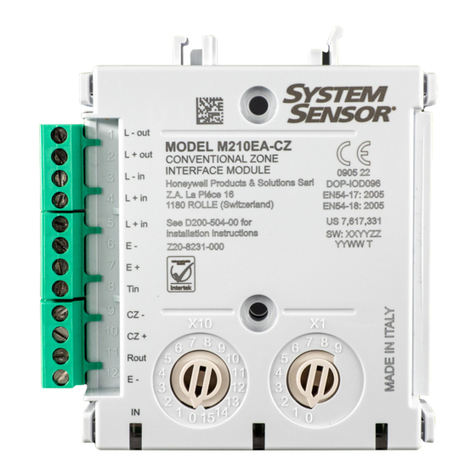
System Sensor M210EA-CZ User manual

System Sensor

System Sensor M210EA-CZ User manual

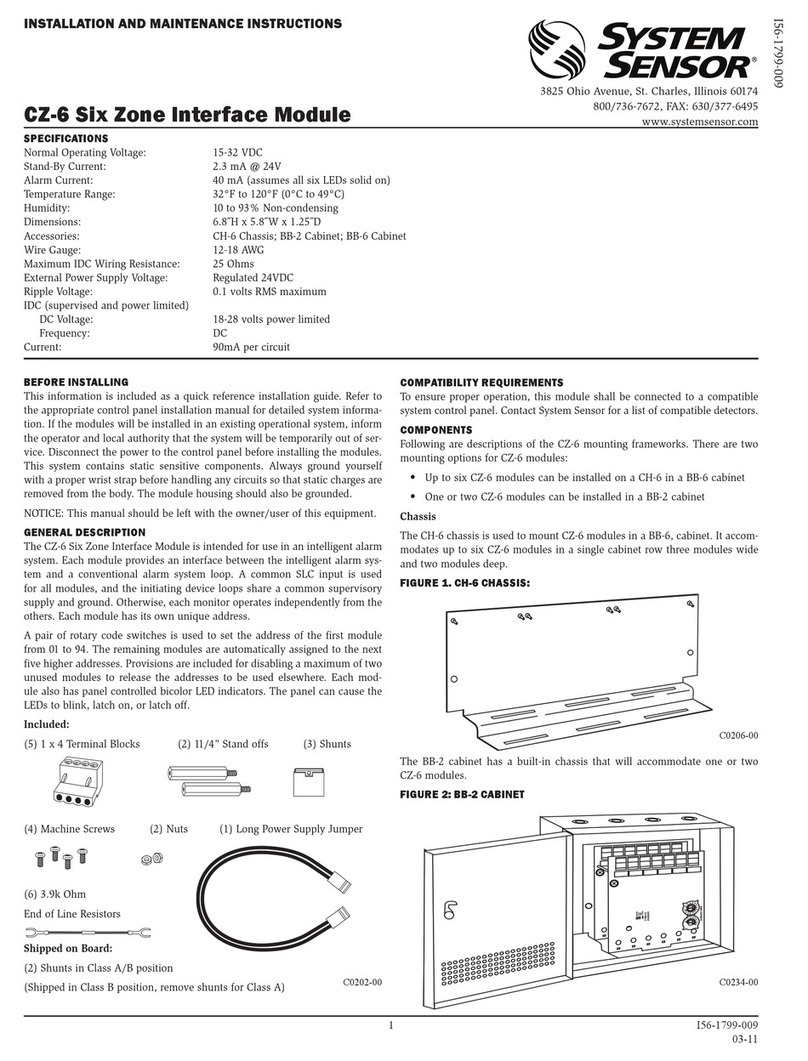
System Sensor CZ-6 User manual

System Sensor

System Sensor CZ-6 User manual

System Sensor M500FP User manual

System Sensor

System Sensor M500FP User manual

System Sensor IM-10 User manual

System Sensor

System Sensor IM-10 User manual

System Sensor MDL3W User manual

System Sensor

System Sensor MDL3W User manual

System Sensor SC-6 User manual

System Sensor

System Sensor SC-6 User manual

System Sensor RR2 User manual

System Sensor

System Sensor RR2 User manual

System Sensor IM-10 User manual

System Sensor

System Sensor IM-10 User manual

System Sensor i3 Series User manual

System Sensor

System Sensor i3 Series User manual

System Sensor M500S User manual

System Sensor

System Sensor M500S User manual

System Sensor M500SAP User manual

System Sensor

System Sensor M500SAP User manual

System Sensor M210E User manual

System Sensor

System Sensor M210E User manual

System Sensor IM-10 User manual

System Sensor

System Sensor IM-10 User manual

System Sensor M501MAP User manual

System Sensor

System Sensor M501MAP User manual

System Sensor M500M User manual

System Sensor

System Sensor M500M User manual

System Sensor 500 Series User manual

System Sensor

System Sensor 500 Series User manual

System Sensor M902M User manual

System Sensor

System Sensor M902M User manual

System Sensor RR1 User manual

System Sensor

System Sensor RR1 User manual

Popular Control Unit manuals by other brands

GEM 532Z operating instructions

GEM

GEM 532Z operating instructions

Vag EKN Operation and maintenance instructions

Vag

Vag EKN Operation and maintenance instructions

Puls YR40.482 installation manual

Puls

Puls YR40.482 installation manual

GEA DHV DN65/50 KVS 16 operating instructions

GEA

GEA DHV DN65/50 KVS 16 operating instructions

agiliti Adapt Quick reference guide

agiliti

agiliti Adapt Quick reference guide

PVA MV250 Operation manual

PVA

PVA MV250 Operation manual

ABB 615 Series ANSI manual

ABB

ABB 615 Series ANSI manual

Triax TDH 800 user guide

Triax

Triax TDH 800 user guide

rada Pulse Series product manual

rada

rada Pulse Series product manual

KSB AMTRONIC R1300 User instructions

KSB

KSB AMTRONIC R1300 User instructions

Huawei MU609T manual

Huawei

Huawei MU609T manual

CALEFFI LEGIOMIX 600094A Installation and commissioning manual

CALEFFI

CALEFFI LEGIOMIX 600094A Installation and commissioning manual

Sun Microsystems Sun Blade X6270 Safety and compliance guide

Sun Microsystems

Sun Microsystems Sun Blade X6270 Safety and compliance guide

Hikmicro Mini2 quick start guide

Hikmicro

Hikmicro Mini2 quick start guide

Siemens multiranger 200 Application guide

Siemens

Siemens multiranger 200 Application guide

Laird BL600-SA Hardware integration guide

Laird

Laird BL600-SA Hardware integration guide

Hypex Electronics UcD Supply HG Mono user manual

Hypex Electronics

Hypex Electronics UcD Supply HG Mono user manual

BYD P6K Series INSTALLATION MANUAL AND USER MANUAL

BYD

BYD P6K Series INSTALLATION MANUAL AND USER MANUAL

manuals.online logo
manuals.online logoBrands
  • About & Mission
  • Contact us
  • Privacy Policy
  • Terms and Conditions

Copyright 2025 Manuals.Online. All Rights Reserved.