EC-6
Installation and Operation Manual
Page 9 of 10 Rev. 08/24/2023
Copyright
2020-2023 Talk-A-Phone,
LLC • 7530 North Natchez Avenue • Niles, Illinois 60714 • Phone 773.539.1100 • [email protected] • www.talkaphone.com.
All prices and specifications are subject to change without notice. Talk-A-Phone, Talkaphone, and WEBS are registered trademarks of Talk-A-Phone, LLC. All rights reserved. All other
trademarks mentioned in this document or website are the property of their respective owners and does not imply or indicate any approval, endorsement, sponsorship, or affiliation with such
owners unless such approval, endorsement, sponsorship, or affiliation is expressly indicated.
4. Operation
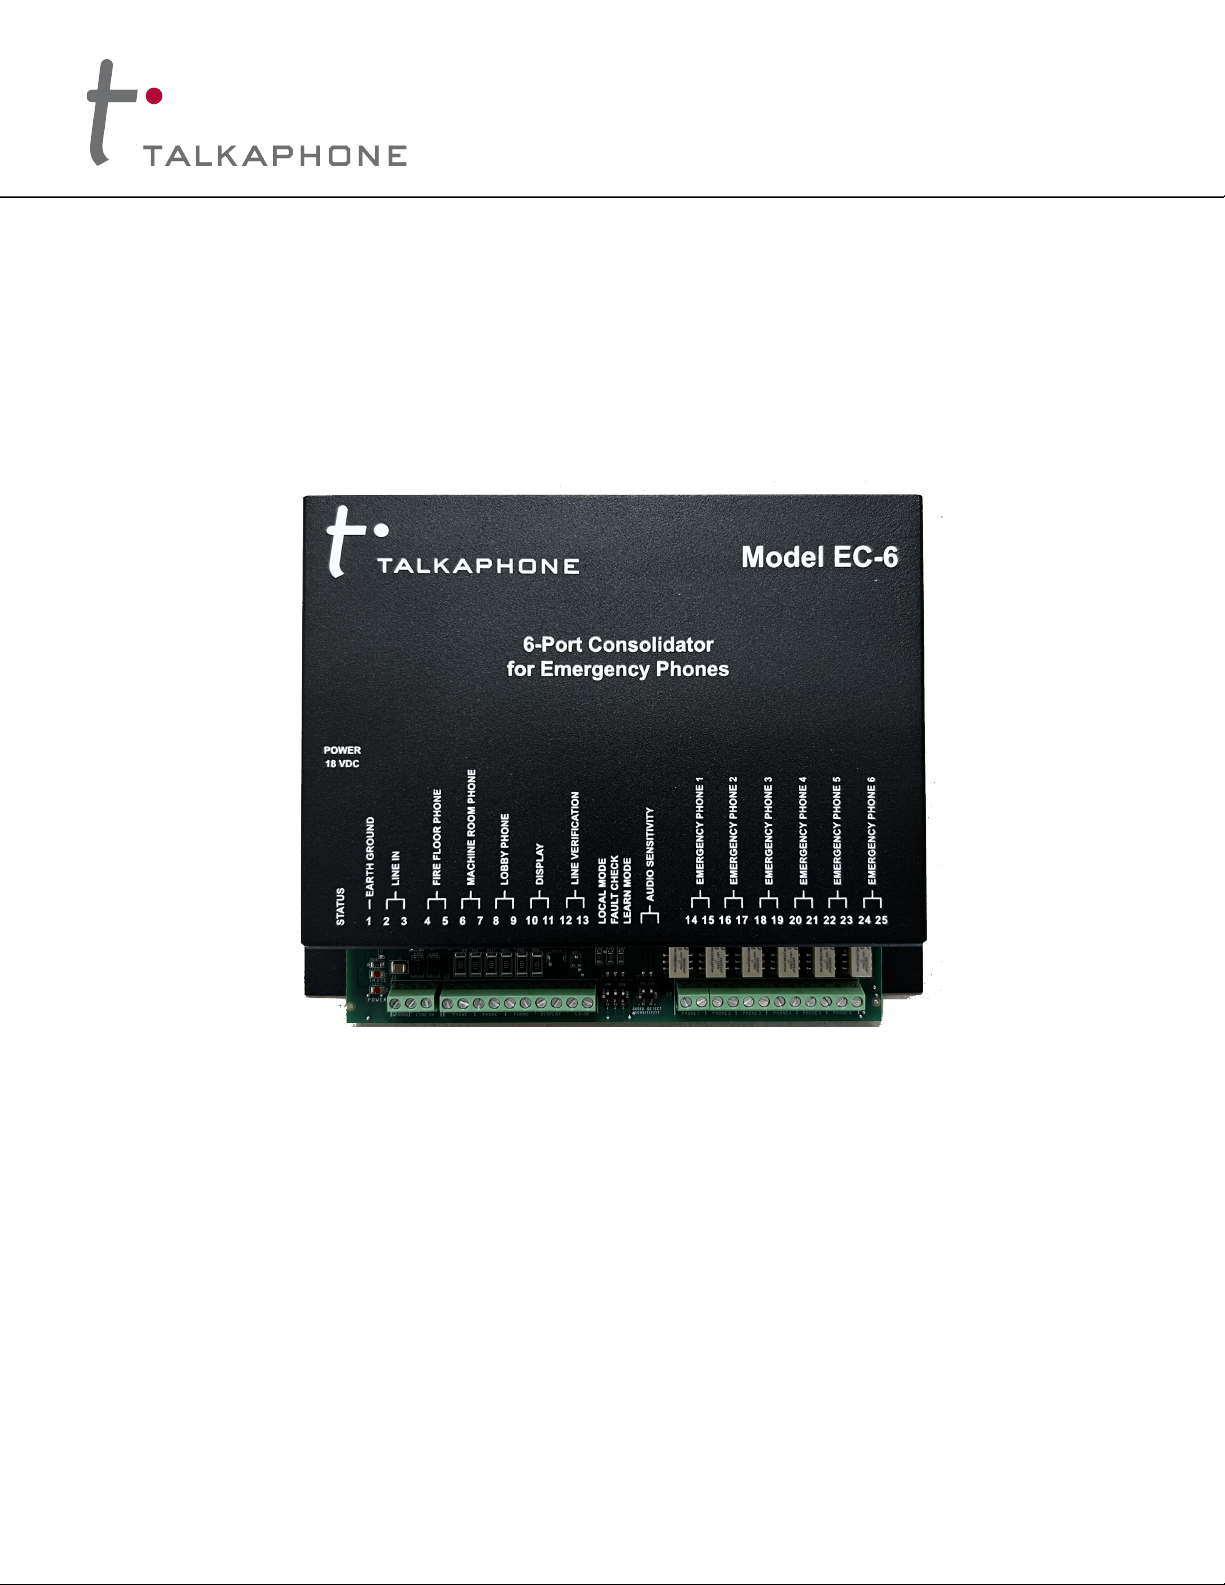
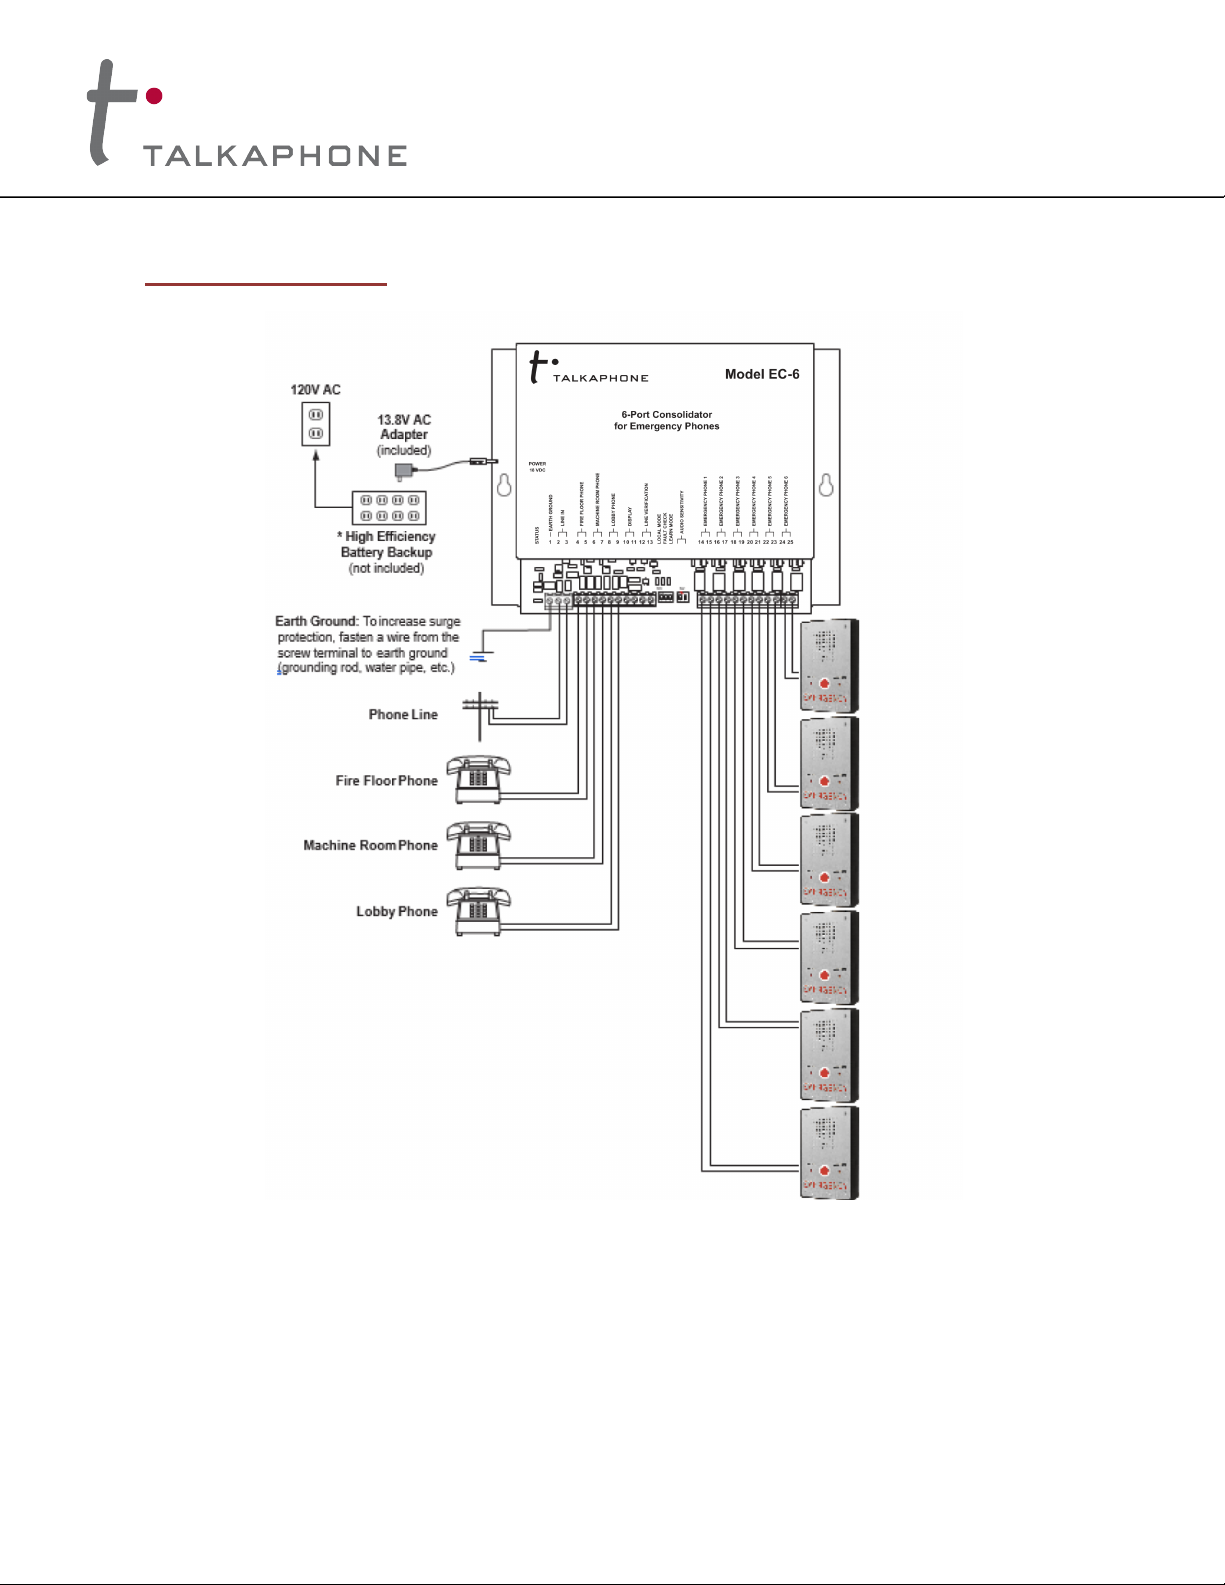
The EC-6 allows voice communication from up to six (6) Talkaphone analog emergency telephones to a local
Fire Floor phone, Machine Room phone, and/or Lobby phone, as well as to an off-premise phone through a
telephone (PSTN) line. Any or all of the Emergency Phones can talk with any or all of the authorized
personnel phones. Below is a simple directory of what to dial to call each of these devices or access the
telephone (PSTN) line.
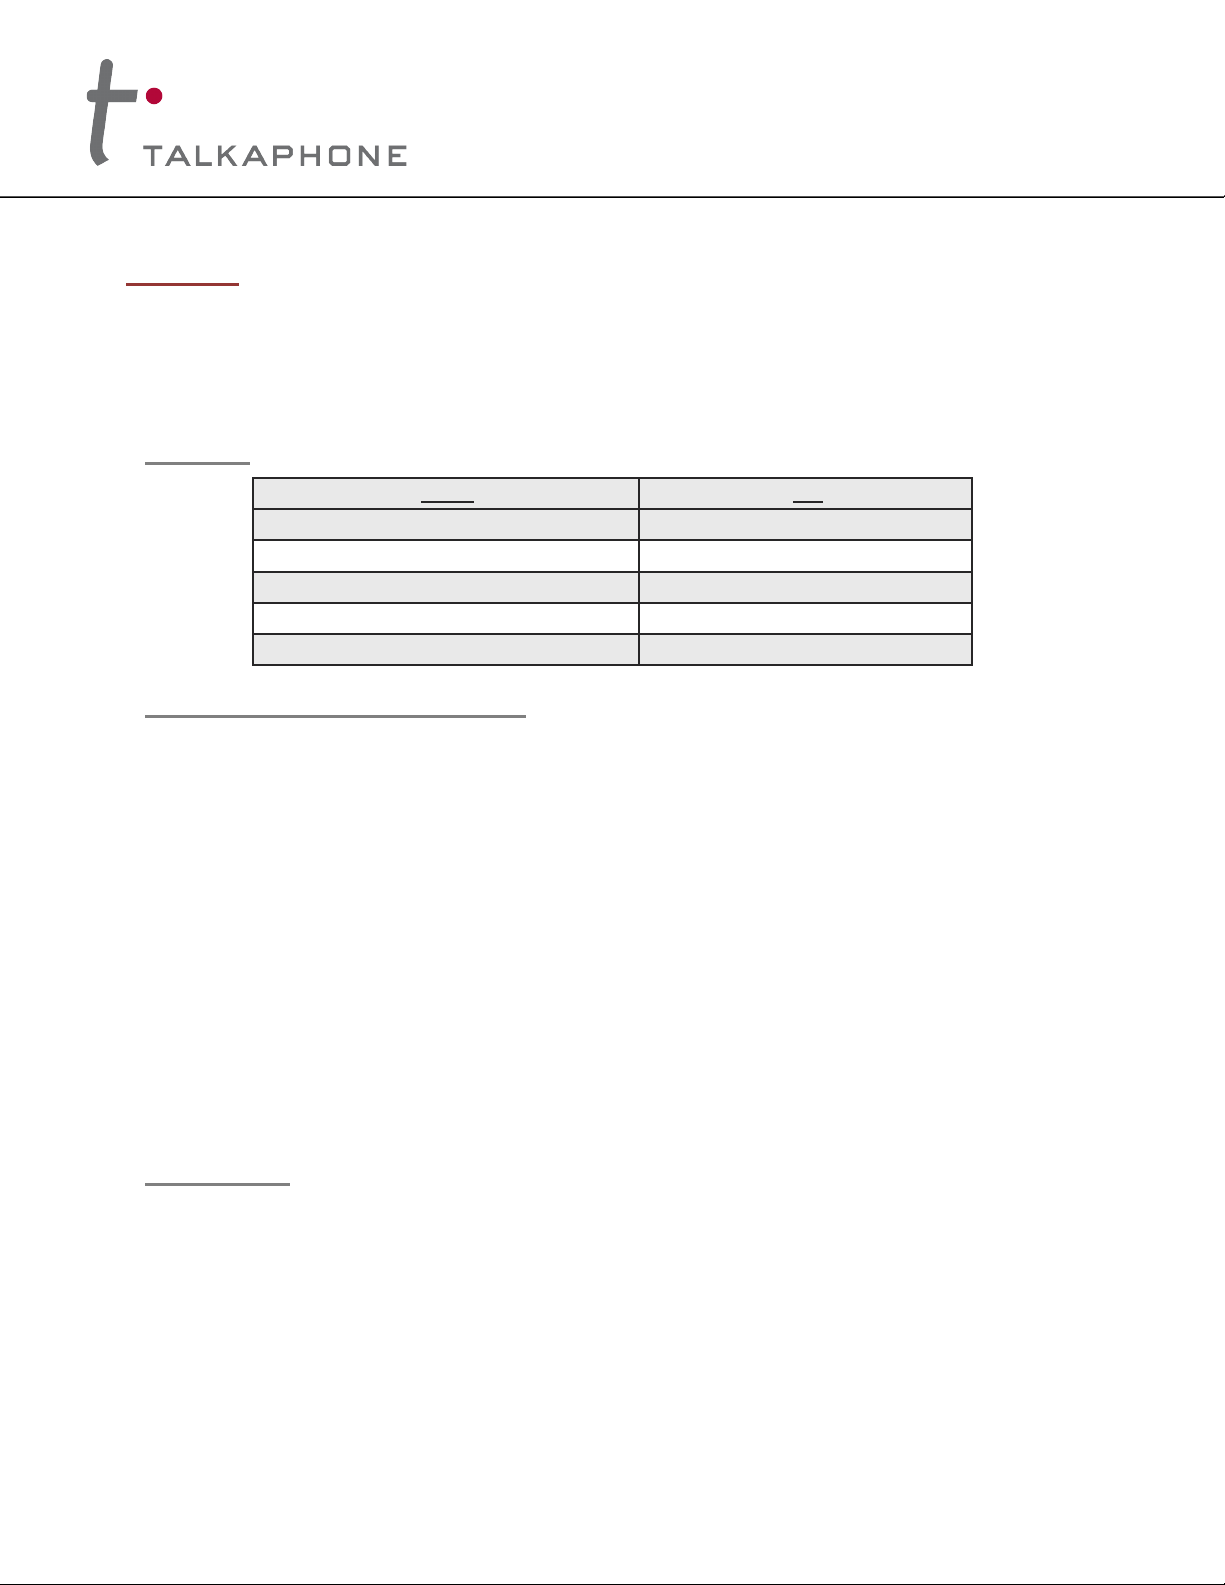
4.1. Directory
Emergency Phone 1, 2, 3, 4, 5, or 6
Machine Room and Lobby Phones
Access the Telephone (PSTN) Line
All Call (to All Emergency Phones)
4.2. Emergency Phone Outbound Call
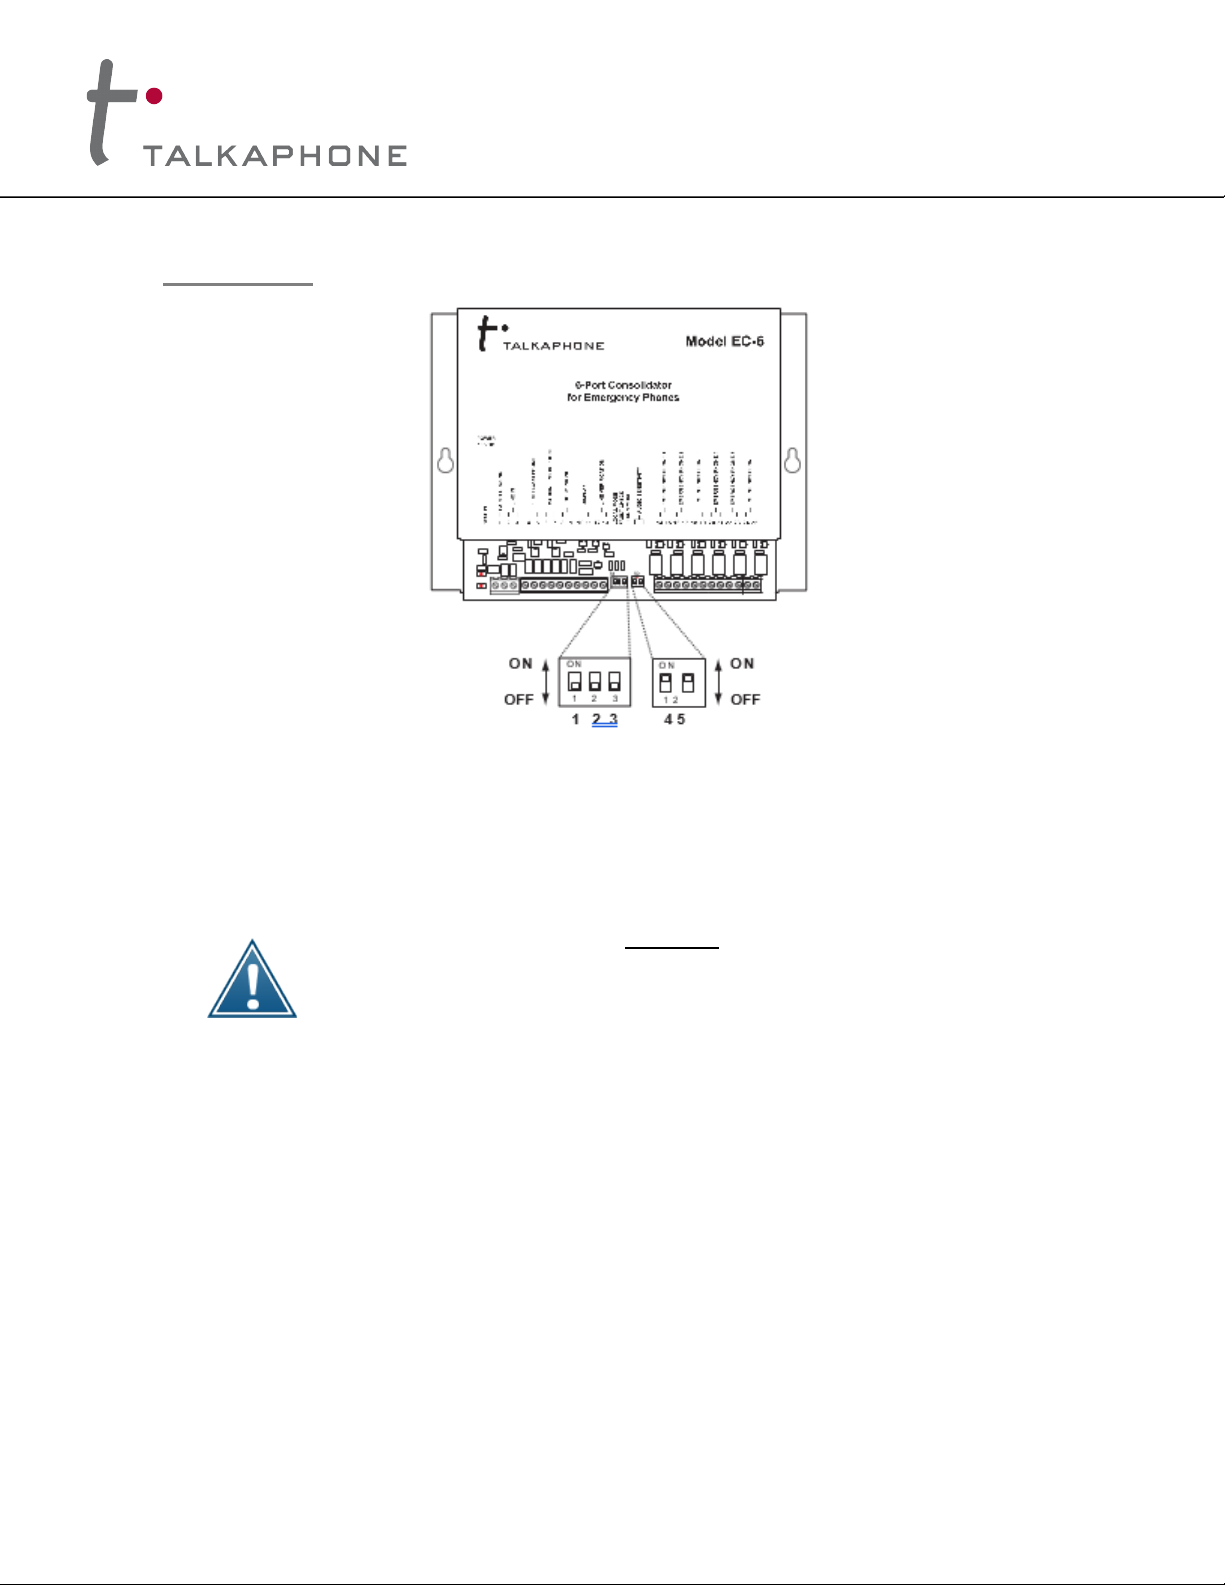
With DIP switch 1 set to OFF, when an Emergency Phone goes off hook, it will be directly connected to the
telephone line so it can dial out for help. Alternatively, the Emergency Phone can be programmed to dial a
single touch tone “7” to call the Fire Floor phone, or an “8” to ring both the Machine Room and Lobby
phones. Since Talkaphone analog Emergency Phones have the ability to dial additional phone numbers
when the call is unanswered or receives a busy signal, the system can be set up so that a call for help first
rings the local phone(s), then if unanswered, the Emergency Phone can momentarily hang up and place an
outside call to 911 or a Central Station Monitoring service.
With DIP switch 1 set to ON, when an Emergency Phone goes off-hook, it will NOT be connected to the
telephone line. Use this feature when the EC-6 is to be used for internal calls only and no telephone line is
connected. When this is the case, the Emergency Phone can be programmed to dial a single touch-tone “7”
to call the Fire Floor phone, or an “8” to ring both the Machine Room and Lobby phones. If a telephone line
is connected, the Emergency Phone can be programmed to place an outbound call by dialing a touch-tone
“9”, pause for four (4) seconds, then dials the remote telephone number.
The EC-6 is not designed for one Emergency Phone to call or talk to another.
If additional Emergency Phones are activated while a call is in progress, they will be bridged to the existing
authorized personnel.
4.3. Inbound Call
When a call comes into the EC-6 on the telephone line, the EC-6 will answer after the first ring, return a single
“beep” tone, and listen for a touch-tone command. A single touch-tone 1 to 6 will cause the EC-6 to ring
Emergency Phone 1 to 6; or dial a 0 to call all Emergency Phones. The EC-6 is factory set so that if no
command is entered within four (4) seconds, the EC-6 will re-ring the last Emergency Phone that was used,
thus enabling emergency personnel to call back and automatically reach the specific Emergency Phone they
had been talking to. The Fire Floor phone and Machine Room & Lobby phones can also be called into by
dialing a single touch-tone 7 or 8 respectively