T&D TR-71W User manual

User’s Manual
Thank you for purchasing our product.
Carefully read this instruction manual
before using this unit.
© Copyright T&D Corporation. All rights reserved.
2011.10 16507000008 (8th Edition)
TR-71W/TR-72W

Notices about this User’s Manual
In order to properly use this product, please carefully read this manual before using.
T&D Corporation accepts no responsibility for any malfunction of and/or trouble with this product
or with your computer that is caused by the improper handling of this product and will deem such
trouble or malfunction as falling outside the conditions for free repair outlined in the attached
warranty.
All rights of this User's Manual belong to T&D Corporation. It is prohibited to use, duplicate and/
or arrange a part or whole of this User’s Manual without the permission of T&D Corporation.
Microsoft® and Windows® are registered trademarks of Microsoft Corporation USA and are
binding in the USA and all other countries.
Windows Vista™ is a registered trademark of Microsoft Corporation USA.
Specifications, design and other contents outlined in this manual are subject to change without
notice.
Please follow the safety precautions outlined in this manual carefully.
We cannot guarantee nor are we responsible for safety if this product is used in any manner
other than was intended.
On screen messages in this manual may vary slightly from the actual messages.
Please notify the shop where you purchased this product or T&D Corporation of any mistakes,
errors or unclear explanations in this manual.
T&D Corporation accepts no responsibility for any damage or loss of income caused by the use
of our product.
This product has been designed for private or industrial use only.It is not for use in situations
where strict safety precautions are necessary such as in connection with medical equipment,
whether directly or indirectly.
We are not responsible for any malfunction or trouble caused by the use of our product or by any
problem caused by the use of measurement results of our unit. Please be fully aware of this
before using our product.
This User’s Manual cannot be reissued, so please keep it in a safe place.
Please read the warranty and provisions for free repair carefully.
Disclaimers
Although T&D Corporation has made operational tests on our software TR-7W for Windows®,
we cannot guarantee that all operations will work properly under all conditions.
T&D Corporation shall not accept any responsibility for any damage whether direct or indirect
that results from the usage of TR-7W for Windows.
Specifications of TR-7W for Windows may be subject to change and service may be terminated
without advance notice to the user. In such a case T&D Corporation shall not be responsible for
any damages whether direct or indirect from the inability to use TR-7W for Windows.
T&D Corporation has no obligation to correct any defects found in TR-7W for Windows.

1
Radio, EMC and Safety Regulations
This device complies with Part 15 of the Federal Communications Commission (FCC) rules.
Operation is subject to the following two conditions: (1)This device may not cause harmful
interference, and (2)this device must accept any interference received, including interference that
may cause undesired operation.
FCC Statement
This equipment has been tested and found to comply with the limits for a Class A digital device,
pursuant to part 15 of the FCC Rules. These limits are designed to provide reasonable protection
against harmful interference when the equipment is operated in a commercial environment. This
equipment generates, uses, and can radiate radio frequency energy and, if not installed and used in
accordance with the instruction manual, may cause harmful interference to radio communications.
Operation of this equipment in a residential area is likely to cause harmful interference in which
case the user will be required to correct the interference at his own expense.
Caution
Changes or modifications not expressly approved by the party responsible for compliance could
void the user's authority to operate the equipment.
Copyright
All copyrights TR-7W for Windows, including all of the programs and all related documents, are
the sole property of T&D Corporation.
TR-7W for Windows is for use free of charge. Redistribution is permitted as long as it is to others
for non-profit. In this case, all terms and conditions as written in the above disclaimers
automatically transfer and hold true and valid for the party to which the program was
redistributed.Please note that if you wish to commercially redistribute the program please contact
your local distributor or T&D representative.
The reprinting or redistribution for commercial purposes whether in part or in whole, in
magazines or as a part of any product is strictly forbidden without the expressed consent of T&D
Corporation. Any inquires concerning commercial redistribution should be directed to the Sales
Department of T&D Corporation.
Please do not attempt to make any changes or modifications to TR-7W for Windows.
2
Safety Precautions and Instructions
Please carefully observe the following safety measures when using our product.
To prevent any loss or damage to our customers, other people and/or property, and to ensure the proper use
of our products we ask that before using our product you carefully read, understand and follow the safety
rules and precautions for our products as outlined below.
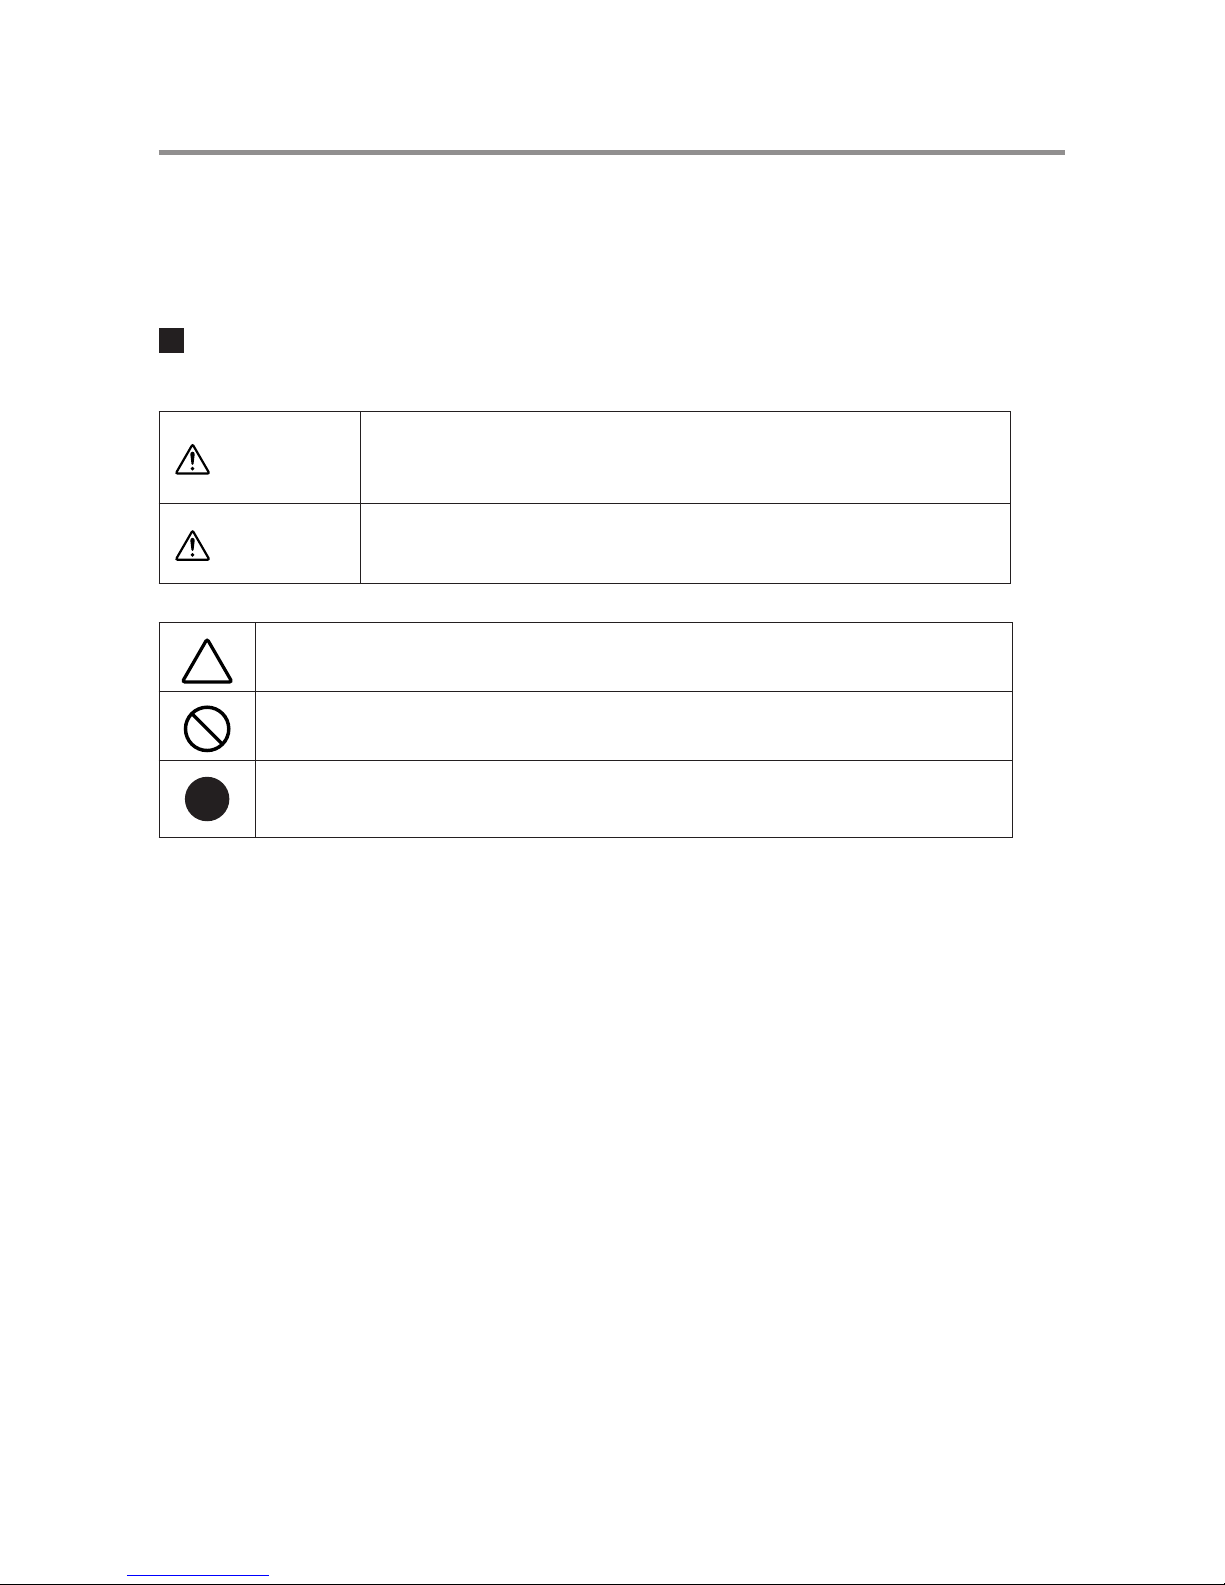
Explanation of Symbols
Explanation of Warning Symbols
DANGER
These entries are actions that absolutely under no circumstance
should be taken. The taking of such an action may cause serious
personal physical damage or death.
CAUTION These entries are actions that if taken may lead to physical injury or
damage to persons or things.
Explanation of Picture Symbols
Denotes an important warning or caution. Near the symbol will appear another
symbol giving details.
Denotes a forbidden action. Inside or near the symbol will appear another
symbol giving details.
Denotes an action that you must take. Near the symbol will appear another
symbol giving details.

3
DANGER
Do not take apart, repair or modify the main unit. It may cause fire, electrocution or
damage. Ask the shop where you purchased the product or T&D Corporation to carry out
any repairs.
While installing and using this product, make sure to always follow your computer
manufacturer's warnings and cautions.
When using a Wireless LAN card, make sure to follow the directions for its use from the
manufacturer.
If water or a foreign body enters into this unit, immediately remove the batteries and stop
using. Continued use may cause fire or electrocution.
Do not use this unit in wet or humid places, such as a bathroom. Continued use may
cause fire, electrocution or damage.
Store all batteries, sensors and Thermo Recorder units out of the reach of children. It is
dangerous to swallow batteries.
If any smoke or strange smells are emitted from the unit, immediately cease using it.
Continued use may cause fire, electrocution or damage.
Do not drop the unit, or expose the unit to a strong impact. If that happens to the unit,
immediately remove the batteries and stop using. Continued use may cause fire or
electrocution.
Make sure to periodically remove dust and dirt from the AC adaptor. Dust can cause
moisture to accumulate and can lead to poor insulation which may result in fire.
Do not connect or unplug the AC adaptor with wet hands. It may cause electrocution.
This device is designed to measure and record temperature and humidity. Do not use it
for any other purpose than to measure and record temperature and humidity.

4
DANGER
We are not responsible for any malfunction or trouble caused by the use of our product
or by any problem caused by the malfunction of our unit. Please be fully aware of this
before using our product.
This product has been designed for private or industrial use only. It is not for use in
situations where strict safety precautions are necessary such as in connection with
medical equipment whether directly or indirectly.
This unit is not water-resistant. If the unit gets dirty, wipe it with a clean cloth and a mild
detergent.
Do not expose the unit to harmful gases or chemicals. It may cause corrosion and/or
other danger to the unit and to people handling the unit.
To avoid poor connections, be sure to push the sensor connector securely into the jack.
When pulling out a cable from the logger, make sure to hold the connector plug to pull it
out.
Condensation may occur if the unit is moved from one environment to another where the
difference in temperature is great. Use the unit in an environment where the ambient
temperature is from 0 to 60 °C and the humidity is from 20 to 80%RH (no condensation)
or less.
Battery terminals may provide insufficient contact due to age or vibration. Please be
careful not to lose data due to insufficient contact.
Battery life depends on the measurement environment, communication frequency,
recording interval and battery quality.
If water or a foreign object enters the case, immediately cease using it.
To prevent damage to the unit from static electricity, remove static electricity from your
body by touching metal around you (door knob, window frame) before touching the unit.
Static electricity may cause not only damage to the unit, but may cause breaks in or a
loss of data.
Remove batteries from any unit that is not to be used for a long period of time. Batteries
left in a unit not being used for a long time may leak and cause a malfunction.
Do not place heavy or hot things on top of cables. It may cause electrocution or damage.
CAUTION

5
Do not use or store the Thermo Recorder in any of the following places. Doing so may
cause electrocution, fire and/or other adverse effects to the device and/or your computer.
- Areas exposed to direct sunlight
This will cause the inside of the device to become overheated and may cause fire,
deformation, and/or other damage including malfunction.
- Areas prone to strong magnetic fields
This may cause damage including malfunction.
- Areas exposed to water leakage
This may cause electrocution or other damage including malfunction.
- Areas exposed to excessive vibration
This may cause injury, malfunction, damage or loss of proper electrical contact.
- Areas near fire or exposed to excessive heat
This may cause damage including malfunction and deformation.
- Areas prone to smoke, dust and dirt
This may cause damage including malfunction.

6
Introduction
Software User’s Agreement ------------------- 1
Safety Precautions and Instructions --------- 2
Table of Contents--------------------------------- 6
What is TR-7W ? --------------------------------- 8
Outline ----------------------------------------------------- 8
Examples of Usage ------------------------------------- 8
Basic Functions ------------------------------------------ 9
Package Contents ----------------------------- 12
TR-71W / 72W Part Names and Functions
--- 14
Logger Body -------------------------------------------- 14
LCD Display -------------------------------------------- 16
Other Displays ----------------------------------------- 17
Outline of Use ----------------------------------- 18
Basic Operation ---------------------------------------- 18
Operational Settings ---------------------------------- 20
Getting Ready
Getting the TR-71W / 72W Ready to Use
--- 22
Installing the Backup Battery ----------------------- 22
Connecting the AC Adaptor------------------------- 23
Connecting the Sensors ----------------------------- 24
Checking your Operating Environment --- 26
Connecting to a Network --------------------- 27
Connecting to a HUB for Intracompany
Communication ---------------------------------------- 27
Connecting Directly to PC for Communication
--- 27
Connecting to a Wireless LAN --------------------- 28
Connecting to the Internet ------------------- 29
Connection Examples -------------------------------- 29
Installation --------------------------------------- 31
Operating the TR-7W Settings Utility ------ 33
How to Open ------------------------------------------- 33
Using Help ---------------------------------------------- 33
TR-7W Settings Utility Functions ------------------ 34
Network Initialization Settings --------------- 35
Detailed Network Settings ------------------- 37
Sending the Settings --------------------------------- 37
Changing the Settings ------------------------------- 38
Returning the Network Settings to the Factory
Default Settings --------------------------------- 40
Basic Functions
Operating the TR-7W Series Web Viewer 41
Opening the TR-7W Series Web Viewer -------- 41
TR-7W Series Web Viewer Functions ------------ 42
Clock and Calendar Settings ---------------- 43
Recording Settings ---------------------------- 44
Gathering Recorded Data-------------------- 45
Temp / Humidity Graph
Operating the Temp / Humidity Graph ---- 47
How to Open ------------------------------------------- 47
Using Help ---------------------------------------------- 47
Temperature / Humidity Graph Display Names and
Functions ------------------------------------------------ 48
Data List Display Part Names and Functions -- 50
Making Changes to the Graph Display --- 51
Changing Colors of Data Display Area ---------- 51
Viewing and Hiding Channels in Graph --------- 51
Setting the Max. Min. Avg Calculation Range ----52
Editing Recording Conditions ---------------------- 53
Reordering Channel Data --------------------------- 54
Deleting Selected Channel Data ------------------ 55
Shift Unit (°C °F) ---------------------------------- 55
Change Graph Colors -------------------------------- 56
Copy Display to Clipboard -------------------------- 57
Operating the Graph -------------------------- 58
Saving Recorded Data ------------------------ 59
3 Ways to Save Files. --------------------------------- 59
Creating Text File ------------------------------- 60
Opening a Saved File ------------------------- 61
Other Functions
Auto-clock Settings (SNTP Settings) ------ 62
Monitoring Current Readings --------------- 64
Table of Contents

7
Viewing Current TR-7W Readings ---------------- 64
Viewing Current Readings from a Multiple Number
of TR-7W Loggers ------------------------------------- 64
Warning Report Settings --------------------- 68
Adjustment Function -------------------------- 72
Viewing Current Readings via Cell Phone
--- 74
Graph --------------------------------------------- 76
WEB Viewer Settings ------------------------- 77
Main Unit Settings ----------------------------- 78
Clock and Calendar Settings ----------------------- 78
Buttons Setting ----------------------------------------- 78
LCD Settings ------------------------------------------- 79
Channel Name Settings ----------------------------- 79
Warning Mail Transmission Test ------------------- 80
Forced Cancellation of Communication --------- 80
Restarting the System ------------------------------- 81
Checking and Making Changes to Computer
Network Settings ------------------------------- 82
For Windows XP/2000 ------------------------------- 82
For Windows 7/Vista ---------------------------------- 85
Re-installing ------------------------------------- 89
For Windows XP/2000 ------------------------------- 89
For Windows 7/Vista ---------------------------------- 90
Other
Troubleshooting --------------------------------- 92
TR-7W Settings Utility -------------------------------- 92
Web Viewer --------------------------------------------- 94
FAQ’s ---------------------------------------------- 96
Q&A about TR-71W / 72W -------------------------- 96
Q&A about Web Server Functions ---------------- 98
Q&A about Viewing the Web Site ----------------- 99
Q&A about Networks --------------------------------100
Q&A about the Internet -----------------------------103
Specifications ----------------------------------106
TR-71W / TR-72W -----------------------------------106
Options ------------------------------------------108

8
What is TR-7W ?
Outline
Thermo Recorders TR-71W / 72W are a new type of temperature and humidity data
logger equipped with a built-in function that enables connection to and use over the
Internet or other network such as a LAN network. The downloading of recorded data,
the monitoring of current readings and the sending of warning mails can all be done
easily over the Internet or LAN network. It is possible to connect to both a wired LAN
and a wireless LAN.The use of an Internet connection provides a low cost way to
manage temperature and humidity data from long distances.
Examples of Usage
Managing Temperature and Humidity in a distant warehouse via the Internet
Managing Temperature and Humidity in a distant building or apartment house
Collecting temperature and humidity data in a factory using a wireless LAN

9
Basic Functions
TR-71W / TR-72W
Temperature Range : 60 ~ 155 °C (TR-71W)
The standard temperature sensor that comes with TR-71W has a range of 40 ~ 110°C. With the
optional sensor a wider range of 60 ~ 155°C can be measured and recorded. Please see and
purchase our optional sensors to meet your specific needs.
Humidity Measurement Range : 10 ~ 95%RH (TR-72W)
The standard sensor that comes with the TR-72W has a temperature measurement range of 0 ~
50°C and a humidity measurement range of 10 ~ 95%RH.
Recording Capacity : 8000 readings x 2 channels
Each channel can record and store up to 8000 readings. At the longest recording interval of 60
minutes, recording can continue consecutively for 1 year.
15 Recording Intervals
There are 15 recording intervals (1 second to 60 minutes) to select from. There are 2 types of
recording modes to choose from.
One Time :
Upon reaching capacity of 8,000 readings, "FULL " will appear on the LCD display and recording
will automatically stop.
Endless Loop :
Upon reaching capacity of 8,000 readings, the oldest data is overwritten and recording continues.
Changing the LCD Display
Using the software, you can choose to change the LCD display pattern from displaying either
one of the two channels or displaying both channels alternately.
Backup Function
Under normal conditions the AC adaptor should be used for measuring and recording data, but if
there is a power shortage or the AC adaptor cable beomes unusable, the backup battery can be
used for measuring and recording. Communication is not possible.
Directly Insert LAN Card for Easy Wireless Connection
By simply inserting a CF type wireless LAN card you can use a Wireless LAN connection.
* For a list of LAN cards that have been proven compatible, please see our Homepage for updates.
View Current Readings via Cell Phone Internet Browser
It is possible to view current temperature and humidity readings by simply connecting to the
Internet via your cell phone browser.

10
TR-7W Settings Utility
Here, settings for TR-7W can be carried out for Detailed Network Settings, Warning Report
Settings, Gather Current Readings Settings and Adjustment Settings.
Network Initialization Settings
Settings for helping to connect a TR-7W to a network.
Detailed Network Settings
Make detailed network settings here.
Warning Report Settings
If a set upper or lower limit has been exceeded, a warning report mail can be sent to up to 5
mail addresses. Also, if the TR-7W backup battery power has become low, a mail can be sent to
inform you of the fact.
Gather Current Readings Settings
Make settings to view current readings of up to 10 TR-7W loggers in the same browser.
Adjustment Function
By entering the adjustment values beforehand, it is possible to view and record the adjusted
measurement values.
About the TR-7W Series Web Viewer
With the TR-7W Series Web Viewer you can not only use a browser and manage recording
start and the downloading of recorded data, but can carry out various operations as listed
below.
Recording Settings
By setting the recording interval, the recording start time and the recording mode, recording will
begin at the set date and time.
Downloading Recorded Data
It is possible to download recorded data from the TR-7W via a browser and create files.
Monitor Current Readings
The current readings measured every 30 seconds in the TR-7W can be displayed. It is also
possible to via a cell phone browser.
Graph
Measurements taken by the TR-7W loggers can be shown in graph form which updates every 10
minutes and can show up to 1 week's worth of data.
Main Unit Settings
Clock and Calendar Settings, Button Settings, LCD Settings, Channel Name Settings, Warning
Mail Transmission Test, Forced Cancellation of Communication, Restarting the System.

11
Temp / Humidity Graph
Here, recorded data from TR-7W that has been downloaded and saved to a file can be viewed.
View and Print Temp / Humidity Graphs
View the data downloaded from the TR-7W in a list and print.
- View 8 channels of data in 1 display
Up to 8 channels of recorded data can be viewed in the same graph at one time.
- Easy zoom in and out with mouse
By selecting a range with your mouse you can easily zoom in and out on data.
- Calculate and view the highest, lowest and average readings for a desired range
In the Graph, for each channel it is possible to designate a desired range from which the highest,
lowest and average readings will be calculated and displayed.
- Graph Printing
It is possible to print in full-color the graph as you see it on display.
Data List Display / Printing
You can view the data displayed in the graph window as a list and then choose to print.
- View in Easy to Distinguish Colors
In the data list, the highest value will appear in red, the lowest in blue, and the average in pink.
- Printing the Data List
It is possible to print the entire list as displayed or to select pages for printing.
Creating Text File
It is possible to convert the data for a specified range (time period) to common text file format (CSV
type format), so that it can be exported to spreadsheet software such as Excel or Lotus.

12
Package Contents
The following items are included in the package.
TR-71W
Thermo Recorder TR-71W
x 1 unit
Temperature Sensor TR-0106
x 2 Sensors
LAN Cable LN-20W
x 1
AC Adaptor x 1
(AD-0605 or AD-05C1)
Software CD-ROM
x 1
Introductory Guide and Warranty x 1

13
TR-72W
Thermo Recorder TR-72W
x 1 unit
Temperature/Humidity Sensor TR-3110 x 1
Sensor
LAN Cable LN-20W
x 1
AC Adaptor x 1
(AD-0605 or AD-05C1)
Coin Type Lithium Battery
(CR-2032) x 1
Software CD-ROM
x 1
Introductory Guide and Warranty x 1

14
TR-71W / 72W Part Names and Functions
Logger Body
Front
DISPLAY
Button
INTERVAL
Button
REC/STOP
Button
DISPLAY Button Pressing this button will change the LCD display mode.
INTERVAL Button By pressing this button you can check or change the currently set
recording interval.
REC/STOP Button By pressing this button you can start or stop recording.
* If you have deactivated the buttons in the Web Viewer [Button Operation Settings], the buttons
will not function even if pressed.
Top
CF Interface Slot
Battery Case
CF Interface Slot
Insert a Wireless LAN Card. *1
NOTE:
Do not insert anything other than a communication card.
Battery Case Insert the backup battery.
*1 For a list of LAN cards that have been proven compatible, please see our Homepage for updates.

15
RIGHT SIDE
Reset Button
AC Adaptor Jack
Data Display
LED
LINK Display
LED
Power Monitor LED
LEFT SIDE
Sensor Jack Channel 2
(Only for TR-71W)
Sensor Jack Channel 1
Ethernet Jack
Ethernet Jack 10Base-T / 100Base-TX Ethernet Jack
Connect the LAN Cable
AC Adaptor Jack Connect the supplied AC adaptor here.
Reset Button Press to return to the factory default settings.
Data Display LED When data is being input or output the lamp will blink green.
LINK display LED The communication speed will appear in green.
Lamp on: 100Mbps, Lamp blinking: 10 Mbps
Power Monitor LED While the power is ON, the lamp will appear green.

16
LCD Display
Channel Mark
The channel number of the measurement being displayed will appear.
Rec Mark
The recording condition will appear.
ON : Recording in progress. BLINKING :Waiting for programmed start.
Recording Capacity
After every 2000 readings the scale will be marked from left to right.
COM Mark
This will appear when data is being processed.
Recording Mode
One Time:
Upon reaching capacity of 8,000 readings, “FULL” will appear on the LCD display and recording
will automatically stop.
Endless Loop:
Upon reaching capacity of 8,000 readings,the oldest data is overwritten and recording continues.
Battery Life Warning Display
When the battery power becomes low, a mark will appear on the LCD of the main unit.
If the battery is not changed and power becomes even lower, the display will go off and all normal
operations will stop. Please change the battery as soon as the Battery Warning Mark appears.
Unit of Measurement
The channel number of the measurement being displayed will appear.
Measurements and Messages Area
Current measurements or operational messages will appear here.

17
Other Displays
Loc
If you have deactivated the buttons in the Web Viewer
[Button Operation Settings], and you press a button
“Loc” will appear in the display.
E. P.
When external power has been disconnected, the
display will alternate CH1, CH2, E.P.
If the display has been set for a fixed channel, that
fixed CH and E.P. will be alternately displayed.
FULL
When recording under the One Time mode and upon
reaching capacity of 8,000 readings, “FULL” will
appear on the LCD display and recording will
automatically stop.

18
Outline of Use
Basic Operation
Getting Ready
1. Getting the TR-7W Ready to Use
Get the TR-7W logger ready to measure temperature and humidity by inserting the backup
battery, connecting the AC adaptor and the sensor(s).
2. Checking your Operating Environment
You also need to check your computer and network setup and be sure to prepare any necessary
devices like routers to enable connection to your access point.
3. Connecting to a Network
Connect the Network Cable.
See examples of connections on p.27-28 for how to connect the TR-7W to your router or
computer and upon completion turn the power ON.
* Even if you are planning to use a wireless LAN, it is necessary to make the initial settings via a wired
connection.
4. Installing the TR-7W Settings Utility
To enable set up, install the supplied software "TR-7W Settings Utility" into your computer. With
the "TR-7W Settings Utility" you will be able to make all basic network settings.
When installing the "TR-7W Settings Utility", we suggest that you also install the "Temperature
/Humidity Graph" into the same folder.
Initialization Settings
1. Network Initialization Settings.... From the TR-7W Settings Utility
To connect to a network it is necessary to enter an IP address and subnet mask that are
appropriate for your network. Under Network Settings make the appropriate settings for your "IP
address" and "Subnet mask". More detailed settings can be made in "Detailed Network Settings"
Moreover, from the TR-7W Web Viewer other settings can be made for the Main Unit and for the
TR-7W Web Viewer Display.
2. TR-7W Main Unit Clock and Calendar Settings
.... From the TR-7W Series Web Viewer
From the TR-7W Web Viewer, first set the data logger’s clock and calendar settings to your local
time. These settings will be valid until the logger’s web server is restarted or the power is turned
OFF.
Other manuals for TR-71W
2
This manual suits for next models
1
Table of contents
Other T&D Voice Recorder manuals


Popular Voice Recorder manuals by other brands


Olympus
Olympus LS-10 - Linear PCM Recorder 2 GB Digital... quick guide

Sony
Sony ICD-B10 - Ic Recorder operating instructions

CS Instruments
CS Instruments DS400 Installation and operating instructions

Olympus
Olympus DM-450 Specifications

Sony
Sony PCM-M10 brochure

Mitsubishi
Mitsubishi DX-TL2500E Operation quick guide


