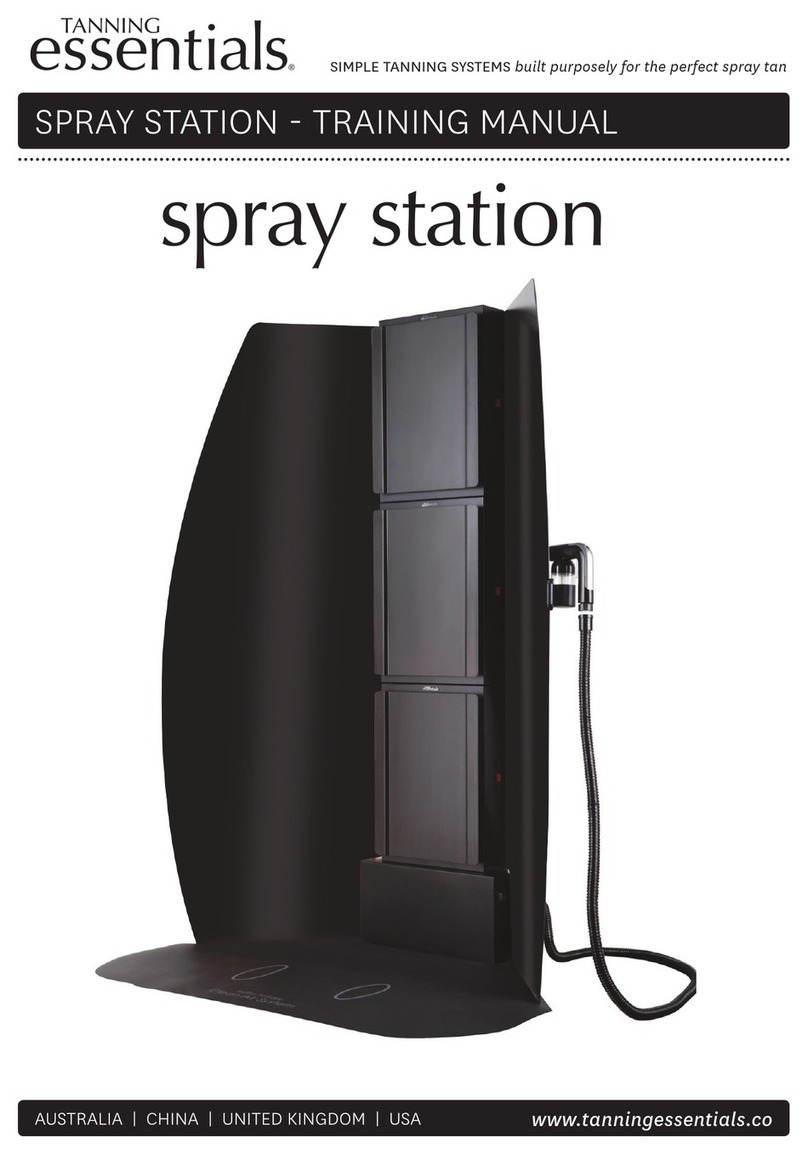
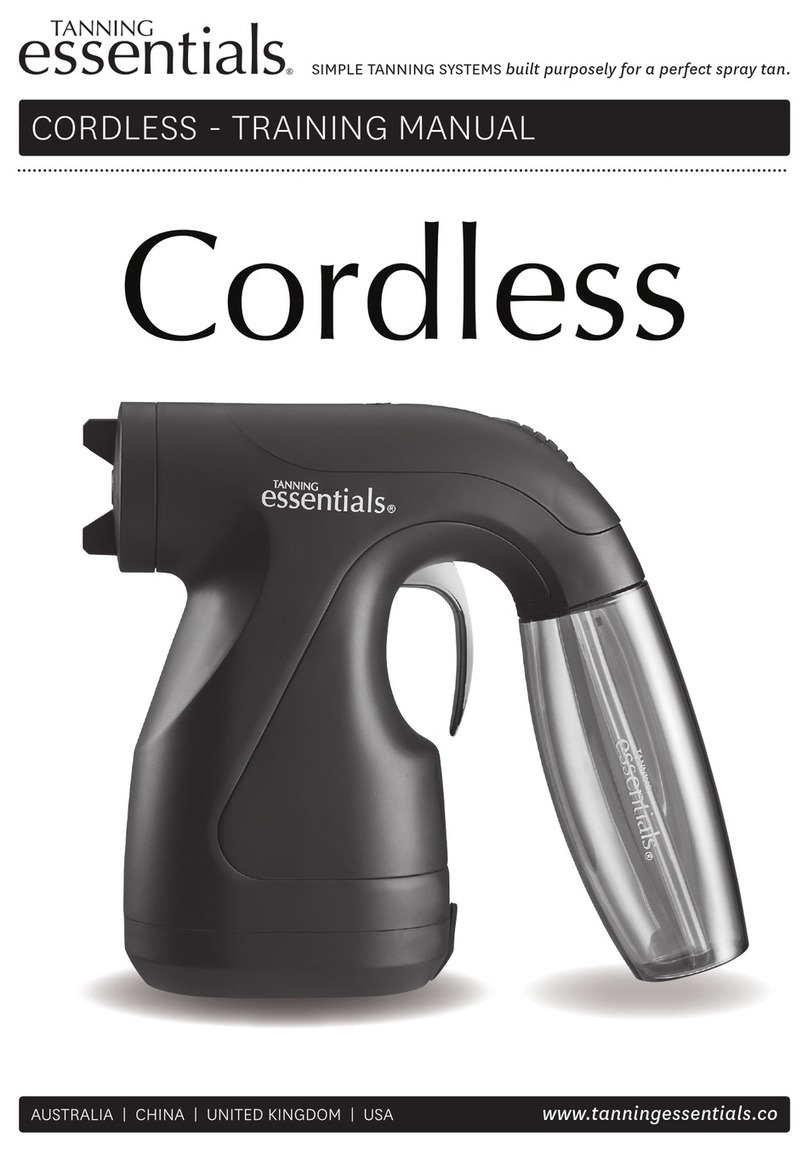
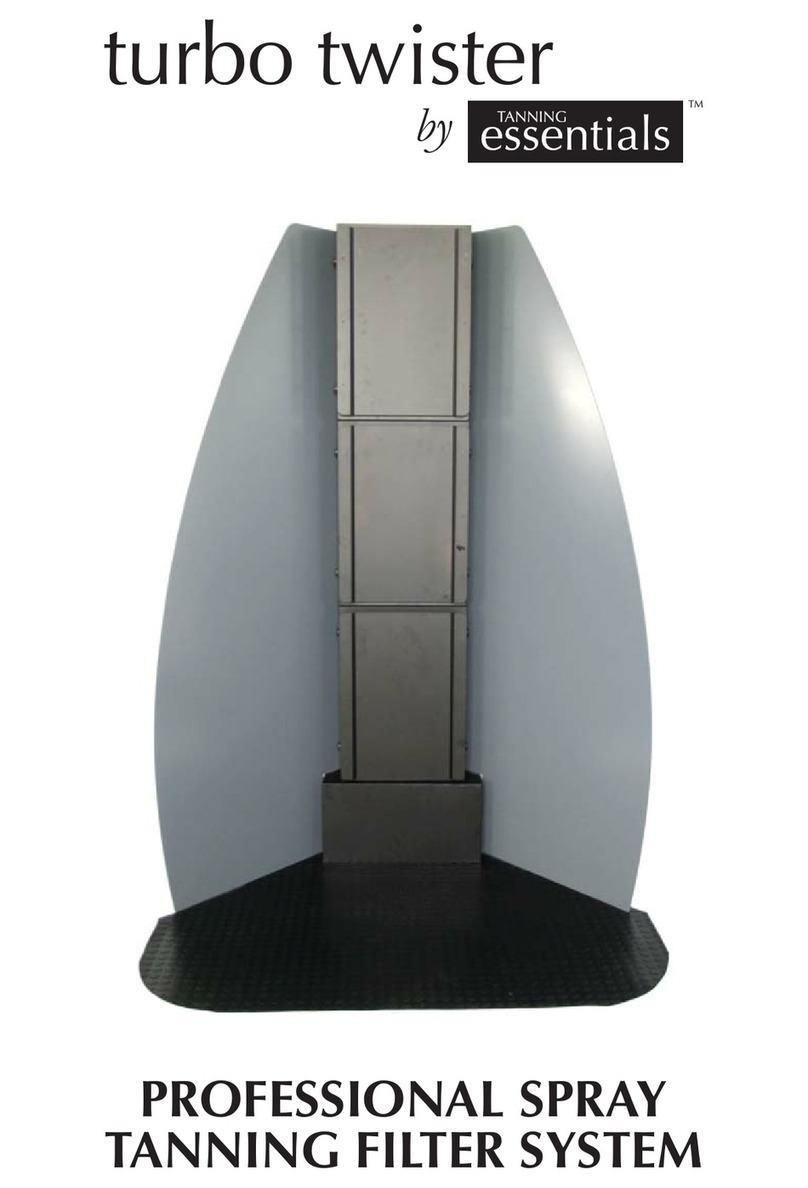
tanning essentials Turbo Twister Spray Station Installation guide

www.tanningessentials.co
SPRAY STATION TRAINING MANUAL
AUSTRALIA CHINA UNITED KINGDOM USA
SIMPLE TANNING SYSTEMS built purposely for the perfect spray tan

www.tanningessentials.co
AUSTRALIA CHINA UNITED KINGDOM USA
WELCOME
QUICK SET UP GUIDE
Thank you for choosing the Tanning Essentials Turbo Twister Spray Station.
Please read the following to help assist you with the set up and maintenance of
your spray station.
The Tanning Essentials Turbo Twister Spray Station contains:
3 Fan units 2 Additional rapid spray applicator cups with lids
1 Base unit 2 Connector cords
2 Side panels 1 Power cord
1 Floor 1 Foot pedal with 3 connected cords
2 Steel support bars 14 Screws
1 Hose 1 Cup holder
2 Rapid spray applicators Set of base seals
Watch the full set up video now on youtube/tanningessentials
OUR DETAILS
Contact Us International +61 3 9463 8900
United Kingdom +44 (0) 2036 646 739
Email sales@tanningessentials.co
/tanningessentials

www.tanningessentials.co
AUSTRALIA CHINA UNITED KINGDOM USA
FRONT OF SPRAY STATION
Anti-slip Comfort
Floor Mat
Bottom Fan Unit
Middle Fan Unit
Top Fan Unit
Inbuilt Spray
Tan System
Aluminium Side
Panels
Filter
Opening
Cup
Holder
ON / OFF
Switch

www.tanningessentials.co
AUSTRALIA CHINA UNITED KINGDOM USA
BACK OF SPRAY STATION
Fan Unit
ON / OFF
Unit Switch
Base Unit Handle
and Filter Access
Screws
Metal Bar
Fan Unit Handle
Foot Pedal / Power
Connection Point
Hose Connection
(Side of Base Unit)
Female Socket
Male Socket
Cup
Holder

www.tanningessentials.co
AUSTRALIA CHINA UNITED KINGDOM USA
SPRAY STATION BASE
SPRAY APPLICATOR
Foot Pedal / Power
Connection Point
Fan Unit
Placement Guide
Metal bar
Placement Guide
ON / OFF
Switch
Adjustable
Spray Nozzle
Solution Dial
(On Side)
Spray Trigger
Handle
Hose Connector
(Underneath)
Solution Cup
Hose Connector Base Unit Handle
and Filter Access

www.tanningessentials.co
AUSTRALIA CHINA UNITED KINGDOM USA
TOWER ASSEMBLY
STEP 1
Lay the floor into position, the wide straight edge is
the front.
STEP 2
Using the handle, place the base unit on the back of the
floor with the hollow side facing down.
STEP 3
Locate your three fan units, picking them up with the
handles located on the back, place the first fan unit onto
the base, lining it up with the grooves – make sure it is
securely in place with no movement.
STEP 4
Locate the metal bars and align them with the holes on
the side of the station. Loosely screw the metal bars to
the base unit and the fans using the screws provided.
Note: Only loosely screw the rails into position, allowing room to
insert the sides and only tighten after the sides are in place.
Stack the next fan unit on top of the first one. And the
third fan unit on top of the second one so you have a total
of three fan units on top of the base.
Ensure the red filter release buttons are on the right hand
side when looking at the front of the station.

www.tanningessentials.co
AUSTRALIA CHINA UNITED KINGDOM USA
TOWER ASSEMBLY
STEP 7
Locate the foot pedal and power cord. Connect the
power cord to the shorter cord coming out of the foot
pedal. Connect one of the longer cords from the foot
pedal into the base of the station, this is your spray
machine. Connect the other longer cord from the foot
pedal into the bottom fan unit of the tower. Find one of
the connector cords and insert the metal male end into
the bottom fan unit, and the female end into the middle
fan unit. Find the second connector cord and insert the
metal male end into the middle fan unit, and the female
end into the top fan unit. Plug the power cord coming out
of the foot pedal into the wall socket.
STEP 5
Locate the aluminium sides and peel off the protective
film. Insert the aluminium sides in between the fan units
and the loosely screwed-on metal support bars. Once
the side panels are inserted, starting from the top, tighten
the screws to clamp the side panels tightly into position.
(Note: these are reversible for two colour options)
STEP 6
Attach the spray applicator holder. Gently slide the inner
rubber out, ensuring it stays attached to the plastic at all
times. Turn the cup upside down, with the opening of the
rubber facing towards the edge. Fit the rubber onto the
edge of the side panel, as far as it can go. While holding
the rubber in place, swing the cup upwards on its hinge
and slide over the rubber.

www.tanningessentials.co
AUSTRALIA CHINA UNITED KINGDOM USA
TOWER ASSEMBLY
STEP 8
Attach the hose to the Rapid spray unit by pulling the
connection back exposing the prongs and ensuring the
“U” groove is facing up. Line up the prongs to meet the
unit, push the connection in to cover the fitting and screw
in clockwise until firmly in place and sitting straight.
STEP 9
Connect the hose to the applicator by aligning the “D”
fitting with the flat edge towards the back. Push the fitting
into the applicator and screw clockwise until firm without
over tightening.
STEP 10
Place the applicator in the cup holder.
Turn each fan unit ON and tyrn the spray unit/base ON.

www.tanningessentials.co
AUSTRALIA CHINA UNITED KINGDOM USA
RAPID APPLICATOR FUNCTIONS
Horizonatal Vertical
The most common setting is 2 or 3. The “C” setting is designed for
cleaning your applicator.
The Rapid applicator has adaptable spray patterns:
C

www.tanningessentials.co
AUSTRALIA CHINA UNITED KINGDOM USA
RAPID APPLICATOR MAINTENANCE
O-RING SEAL
FLUID
NOZZLE
ADJUSTABLE
NOZZLE
RETAINING
RING
TROUBLESHOOTING - BLOCKED NOZZLE OR CONTINUOUS SPRAY WITHOUT PRESSING THE TRIGGER
STEP 1 - Locate and unscrew retaining ring. To release; turn retaining ring in an anti-clockwise motion.
STEP 2 - Gently pull on the adjustable nozzle to remove.
STEP 3 - Fit an 8mm spanner to the flat edges of the fluid nozzle and turn anti-clockwise to unscrew.
STEP 5 - Ensure you do not misplace the o-ring seal, which is located behind the fluid nozzle .
STEP 6 - Once removed, visually inspect the fluid nozzle for small particles or blockages -
rinse thoroughly with hot water.
STEP 7 - Gently wipe the fluid needle to clean and remove any debris. (the fluid needle should not be
removed from the applicator at any time)
STEP 8 - Once visually clear of any debris, re-attach fluid nozzle, ensuring the O-ring is in position, then
use the spanner (8mm) to gently tighten back into place.
STEP 9 - Replace adjustable nozzle and rotate back into position.
STEP 10 - Repeat previous step, this time with the retaining ring.
FLUID
NEEDLE

www.tanningessentials.co
AUSTRALIA CHINA UNITED KINGDOM USA
SPRAY STATION TROUBLESHOOTING AND MAINTENANCE
PROBLEM CAUSE WHAT TO DO
Your unit isn’t
extracting at
full capacity.
Unit isn’t working correctly Feel for air from the back of each
unit.
The unit is not turned on Check each fan unit switch is
on and illuminated blue and
make sure all cords are inserted
correctly.
The filter needs to be changed Replace the filter.
The blue light
on the power
switch does
not turn on.
Electricity not turned on Check the power cord is plugged
in correctly.
The fuse needs to be replaced Change the fuse. This is located on
the side of each fan unit where the
power switch is, above the metal
pronged male plug.
If you experience problems with this unit, in the first instance please carefully read the
relevant sections of this User Manual and Troubleshooting section. If you cannot solve the
problem please contact your supplier for further assistance.

www.tanningessentials.co
AUSTRALIA CHINA UNITED KINGDOM USA
CHANGING THE EXTRACTION FILTERS
STEP 1
Press the red button on the side of the system and swing
open the front of the unit.
STEP 2
Remove the filter, discard and replace with a new filter
with the metal grid facing forward.
STEP 3
Close the unit back up by pressing the red button and
pushing the front of the unit in place until it locks.
The filters are disposable and replacement filters are ordered in a 2 pack (so you will require
2 packs for this unit). It is recommended that filters be changed after 100+ sprays.
CHANGING THE FUSE
STEP 1
Use a flat edge screwdriver to open the fuse
compartment.
STEP 2
Remove the old fuse and replace with a new one.

www.tanningessentials.co
AUSTRALIA CHINA UNITED KINGDOM USA
RAPID TROUBLESHOOTING & MAINTENANCE
PROBLEM CAUSE WHAT TO DO
Applicator
cup is leaking.
Your cup may be over filled. It is recommended your cup
is filled ½ to ¾.
Unscrew solution cup and
empty any excess solution. It is
recommended that this be done
over a sink or a wet area.
Your cup is cross threaded. Loosen off and tighten again.
Variation in
the way your
applicator is
spraying.
ie. not enough
spray coming
out, cutting
in and out,
or speckled
spray.
Not enough power. Adjust your applicator settings.
Not enough air flow. Test airflow by removing the
applicator from the hose.
Filter maintenance needs to be
performed.
The filter can be accessed through
the handle of the spray station
base.
To clean the filter, remove from the
base, and rinse in warm water until
water runs clear. Allow it to dry
completely before refitting.
Filter maintenance should be
performed regularly.
If you experience problems with the applicator, in the first instance please carefully read the
relevant sections of this User Manual and Troubleshooting section. If you cannot solve the
problem please contact your supplier for further assistance.

www.tanningessentials.co
AUSTRALIA CHINA UNITED KINGDOM USA
WARRANTY INFORMATION

www.tanningessentials.co
AUSTRALIA CHINA UNITED KINGDOM USA
WARRANTY RETURN FORM
DATE:
PRODUCT NAME:
CUSTOMER NAME:
PURCHASE DATE:
BUSINESS NAME:
SUPPLIER INVOICE No*:
CONTACT NUMBER:
E MAIL:
ADDRESS :
(PO Box Not Accepted)
Please include this form when returning warranty items.
Customer Information:
Product Information:
Reason for Return:
I give my authority for goods to be left at the postal address mentioned above: Please circle YES / NO
Please Note: If circled Yes, no liabillity will be taken
* All waranty claims must include proof or purchase. This must be a photocopy of the original invoice.

www.tanningessentials.co
AUSTRALIA CHINA UNITED KINGDOM USA
SAFETY INFORMATION
Table of contents
Other tanning essentials Personal Care Product manuals
tanning essentials
tanning essentials CORDLESS Installation guide

tanning essentials
tanning essentials PROV Installation guide

tanning essentials
tanning essentials Tanning Curtain Installation guide

tanning essentials
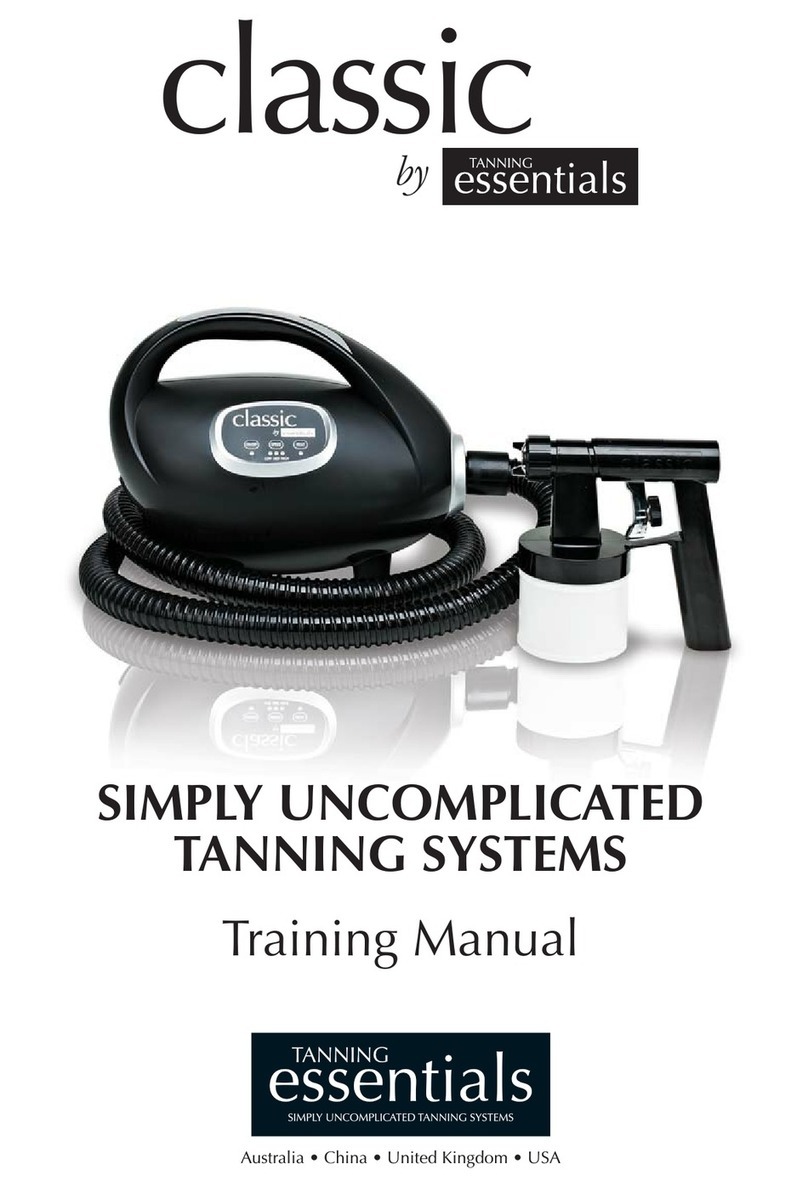
tanning essentials Classic Installation guide

tanning essentials
tanning essentials Turbo Twister User manual

tanning essentials
tanning essentials PROV Operating instructions
tanning essentials
tanning essentials SPRAY STATION Installation guide

tanning essentials
tanning essentials TURBO TWISTER TOWER Installation guide
tanning essentials
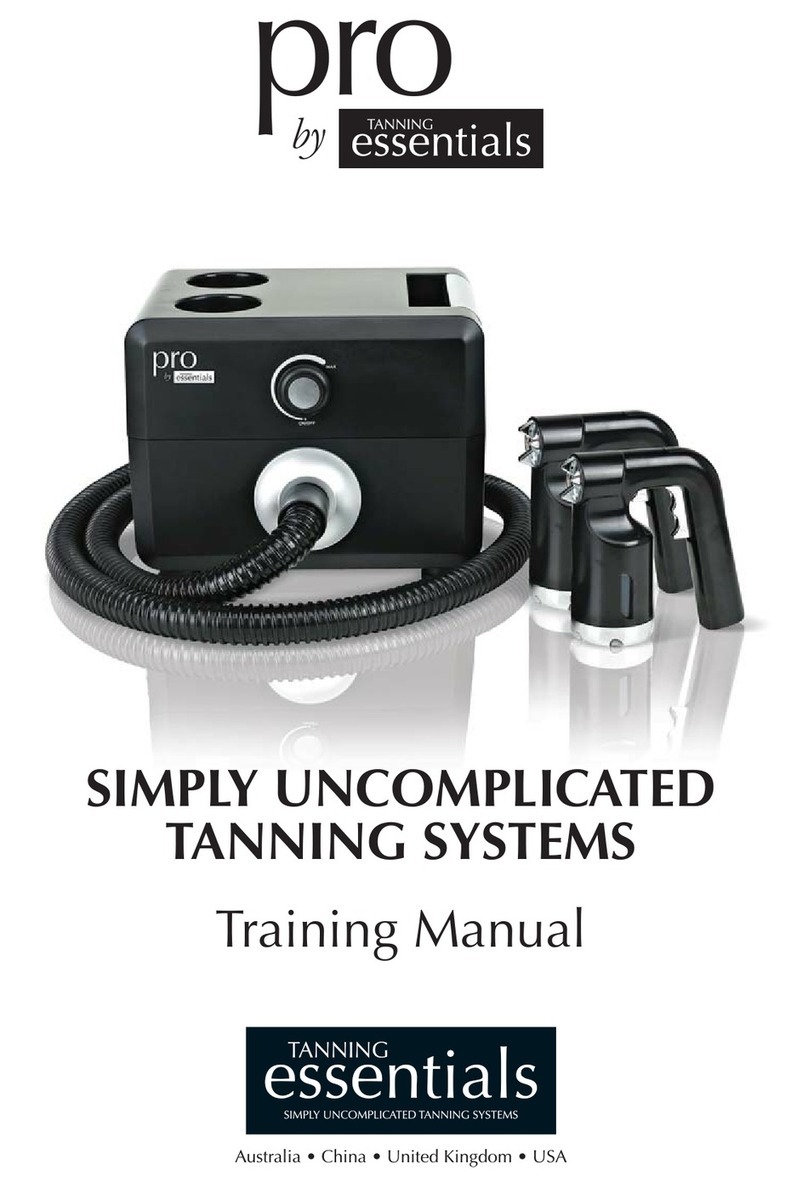
tanning essentials Pro Installation guide