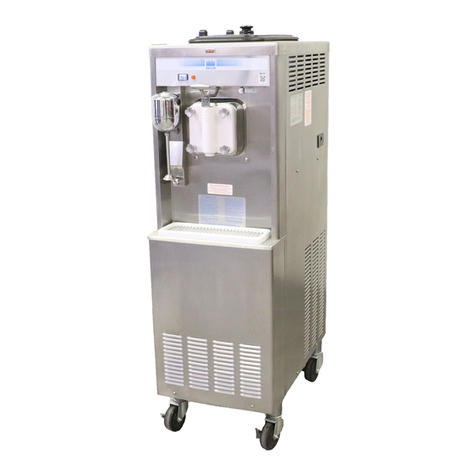
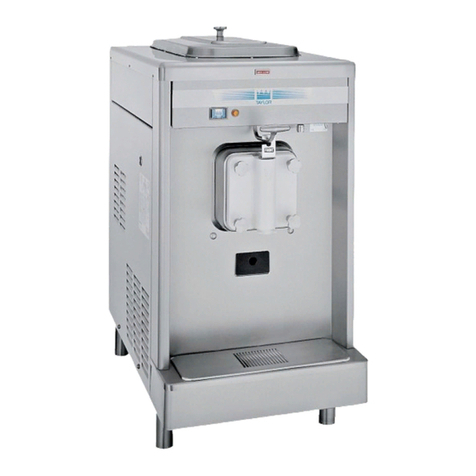
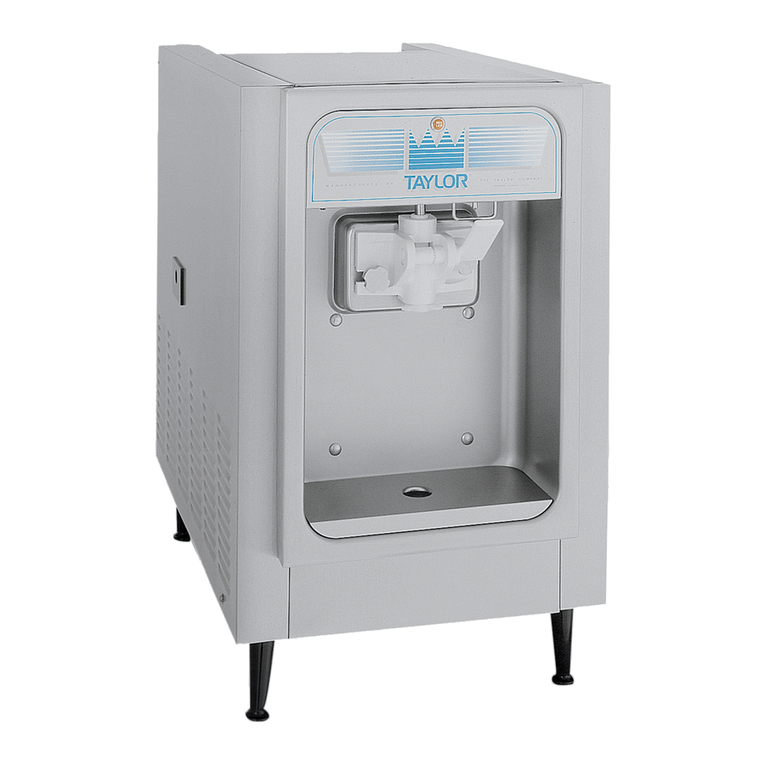
Taylor 161 SOFT User manual

Manuale d’Uso
Manual de Empleo
User’s Manual
Bedienungsanleitung
Mode d’Emploi
Manual do Utilizador
SL193-007086 Ed00 - 11-2017

_ES_EN
1. SAFETY PRECAUTIONS 3
2.DISCOVER YOUR 161 Soft .................................. 6
2.1 6
2.2 Parts list 8
2.3 Accessories 8
2.5 Display 9
3. INSTALLATION ..................................................... 10
3.1 Place of installation 10
3.2 Moving and Unpacking 11
3.3 Setting up 11
4. OPERATION ............................................. 12
4.1 Wich product to use? 12
4.2 Filling 12
4.3 Soft-Cream production 13
4.4 Serving the product 14
4.5 Pasteurisation 14
4.6 Close establishment (Stand by Mode) 14
5. SETTINGS ............................................................... 15
5.1 User’s menu 15
5.2 Overrun settings 17
6. WARNING AND ALARMS .................................... 16
6.1 Alarms 16
7. CLEANING ............................................................. 18
7.1 When to clean the machine? 18
7.2 Washing and Sanitisation 18
7.3 Surface cleaning 22
8. MAINTENANCE .................................................... 23
8.1 Periodic maintenance 23
9. DISPOSAL .............................................................. 23
9.1 Disposal 23
Content
0.Índex
2

ES_EN_
Safety
1.Safety
Your safety is all important, before starting,
take into account:
Children must not play with the machine.
This appliance can be used by children who are 8 years old or over and
by people with reduced physical, sensorial or mental capacities or with
lack of experience and know-how if they have been given the appro-
priate supervision and training regarding the use of the appliance in a
safe way and understand the dangers involved. Cleaning and mainte-
nance to be carried out by the user must not be done by unsupervised
children.
Emergency situations.
Warning. In each emergency situation, in order to stop the machine,
push the green switch located at the front of the machine and unplug
it.
and contact the help centre or a specialised technician. -
sonnel in charge and equipped with suitable protective means to in-
tervene. Always use standardised extinguishers, never use water or
substances of an uncertain nature.
3

_ES_EN
Prevent risks of lethal electric shocks and Fire:
• The connections to the electricity network must be carried out as es-
tablished by the current safety standards in the country where the
machine is used.
• The socket that the machine is connected to must:
• The electricity cable must not:
- Be altered.
• It is forbidden:
- To use in atmospheres that are explosive, aggressive or with a high con-
- To use to supply inappropriate substances considering its characteristics.
Safety
1.Safety
4

ES_EN_
Prevent possible damages while the machine is opera-
ting.
Cleaning.
Improper use will be considered as: -
-
blication
- any intervention carried out on the machine that is contrary to the
- all uses after repairs carried out with components that are not au-
- installing the machine in the open air.
To carry out cleaning tasks:
- Use protective latex gloves. Once on, wash your hands with a dis-
infectant solution.
- Do not use abrasive or metallic sponges.
- Try not to disperse liquids into the environment.
- Do not wash components in the dishwasher.
- Do not use the oven or microwave to dry the components.
- Do not submerge the machine in water.
- Do not spray direct jets of water over the machine.
- Only wash using warm water and a suitable sanitising agent (in
compliance with current standards in the country of use) that do
not cause damage to the components.
All improper use will cause total guarantee invalidation, the manufacturer waiving all liability
for possible injuries to people and/or damages to things that may derive from said improper
use.
Safety
1.Safety
5

_ES_EN
WHAT CAN PREPARE?
Soft Ice-Cream
Frozen Yogurt
BOWL CAPACITY
5 L1.3 GAL
CYLINDER CAPACITY
1.35 L0.35 GAL
HOURLY OUTPUT
15 Kg 33 lbs
CAN WORK WITH:
Base + Liquid concent.
Base + Powder concent.
Fruit based product
2.Discover
your 161
6

31cm
12.2in
77cm
30.3in
85.3cm
33.6in
63.3cm - 24.9in
73.6cm - 30in
79cm - 31.1in
26cm - 10.2in
30cm - 11.8in
ES_EN_
DIMENSIONS
NET WEIGHT 97kg - 214 lb
VOLTAGE See data plaque
WATT
PHASE 1
SOUND PRESSURE <<70dBa
CLASS N
OPERATING TEMP. Min.15ºC - Max.40ºC
Min.59ºF - Max.104ºF
xxxxxxxxxx xxxxxxxxxx
xxxxxxxxxx
xxxxxxxxxx
xx/xxxxxxxx
N°
......V ......Hz ......W
R...... ......gr
Name of the manufacturer and
VAT number
Machine model
Year of manufacture/serial nº
Electrical characteristics
Type of refrigerating gas and amount
Each machine has a data plaque with the following infor-
mation:
7

_ES_EN
Main
Switch
Feet
Control Panel
Bowl
Tap
Drip tray
O-ring Extractor 1Unit
Nylon brush 1Unit
Carpilube Tube 1Unit
2.Discover
your 161 2.2 Parts list
2.Discover
your 161 2.3 Accessories
8

STOP
START
RESET
MIX
STOP
RESET
START
MIX
ES_EN_
STOP
• Deactivate functions. (To chan-
ge a function it is necessary to
deactivate functions).
• Browse between the parame-
ters of the user’s menu.
STAND BY
• Keeps the product at the right preservation tem-
perature (4ºC) and saves electrical energy, recom-
mendable when closing the establishment.
• Reduces the parameter value selected in the
user’s menu.
• Resets alarm messages
CLEANING
• (Push once) Activates mixer. Recommendable when empt-
ying the cylinder.
• (Push twice) Activates Hot Cleaning.
• Push down for 5 seconds.
START
• Chill the product to obtain ice-cream.
• Changes the information screen during
ice-cream production.
PASTEURISATION
• Push for 5” to start Pasteurisation.
• Increases the parameter value selected in the
user’s menu.
FULL WARNING
• Lights up when there is no
product in the bowl.
2.4 Display
2.Discover
your 161
9

50cm
19.7in
_ES_EN
All of the operations illustrated in this section are to be exclusively ca-
rried out by specialised technicians, those who have to organise the
all times within the rigorous application of current standards regarding
this matter
3.1 Place of installation
3.Installation
The following requirements must be met before installing the machine in the establishment:
That the network voltage coincides with
label.
Must be installed in a place where it can be
Operating room temperature:
15 °C and 40 °C.
That the laws and current technical
standards are complied with when carr-
ying out the installation.
Easy access to the plug.
Lateral separation distance is not necessary:
10

ES_EN_
21
3
5
4
6
1 2
3.2 Moving and Unpacking
3.Installation
Once the machine has been received, it must be moved to the place where it will be installed:
Lifting and movingBefore moving
Moving the machine must be done
by at least two people in a vertical
position.
Make sure that nobody is within
the lifting and load movement ope-
ration radius and, in particularly
who control the movements to be
carried out.
Control the route
Avoid bumpy routes, paying atten-
tion to the dimensions and possible
protruding parts.
Cut the nylon straps
It is prohibited to make additional
cuts in the packaging.
Lift the cover
Placing
Try not to damage the
packaging as it could be
used again in the future.
In the established
place and to con-
nect to the network.
-
ment of parts that may get damaged must be paid for by the client.
3.3 Setting up
3.Installation
Washing and sanitisation
It is recommendable to carry out ca-
reful cleaning and sanitisation of the
machine. (See Cleaning section) Consult “Settings” section.
11

1
2
1
2
_ES_EN
The bubbles indicate that
Insert to the bottom of the bowl, check that it
is well inserted.
The deposit does not reduce the temperature
of the product, it only maintains it.
DO NOT USE HOT LIQUIDS.
USE LIQUIDS WITH TEMPERATURE:
Remove
Tube (2)
Open
lid (1)
Insert tube (1)
Close
lid (2)
1
3
2
4
Fill the bowl
Filling level
+
+
• Base + Liquid concentrate
• Base + Powder concentrate
• Fruit based products
3ºC - 4ºC
MAX
Up to the mark
MAX. LEVEL
MIN
Cover level
sensor
(Preparare the product as per the manufacturer’s indications)
Which product to use?
4.1 Wich product to use?
4.Operation
4.Operation 4.2 Filling
12

START
ES_EN_
READY!
T= +2º C W -14
Cylinder +12º C
Hopper +14º C
Set=100 Hot=051
HOT Autotuning
Cones Today
00375
Total Cones
0473161942
TEV+010
TCN+039
TEC+013
TGV-022
TRC+017
TE1-012
MAIN SCREEN:
• Soft-cream state
•
• Días que faltan para el siguiente lavado
TEMPERATURE:
• Bowl Temperature.
• Cylinder Temperature.
CONSISTENCY:
• HOT: Current consistency value.
• SET: Consistency value to be reached.
TEMPERATURE SENSORS:
• TCN: Condenser
• TRC: Compresor
DAILY CONES:
• We can see how many cones we have served
today. (From 0:00 to 23:59)
TOTAL CONES:
• We can see the total amount of cones served
by the machine.
Bowl
Evaporator Bowl
Evaporator Exit
Cylinder
Evaporator Cylinder
Evaporator Exit
TEMPERATURE SENSORS:
• TEV: • TGV:
• TEC: • TE1:
A downward arrow indica-
tes that the cylinder is coo-
ling down.
0
1
2
3
4
5
6
Prepare soft-creamStart-up
Push START
When the Soft-Cream is ready, the screen will show:
READY!
Push main Switch.
Machine charged.
1 2
DURING PREPARATION WE CAN SEE: (Pushing we can change the information screen)
4.3 Soft-Cream Production
4.Operation
13

MIX
_ES_EN
Lower handle
1 2
Move the cup in a circu-
lar way to give the Soft-
cream a conical shape.
Electric energy Saving is gene-
rated using the Standby made,
the compressor only operates
the time required to preserve
the product (max. 4ºC).
the STOP button)
Lift handle
Move the cup
the portion in a
point.
Pasteurisation must be carried out once every 24hrs, otherwise, the machine must be cleaned. If pas-
-
teurisation, the machine automatically changes to Standby mode.
24h
Push Stand by mode
21
AUTOMATIC PASTEURISATION:
-
teurisation at 2:00 am.
In the user menu we can change the hour that the ma-
chine carries out automatic Pasteurisation or cancel the
automatic mode.
For manual pasteurisation, push for 5”.
Check that the low level alarm is not on,
if it is, pasteurisation cannot be done.
BEFORE PASTEURISING:
Washing
If a wash warning appears on
the screen, carry out washing
and sanitisation.
If there is no wash warning on
the screen, carry out surface
cleaning.
4.5 Pasteurisation
4.6 Close premises (Stand by Mode)
4.4 Serving the product
4.Operating
4.Operating
4.Operating
14

STOP
START
RESET
MIX
STOP
RESET
ES_EN_
MENU ACCESS: Push STOP and RESET at the same time for 3”
BROWSE THROUGH THE USER’S MENU:
EDITABLE PARAMETERS:
Change
parameter Reduce parameter
value
Increase
parameter value
To leave the menu, do not push any
button for 30 seconds or push START
o RESET
U01 Hours
U02 Minutes
U03 Day of week
U04 Day of month
U05 Month
U06 Year
U07 Language
U08 Start Prod. Time
Hour that the machine starts to automatically produce Soft-cream.
U09 Start Past-Stor
Hour that the machine automatically starts to pasteurise.
U10 Lev. Beep Enable
Enable or disable the acoustic signal when Mix alarm is showed
U13 HOT
U14 Extra Dep. Stir.
Yes = Enables mixer, No= The mixer is disabled.
U15 12 Hours
Yes = 12h format, No = 24h format
3”
5.1 User’s menu
5.Settings
15

STOP
START
RESET
MIX
Overrun
_ES_EN
To reset the screen when the alarm has
been repaired, push the button
In the case of a re-established alarm,
Alarm Alarm
until the problem is solved.
Display Screen
Shows alarm messages to indicate possible
machine damage.
The machine can be used for distribution if
the machine will not allow distribution.
READY!
T= +2º C W -14
There are 4 Overrun levels.
Change the Overrun level:
Turn the upper part of the product input tube
+ Overrun
(more air in the Soft-cream)
- Overrun
(less air in the Soft-cream)
6.1 Alarms
6.Warnings and
alarms
5.2 Overrun Setting
(Amount of air in the Soft-Cream)
5.Settings
16

ES_EN_
LIST OF ALARMS:
ALARM
Al.Heat.Exchange (16)
During Pasteurisation:
TGV
(Bowl Evaporator output Temp.)
> TEV
(Bowl Evaporator Temp.)
The machine only operates in Pasteurisation mode
Check that the transmission belt or the rotor is in the correct position.
Al. Cylind.Probe (8)
Cylinder sensor failure. Critical alarm.
The machine goes into Stop from the Standby and Pasteurisation modes.
The Production mode can continue operating given that the consistency can be controlled.
Al. Evapor.Probe (11)
Cylinder evaporator sensor failure.
The machine does not stop, in Pasteurisation mode the alarm is not visualised.
Al. IceHop.Probe (9)
Bowl evaporator sensor failure. Critical alarm.
The machine goes into Stop from any mode.
Al.Hopper Probe. (7)
Bowl sensor failure. Critical alarm.
The machine goes into Stop from any mode.
Al.Cond.Probe (18)
Condenser sensor failure. Critical alarm.
The machine goes into Stop from any mode.
Al.Comp.Probe (46)
Compressor sensor failure. Critical alarm.
The machine goes into Stop in any mode
Mix Out
( illuminated) Bowl empty. Fill bowl
Safety Therm.Cyl (2)
The cylinder safety thermostat has come on. The machine goes into Stop
Safety Therm.Hop (3)
The bowl safety thermostat has come on. The machine goes into Stop
Overload Beater (4)
Bowl mixer motor overload. The machine goes into Stop
Pressure Switch (5)
The pressure gauge has come on. The machine goes into Stop
Overload Compres (6)
Compressor motor overload. The machine goes into Stop
Wash today! (24)
Obligatory Cleaning. See “washing and sanitisation” section
Pasto needed! (25)
Obligatory Pasteurisation.
The machine has been in Stop for over 60 minutes with product in the deposit at a temperature of
15ºC or more.
Spigot Opened (10)
Fit the tap to the machine
Power On (13)
Signals that the machine’s electricity supply has been interrupted.
Ice Cylinder (14)
Heat Exchange not suitable in the cylinder.
Timeout Prd. (15)
Problem with refrigeration in the cylinder, the product does not reach the suitable consistency while
it cools down. Check the mix load in the cylinder.
Why in STOP ?? (26)
The machine warn that it is in Stop.
Hopper Temp High 31
Appears when the cylinder evaporator temperature reaches 85ºC. The machine goes into STOP. Only
the cleaning mode can be accessed.
Barrel Temp High 32
Appears when the deposit evaporator temperature reaches 85ºC. The machine goes into STOP. Only
the cleaning mode can be accessed.
17

21
STOP
1
2
_ES_EN
The cleaning and sanitisation
must obligatory be carried out after a
maximum of 42 days.
When to clean the machine?
Surface cleaning is recommen-
ded every day after making the last ice-
cream.
24h42d
The cleaning process
consists of 5 phases:
1. Emptying
2. Dismantling
3. Cleaning
4. Assembling
5. Rinse cycle
Push twice to start Hot
Cleaning and wait until
-
chine goes into STOP.
Push once, Open the hand-
le and empty cylinder.
When no more product
comes out lift the handle
and push STOP
Defrost the product
1.1
1.3
1.2
1.4
Empty Cylinder
CLEANING PROCESS: (Before strating the cleaning process, the machine must be in STOP)
Stop the machine
Remove
Tube (2)
Open
lid (1)
7.1 When to clean the machine?
7.Cleaning
7.2 Washing and Sanitisation
7.Cleaning
18

1
2
1
ES_EN_
Repeat rinsing until the
water from the tap is
clear and push STOP.
1.5
2.1
2.1
2.1
1.6
2.1
2.1
2.1
Empty Cylinder
Dismantle tap
Dismantle
Cylinder Mixer
Dismantle input tube
Rinse
Remove
tap
Remove Cylinder Mixer
Remove
bowl mixer
Fill the bowl with 5 litres of warm
water. Push cleaning button once and
wait 1 minute.
5L
WATER
19

15
_ES_EN
3.1
4.1
4.3
3.3 3.4
3.2
4.2
4.4
Wash
parts
Wash Machine
Disinfect
parts
Wash all the dis-
mantled compo-
nents and remove
all product remains.
Wash cylinder and
bowl with disinfectant,
leave for 15’ and rinse
with water
Steep all the
dismantled parts
(15’) and rinse with
water.
WATER
+
DETERGENT
WATER
+
2% SODIUM
HYPOCHLORITE
Leave to dry
Place the components
on a clean surface and
dry them.
Assemble input Tube
Assemble
Cylinder mixer
Place Bowl mixer
Place Cylinder mixer
LUBRICATE
20
Table of contents
Other Taylor Ice Cream Maker manuals

Taylor
Taylor Soft Serve Little Softy User manual

Taylor
Taylor 441 User manual

Taylor
Taylor C712 User manual

Taylor
Taylor Wawa C708 User manual
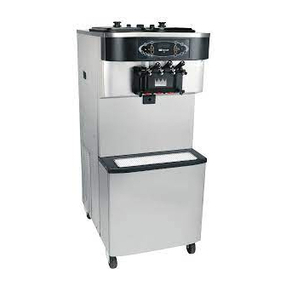
Taylor
Taylor Horizon 8752 User manual

Taylor
Taylor 741 User manual

Taylor
Taylor Freezemaster 300 Series User manual

Taylor
Taylor Horizon 8756 User manual

Taylor
Taylor Freezemaster 336 User manual

Taylor
Taylor C125 Instructions for use