manuals.online logo
Brands
  1. Home
  2. •
  3. Brands
  4. •
  5. Teac
  6. •
  7. Recording Equipment
  8. •
  9. Teac BB-1000CD How to use

Teac BB-1000CD How to use

Other Teac Recording Equipment manuals

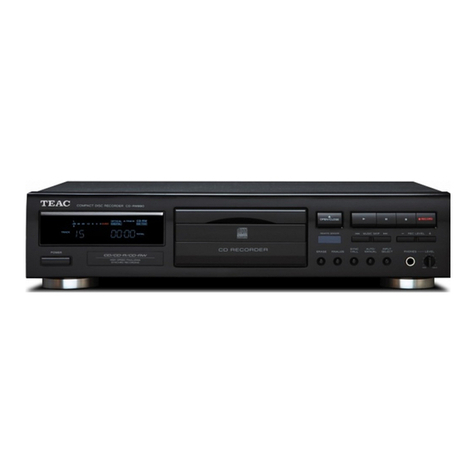
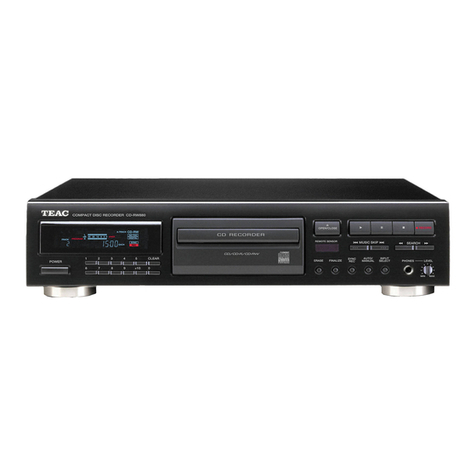
Teac CD-RW890 User manual

Teac

Teac CD-RW890 User manual

Teac CDR56S-4XX User manual

Teac

Teac CDR56S-4XX User manual

Teac GF-650 User manual

Teac

Teac GF-650 User manual

Teac GF-550 User manual

Teac

Teac GF-550 User manual

Teac GF-450K7 User manual

Teac

Teac GF-450K7 User manual

Teac CD-RW901SL User manual

Teac

Teac CD-RW901SL User manual

Teac AD-RW900 User manual

Teac

Teac AD-RW900 User manual

Teac Tascam Series User manual

Teac

Teac Tascam Series User manual

Teac Tascam CD-RW700 User manual

Teac

Teac Tascam CD-RW700 User manual

Teac TC-FSRSP-G3 User manual

Teac

Teac TC-FSRSP-G3 User manual

Teac CD-RW880 User manual

Teac

Teac CD-RW880 User manual

Teac HD-R1 Instruction Manual

Teac

Teac HD-R1 Instruction Manual

Teac LP-R660USB User manual

Teac

Teac LP-R660USB User manual

Teac CD-RW880 User manual

Teac

Teac CD-RW880 User manual

Teac HS-4000 Instruction Manual

Teac

Teac HS-4000 Instruction Manual

Teac AD-RW900 User manual

Teac

Teac AD-RW900 User manual

Teac Tascam Porta-02MKII Ministudio User manual

Teac

Teac Tascam Porta-02MKII Ministudio User manual

Teac CD-RW890MKII User manual

Teac

Teac CD-RW890MKII User manual

Teac LX Series User manual

Teac

Teac LX Series User manual

Teac DS Series User manual

Teac

Teac DS Series User manual

Teac GX-1 User manual

Teac

Teac GX-1 User manual

Teac TC-SR 5KN-G3 User manual

Teac

Teac TC-SR 5KN-G3 User manual

Teac Tascam MD-801MKII User manual

Teac

Teac Tascam MD-801MKII User manual

Teac CD-RW2000 Owner's manual

Teac

Teac CD-RW2000 Owner's manual

Popular Recording Equipment manuals by other brands

ThermoFisher Scientific Dionex DRS 600 Installation checklist

ThermoFisher Scientific

ThermoFisher Scientific Dionex DRS 600 Installation checklist

Shure ANIUSB-Matrix user guide

Shure

Shure ANIUSB-Matrix user guide

Nady Audio HE-1 user guide

Nady Audio

Nady Audio HE-1 user guide

AUDAC APM 01 User manual & installation guide

AUDAC

AUDAC APM 01 User manual & installation guide

Fractal Audio MFC-101 MARK III owner's manual

Fractal Audio

Fractal Audio MFC-101 MARK III owner's manual

bmcm USB-OI16 manual

bmcm

bmcm USB-OI16 manual

HHB BurnIT CDR-830 Service manual

HHB

HHB BurnIT CDR-830 Service manual

GE VersaMax IC200CPUE05 manual

GE

GE VersaMax IC200CPUE05 manual

IntesisBox MH-RC-MBS-1 user manual

IntesisBox

IntesisBox MH-RC-MBS-1 user manual

Attero Tech unD4l user manual

Attero Tech

Attero Tech unD4l user manual

Sennheiser UI 765 instruction manual

Sennheiser

Sennheiser UI 765 instruction manual

Sony RCD-W1 Operating Instructions  (primary... Service manual

Sony

Sony RCD-W1 Operating Instructions (primary... Service manual

Roland Planet-P  MKS-10 owner's manual

Roland

Roland Planet-P MKS-10 owner's manual

Roland BOSS GT-PRO Turbostart

Roland

Roland BOSS GT-PRO Turbostart

8x8 Inc Valcom V-2001A manual

8x8 Inc

8x8 Inc Valcom V-2001A manual

Waves SUB Align user guide

Waves

Waves SUB Align user guide

Mitsubishi Electric MAC-334IF-E installation manual

Mitsubishi Electric

Mitsubishi Electric MAC-334IF-E installation manual

Robotics Technologies microBus-Cam II installation manual

Robotics Technologies

Robotics Technologies microBus-Cam II installation manual

manuals.online logo
manuals.online logoBrands
  • About & Mission
  • Contact us
  • Privacy Policy
  • Terms and Conditions

Copyright 2025 Manuals.Online. All Rights Reserved.

TASCAM BB-1000CD 1
Contents
Updates ...........................................................................1
New function...................................................................1
V1.10 additions .............................................................................1
Maintenance items .........................................................1
V1.15 fixes .......................................................................................1
V1.14 fixes .......................................................................................1
V1.13 fixes .......................................................................................1
V1.11 fixes .......................................................................................1
V1.10 fixes .......................................................................................1
Confirmation of firmware version.................................1
Firmware update procedures ........................................2
Updates
Always use the most recent rmware for this device.
Please visit the TASCAM web site at http://tascam.com/ to
check for the latest rmware.
New function
V1.10 additions
You can use the unit like a loud speaker.
You can output the sound from external microphones
through the built-in speakers.
To use this function, change
SOURCE
on the
INPUT
screen to
EXT/REAR
or
EXT/LINE
, and change
EXT>SP
to
ON
.
INPUT screen
Maintenance items
V1.15 fixes
When starting a new track without interruption during
recording (using the DIVIDE or AUTO LEVEL DIVIDE
functions), division points could be incorrect and
recording would not occur properly. This has been xed.
V1.14 fixes
Cards larger than 8GB did not operate properly
sometimes. This has been xed.
V1.13 fixes
When copying WAV les that had been edited using
computer software, for example, to a CD, noise sometimes
occurred on the copied CD. This has been xed.
V1.11 fixes
When using an external microphone, the indicator did not
light even at maximum input level. This has been xed.
V1.10 fixes
Corrected a problem in which the sound was interrupted
momentarily between tracks on a CD.
In Ver.1.00, the playback sound was interrupted
momentarily when changing to the next track on the CD.
Therefore, when continuous sound is divided into tracks
(such as a live recording), the sound is momentarily
interrupted (Usually it is an unnoticeable level.)
In Ver 1.10, the unit can playback continuously without
interruption.
Confirmation of firmware version
Conrm the rmware version of your BB-1000CD before
conducting a rmware update.
1 Turn the unit’s power ON.
2 The firmware version is displayed at the bottom of
the start-up screen.
Start-up screen
You do not need to update the unit’s  rmware if the
version shown is the same as or newer than the version
that you intend to use for the update.
BB-1000CD
Release Notes
D01081220B
2TASCAM BB-1000CD
BB-1000CD
Release Notes
Firmware update procedures
CAUTION
When you update the rmware, make sure that the
battery has enough remaining power or use the supplied
AC Adapter (PS-1225L). The program has been set so that
the update will not be conducted if the battery power is
insucient.
1 Download the most recent firmware from the
TASCAM web site (http://tascam.com/). If the file
that you have downloaded is compressed in ZIP
format, for example, decompress it.
2 Copy the downloaded firmware (BB1k_091.115 for
V1.15) to the root folder (the highest level folder in
the hierarchy) on the SD card with a card reader.
CAUTION
Do not make other les/folders on the SD card.
3 Turn the unit’s power OFF.
4 Insert the SD card you copied the update file onto
in step 2 into the SD card slot.
5 While pressing and holding both the MENU and
7/9keys, turn the unit’s power ON.
The unit starts up in update mode, and the update le
appears on the screen.
NOTE
This screen shows a list of the rmware update les in
•
the root folder of the unit. Also, the screen shows the
rmware on the SD card copied in Step 2 above.
No
Update File
appears if there are no update les
in the root folder or on the SD card.
The screen shown is an example. The actual display
•
diers.
CAUTION
If this screen does not appear, turn the unit’s power OFF.
Then while pressing and holding both the MENU and
7/9keys, turn the unit’s power ON again. Continue to
hold the MENU and 7/9keys rmly until this screen
appears.
6 Select the firmware (highlight the item) then press
the ENTER key. The following screen appears.
The current version appears on the left and the
updated version appears on the right.
NOTE
The screen shown is an example. The actual display diers.
7 Press the ENTER key to start the update.
CAUTION
Do not turn the unit’s power OFF until the update is
complete.
8 When the update is complete, the following screen
appears. Confirm the following screen and turn the
unit’s power OFF.
9 Follow the “Confirmation of firmware version”
instructions above to check that the
Ver.
is now
the most recent version of the firmware.
This completes the procedure for updating this unit.
10 Delete the update file in the root folder with a card
reader.