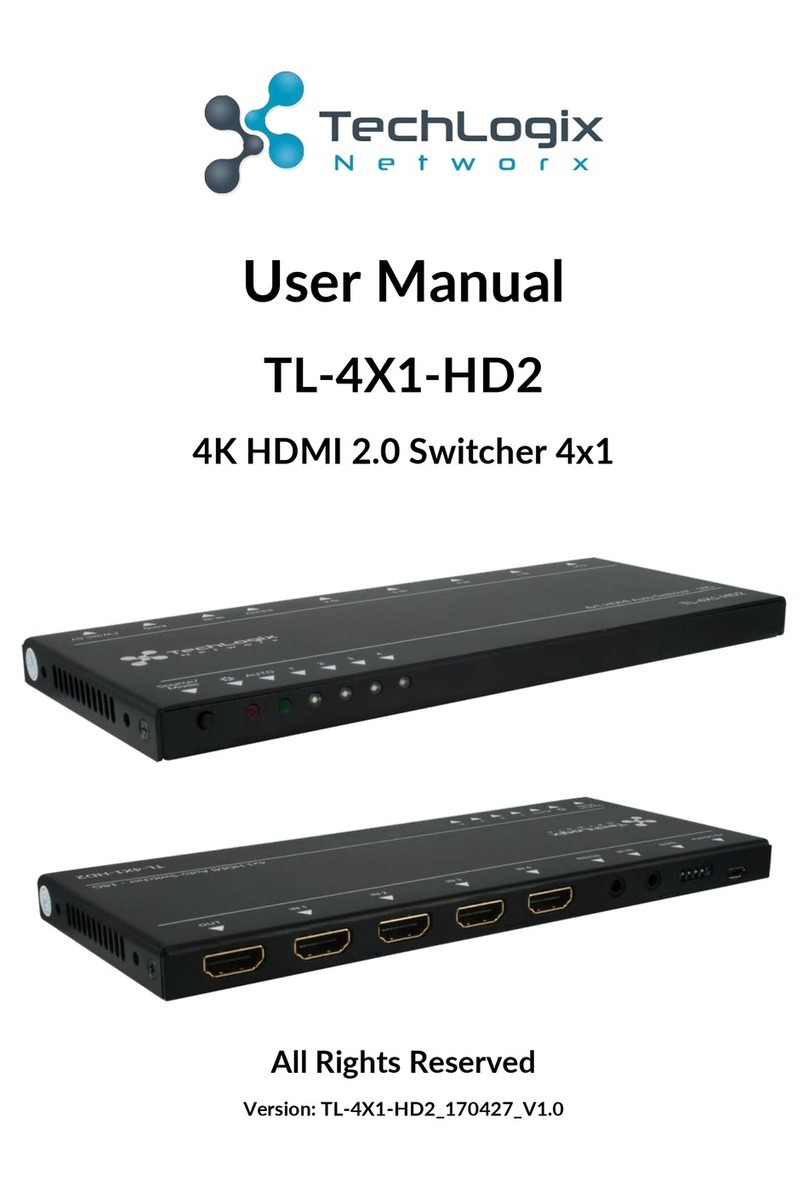
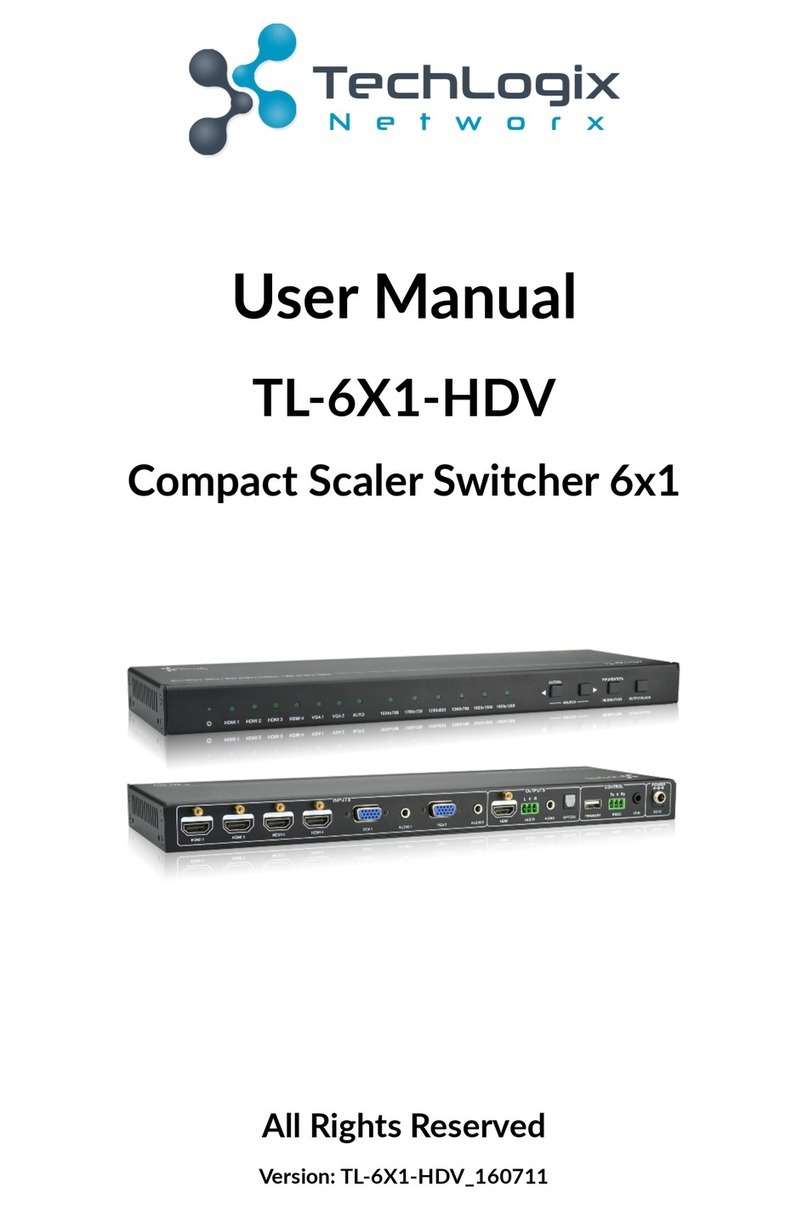
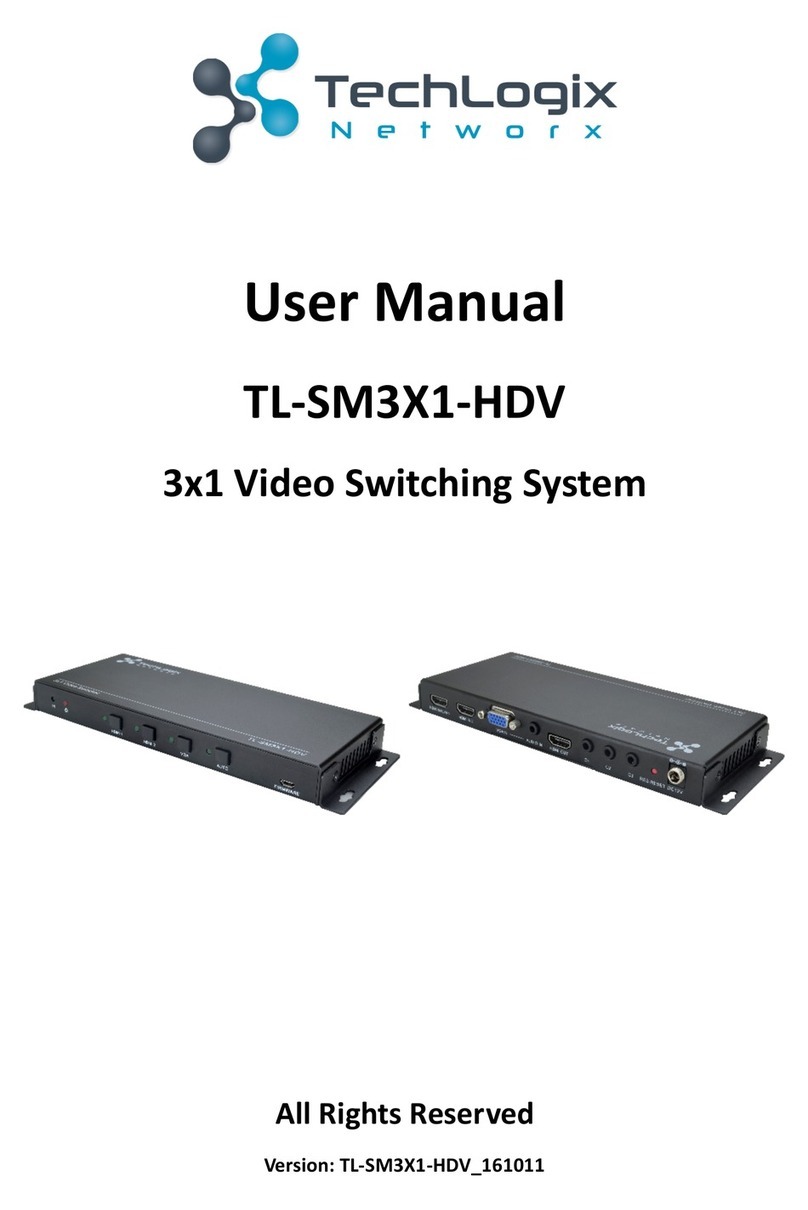
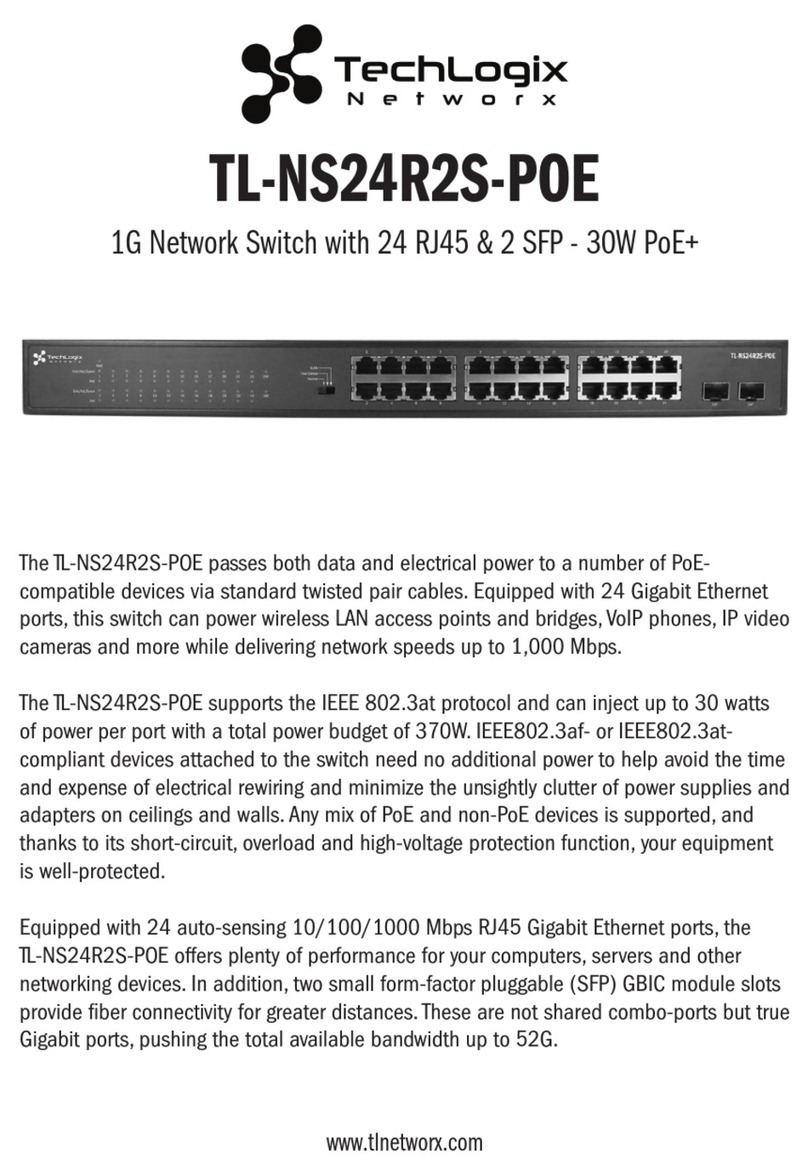
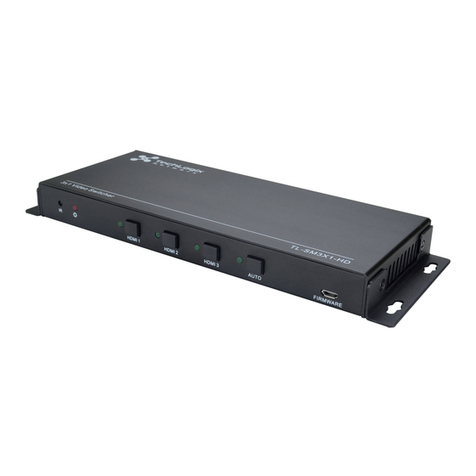
Techlogix TL-SM3C-HDV User manual

Installation Guide
Three Input HDMI Share-Me™ Switcher with Extension and Control
TL-SM3C-HDV
www.tlnetworx.com | +1-608-960-7242
All Rights Reserved
Version: 190219

190219 TL-SM3C-HDV Installation Guide
i
Preface
Trademarks
FCC Statement
Read this user manual carefully before using this product. Pictures shown in this manual are for reference only;
the actual product may vary.
This manual is only for operation instructions and not for any maintenance or repair.
Product model and logo are trademarked. Any other trademarks mentioned in this manual are acknowledged as
the properties of the trademark owner. No part of this publication may be copied or reproduced without prior
written consent.
This equipment generates, uses and can radiate radio frequency energy and, if not installed and used in
accordance with the instructions, may cause harmful interference to radio communications. It has been tested
and found to comply with the limits for a Class A digital device, pursuant to part 15 of the FCC Rules. These limits
are designed to provide reasonable protection against harmful interference in a commercial installation.
Operation of this equipment in a residential area is likely to cause interference, in which case the user at their
own expense will be required to take whatever measures may be necessary to correct the interference.
Any changes or modications not expressly approved by the manufacture would void the user’s authority to
operate the equipment.

190219 TL-SM3C-HDV Installation Guide
ii
Safety Precautions
• To insure proper operation, please read all instructions carefully before using the device. Save this manual
for further reference.
• Unpack the equipment carefully and save the original box and packing material for possible future shipment.
• Follow basic safety precautions to redce the risk of re, electrical shock and injury to persons.
• Do not dismantle the housing or modify the module. It may result in electrical shock or burn.
• Using supplies or parts not meeting the products’ specications may cause damage, deterioration or
malfunction.
• Refer all servicing to qualied service personnel.
• To prevent re or shock hazard, do not expose the unit to rain, moisture or install this product near water.
• Do not remove the housing of the device, as opening or removing housing may expose you to dangerous
voltage or other hazards.
• Install the device in a place with adequate ventilation to avoid damage caused by overheating.
• Keep the device away from liquids.
• Spillage into the housing may result in re, electrical shock, or equipment damage. If an object or liquid falls
or spills on to the housing, unplug the device immediately.
• Do not use liquid or aerosol cleaners to clean this unit. Always unplug the power to the device before
cleaning.
• Unplug the power cord when left unused for a long period of time.
• If disposing of the unit, do not burn or mix with general household waste. The device must be disposed of per
local regulations for electronic recycling.

190219 TL-SM3C-HDV Installation Guide
iii
Preface . . . . . . . . . . . . . . . . . . . . . . . . . . . . . . . . . . . . . . . . . . . . . . . . . . . . . . . . . . . . . . . . . . . . . i
Trademarks . . . . . . . . . . . . . . . . . . . . . . . . . . . . . . . . . . . . . . . . . . . . . . . . . . . . . . . . . . . . . . . . . . i
FCC Statement . . . . . . . . . . . . . . . . . . . . . . . . . . . . . . . . . . . . . . . . . . . . . . . . . . . . . . . . . . . . . . .i
Safety Precautions . . . . . . . . . . . . . . . . . . . . . . . . . . . . . . . . . . . . . . . . . . . . . . . . . . . . . . . . . . . . .ii
Table of Contents . . . . . . . . . . . . . . . . . . . . . . . . . . . . . . . . . . . . . . . . . . . . . . . . . . . . . . . . . . . . . iii
Introduction . . . . . . . . . . . . . . . . . . . . . . . . . . . . . . . . . . . . . . . . . . . . . . . . . . . . . . . . . . . . . . . . 1
Product Overview. . . . . . . . . . . . . . . . . . . . . . . . . . . . . . . . . . . . . . . . . . . . . . . . . .1
Features . . . . . . . . . . . . . . . . . . . . . . . . . . . . . . . . . . . . . . . . . . . . . . . . . . . . . .1
Included in Each Set . . . . . . . . . . . . . . . . . . . . . . . . . . . . . . . . . . . . . . . . . . . . . . . .2
Input/Output Overview. . . . . . . . . . . . . . . . . . . . . . . . . . . . . . . . . . . . . . . . . . . . . . .3
TL-SM3C-HDV Transmitter . . . . . . . . . . . . . . . . . . . . . . . . . . . . . . . . . . . . . . . . . . . . . .3
TL-SM3C-HDV Receiver . . . . . . . . . . . . . . . . . . . . . . . . . . . . . . . . . . . . . . . . . . . . . . . . 4
System Connection . . . . . . . . . . . . . . . . . . . . . . . . . . . . . . . . . . . . . . . . . . . . . . . . . . . . . . . . . . . 5
Usage Precautions . . . . . . . . . . . . . . . . . . . . . . . . . . . . . . . . . . . . . . . . . . . . . . . . .5
Connection Procedure . . . . . . . . . . . . . . . . . . . . . . . . . . . . . . . . . . . . . . . . . . . . . . .5
Example System Diagram . . . . . . . . . . . . . . . . . . . . . . . . . . . . . . . . . . . . . . . . . . . . . .6
Web-based Conguration. . . . . . . . . . . . . . . . . . . . . . . . . . . . . . . . . . . . . . . . . . . . . . . . . . . . . . . 7
Logging into the Web Interface . . . . . . . . . . . . . . . . . . . . . . . . . . . . . . . . . . . . . . . . . . .7
AV Settings . . . . . . . . . . . . . . . . . . . . . . . . . . . . . . . . . . . . . . . . . . . . . . . . . . . . .8
Source Select . . . . . . . . . . . . . . . . . . . . . . . . . . . . . . . . . . . . . . . . . . . . . . . . . . . . . . 8
VGA Output Res. (Resolution) . . . . . . . . . . . . . . . . . . . . . . . . . . . . . . . . . . . . . . . . . . . . . 8
VGA Audio . . . . . . . . . . . . . . . . . . . . . . . . . . . . . . . . . . . . . . . . . . . . . . . . . . . . . . .9
EDID . . . . . . . . . . . . . . . . . . . . . . . . . . . . . . . . . . . . . . . . . . . . . . . . . . . . . . . . . .9
Display Control - CEC. . . . . . . . . . . . . . . . . . . . . . . . . . . . . . . . . . . . . . . . . . . . . . . .9
Display Control - RS232 . . . . . . . . . . . . . . . . . . . . . . . . . . . . . . . . . . . . . . . . . . . . .10
Display Control - IR . . . . . . . . . . . . . . . . . . . . . . . . . . . . . . . . . . . . . . . . . . . . . . . . 11
General Settings . . . . . . . . . . . . . . . . . . . . . . . . . . . . . . . . . . . . . . . . . . . . . . . . .12
Network . . . . . . . . . . . . . . . . . . . . . . . . . . . . . . . . . . . . . . . . . . . . . . . . . . . . .13
Password . . . . . . . . . . . . . . . . . . . . . . . . . . . . . . . . . . . . . . . . . . . . . . . . . . . . . 14
RS232 and Telnet Commands . . . . . . . . . . . . . . . . . . . . . . . . . . . . . . . . . . . . . . . . . . . . . . . . . . . 15
Switching and Display Control . . . . . . . . . . . . . . . . . . . . . . . . . . . . . . . . . . . . . . . . . .15
AV Conguration . . . . . . . . . . . . . . . . . . . . . . . . . . . . . . . . . . . . . . . . . . . . . . . . . 15
Control Conguration. . . . . . . . . . . . . . . . . . . . . . . . . . . . . . . . . . . . . . . . . . . . . . . 15
RS232 Output Conguration . . . . . . . . . . . . . . . . . . . . . . . . . . . . . . . . . . . . . . . . . . . 16
Delay Timing Setup . . . . . . . . . . . . . . . . . . . . . . . . . . . . . . . . . . . . . . . . . . . . . . . . 16
Delay Timing Setup . . . . . . . . . . . . . . . . . . . . . . . . . . . . . . . . . . . . . . . . . . . . . . . . 16
Firmware Updates . . . . . . . . . . . . . . . . . . . . . . . . . . . . . . . . . . . . . . . . . . . . . . . . . . . . . . . . . . . 17
Transmitter Update Procedure . . . . . . . . . . . . . . . . . . . . . . . . . . . . . . . . . . . . . . . . . .17
Receiver Update Procedure . . . . . . . . . . . . . . . . . . . . . . . . . . . . . . . . . . . . . . . . . . . . 17
Web GUI Update Procedure. . . . . . . . . . . . . . . . . . . . . . . . . . . . . . . . . . . . . . . . . . . . 18
Technical Specications . . . . . . . . . . . . . . . . . . . . . . . . . . . . . . . . . . . . . . . . . . . . . . . . . . . . . . . 20
Table of Contents

190219 TL-SM3C-HDV Installation Guide
1
Introduction
Product Overview
Features
The TechLogix Networx TL-SM3C series of Share-Me™ products build upon the core functions of the popular,
easy-to-use functionality of the TL-SM3X1 series Share-Me™ products and add video signal extension plus a
wider breadth of control for the display. With up to 70m (229 ft) of video extension for 1080p content, or 40m
(131 ft) of 4K content, and the ability to power the extender set from the receiver end, the TL-SM3C series of
Share-Me™ products allow for automatic power on/off commands to be transmitted from the unit (as well as
connected table inserts) to the display, thereby providing a complete room connectivity and control solution.
The TL-SM3C-HDV transmitter features two HDMI inputs and one VGA input with video support up to 4K/30
plus multichannel audio, three control inputs for the TL-SMG series Share-Me™ grommet inserts, and auto-switch
mode and manual switch mode. There is also an RS232 with 12V DC support connector to interface with the TL-
TI-4C or any third-party controller that can operate within 12V DC at 0.5 A.
The TL-SM3C-HDV receiver features an HDMI output with CEC control to adjust volume and power states of
the display. Additional display control capabilities are IR and RS232; relay outputs allow raising and lowering
projector screens with momentary and latching congurations. The TL-SM3C-HDV receiver can de-embed
stereo audio to the 3.5mm stereo analog port and RCA-style digital output port. There is also an Ethernet port to
congure the entire TL-SM3C system.
• Two HDMI inputs
• One VGA with analog audio input
• One HDMI output
• Digital and analog audio de-embedding
• EDID pass-through and built-in EDID
• HDMI video resolution up to 4K@30Hz 4:4:4
• HDCP 2.2 compliant
• 4K over Cat 5e/6 up to 40m
• 1080p over Cat 5e/6 up to 70m
• IR, RS232, CEC control of display
• Relay outputs for projector screens
• Integration with TechLogix table inserts for signal pass-through & remote control
• Micro USB rmware port
• Hot-plug support
Note: Shielded twisted pair cable with shielded connectors are recommended.

190219 TL-SM3C-HDV Installation Guide
2
Included in Each Set
• 1 ea TL-SM3C-HDV Transmitter
• 1 ea TL-SM3C-HDV Receiver
• 2 ea 3.5mm audio cable (2m)
• 1 ea 3-pin to DE-9 RS232 Cable
• 1 ea 4-pin Removable Terminal Block
• 3 ea 3-pin Removable Terminal Blocks
• 1 ea Power Adapter (DC 24V 2.71A) with US EIC Power Cable
• 4 ea Mounting rails (with 8 screws)
• 8 ea Rubber feet
• 1 ea User Manual QR Card

190219 TL-SM3C-HDV Installation Guide
3
Input/Output Overview
TL-SM3C-HDV Transmitter
1 - HDMI In 2 - HDMI In 3 - VGA In Audio In C1 C2
Share-Me™ Control Inputs
IR Learn
C3
RS232
Tx Rx 12v
TP Out/PoC Service
Share-Me™ Serial
1 2 3 4
5 6 7 8 9 10 11 12
Number Name Description
1 TP Out/PoC Connect to the TP In port on the receiver via a twisted pair cable. Supports PoC (Power over Cable) from receiver.
Yellow LED indicates link with receiver. Green LED indicates HDCP status.
2 Share-Me™ Serial RS232 transmit (TX), receive (RX, and ground plus 12V DC power for TL-SMG-4C or third party control system.
3 Service Micro USB type B port for drag and drop rmware updates.
4 Power Indicator Red LED indicates power between the transmitter and receiver. Green LED indicates video transmitting from transmitter to
receiver.
5 1 - HDMI In Connect to an HDMI source.
6 2 - HDMI In Connect to an HDMI source.
7 3 - VGA In Connect to a VGA source.
8 Audio In Connect to analog audio source.
9 Share-Me™ Control 1 Dry contact closure control port for use with compatible TechLogix table inserts.
10 Share-Me™ Control 2 Dry contact closure control port for use with compatible TechLogix table inserts.
11 Share-Me™ Control 3 Dry contact closure control port for use with compatible TechLogix table inserts.
12 IR Learn IR receiver to capture IR commands for display.

190219 TL-SM3C-HDV Installation Guide
4
TL-SM3C-HDV Receiver
TL-SM3C-HDV - Receiver
3 Input HDMI Share-Me™ Switcher with Extension and Control
DC 24v
LAN RS232
Relay 1 Relay 2
NO NC NO NC Tx Rx
IR Out Audio Out HDMI / CEC Out
Display Control
A B C
D E F G H I J K L
Letter Name Description
A TP In/PoC Connect to the TP Out port on the receiver via a twisted pair cable. Supports PoC (Power over Cable) from receiver.
Yellow LED indicates link with receiver. Green LED indicates HDCP status.
B Service Micro USB type B port for drag and drop rmware updates.
C Power Indicator Red LED indicates power between the transmitter and receiver. Green LED indicates video transmitting from transmitter to
receiver.
D DC 24V 24V DC power port.
E LAN 100 Gbps Ethernet port for web GUI setup and Telnet control
F Relay 1 Latching or momentary with NO and NC connections.
G Relay 2 Latching or momentary with NO and NC connections.
H RS232 RS232 output for display control.
I IR Out IR output for display control.
J Analog Audio Out 3.5 mm TRS analog audio output port.
K Digital Audio Out RCA-style digital audio output port.
L HDMI / CEC Out Connect to an HDMI display. CEC control with compatible display devices.

190219 TL-SM3C-HDV Installation Guide
5
System Connection
Usage Precautions
• System should be installed in a clean environment that has a proper temperature and humidity.
• All of the power switches, plugs, sockets and power cords should be installed properly.
• All devices should be connected before powering on the devices.
• The twisted pair terminations for the devices should be a straight-thru conforming to the
TIA/EIA T568B standard.
• Use shielded solid core straight-thru Cat5e or greater with TIA/EIA T568B terminations to connect the TP
ports.
• If mounting the unit, the included mounting hardware must be used.
Connection Procedure
1. Verify all components included with the TL-SM3C-HDV are present before installation.
2. If the TL-SM3C-HDV will be permanently mounted to a surface, attach the included mounting rails with the
supplied screws.
3. If the TL-SM3C-HDV will be sitting on a shelf, attach the included rubber feet to the bottom of the unit.
4. Turn off power and disconnect the audio/video equipment by following the manufacturer’s instructions.
5. If the TL-SM3C-HDV will be controlled via TechLogix table inserts:
a. Separately connect HDMI signal cables between the HDMI sources and HDMI ports of the table inserts
and VGA signal cables between the VGA source and VGA port of the table insert.
b. Separately connect HDMI signal cables between the HDMI sources (or table inserts if used) and the
1 - HDMI In and 2 - HDMI In ports. Connect a VGA signal cable between the VGA source (or table insert
if used) and the 3 - VGA In portof the TL-SM3C-HDV.
c. Separately connect three table inserts to the C1, C2, and C3 ports of the TL-SM3C-HDV.
6. If the TL-SM3C-HDV will be controlled via the TL-SMG-4C, connect the 4-wire power and control cable
included with the table insert into the Share-Me™ Serial port on the transmitter.
7. Connect HDMI signal cables between the HDMI sources (or table inserts if used) and the 1 - HDMI In and
2 - HDMI In ports. Connect a VGA signal cable between the VGA source (or table insert if used) and the 3 -
VGA In port.
8. Connect TP Out/PoC port of Transmitter and TP In/PoC port of Receiver with a single shielded solid core
straight-through Cat 5e or greater cable with TIA/EIA T568B terminations.
9. Connect a display to the HDMI / CEC Out port of Receiver.
10. If using RS232 to control the display, connect the included RS232 cable from the RS232 port of the receiver
to the RS232 input of the display.
11. If using IR to control the display, connect the IR Emitter to the IR Out port of Receiver, and then put it over
the IR receiver port of the display.
12. If using external audio, connect audio amplier device to the appropriate Audio Out port of Receiver.
13. Connect a PC to the TCP/IP port of Receiver for web-based system setup and Ethernet-based Telnet control.
14. Connect the 24V DC 2.71A power adaptor to the power port of Receiver.
Note: Connect TP ports via single shielded solid core straight-through Cat 5e or greater cable with shielded
TIA/EIA T568B terminations at both ends.

190219 TL-SM3C-HDV Installation Guide
6
Example System Diagram
Apple
TV
TL-SM3C-HDV
(RX)
TL-SM3C-HDV
(TX)
TL-SMG-HD
TL-SMG-4C
HDMI
VGA
Relay 1 & 2
Power
Screen
Up, Down
Shielded
Cat 6
(Power,
Video, &
Control)
Power & Control
HDMI
RS232

190219 TL-SM3C-HDV Installation Guide
7
Logging into the Web Interface
Web-based Conguration
All control, video, and network conguration settings are handled in the web-based conguration tool.
Connect the TCP/IP port of the Receiver to Ethernet port of PC with twisted pair, and then modify the PC’s static
IP network segment to be the same as the TL-SM3C-HD’s. For example, the IP address of PC can be modied to
192.168.0.42.
If you need assistance setting a static IP address for Windows or mac OS (OS X), Netgear has a couple support
articles that should help:
Windows
mac OS (OS X)
Navigate to 192.168.0.178 in your browser, it will enter the login interface shown as below.
There is only one user (admin). The default password is admin, but this can be changed to a more secure password
later. Click the word LOGIN to proceed.

190219 TL-SM3C-HDV Installation Guide
8
AV Settings
Source Select
VGA Output Res. (Resolution)
From the AV Settings screen, there are two primary areas: Source Select and EDID.
In addition to selecting the active input, there are settings to determine whether to manually switch inputs via the
TechLogix table inserts or third party control or to auto-switch based on active video sensing. The two basic rules
of auto-switching are:
The default scaled output resolution is 1920x1080@60Hz. Other options are 1920x1200@60Hz and
1280x720@60Hz.
1. When a new signal (or connection) is detected, the TL-SM3C-HDV switches to this new signal automatically.
2. Should an active signal be removed, the TL-SM3C-HDV will detect all input signals with priority from
1 - HDMI In to 3 - VGA In. It will transfer the rst signal detected to the display.

190219 TL-SM3C-HDV Installation Guide
9
VGA Audio
EDID
This setting enables analog audio input conversion for the VGA input. This setting is On by default.
The default EDID setting is 1920x1080@60Hz with Stereo Audio. If using the TL-SM3C-HDV with a 4K display, it
is highly recommended to use one of the 3840x2160 presets to ensure signal bandwidth compatibility.
Display Control - CEC
The CEC section of the Display Control conguration denes whether CEC is on or off and the delay time (default
is 5 seconds) between turning the display on and switching to the input connected to the TL-SM3C-HDV receiver
(also known as One Touch Play).
The Display On and Display Off section just shows the state of the display.

190219 TL-SM3C-HDV Installation Guide
10
Display Control - RS232
The RS232 section of the Display Control conguration is probably the most complex area of the web-based setup,
but it is still easy to navigate. RS232 control can be turned on or off from this area.
The available baud rates are: 2400, 4800, 9600, 19200, 38400, 57600, and 115200. Click the Hex checkbox if the
display requires hex commands.
Enter the Display On, Display Off, and Input Command in the appropriate elds. Be sure to press the Save button
after each entry.
The Command Ending adds code to the end of each RS232 command that may be required by the display. NULL is
no ending. CR is a carriage return, which is 0D in hex. LF is a line feed, which is 0A in hex. CR+LF is a carriage return
followed by a line feed, which is 0D 0A in hex.
Enter the Input Delay Time, from 0.5 to 30 seconds, needed between turning on the display and switching to the
TL-SM3C-HDV. The default time is 5 seconds.
The CLI (command line interface) eld is solely for testing wiring (TX to TX instead of TX to RX?) and verifying the
RS232 commands work well without needing to wait for the system to automatically turn off the display.
If the TL-SMG-4C will be used with the TL-SM3C-HDV, enter the RS232 commands for Volume + (up), Volume -
(down), and Mute in their respective elds.

190219 TL-SM3C-HDV Installation Guide
11
Display Control - IR
The IR section of the Display Control conguration assists in storing the IR commands from the display’s IR remote.
This procedure requires access to the front panel of the TL-SM3C-HDV transmitter.
Click the IR Learning button to begin the IR learning process.
Click the Display On button, then press the Power On button on the IR remote. Once the IR command is learned,
the Display On button will return to its original state. Repeat the process for the additional commands.
If the display requires two button presses for power off, click the 2x checkbox. The Display Off Delay Time is the
time between the two off commands; the default is 5 seconds.
If the TL-SMG-4C will be used with the TL-SM3C-HDV, repeat the IR learning process for Mute, Volume - (down),
Volume + (up), and Input Switch.
Enter the Input Delay Time, from 0.5 to 30 seconds, needed between turning on the display and switching to the
TL-SM3C-HDV. The default time is 5 seconds.

190219 TL-SM3C-HDV Installation Guide
12
General Settings
The General Settings conguration page sets the delay time in seconds (0-10800) between no video signal
presence and shutting off the system, denes the operation of the relays and sets the activation time when in
momementary mode, allows turning off all displays on the LAN, and resets the TL-SM3C-HDV to factory default.

190219 TL-SM3C-HDV Installation Guide
13
Network
The Network conguration page allows the user to dene whether the TL-SM3C-HDV has a static or dynamic IP
address as well as enabling Telnet communication for control of the switcher.

190219 TL-SM3C-HDV Installation Guide
14
Password
The Password section of the Display Control conguration is the easiest section to work with. Enter a new
password in the New Password eld, then retype it into the Conrm New Password eld.
The password must be at least 5 characters.

190219 TL-SM3C-HDV Installation Guide
15
Switching and Display Control
Control Conguration
AV Conguration
RS232 and Telnet Commands
Command Function Feedback Example
/HDMIx;Switch to HDMIx. x = 1 or 2 #HDMIx.
/VGA; Switch to VGA. #VGA.
/TVOff; System off IR/Rx RS232/CEC TV off
/TVOn; System on IR/Rx RS232/CEC TV on
/TVVOL+; Volume up IR/Rx RS232/CEC VOL+
/TVVOL-; Volume down IR/Rx RS232/CEC VOL-
/TVMUTE; Mute IR/Rx RS232/CEC MUTE
Command Function Feedback Example
/CECON; Enable CEC. #CECON.
/CECOFF; Disable CEC. #CECOFF.
/CEC?; Query CEC status. #CECOFF. or
#CECON.
/Baudrate xxxx;Set the RS232 of RX. Values are: 2400, 4800,
9600, 19200, 38400, 57600, 115200
#Baudrate xxxx.
/IP:xxx.xxx.xxx.xxx;Set IP address #IP:xxx.xxx.xxx.xxx.
/IP?; Query IP address #IP:xxx.xxx.xxx.xxx.
Command Function Feedback Example
/EDIDIntx;Set EDID mode x
0 = EDID pass through
1 = 4K/60Hz/4:2:0 2ch/
2 = 4K/30Hz/4:4:4 2ch/
3 = 1920x1080/60Hz 2ch
4 = 1280x720/60Hz 2ch
5 = 1920x1200/60Hz 2ch
#EDIDIntx. or
#EDIDThrough.
/EDID?; Query EDID mode. #EDIDIntx. or
#EDIDThrough.
/AUTOSwitch; Enable auto switching. #AUTO ON.
/MANUSwitch; Disable auto switching. #MANUAL ON.
/AVStatus; Check switch Status. #HDMIx.
/VRes1; Set output resolution of VGA to 1920x1080 #VRes1.
/VRes2; Set output resolution of VGA to 1920x1200 #VRes2.
/VRes3; Set output resolution of VGA to 1080x720 #VRes3.
/VGAMuteEn; VGA audio On #VGAMuteEn.
/VGAMuteDis; VGA audio Off #VGAMuteDis.

190219 TL-SM3C-HDV Installation Guide
16
RS232 Output Conguration
Delay Timing Setup
Delay Timing Setup
Command Function Feedback Example
/SetVolMute:%s;Set the RS232 string (%s) for Volume mute #SetVolMute:%s.
/SetVolSub:%s;Set the RS232 string (%s) for Volume down #SetVolSub:%s.
/SetVolAdd:%s;Set the RS232 string (%s) for Volume up #SetVolAdd:%s.
/SetOff:%s;Set the RS232 string (%s) for Display Off #SetOff:%s.
/SetOn:%s;Set the RS232 string (%s) for Display On #SetOn:%s.
/SetInCmd:%s;Set the RS232 string (%s) for Input Select #SetInCmd:%s.
Command Function Feedback Example
/SetRSTime:%d;Set the RS232 input delay (%d) time; 1 = 0.5s
Value range 1-60
#SetRSTime:%d.
/SetCECTime:%d;Set the CEC input delay (%d) time; 1 = 0.5s
Value range 1-60
#SetCECTime:%d.
/SetIROffTime:%d;Set the 2x IR OFF delay (%d) time; 1 = 0.5s
Value range 1-60
#SetIROffTime:%d.
/SetOffTime:%d;Set the IR input delay (%d) time; 1 = 1s
Value range 0-10800
#SetOffTime:%d.
/SetRelayTime:%d;Set the Relay Timeout (%d) 1 = 0.5s
Default value is 10.
#SetRelayTime:%d.
/SetRelayMode:x;Set Relay mode (Default 1)
1 = Momentary
2 = Latching
#SetRelayMode:x.
Command Function Feedback Example
/*Name; Query model name #TL-SM3C-HDV.
/^Version; Query rmware version #TxV:1.0.1.
#RxV:1.0.2.
/FactoryDefault; Restore to default settings #FactoryDefault.
Table of contents
Other Techlogix Switch manuals
Popular Switch manuals by other brands
Eaton
Eaton P1-XM Series Instruction leaflet

TRENDnet
TRENDnet TPE-3018L Quick installation guide

EUCHNER
EUCHNER STA4A-2131A024L024RC18 operating instructions
Cisco
Cisco MDS 9000 Series Configuration guide

Avocent
Avocent AutoView 2000 Installer/user guide

Campbell Hausfeld
Campbell Hausfeld CW301300AJ Additional operating instructions
