manuals.online logo
Brands
  1. Home
  2. •
  3. Brands
  4. •
  5. Techni Mobili
  6. •
  7. Indoor Furnishing
  8. •
  9. Techni Mobili RTA-4809DL User manual

Techni Mobili RTA-4809DL User manual

A03 210301
MODEL RTA-4809DL
REV.042021-1
P.1P.1
x6
P.2P.2
x8
x6
P.3P.3
A
B
D
C
PART PART
QTY. QTY.
E
F
G
8
4
2
2
24
24
28
ITEM ITEM
H
I
J
K
1
3M4x20
46 ST3X15
ST4X35
12
8
1M 4
M6x40
(bolt)
M6x25
M6x40
M6x45
M6x65
M6x12
M6x30
19 20
17
4
11
12 15
13
23
29
29
10 10
P.4P.4
Φ 6MM

☛This unit uses cam bolts and locks. The following explains how to use them. This is not
an assembly step; it is a guide for when you are actually doing the assembly using this
kind of hardware.
 
 S

 



T


 TT


Alignment: The cross points
towards the panel with the
bolt.

BEFORE YOU START THE ASSEMBLY, PLEASE READ THE FOLLOWING TIPS AND WARNINGS.
❶




❷M




❹


S


❺



❽



❻M






❼T



❾S





❿




❸T

S

S


X4
22
23 24
25
23
26
P.7P.7
STEP 1
STEP 2
STEP 3
STEP 4
84
1
8
1
8
I
ST3x15
M6x12
ST4x35
Pcs
Pcs
Pcs
8
4
4
X4
22
24
25
27
24
25
J
C
Insert the studs 8 into the bottom of the leg structures 1 and 4.
Assemble the drawer connectors 22 to the big drawer side panels 24 and 25
using screws I as shown.
First assemble the file drawer front panel 23 to the connectors 22 using screws
C, then slide the bottom panel 26 through the grooves on all the panels.
Assemble the file drawer back panel
27 to the side panels 24 and 25 using
screws J.
ASSEMBLY STEPS
The groove on the panels face
down and towards the inside
The groove on the panel
faces towards the inside
30
31
X2
22
22 X2
29
9
28
27
23
9
STEP 5
M4x20 Pc
1
P.8P.8
STEP 6
I
ST3x15 Pcs
4
STEP 7
ST4x35 Pcs
4
J
STEP 8
M6x12
M4x20
Pcs
Pc
2
1
C
H
H
30
31 32
30
31
26
First assemble the handle 9 to the file
drawer front panel 23 using screw H,
then insert the hanging file tubes 28 from
behind through the back panel 27 and into
the front panel 23 as shown.
Assemble the drawer connectors 22 to the small drawer side panels 30 and 31
using screws I as shown.
First assemble the small drawer back panel 32 to the side panels 30 and 31
using screws J, then slide the bottom panel 26 through the grooves on all the
panels.
First assemble the handle 9 to the front panel 29 using screw H, then assemble
the front panel 29 to the connectors 22 using screws C as shown.
32
P.9P.9
With the file drawer on the
LEFT, and the long tabletop
on either side:
Follow the steps that start
with A1 on page 10.
With the file drawer on the
RIGHT, and the long
tabletop on either side:
Follow the steps that start
with B1 on page 20.
STEP A2
I
ST3x15 Pcs
12
STEP A1
I
ST3x15 Pcs
6
P.10P.10
12 13
21
14 15
21
12 13
14 15
21
21
21
21
Open the sliders 21 slowly until you are able to see the front hole through the
big opening , and using screws I assemble the sliders to the cabinets side
panels 12, 13, 14 and 15 on the front hole as shown.
Open the sliders 21 completely and using screws I, assemble the sliders to the
cabinets side panels 12, 13, 14 and 15 on the middle and back holes as shown.
On panels 12 and 13 place the
sliders only at the bottom
(Top)
(Top)
(Top)
(Top)
(Front)
(Front)
16
13
12
15
14
16
STEP A4
M6x40 Bolt Pcs
8
STEP A3
M6x40 Bolt Pcs
8
P.11P.11
10
14
15
10
13 12
B
B
Assemble the cabinet back panel 16 to the side panels 12 and 13, and to the
side panels 14 and 15 using bolts B as shown and as explained in page 5.
Assemble each of the cabinet top panels 10 to the side panels 12 and 13, and
to 14 and 15 respectively, using bolts B as shown and as explained in page 5.
Cam locks
alignment
Cam locks
alignment
STEP A6
M6x30 Pcs
8
STEP A5
M6x40 Bolt Pcs
8
P.12P.12
B
13 12
11
14
15
11
2
11 11
2
A
Cam locks
alignment
Assemble the cabinet bottom panel 11 to the side panels 12 and 13, and to
14 and 15 respectively using bolts B as shown and as explained in page 5.
Assemble the large support structures 2 to the bottom panels 11 on both
cabinets using screws A as shown.
1
2
1
2
STEP A7
M6x30 Pcs
8
P.13P.13
A
Assemble the short leg structure 1 to the large support structure 2 on
both cabinets using screws A as shown.
On the LEFT:
Follow steps A8 to A14
in pages 14, 15 and 16.
On the RIGHT:
Follow steps A15 to A21
in pages 17, 18 and 19
(skip pages 14, 15 and 16).
E
F
4
18
14
E
G
17
4
13
STEP A9
M6x40
M6x45
Pcs
Pcs
2
2
STEP A8
M6x40
M6x65
Pcs
Pcs
2
2
P.14P.14
E
G
E
F
With the help of another person, assemble the long back panel 17 to panel
13 using screws E from inside the cabinet, and to the tall leg structure 4 using
screws G from outside as shown.
With the help of another person, assemble the short back panel 18 to panel
14 using screws E from inside the cabinet, and to the tall leg structure 4
using screws F from outside as shown.
A1.
B1.
A2.
B2.
A3.
B3.
A1.
B1.
A2.
B2.
A3.
B3.
33
10 10
STEP A11
STEP A10
M6x25 Pcs
Pcs
8
8
P.15P.15
5
6
3
4
STEP A12
M6x12 Pcs
8
6
7
3
C
M6x12 Pcs
8
C
D
K
Φ16MM
Assemble the short support structures 3 to the top panels 10 using screws D
and washers K from underneath and from inside the cabinets as shown.
The side holes on the support ③ go
facing towards the inside of the unit.
Use screws C to assemble the back horizontal tube 5 and the front horizontal
tube 6 to the structures 3 and 4 as shown.
Use screws C to assemble the short horizontal tubes 7 to the structure 3 and
the tube 6 as shown
23 29
29
STEP A14
ST3x15 Pcs
12
STEP A13
M6x30 Pcs
12
P.16P.16
19 20
33
7
5
6
A
I
Carefully with the help of another person place the long tabletop 19 over the
frame on the LEFT side and the short tabletop 20 on the RIGHT side, and
assemble them to parts 3, 5, 6 and 7 respectively using screws A from
underneath as shown.
Open all the sliders 21 in both cabinets, and using screws I, assemble the file
drawer on the LEFT and the small drawers on the RIGHT as shown.
ALL DONE! Give yourself a nice pat on the back. You did a great job!
You will find important additional information in pages 30, 31 and 32.
E
F
4
13
18
STEP A16
M6x40
M6x65
Pcs
Pcs
2
2
STEP A15
M6x40
M6x45
Pcs
Pcs
2
2
P.17P.17
E
E
G
17
4
14
G
E
F
With the help of another person, assemble the short back panel 18 to panel
13 using screws E from inside the cabinet, and to the tall leg structure 4 using
screws F as shown.
With the help of another person, assemble the long back panel 17 to panel
14 using screws E from inside the cabinet, and to the tall leg structure 4
using screws G from outside as shown.
A1.
B1.
A2.
B2.
A3.
B3.
A1.
B1.
A2.
B2.
A3.
B3.
33
10 10
STEP A18
STEP A17
M6x25 Pcs
Pcs
8
8
P.18P.18
STEP A19
M6x12 Pcs
8
C
M6x12 Pcs
8
C
D
K
Φ16MM
6
7
3
5
6
4
3
Assemble the short support structure 3 to the top panels 10 using screws D and
washers K from underneath and from inside the cabinets as shown.
Use screws C to assemble the back horizontal tube 5 and the front horizontal
tube 6 to the structures 3 and 4 as shown.
Use screws C to assemble the short horizontal tubes 7 to the structure 3 and
the tube 6 as shown
The side holes on the support ③ go
facing towards the inside of the unit.
19
20
33
75
6
STEP A21
ST3x15 Pcs
12
STEP A20
M6x30 Pcs
12
P.19P.19
A
I
23 29
29
ALL DONE! Give yourself a nice pat on the back. You did a great job!
You will find important additional information in pages 30, 31 and 32.
Carefully with the help of another person place the long tabletop 19 over the
frame on the RIGHT side and the short tabletop 20 on the LEFT side, and
assemble them to parts 3, 5, 6 and 7 respectively using screws A from
underneath as shown.
Open all the sliders 21 in both cabinets, and using screws I, assemble the file
drawer on the LEFT and the small drawers on the RIGHT as shown.

Other manuals for RTA-4809DL

1

Other Techni Mobili Indoor Furnishing manuals
Techni Mobili RTA-M101 User manual

Techni Mobili

Techni Mobili RTA-M101 User manual
Techni Mobili RTA-8413L User manual

Techni Mobili

Techni Mobili RTA-8413L User manual
Techni Mobili RTA-B005 User manual

Techni Mobili

Techni Mobili RTA-B005 User manual
Techni Mobili RTA-8338 User manual

Techni Mobili

Techni Mobili RTA-8338 User manual
Techni Mobili MODERN RTA-940TV User manual
Techni Mobili

Techni Mobili MODERN RTA-940TV User manual

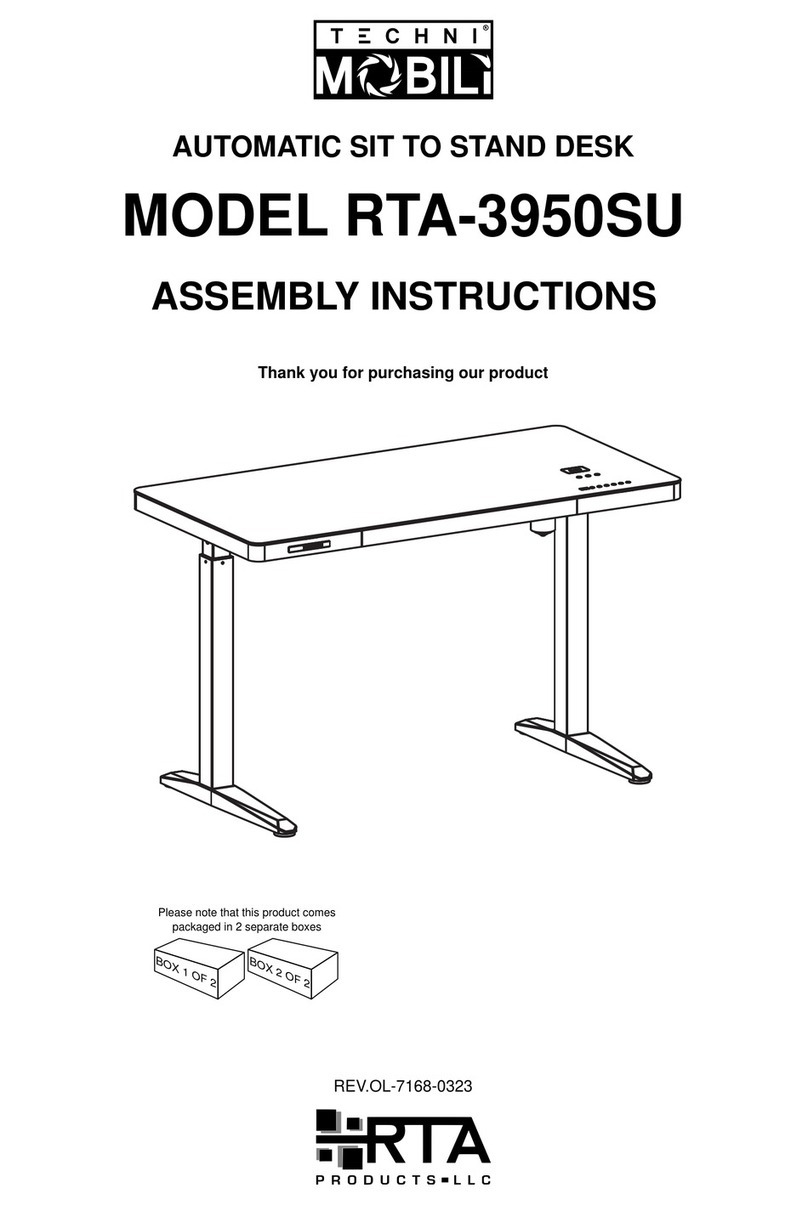
Techni Mobili RTA-3950SU User manual

Techni Mobili

Techni Mobili RTA-3950SU User manual
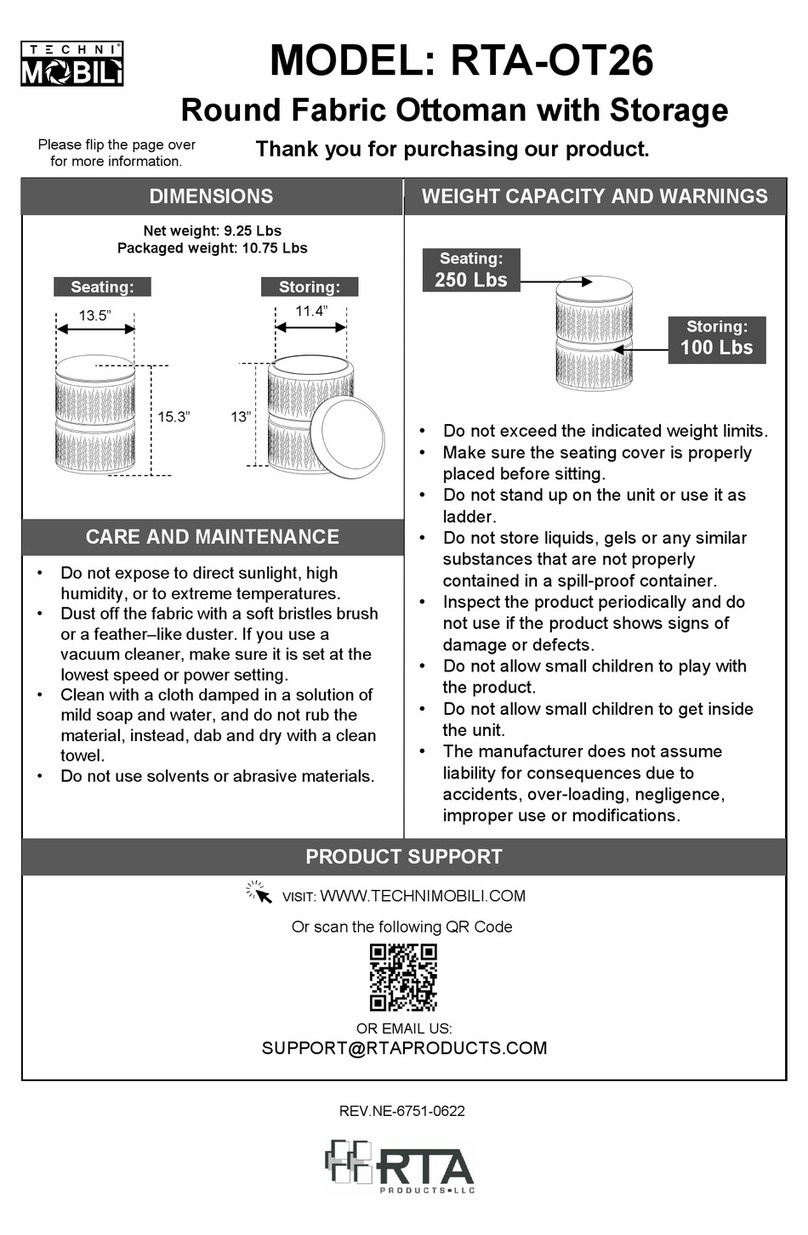
Techni Mobili RTA-OT26 User manual

Techni Mobili

Techni Mobili RTA-OT26 User manual
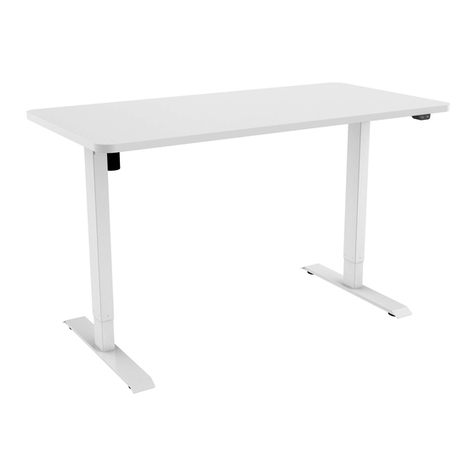
Techni Mobili RTA-3930SU User manual

Techni Mobili

Techni Mobili RTA-3930SU User manual
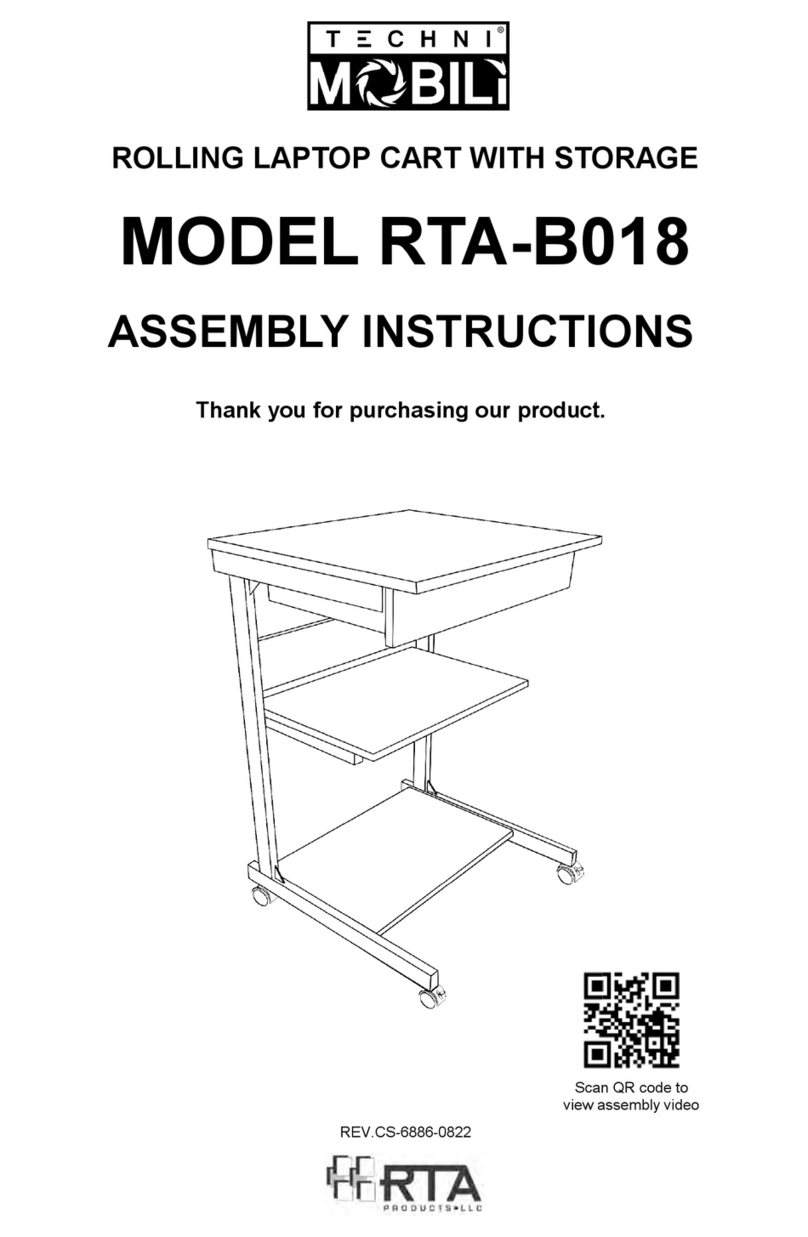
Techni Mobili RTA-B018 User manual

Techni Mobili

Techni Mobili RTA-B018 User manual

Techni Mobili STYLE RTA-1010 User manual
Techni Mobili

Techni Mobili STYLE RTA-1010 User manual

Techni Mobili RTA-8404 User manual

Techni Mobili

Techni Mobili RTA-8404 User manual

Techni Mobili RTA-8413L User manual

Techni Mobili

Techni Mobili RTA-8413L User manual
Techni Mobili RTA-2017 User manual

Techni Mobili

Techni Mobili RTA-2017 User manual
Techni Mobili RTA-8400 User manual

Techni Mobili

Techni Mobili RTA-8400 User manual
Techni Mobili RTA-8412L User manual

Techni Mobili

Techni Mobili RTA-8412L User manual
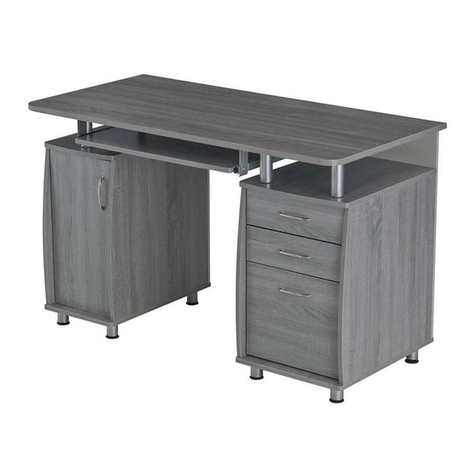
Techni Mobili RTA-4985 User manual

Techni Mobili

Techni Mobili RTA-4985 User manual
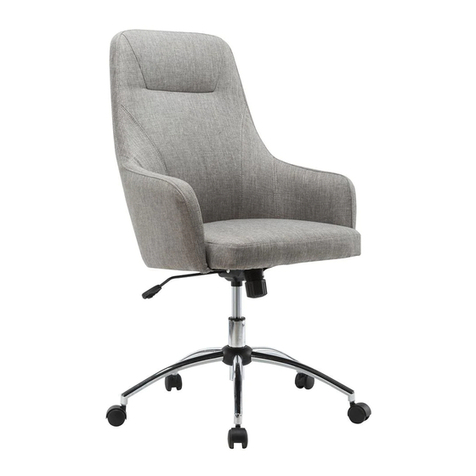
Techni Mobili RTA-1005 User manual

Techni Mobili

Techni Mobili RTA-1005 User manual

Techni Mobili RTA-910TV User manual

Techni Mobili

Techni Mobili RTA-910TV User manual
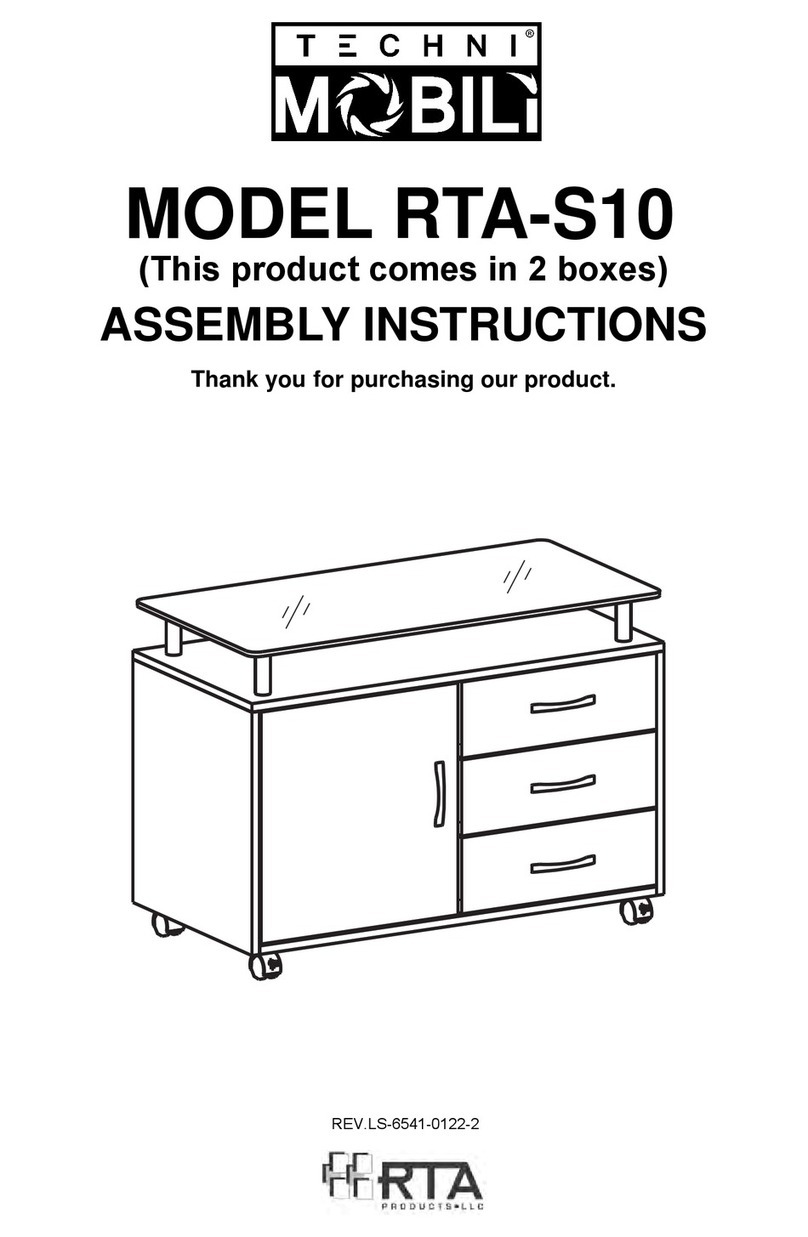
Techni Mobili RTA-S10 User manual

Techni Mobili

Techni Mobili RTA-S10 User manual
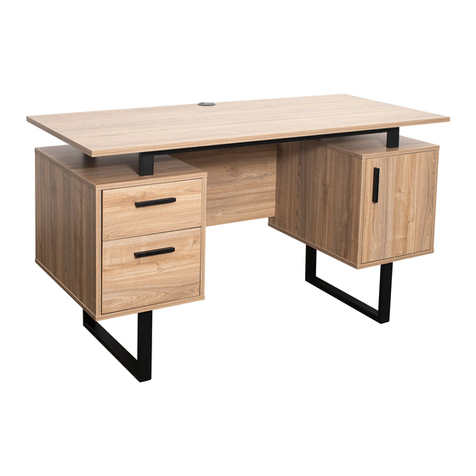
Techni Mobili RTA-7002 User manual

Techni Mobili

Techni Mobili RTA-7002 User manual

Techni Mobili RTA-1818C User manual

Techni Mobili

Techni Mobili RTA-1818C User manual

Techni Mobili RTA-4985 User manual

Techni Mobili

Techni Mobili RTA-4985 User manual

Techni Mobili RTA-7312D User manual

Techni Mobili

Techni Mobili RTA-7312D User manual

Techni Mobili RTA-914LD User manual

Techni Mobili

Techni Mobili RTA-914LD User manual

Popular Indoor Furnishing manuals by other brands
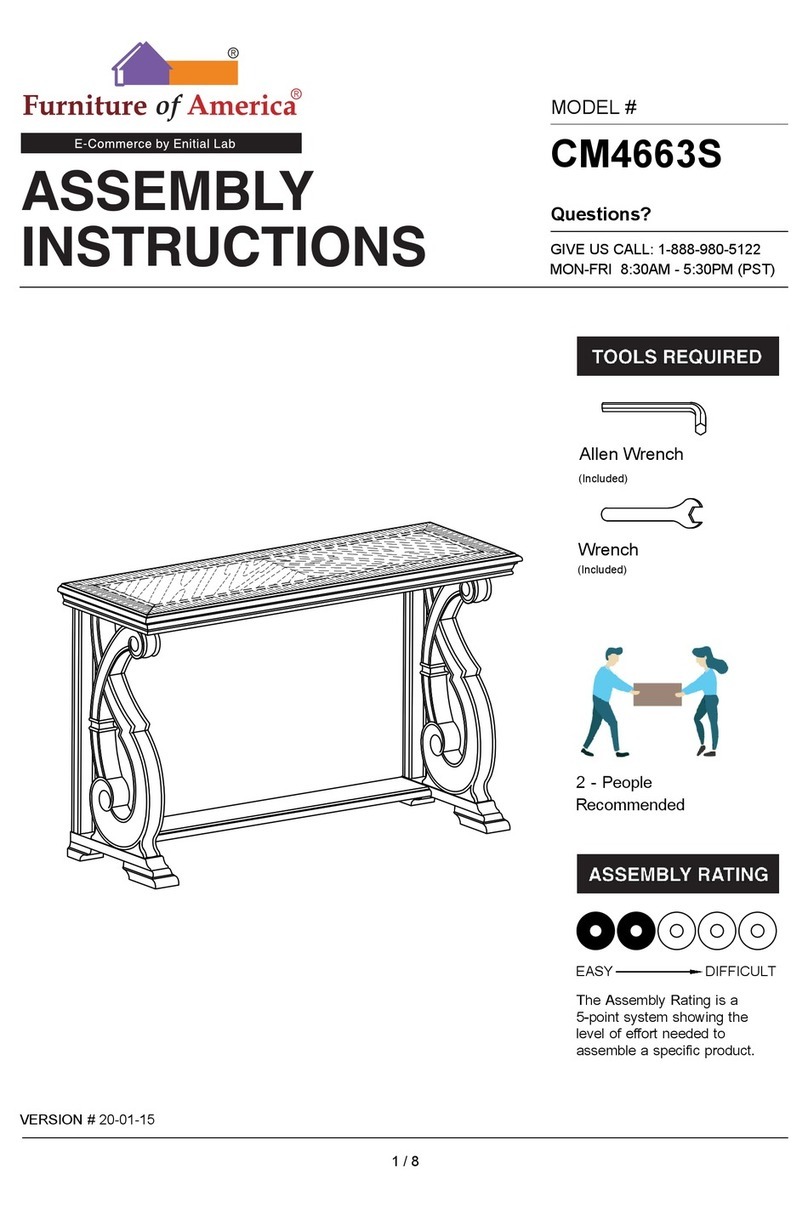
Furniture of America CM4663S Assembly instructions

Furniture of America

Furniture of America CM4663S Assembly instructions

HB Moveis Opera quick start guide

HB Moveis

HB Moveis Opera quick start guide

Meble Furniture Cambridge manual

Meble Furniture

Meble Furniture Cambridge manual

Bolton Furniture Bath Deluxe Assembly instructions
Bolton Furniture

Bolton Furniture Bath Deluxe Assembly instructions

Next BLAIR Assembly instructions

Next

Next BLAIR Assembly instructions
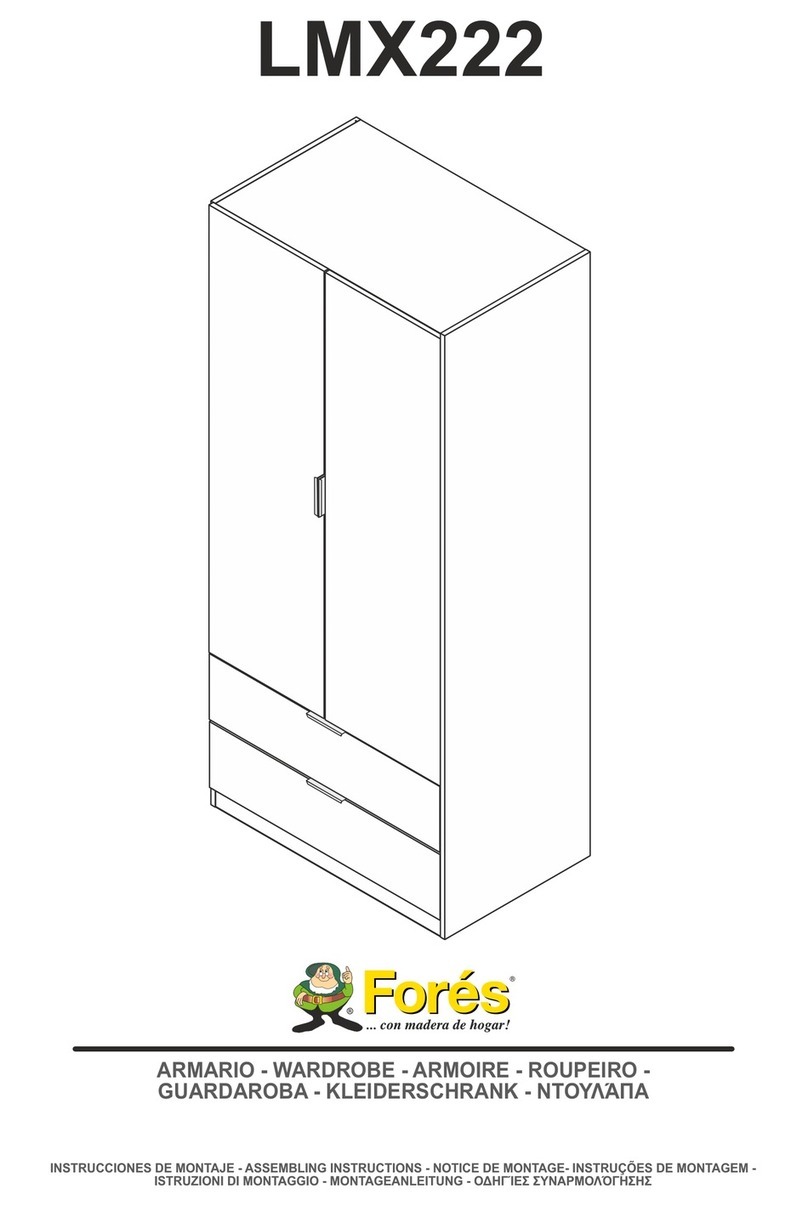
Fores Deco LMX222 Assembling instructions

Fores

Fores Deco LMX222 Assembling instructions

FourStar 11224648F Assembly instructions
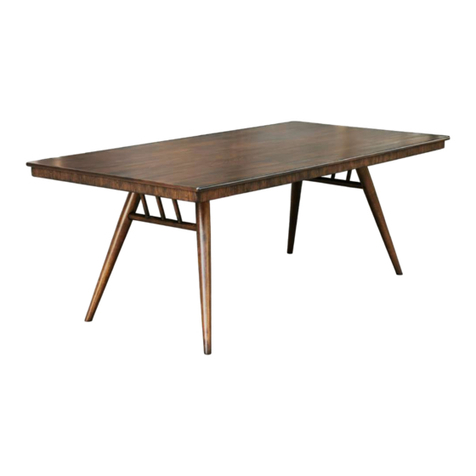
FourStar

FourStar 11224648F Assembly instructions

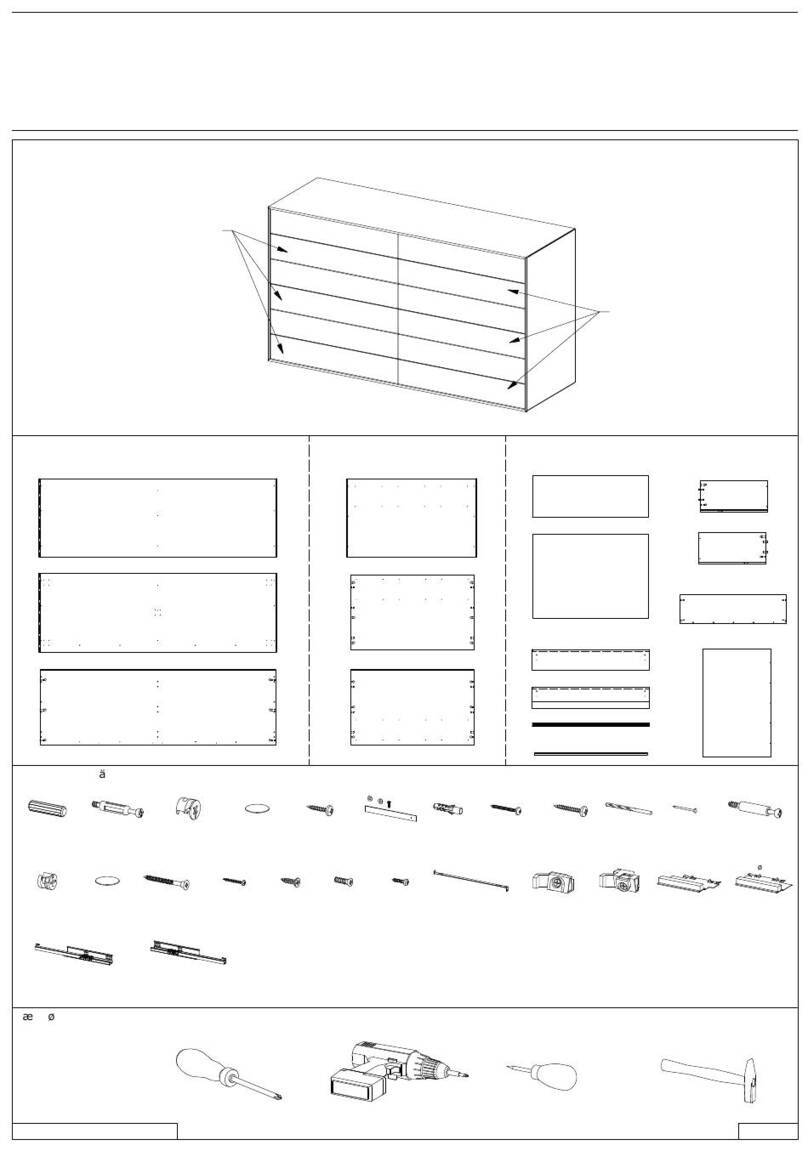
Coaster 115271 B1 Assembly instructions
Coaster

Coaster 115271 B1 Assembly instructions

BoConcept Fermo 2610 Assembly instructions

BoConcept

BoConcept Fermo 2610 Assembly instructions

Living & Co Richmond instruction manual

Living & Co

Living & Co Richmond instruction manual

Glas Italia SYBILLA Assembling and use instruction

Glas Italia

Glas Italia SYBILLA Assembling and use instruction

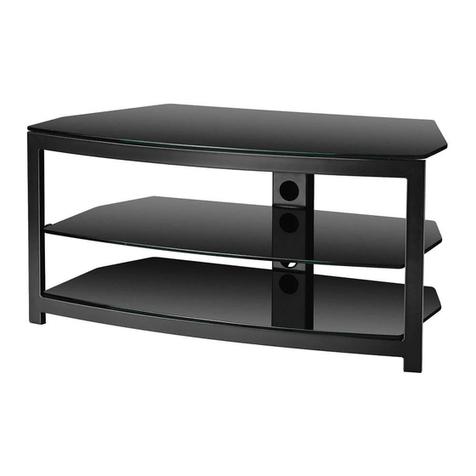
Home Styles Pantry 88 5022 69 Assembly instructions
Home Styles

Home Styles Pantry 88 5022 69 Assembly instructions

Omnimount Stellar G343 Assembly instructions

Omnimount

Omnimount Stellar G343 Assembly instructions

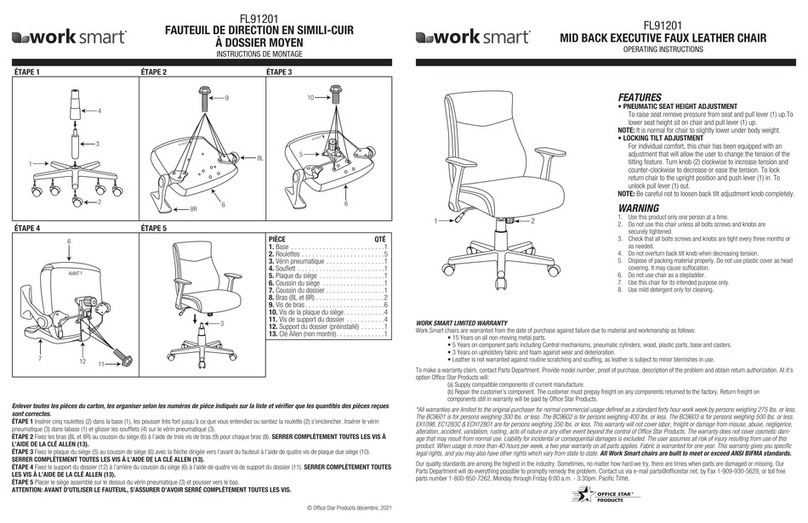
Article NEWBERRY Assembly instructions
Article

Article NEWBERRY Assembly instructions

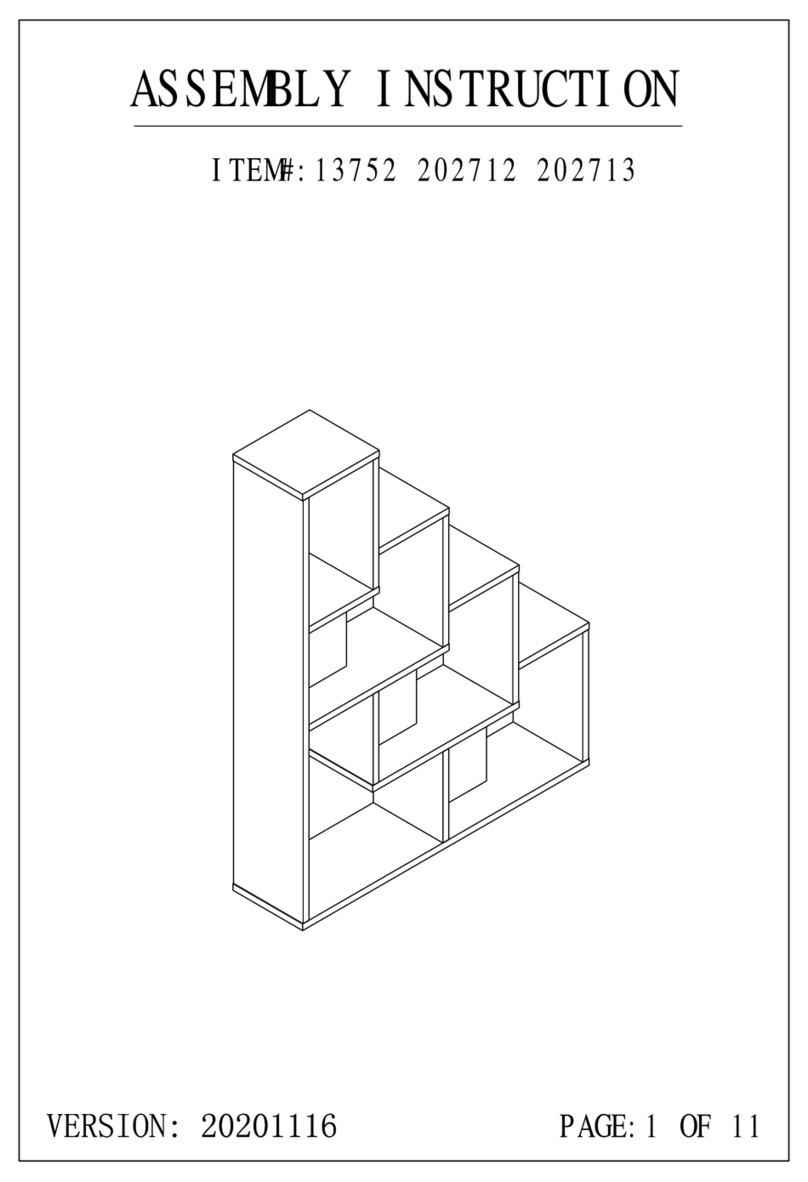
Office Star Products WorkSmart FL91201 operating instructions
Office Star Products

Office Star Products WorkSmart FL91201 operating instructions

ID USA 13752 Assembly instruction

ID USA

ID USA 13752 Assembly instruction

Polywood SHD19 Assembly instructions

Polywood

Polywood SHD19 Assembly instructions
Agilent Technologies InfinityLab Flex Bench Assembly and use instructions

Agilent Technologies

Agilent Technologies InfinityLab Flex Bench Assembly and use instructions

manuals.online logo
manuals.online logoBrands
  • About & Mission
  • Contact us
  • Privacy Policy
  • Terms and Conditions

Copyright 2025 Manuals.Online. All Rights Reserved.