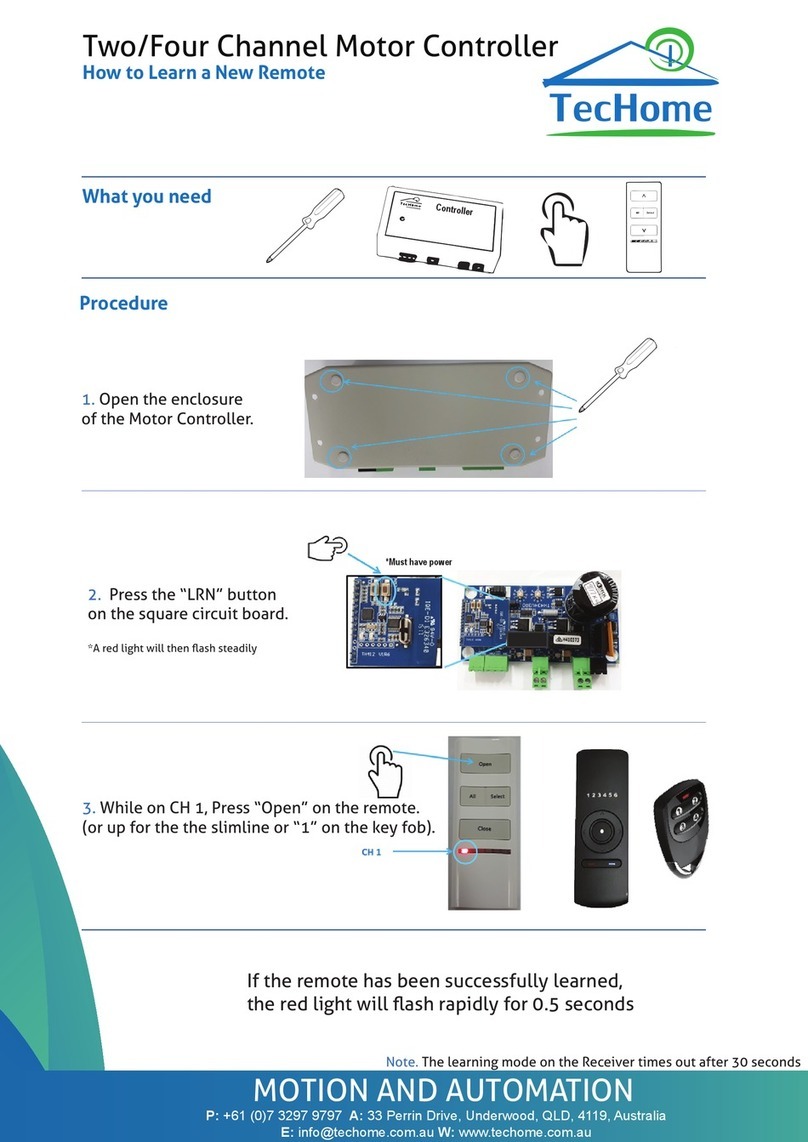
1 2
INSTALLATION
WARNING: The TH724 must only be installed by a licenced electrician.
Do not exceed 10AMP total.
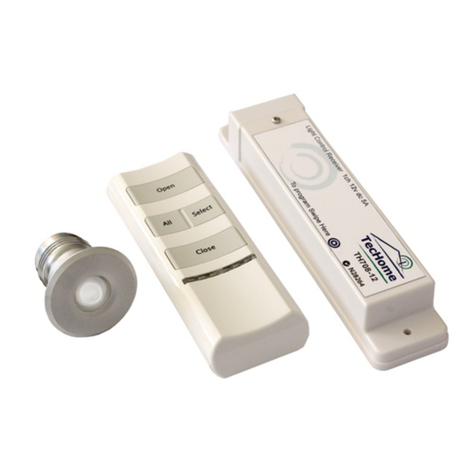
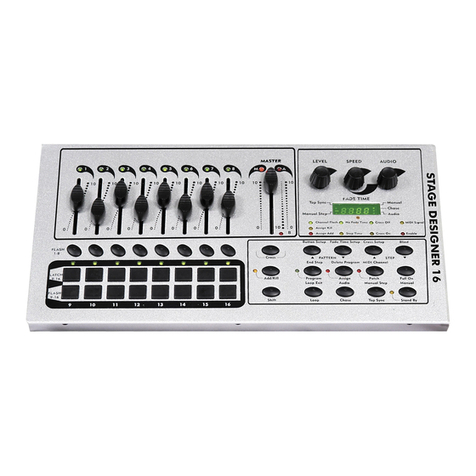
THE REMOTE
Selected
Channel On
All Channels Off
Channels 1-6
Selected
Channel Off
Change Channel
ADDING A FIRST REMOTE
1. Select Channel 1 on the
remote by using the
select button.
Ensure the appliance controller is fixed/installed onto a flat surface
2. Insert a paperclip into
the learn hole on the back of
the remote (Next to the screw)
3. The Appliance Controller
will beep four (4) times to indicate
successful pairing.
ALL ON/OFF FUNCTION
Swipe BACK of remote to the
right-hand side of the Power Point
to turn ON or OFF both Appliances
1. Select channel 1 by pressing
“Select” on both the master and
secondary remotes.
2. Insert a paper clip pin into
the reset hole at the back of
the master remote.
3. The appliance controller
will begin to beep. Press the ‘ON’ (^)
button on the second remote.
ADDING A SECOND REMOTE TO THE APPLIANCE CONTROLLER
4. The appliance controller
will beep four (4) times to
indicate successful pairing.
SS
MM
M = Master Controller (already Paired)
S = Second Remote (to be paired)
M S
1. Ensure the remote is
already learned to appliance
controller 1 and all remotes
have been deleted from
appliance controller 2.
2. Isolate appliance controller 1 by
cutting the power from the mains.
PAIRING TWO APPLIANCE CONTROLLERS
TO ONE REMOTE
OFF ON
3. Select Channel 3 on the
remote by using the “select”
button.
4. Insert a paper clip pin into
the reset hole at the back of
the remote.
5. The appliance controller
will beep four (4) times to
indicate successful pairing.
10
sec
1. Hold the back of the remote
to the right hand side of the appliance
controller for 10 seconds.
2. The appliance controller will have a
continuous tone then beep 4 times
to indicate completion of deletion.
E AN A1 A2
INPUTS OUTPUTS
ELECTRICIAN
INSTALL ONLY
INPUT: 240VAC 10A 50Hz
OUTPUT: 2X 240VAC
MAX LOAD 10A 2400 Watts RESISTIVE
MAX LOAD 8A @ 0.5 Pf INDUCTIVE
1 2
2
