Tecnoalarm evolution EV MOD BWL User manual

Wireless burar arm syem
Wireless burar arm syem
EV MOD BWL Rel. 1.2 - 04/2021
EV MOD BWL
DESCRIZIONE / DESCRIPTION
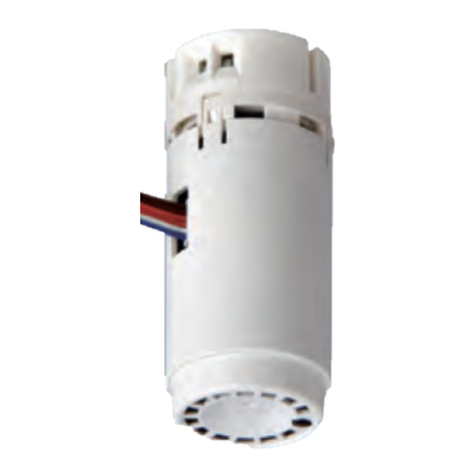
Il modulo wireless EV MOD BWL è il nodo nevralgico di ricetrasmissione
del sistema EV4-24, il modulo può essere alloggiato all’interno dell’armadio
della centrale, oppure, può essere dislocato in una posizione remota, più
favorevole per la propagazione e la copertura radio. Il modulo radio deve
essere collegato alla centrale tramite il Bus seriale dedicato WL Bus.
Per il collegamento utilizzare un cavo con una coppia twistata da utilizzare
per il collegamento dei segnali L e H. L’estensione massima della linea
di collegamento del WL Bus non deve superare i 50m. La linea WL Bus può
essere bilanciata chiudendo il ponticello W1.
L'EV MOD BWL est le récepteur-émetteur radio de la centrale EV 4-24. Le module est livré avec
son propre boîtier et peut être installé soit à l'intérieur du boîtier de la centrale, soit séparément,
par exemple dans une zone avec une meilleure force de signal. Il doit être connecté à la centrale
au moyen de la ligne sérielle du WL Bus, par un câble à paire torsadée pour la connexion des
canaux L et H. Le WL Bus a une longueur maximale de 50m et peut être équilibré en insérant
le cavalier W1.
Programmation - La programmation se fait par le dip-switch SW1 à 4 positions. Les switches 1 et 2
permettent la programmation de l'adresse, le switch 3 la validation/exclusion de la protection
d'auto-surveillance. La centrale EV 4-24 gère un seul émetteur-récepteur radio, le module doit donc
être programmé avec l'adresse 1.
LED de signalisation - Le module dispose de 2 LED de signalisation sur la face avant. La LED
TX-RX bicolore (rouge et verte) signale la transmission de données radio, tandis que la LED WL BUS
jaune surveille la connexion avec la centrale. La LED peut être exclue par le logiciel Tecnoalarm.
Programmazione - La programmazione del modulo si effettua tramiteil banco di Dip SW1
presente sulla scheda, i Dip consentono di programmare l’indirizzo seriale del dispositivo e di
escludere la protezione Tamper. Il Sistema EV 4-24 può utilizzare un solo modulo EV MOD BWL,
pertanto il modulo deve essere programmato con l’indirizzo 1.
LED di segnalazione - Il modulo dispone di due Led di segnalazione visibili all’esterno
del contenitore,
il Led bicolore rosso e verde posto a sinistra monitora l’attività di ricetrasmissione,
il Led di colore giallo posto a destra monitora l’attività del Bus 485 WL Bus. Il funzionamento
dei Led può essere escluso tramite il programma Centro.
CARATTERISTICHE TECNICHE E FUNZIONI / CARACTÉRISTIQUES TECHNIQUES ET FONCTIONS
TECHNICAL AND FUNCTIONAL SPECIFICATIONS / CARACTERÍSTICAS TÉCNICAS Y FUNCIONES - TECHNISCHE DATEN UND FUNKTIONEN
CARATTERISTICHE
GENERALI CARACTÉRISTIQUES
GÉNÉRALES GENERAL
FEATURES CARACTERÍSTICAS
GENERALES ALLGEMEINE
DATEN
Modello Modèle Model Modelo Modell EV MOD BWL
Descrizione Description Description Descripción Beschreibung Wireless transmitter-receiver
CARATTERISTICHE RADIO CARACTÉRISTIQUES RADIO WIRELESS FEATURES CARACTERÍSTICAS RADIO FUNKEIGENSCHAFTEN
Ricetrasmettitore Récepteur-émetteur Transmitter-receiver Receptor-transmisor Empfänger-Sender UHF
Protocollo di comunicazione Protocole de communication Communication protocol Protocolo de comunicación Kommunikationsprotokoll EV@BWL
Banda di frequenza Bande de fréquence Frequency band Banda de frecuencia Frequenzband 868MHz
Modulazione Modulation Modulation Modulación Modulation FSK
Potenza di trasmissione max. Puissance d’émission max. Max. transmission power Potencia de emisión máx. Max. Sendeleistung 25mW EIRP
CARATTERISTICHE
ELETTRICHE CARACTÉRISTIQUES
ÉLECTRIQUES ELECTRICAL
SPECIFICATIONS CARACTERÍSTICAS
ELÉCTRICAS ELEKTRISCHE
EIGENSCHAFTEN
Tensione nominal Tension nominale Rated voltage Tensión nominal fuente Nennspannung 12V DC
Tensione di alimentazione Tension d’alimentation Operating voltage Tensión de trabajo fuente Betriebsspannu34 10V...14.5V DC
Assorbimento massimo Consommation max. Max. consumption Consumo máx. Max. Stromaufnahme 170mA @ 13.8V DC
AUTO-PROTEZIONI AUTO-SURVEILLANCE ANTI-TAMPER PROTECTION PROTECCIÓN DE TAMPER SABOTAGESCHUTZ
Antiapertura/antirimozione Anti-ouverture et anti-arrachement Anti-opening and anti-detachment Antiapertura y antiarranque Öffnungs- und Abhebeschutz Micro-switch
CARATTERISTICHE
FISICHE CARACTÉRISTIQUES
PHYSIQUES PHYSICAL
SPECIFICATIONS CARACTERÍSTICAS
FÍSICAS PHYSIKALISCHE
EIGENSCHAFTEN
Temperatura di funzionamento Température de fonctionnement Operating temperature Temperatura de funcionamiento Betriebstemperatur -10°C...+55°C
Classe ambientale Classe environnementale Environmental class Clase ambiental Umweltklasse II
Grado di protezione Indice de protection Protection class Clase de protección Schutzklasse IP3x-IK04
Contenitore Boîtier Casing Caja Gehäuse ABS
Dimensioni (L x A x P) Dimensions (L x H x P) Dimensions (L x H x D) Dimensiones (L x A x P) Abmessungen (L x H x B) 73 x 137 x 39mm
Peso Poids Weight Peso Gewicht 130g
CONFORMITÀ CONFORMITÉ CONFORMITY CONFORMIDAD KONFORMITÄT
Norme Normes Standards Normas Norm EN 50131-1 - EN 50131-3
EN 50131-5-3
Grado di sicurezza Niveau de sécurité Security grade Grado de seguridad Sicherheitsgrad 2
N.B. Il fabbricante, Tecnoalarm S.r.l., dichiara che le presente apparecchiatura radio è conforme alla Direttiva 2014/53/UE. Il testo completo della Dichiarazione di Conformità UE è disponibile al seguente indirizzo internet: www.tecnoalarm.com
N.B. Le fabricant, Tecnoalarm S.r.l., déclare que l’équipement radioélectrique présent est conforme à la Directive 2014/53/UE. Le texte complet de la Déclaration de Conformité UE est disponible à l’adresse internet suivante: www.tecnoalarm.com
N.B. The manufacturer, Tecnoalarm S.r.l., declares that the present radio equipment complies with the Directive 2014/53/EU. The full text of the EU Declaration of Conformity is available at the following internet address: www.tecnoalarm.com
N.B. El fabricante, Tecnoalarm S.r.l., declara que el presente equipo radioeléctrico es conforme a la Directiva 2014/53/UE. El texto completo de la Declaración de Conformidad UE está disponible en la dirección internet siguiente: www.tecnoalarm.com
N.B. Der Hersteller, Tecnoalarm S.r.l., erklärt, daß das vorliegende Funkgerät der Richtlinie 2014/53/EU entspricht. Der vollständige Text der EU-Konformitätserklärung ist unter der folgenden Internetadresse verfügbar: www.tecnoalarm.com.
TOPOLOGICO / CARTE ÉLECTRONIQUE / ELECTRONIC BOARD / PLACA ELECTRÓNICA / PLATINE
SW1 1 2 Indirizzo / Adresse / Adress / Dirección / Adresse
OFF OFF Indirizzo disattivato / Non valide / Void / No válida / Ungültig
ON OFF Indirizzo 1 / Adresse 1 / Address 1 / Dirección 1 / Adresse 1
OFF ON Indirizzo 2 (non utilizzare) / Adresse 2 (ne pas utiliser) / Address 2 (do not use) / Dirección 2 (no utilizar) / Adresse 2 (nicht verwenden)
3 Tamper / Auto-surveillance / Tamper / Tamper / Sabotageschutz
OFF Attivato / Habilitée / Enabled / Habilitado / Aktiv
ON Disattivato / Déshabilitée / Disabled / Deshabilitado / Deaktiviert
4 Nessuna funzione / Non utilisé / Unused / No utilizado / Unbenutzt
N.B. L'esclusione del tamper invalida la conformità alla norma tecnica di riferimento EN 50131. / La désactivation de l'auto-surveillance invalide la certification EN 50131. / The disabling of the anti-tamper protection
invalidates the EN 50131 certification. / La desactivación de la protección de tamper inválida la certificación EN 50131. / Die Deaktivierung des Sabotageschutzes macht die EN 50131 Zertifizierung ungültig.
LED Segnalazioni / Signalisation / Signaling / Señalización / Signale
WL BUS Giallo / Jaune
Yellow / Amarillo / Gelb
Lampeggiante / Clignotante
Blinking / Parpadeante / Blinkt Comunicazione linea seriale OK / Communication sur ligne sérielle WL Bus OK
Communication via WL bus OK / Comunicación vía línea serial WL Bus OK / Kommunikation über WL Bus OK
Acceso / Allumée
On / Encendido / An Errore di comunicazione / Erreur de communication
Communication error / Error de comunicación / Kommunikationsfehler
TX-RX
Rosso / Rouge
Red / Rojo / Rot
Lampeggiante / Clignotante
Blinking / Parpadeante / Blinkt Attività di trasmissione / Transmission de données
Data transmission / Transmisión de datos / Datenübertragung
Verde / Vert
Green / Verde / Grün
Lampeggiante / Clignotante
Blinking / Parpadeante / Blinkt Attività di trasmissione / Réception de données
Data reception / Recepción de datos / Datenempfang
W1 Ponticello bilanciamento linea seriale WL-BUS / Terminaison ligne sérielle WL BUS / End-of-serial bus WL BUS / Fin de línea serial WL BUS / WL Bus Termination Jumper
Chiudere il ponticello sull'ultimo dispositivo collegato sulla linea WL-BUS. / Insérer sur le dernier dispositif de la ligne sérielle.
Insert on the last device of the serial line / Conectar en el último dispositivo de la línea serial / Auf dem letzten Gerät der Schnittstelle stecken.
WL Bus Descrizione / Description / Description / Descripción / Beschreibung Note / Signal / Signal / Señal / Signal
WL BUS
LCanale L linea WL Bus / Canal L ligne WL Bus / Channel L serial WL Bus / Canal L línea WL Bus / Kanal L WL Bus Dati seriale / Sériel / Serial / Serial / Seriell
HCanale H linea WL Bus / Canal H ligne WL Bus / Channel H serial WL Bus / Canal H línea WL Bus / Kanal H WL Bus Dati seriale / Sériel / Serial / Serial / Seriell
-Negativo alimentazione linea WL Bus / Négatif d'alimentation ligne WL Bus
Negative power supply voltage WL Bus / Negativo de alimentación línea WL Bus / Negative Versorgungsspannung WL Bus -
+Positivo alimentazione linea WL Bus / Positif d'alimentation ligne WL Bus
Positive power supply voltage WL Bus / Positivo de alimentación línea WL Bus / Positive Versorgungsspannung WL Bus +13.8V DC

Wireless burar arm syem
Wireless burar arm syem
EV MOD BWL Rel. 1.2 - 04/2021
AB
A
G
I I
H
J
C
D D
D
E
F
C
K
WL BUSTX-RX
Via Ciriè 38 - 10099 San Mauro T.se - Torino (Italy)
Tel. +39 011 22 35 410 - Fax +39 011 27 35 590
21ISTR11943
Le caratteristiche del prodotto possono essere
soggette a modifiche senza alcun preavviso.
Les caractéristiques de ce produit peuvent être
sujettes à modifications sans préavis.
The product features can be subject
to change without notice.
Las funciones del producto pueden estar
sujetas a modificaciones sin previo aviso.
Die Eigenschaften des Produktes können jederzeit
ohne vorherige Ankündigung geändert werden..
Lead free
compliant
RoHS
Pb
ISO 9001
EV MOD BWL
DESCRIPTION / DESCRIPCIÓN / BESCHREIBUNG
El EV MOD BWL es el receptor-transmisor radio para la central
EV 4-24. El módulo se entrega con su propia carcasa y puede
ser instalado dentro de la caja de la central o separadamente,
ej. en un área con mejor intensidad de señal. Se debe conectar
a la central mendiante el bus serial WL Bus, utilizando un cable
trenzado para la conexión de los canales L y H. El WL Bus tiene
una longitud máxima de 50m y se puede equilibrar conectando
el puente W1.
Programación -
La programación se realiza mediante
el dip-switch SW1 de 4 posiciones. Los switches 1 y 2 permiten
la programación de la dirección, el switch 3 la habilitación/exclusión
de la protección
de tamper. La central EV 4-24 gestiona
un solo receptor-transmisor
radio, por lo que el módulo debe
programarse con la dirección 1.
LED de señalización - El módulo tiene 2 LED en la parte
frontal. El LED TX-RX de dos colores (rojo y verde) señala
la transmisión radio de datos, mientras que el LED WL BUS
amarillo supervisa la conexión con la central.
El LED puede ser excluido por el software Tecnoalarm.
The EV MOD BWL is the wireless transmitter-receiver for the
EV 4-24 control panel. The module comes with its own housing
and can be installed either inside the control panel casing
or separately, e.g. in an area with better signal strength. It must
be connected to the control panel via the WL Bus serial bus,
using a twisted pair cable for the connection of the channels
L and H. The WL Bus has a maximum length of 50m and can
be balanced by closing the W1 jumper.
Programming - Programming is done by the 4 position SW1
dip-switch. The switches 1 and 2 allow the programming
of the address, switch 3 the enabling/exclusion of the anti-tamper
protection. The EV 4-24 control panel manages only one
wireless transmitter-receiver, therefore the module must
be programmed with address 1.
LED indicators - The module has 2 LED indicators on the front
side. The two-color TX-RX LED (red and green) signals the
wireless data transmission, whereas the yellow WL BUS LED
monitors the connection with the control panel.
The LED can be excluded by the Tecnoalarm software.
Der EV MOD BWL ist der Funk-Empfänger-Sender für die
EV 4-24 Alarmzentrale. Das in einem eigenen Gehäuse
montierte Modul kann sowohl im Gehäuse der Alarmzentrale
als auch separat installiert werden, zum Beispiel an einem Ort
mit höherer Signalstärke. Es wird über die WL-Bus-Schnittstelle
mit der Alarmzentrale verbunden. Für die Verbindung der Kanäle
L und H muß ein verdrilltes Kabel verwendet werden. Der WL Bus
darf eine Maximallänge von 50m nicht überschreiten und kann
mit Hilfe des W1-Jumper ausgeglichen werden.
Programmierung - Die Programmierung erfolgt mittels eines
4-poligen Dipschalters. Die Pole 1 und 2 erlauben die
Programmierung der Adresse, Pol 3 die Aktivierung/Deaktivierung
des Sabotageschutzes. Die EV 4-24 Alarmzentrale verwaltet
nur einen Funk-Empfänger-Sender, sodaß nur die Adresse 1
gültig ist.
Signal-LED - Das Modul verfügt über 2 Signal-LED auf der
Vorderseite. Die zweifarbige TX-RX-LED (rot/grün) signalisiert
die Funkübertragungen, während die gelbe WL-BUS-LED
die Verbindung mit der Alarmzentrale überwacht. Die LED
können über die Tecnoalarm Software deaktiviert werden.
MONTAGGIO / INSTALLATION / INSTALLATION / INSTALACIÓN / INSTALLATION
APremi con un cacciavite sul gancio di chiusura / Appuyer avec un tournevis sur le crochet et décrocher la plaque de montage
Press down the catch with a screwdriver and unhock the mounting plate. / Presione la lengüeta con un destornillador y desenganche la placa de montaje.
Feder mit Hilfe eines Schraubenziehers herunterdrücken und Befestigungsplatte aushaken
BRuota il contenitore del modulo fino a separarlo dalla base / Soulever le module vers le haut et l’enlever
Lift the module and take it off / Levante el módulo hacia arriba y saquelo / Modul schwenken und nach oben abheben
CAsola passa cavo / Entrée de câble / Cable entry / Entrada de cable / Kabeleinlaß
DFori per il fissaggio / Trous de fixation / Mounting holes / Agujeros de fijación / Befestigungsösen
EFissaggio tassello per Tamper antirimozione / Trou de fixation pour plaque anti-arrachement
Mounting hole for anti-detetachment plate / Agujero de fijación para placa antiarranque / Befestigungsöse für Platte des Sabotagekontaktes
FEffettua il collegamento elettrico / Effectuer le raccordement électrique / Make the electrical connection / Ejecute la conexión eléctrica / Elektrische Verbindung herstellen
GProgramma la posizione dei Dip-switch / Programmation adresse par dip-switch / Serial address programming / Programación dirección serial / Adresse programmieren
HPonticello bilanciamento linea seriale WL-BUS / Mettre en place le cavaler sur le dernier dispositif de la ligne sérielle
Insert the jumper on the last device of the serial bus / Conecte el puente en el último dispositivo de la línea serial / Jumper auf dem letzten Gerät der Schnittstelle stecken
IAggancia il modulo alla base e ruotalo verso il basso fino alla posizione d’incastro / Accrocher le module à la base et le faire pivoter vers le bas jusqu’à ce qu'il s'enclenche
Hook the module onto the base and rotate it downwards until it clicks into place / Enganchar el módulo a la base y girarlo hacia abajo hasta la posición de encaje
Modul oben auf der Befestigungsplatte einhängen und nach unten drücken, bis es einrastet
JInserisci e serra la vite di chiusura / Insérer et serrer la vis de fermeture / Insert and tighten the locking screw / Inserte y aprete el tornillo de cierre / Verschlussschraube einsetzen und festziehen
KVerifica tramite i Led l’attività di ricetrasmissione del modulo / Vérifier le fonctionnement correct à travers les LED
Verify the correct operation through the LED / Compruebe el correcto funcionamiento a través de los LED / Mit Hilfe der LED die korrekte Arbeitsweise überprüfen
Other Tecnoalarm Security Sensor manuals
Tecnoalarm
Tecnoalarm TWINTEC 18 User manual
Tecnoalarm
Tecnoalarm OMNISPACE User manual

Tecnoalarm
Tecnoalarm evolution EV TXS BWL User manual

Tecnoalarm
Tecnoalarm DUALRED User manual

Tecnoalarm
Tecnoalarm MINIEXPLORER User manual
Tecnoalarm
Tecnoalarm TWINBAND WL User manual
Tecnoalarm
Tecnoalarm EXPLORER II User manual
Tecnoalarm
Tecnoalarm INFROTEK MASK User manual
Popular Security Sensor manuals by other brands
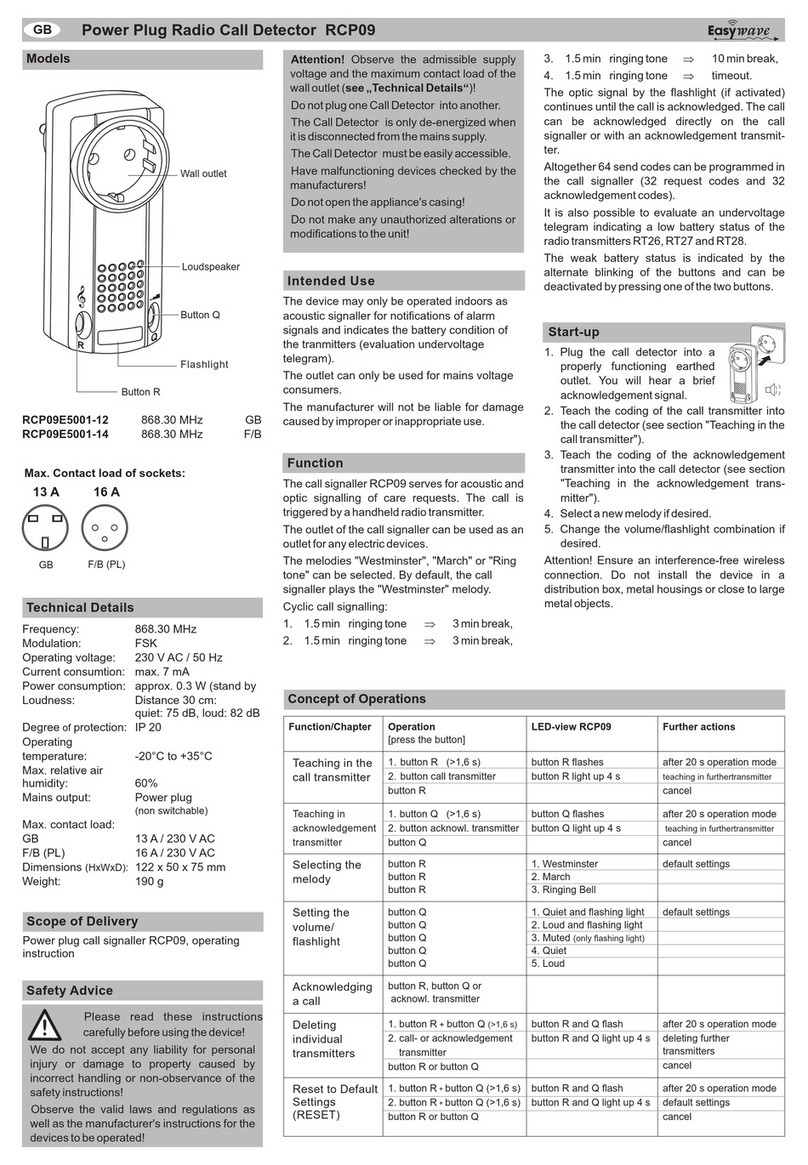
Eldat
Eldat Easywave RCP09 Series quick start guide
FIBARO
FIBARO FGBHMS-001 operating manual

PCB Piezotronics
PCB Piezotronics ICP 222B Installation and operating manual
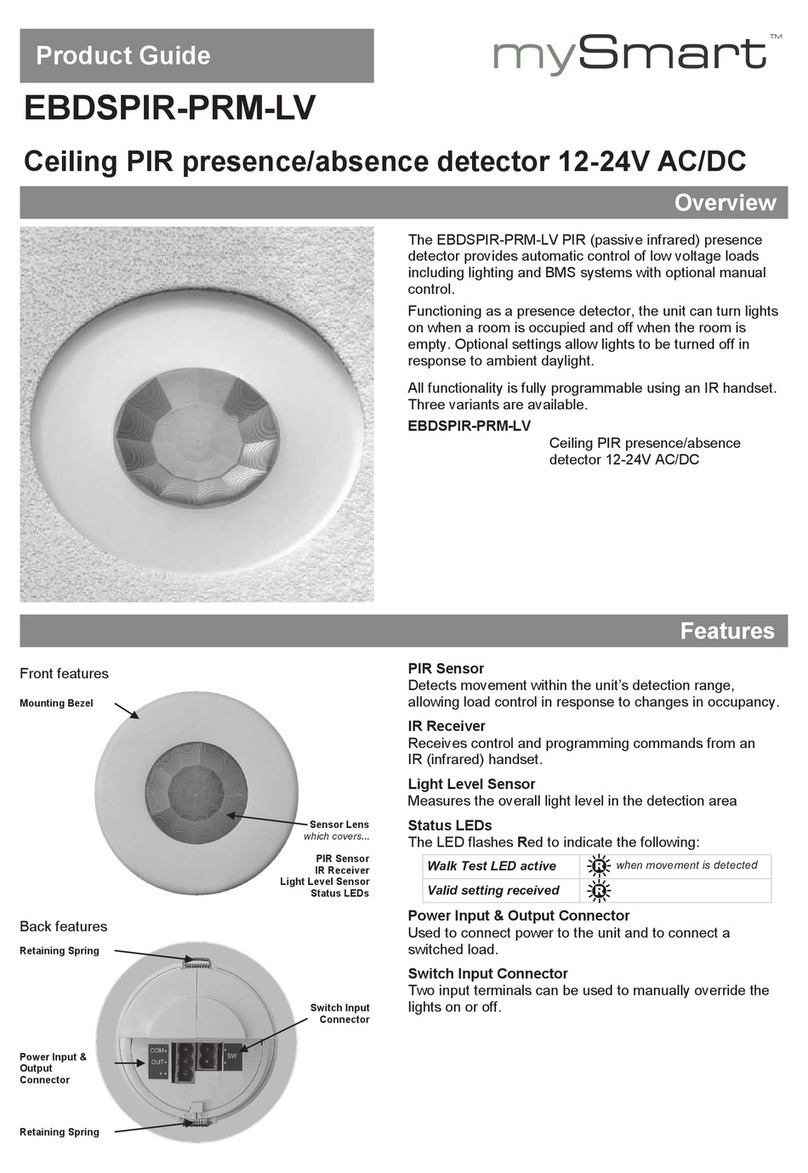
myStart
myStart EBDSPIR-PRM-LV Product guide

Honeywell
Honeywell GasAlert Max XT II user manual

PCB Piezotronics
PCB Piezotronics TORKDISC 5302D-02A/TCS-0X Installation and operating manual

