manuals.online logo
Brands
  1. Home
  2. •
  3. Brands
  4. •
  5. Tecnosystemi
  6. •
  7. Air Conditioner Accessories
  8. •
  9. Tecnosystemi smart clima 11100117 User manual

Tecnosystemi smart clima 11100117 User manual

MANUALE D’USO / USER MANUAL
Tecnosystemi S.p.A. - Società Benefit
www.tecnosystemi.com
via dell’Industria, 2/4 - Z.I. San Giacomo di Veglia
31029 Vittorio Veneto (Treviso) - Italy
Phone +39 0438.500044 Fax +39 0438.501516
Numero Verde 800 904474 (only for Italy)
email: [email protected]
C.F. - P. IVA - R.I.TV IT02535780247 | Cap. Soc. € 5.000.000,00 i.v.
REV. 04 / 26-07-2022
COD. C400070S
PREDISPOSIZIONI PER IMPIANTI
DI CONDIZIONAMENTO
RECESSED ARRANGEMENT BOX
• cod. 11100095
• cod.11100095V
• cod.11100094
• cod.11100098
• cod. 11100098V
• cod.11100119
• cod.11100119V
• cod.11100122
• cod. 11100122V
• cod.11100120
• cod.11100120V
• cod.11100140
• cod. 11100117
• cod. 11100117V
• cod. 11100116
• cod. 11100116V
2
INDICAZIONI PER LA POSA IN OPERA
/ FITTING OF THE TECNOSYSTEMI INSTALLATION BOX
1. Inserire il convogliatore di condensa (B) nell’alloggio inferiore della scatola (A), premere il convogliatore fino a che
le due alette laterali si incastrano nella scatola
2. Con il pollice sfondare una delle quattro finestre predisposte per l’inserimento delle tubazioni frigorifere e del cavo
elettrico, inserire la scatola completa nel muro in posizione orizzontale lasciandola sporgere dal muro grezzo di
circa 1.5 cm, inserire all’estremità dell’imbuto lo scarico condensa azzurro da sottotraccia, nella misura più adatta
alle vostre esigenze (vedi articoli di nostra produzione) (foto 1).
3. Inserire la protezione in cartone sulla predisposizione come illustrato da disegno per proteggere il contento dalla
malta, dall’intonaco e dalla tinteggiatura) (foto 2).
4. Ultimata la finitura del muro togliere la protezione in cartone utilizzando i fori pre-tagliati e coprire il tutto con il
coperchio in plastica in dotazione (C) (foto 3).
5. Prima di fissare il condizionatore, staccare il coperchio (C) e fissare la dima. per agevolare il fissaggio della stessa
si può procedere nei seguenti modi (foto 4):
• inserire le viti della dima nelle sedi realizzate sul perimetro della scatola
• ancorare la dima ai due ponticelli interni mediante fascetta elettrica o cavo metallico
• fissare la dima mediante viti con tasselli nella parete inferiore, purché il foro non sia superiore alla profondità di
25 mm.
• utilizzare le piastrine per il fissaggio della dima (disponibili a seconda dei modelli come accessorio o dotazione
standard).
LE PREDISPOSIZIONI TECNOSYSTEMI SONO PRODOTTI BREVETTATI
1. Place the condensate tray (B) under the installation box (A) until the lateral wings are clicked into the box.
2. Press with your thumb one of the 4 holes for the cooling lines and the electric cable. then set the installation box
horizontal (photo 1) into the wall, whereby you have to leave a distance to the wall of ca. 1,5 cm. Fix the blue
condensate pipe which you need for the mounting into the wall unto the installation box (see other products of
our product range).
3. To insert the fixing plates for the unit (available depending on the model as accessory). Fix the protection carton box
(photo2) to keep the inside of the installation box clean from mortar and color.
4. After the mortar you can take away the carton box and put onto the cover (C) which has got the prearranged holes
(photo 3).
5. Before installing the unit you can put away the cover (C) and fix the unit as follows (photo 4).
• fix the bolts of the unit into the prearranged holes.
• anchor the mask with the two intern frames with the electric tape or metal cable.
• fix the unit with the bolts and the seating rings from outside, because the maximal depth is 25 mm.
• use the fixing plates for the unit.
THE TECNOSYSTEMI INSTALLATION BOX IS PATENTET
3
1 2
3 4
SMALTIMENTO
DISPOSAL
Alla fine della sua vita utile il prodotto non deve essere smaltito insieme ai rifiuti urbani. Può essere
consegnato presso gli appositi centri di raccolta differenziata predisposti dalle amministrazioni
comunali, oppure presso i rivenditori che forniscono questo servizio. Per rimarcare l’obbligo di smaltire
separatamente gli elettrodomestici, sul prodotto è riportato il marchio del contenitore di spazzatura
mobile barrato.
At the end of its useful life, the product must not be disposed of with household waste. It can be deposited at
a dedicated recycling centre run by local councils, or at retailers who provide such a service. To highlight the
requirement to dispose of household electrical items separately, there is a crossed-out waste paper basket
symbol on the product.
GARANZIA
WARRANTY
La garanzia ha durata di 1 (uno) anno a decorrere dalla data di consegna indicata sul d.d.t (bolla). E’ prevista altresì
l’estensione d’ufficio, a titolo gratuito, per il secondo anno (due anni complessivi di garanzia) con decorrenza sempre
dalla data indicata nel d.d.t di consegna (bolla).
L’azienda fornitrice garantisce la qualità dei materiali impiegati e la corretta realizzazione dei componenti. La garanzia
copre difetti di materiale e di fabbricazione e si intende relativa alla fornitura dei pezzi in sostituzione di qualsiasi
componente che presenti difetti, senza che possa venir reclamata alcuna indennità, interesse o richiesta di danni.
La garanzia non copre la sostituzione dei componenti che risultano danneggiati per:
• trasporto non idoneo;
• installazione non conforme a quanto specificato in questo manuale di installazione uso e manutenzione;
• la non osservanza delle specifiche tecniche di prodotto;
• quant’altro non riconducibile a vizi originari del materiale o di produzione a condizione che il reclamo del cliente
sia coperto dalla garanzia e notificato nei termini e modalità richiesta dal fornitore, lo stesso si impegnerà, a sua
discrezione, a sostituire o riparare ciascun prodotto o le parti di questo che presentino vizi o difetti.
The warranty is valid for 2 (two) years from the delivery date indicated on the delivery note / waybill.
The supplier company guarantees the quality of the materials used and the correct construction of the components. The
warranty covers defects in materials and manufacturing defects and refers to the supply of spare parts of any components
featuring defects, without any compensation, interest or claim for damages.
The warranty does not cover the replacement of components damaged due to:
incorrect transportation;
installation not compliant with that specified in this installation, use and maintenance manual;
non-observance of product technical specifications;
Anything else that is not linked to original faults of the material or production provided that the
customer complaint is covered by the guarantee and a claim is made within the time limit and
in the way requested by the supplier, the same supplier will commit, at their own discretion,
to replace or repair any product or part of product showing signs of faults or defects.
Tecnosystemi S.p.A. Società Benefit
www.tecnosystemi.com
via dell’Industria, 2/4 - Z.I. San Giacomo di Veglia
31029 Vittorio Veneto (Treviso) - Italy
Phone +39 0438.500044 | Fax +39 0438.501516
email: [email protected]
C.F. - P. IVA - R.I.TV IT02535780247
Cap. Soc. € 5.000.000,00 i.v.
W
E
A
R
E
A
B
E
N
E
F
I
T
C
O
M
P
A
N
Y
WATCH OUR
INSTITUTIONAL VIDEO
II
SS
O
O
9
9
0
0
0
0
1
1
S
S
Y
Y
S
S
T
T
E
E
M
M
C
C
E
E
R
R
T
T
I
I
F
F
I
I
C
C
A
A
T
T
I
I
O
O
N
N
800 904474
ONLY FOR ITALY
This manual suits for next models

15

Other Tecnosystemi Air Conditioner Accessories manuals

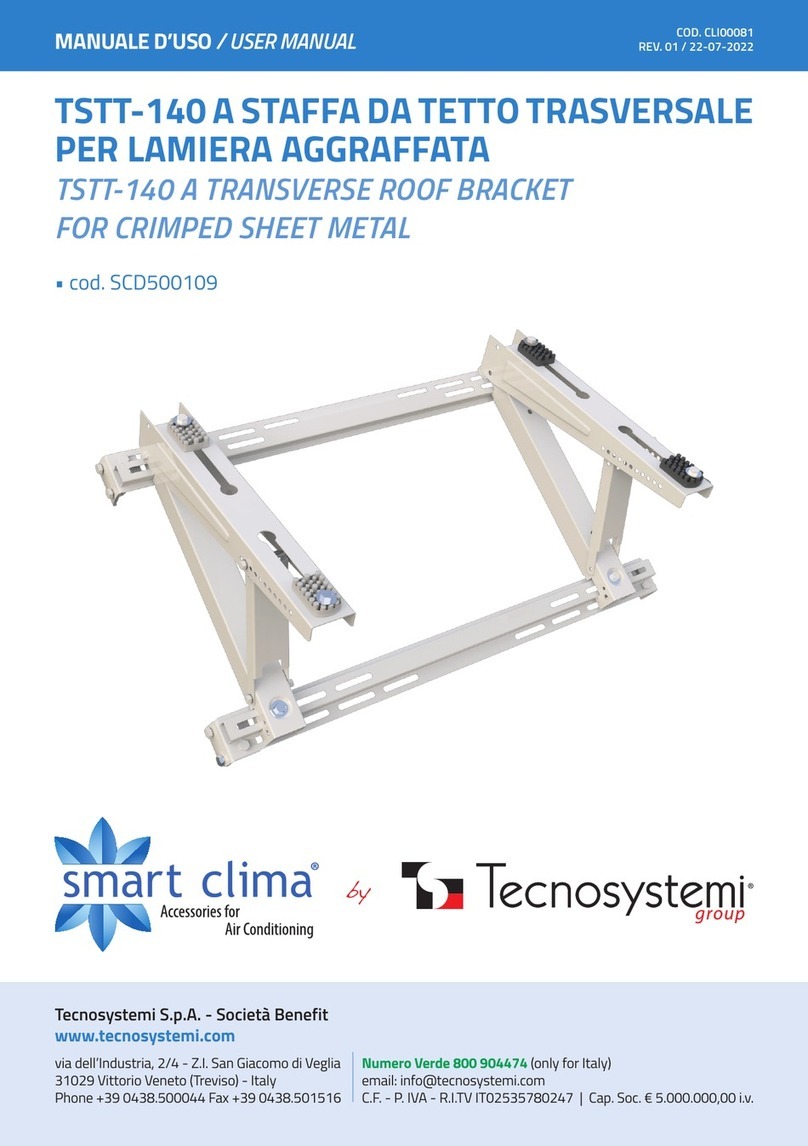
Tecnosystemi smart clima TSTT-140 A User manual

Tecnosystemi

Tecnosystemi smart clima TSTT-140 A User manual

Tecnosystemi SPIRIT XL100 User manual

Tecnosystemi

Tecnosystemi SPIRIT XL100 User manual

Tecnosystemi Apply air AirFor3 FRONT User manual

Tecnosystemi

Tecnosystemi Apply air AirFor3 FRONT User manual

Tecnosystemi Smart Clima SCC600019 User manual

Tecnosystemi

Tecnosystemi Smart Clima SCC600019 User manual

Tecnosystemi Smart Clima SCD500082 User manual

Tecnosystemi

Tecnosystemi Smart Clima SCD500082 User manual

Tecnosystemi Apply.co AirPur3 Plus 160 User manual

Tecnosystemi

Tecnosystemi Apply.co AirPur3 Plus 160 User manual

Tecnosystemi smart clima GABBIA GA - 700 User manual

Tecnosystemi

Tecnosystemi smart clima GABBIA GA - 700 User manual

Tecnosystemi smart clima Regio User manual

Tecnosystemi

Tecnosystemi smart clima Regio User manual

Tecnosystemi SCUDO SCC600001 User manual

Tecnosystemi

Tecnosystemi SCUDO SCC600001 User manual

Tecnosystemi ARIA 2 ELEGANCE CR User manual

Tecnosystemi

Tecnosystemi ARIA 2 ELEGANCE CR User manual

Tecnosystemi smart clima SCD500163 User manual

Tecnosystemi

Tecnosystemi smart clima SCD500163 User manual

Tecnosystemi smart clima INFINITY BLUE RIVER User manual

Tecnosystemi

Tecnosystemi smart clima INFINITY BLUE RIVER User manual

Tecnosystemi Smart Clima SCD500084 User manual

Tecnosystemi

Tecnosystemi Smart Clima SCD500084 User manual

Tecnosystemi smart clima SCD600001 User manual

Tecnosystemi

Tecnosystemi smart clima SCD600001 User manual

Tecnosystemi SCUDO User manual

Tecnosystemi

Tecnosystemi SCUDO User manual

Tecnosystemi Smart Clima SCC600006 User manual

Tecnosystemi

Tecnosystemi Smart Clima SCC600006 User manual

Tecnosystemi VEGA MASTER User manual

Tecnosystemi

Tecnosystemi VEGA MASTER User manual

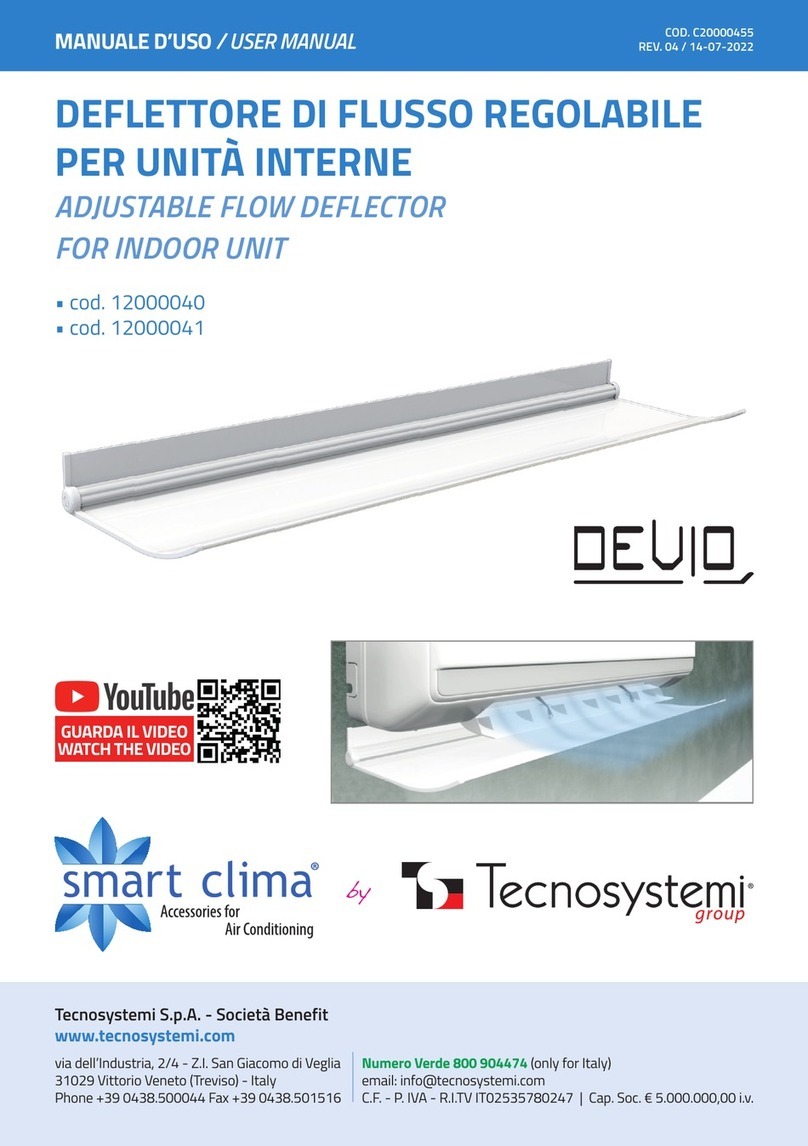
Tecnosystemi DEVIO 12000040 User manual

Tecnosystemi

Tecnosystemi DEVIO 12000040 User manual

Popular Air Conditioner Accessories manuals by other brands

AERMEC GLL10 installation manual

AERMEC

AERMEC GLL10 installation manual

Mitsubishi PAC-YG60 MCA-J Installation instructions manual

Mitsubishi

Mitsubishi PAC-YG60 MCA-J Installation instructions manual

Mitsubishi Electric PAC-SNH11HB-E installation manual

Mitsubishi Electric

Mitsubishi Electric PAC-SNH11HB-E installation manual

Intesis IN485UNI001I1 Series Installation sheet

Intesis

Intesis IN485UNI001I1 Series Installation sheet

Mitsubishi Electric PRE-12 How to Use / How to Install

Mitsubishi Electric

Mitsubishi Electric PRE-12 How to Use / How to Install

Samsung MIM-H04U User & installation manual

Samsung

Samsung MIM-H04U User & installation manual

manuals.online logo
manuals.online logoBrands
  • About & Mission
  • Contact us
  • Privacy Policy
  • Terms and Conditions

Copyright 2025 Manuals.Online. All Rights Reserved.