manuals.online logo
Brands
  1. Home
  2. •
  3. Brands
  4. •
  5. Tecnosystemi
  6. •
  7. Measuring Instrument
  8. •
  9. Tecnosystemi Galaxy Proair GAZ100001 User manual

Tecnosystemi Galaxy Proair GAZ100001 User manual

Via dell'Industria 2/4 - z.i. San Giacomo di Veglia
31029 Vittorio Veneto Treviso
Tel. +39 0438 - 500044 / Fax. +39 0438 - 501516 - TOLL FREE NUMBER IN ITALY 800 904474
[email protected] - www.tecnosystemi.com
REV. 00 / 09-06-2020
CODE CLI00060
WALL-MOUNTED LEM RF ROOM PROBE WITH BATTERIES
IN RADIO FREQUENCY
CODE GAZ100001
multi-zone
pro
AIR
1. TECHNICAL SPECIFICATIONS
3. FASTENING THE LEM PROBE
4. CONFIGURING THE LEM RF SENSOR IN A PROAIR SYSTEM
TECHNICAL SPECIFICATIONS
• Power supply: 2 x 1.5 V AAA BATTERIES (LR03) included
• Battery duration: 18 months
• Data transmission: in rf radio frequency at 868 Mhz
• RF signal range 50 metres max in open eld between the probe and polaris 2X/3X control
panel
• Room temperature sensor
• Humidity sensor
• Blue LED indicator which comes on every 60 seconds
• Fastening: on the wall using template, screws and wall plugs included.
The LEM RFroom probe IS a proair system element which, when installed in a room,
detects the zone temperature and the humidity threshold and sends the values to
the polaris 2X / 3X CONTROL PANEL.
The LEM RF room probe replaces all the system chrono-thermostats, except for the
master chrono-thermostat. The congurations of the probe to the system and the
setting are done directly from the polaris 2X/3X CONTROL PANEL, the master chrono-
thermostat or from the App (if installed).
2. DIMENSIONS AND COMPONENTS
106
65
19 5 17
65
106 19 5 17
LEM
WITH INSTALLATION
TEMPLATE
INSTALLATION
TEMPLATE
WALL-MOUNTED
LEM
LEM ROOM PROBE
INSTALLATION TEMPLATE
WALL PLUG
SCREWS SCREWS
WALL PLUG
View from above
IT is important that a Proair system with one or more LEM RF room probes includes at least one
Discovery 2X RF master chrono-thermostat or a STEALTH 2X cabled chrono-thermostat. A
Proair system CANNOT work with LEM RF room probes only.
Front view
STATUS LED FOR LEM RF SENSOR
CONFIGURATION
AND RESET BUTTON
BATTERY SLOT
1.5V TYPE AAA
BATTERY SLOT
1.5V TYPE AAA
Rear view
• Insert the batteries supplied respecting the polarity
CAUTION: Always replace both the old batteries with new ones. The batteries are
considered to be special waste and must be disposed of accordingly. Observe the
regulations in force at the collection points in your area.
CAUTION: Do not use rechargeable or lithium batteries because they do not last
as long. Tecnosystemi recommends using alkaline batteries.
• When switching on the rst time (if it has never been associated with a zone before),
check that the blue status LED ashes rapidly (the LEM RF room probe searches for
the control panel ID signal for 2 minutes before switching off).
• Power on the Polaris 3X control panel or, if it is already powered on, allow visibility of
the control panel ID from the menu Conguration - Control panel info. This procedure
must occur within 2 minutes before the status LED stops ashing rapidly. If necessary,
press the button on the back of the LEM RF room probe to start searching for the ID
again.
• When the Polaris 3X starts sending the ID signal, the status LED will stop ashing
rapidly and ash just once. Now, assign the desired zone based on the info in the table.
CONFIGURING THE LEM RF ROOM PROBE
ZONE No.
TO ASSIGN
NUMBER OF TIMES
TO PRESS
THE BUTTON
CONFIRM
ZONE
CHECK
ZONE
2 1 press Press for 5 sec. 2 LED ashes
3 2 presses Press for 5 sec. 3 LED ashes
4 3 presses Press for 5 sec. 4 LED ashes
5 4 presses Press for 5 sec. 5 LED ashes
6 5 presses Press for 5 sec. 6 LED ashes
7 6 presses Press for 5 sec. 7 LED ashes
8 7 presses Press for 5 sec. 8 LED ashes
9 8 presses Press for 5 sec. 9 LED ashes
10 9 presses Press for 5 sec. 10 LED ashes
11 10 presses Press for 5 sec. 11 LED ashes
12 11 presses Press for 5 sec. 12 LED ashes
13 12 presses Press for 5 sec. 13 LED ashes
14 13 presses Press for 5 sec. 14 LED ashes
15 14 presses Press for 5 sec. 15 LED ashes
16 15 presses Press for 5 sec. 16 LED ashes
9. PROCEDURE FOR MANAGING MASTER CHRONO-THERMOSTAT
ERRORS
When one of the LEM RF room probes detects a problem on its zone, the master chrono-
thermostat will display error E8 (generic). You must access the master chrono-thermostat to
check which zone has triggered the alarm and check what kind of alarm it is.
Procedure from the MASTER chrono-thermostat.
With the chrono-thermostat switched on and unlocked, proceed as follows:
a) Press the SET button for 3 seconds to access the Master chrono-thermostat sub-menu;
b) Press the SET button 9 times until “ZONE” ashes at the bottom in the centre.
c) Press the send button, checking that 01 is displayed in the centre;
d) Press the + or - buttons to select the desired zone: press the send button to conrm.
The MASTER chrono-thermostat will now display the parameters for the selected zone and
allow you to change the settings in the same way as a normal Discovery 2X zone chrono-
thermostat (refer to the master chrono-thermostat instructions in the system manual).
The number of the selected zone will ash in the centre at the bottom (e.g. ZONE “3”). If
no changes are made or no buttons pressed on the master chrono-thermostat within 60
seconds, it will exit the control for the selected zone and return to the Master zone (ZONE 1).
Once the checks or parameter changes have been completed, the following operations can
be performed;
• Display another system zone with the same procedure outlined in point 5.
• Return to control of ZONE 1 MASTER: exit due to time-out.
When the batteries run out, the LEM RF room probe switches off: the warning message will
appear on the following devices:
• a) Master chrono-thermostat with Error E8 (generic). Skip to point “PROCEDURE FOR
MANAGING MASTER CHRONO-THERMOSTAT ERRORS” to manage the settings and
errors from the system master chrono-thermostat.
• b) On the Polaris 3X control panel by the ashing of the thermostat affected (e.g. T3 for
zone 3);
• c) On the Proair Multizone App if the system is congured on the App, with error E0 -
“Communication error”
Replace the old batteries with two new ones: when the batteries are inserted, the LEM RF
room probe will start working again correctly without having to congure it further. (See point 4).
8. REPLACING THE BATTERIES ON THE LEM RF ROOM PROBE
NOTES
Tecnosystemi S.p.A.
Via dell’Industria, 2/4 - Z.I. San Giacomo di Veglia
31029 Vittorio Veneto (Treviso) - Italy
Tel +39 0438.500044 - Fax +39 0438.501516
email: [email protected]
Tax Code - VAT no. - R.I.TV IT02535780247 Share Capital € 5,000,000.00 fully paid
www.tecnosystemi.com
800 904474
ONLY FOR ITALY
5. ZONE CHECK
6. LEM RF ROOM PROBE STATUS
7. RESETTING THE LEM RF ROOM PROBE
Press the button on the back once. The LED will ash for the same number of times as the
zone assigned at one-second intervals: the LEM is thus forced to communicate with the
Polaris 3X control panel as well.
The LED ashes every 60 seconds to indicate that is working properly.
Press the button for 10 seconds until the blue LED starts ashing rapidly. The probe is
waiting to receive the control panel ID signal (see point 4).
10. WARRANTY
11. DISPOSAL
The warranty lasts 2 years from the date of delivery.
The supplier company guarantees the quality of the materials used and the correct construction of
the components. The warranty covers defects in materials and manufacturing defects and refers
to the supply of spare parts of any components featuring defects, without any compensation,
interest or claim for damages.
The warranty does not cover the replacement of components damaged due to:
• incorrect transportation;
• installation not compliant with that specied in this installation, use and maintenance manual;
• non-observance of product technical specications;
• Anything else that is not linked to original faults of the material or production provided that the
customer complaint is covered by the guarantee and a claim is made within the time limit and
in the way requested by the supplier, the same supplier will commit, at their own discretion,
to replace or repair any product or part of product showing signs of faults or defects.
At the end of its useful life, the product must not be disposed of with household
waste. It can be deposited at a dedicated recycling centre run by local councils, or
at retailers who provide such a service. To highlight the requirement to dispose of
household electrical items separately, there is a crossed-out waste paper basket
symbol on the product.
Other Tecnosystemi Measuring Instrument manuals

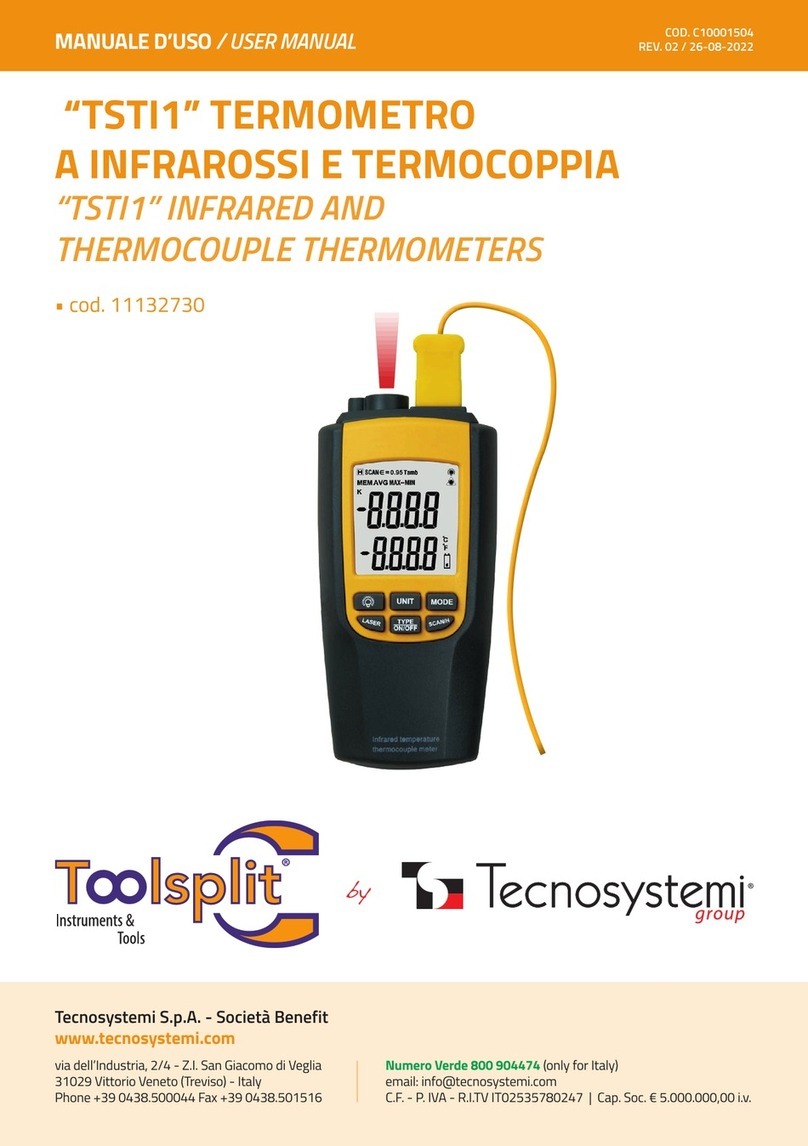
Tecnosystemi Toolsplit TSTI1 User manual

Tecnosystemi

Tecnosystemi Toolsplit TSTI1 User manual

Tecnosystemi Toolsplit TSC200006 User manual

Tecnosystemi

Tecnosystemi Toolsplit TSC200006 User manual

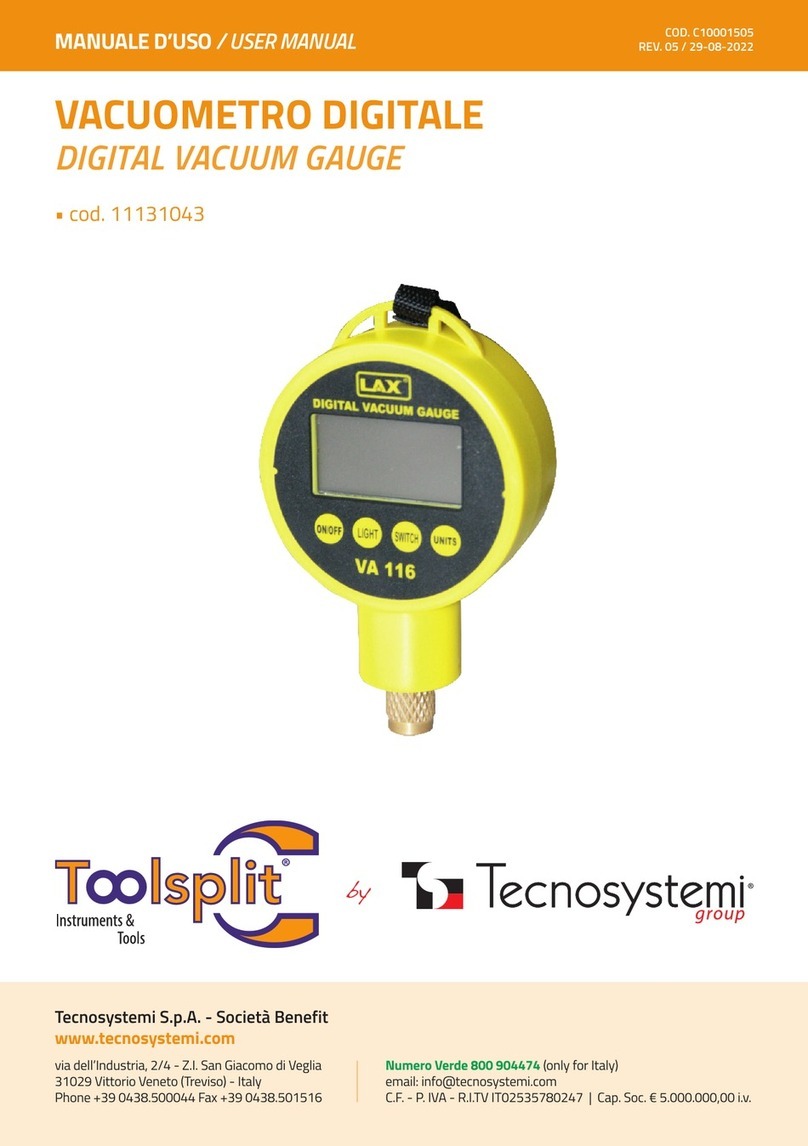
Tecnosystemi Toolsplit 11131043 User manual

Tecnosystemi

Tecnosystemi Toolsplit 11131043 User manual

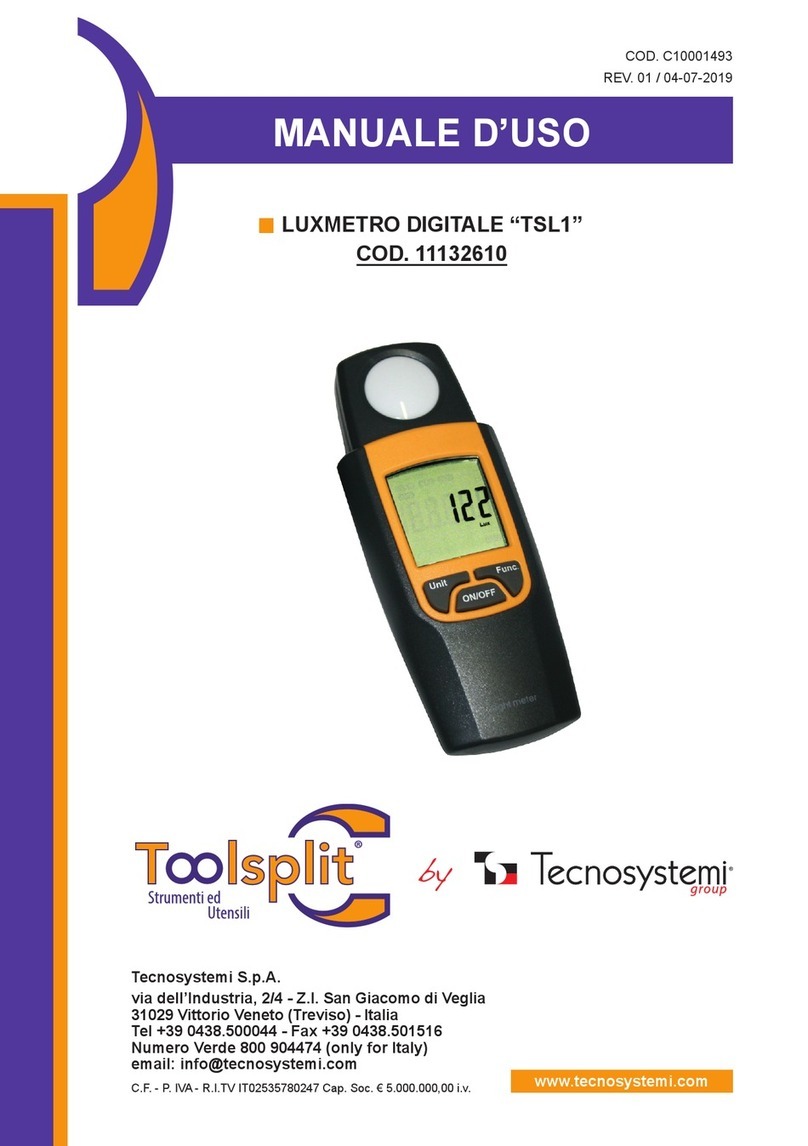
Tecnosystemi Toolslit TSL1 User manual

Tecnosystemi

Tecnosystemi Toolslit TSL1 User manual

Tecnosystemi Toolsplit 11131001 User manual

Tecnosystemi

Tecnosystemi Toolsplit 11131001 User manual

Tecnosystemi Toolsplit TSAT1 User manual

Tecnosystemi

Tecnosystemi Toolsplit TSAT1 User manual

Tecnosystemi Toolsplit TSC500017 User manual

Tecnosystemi

Tecnosystemi Toolsplit TSC500017 User manual

Tecnosystemi Toolsplit TSC200015 User manual

Tecnosystemi

Tecnosystemi Toolsplit TSC200015 User manual

Tecnosystemi Toolsplit TSAT1 User manual

Tecnosystemi

Tecnosystemi Toolsplit TSAT1 User manual

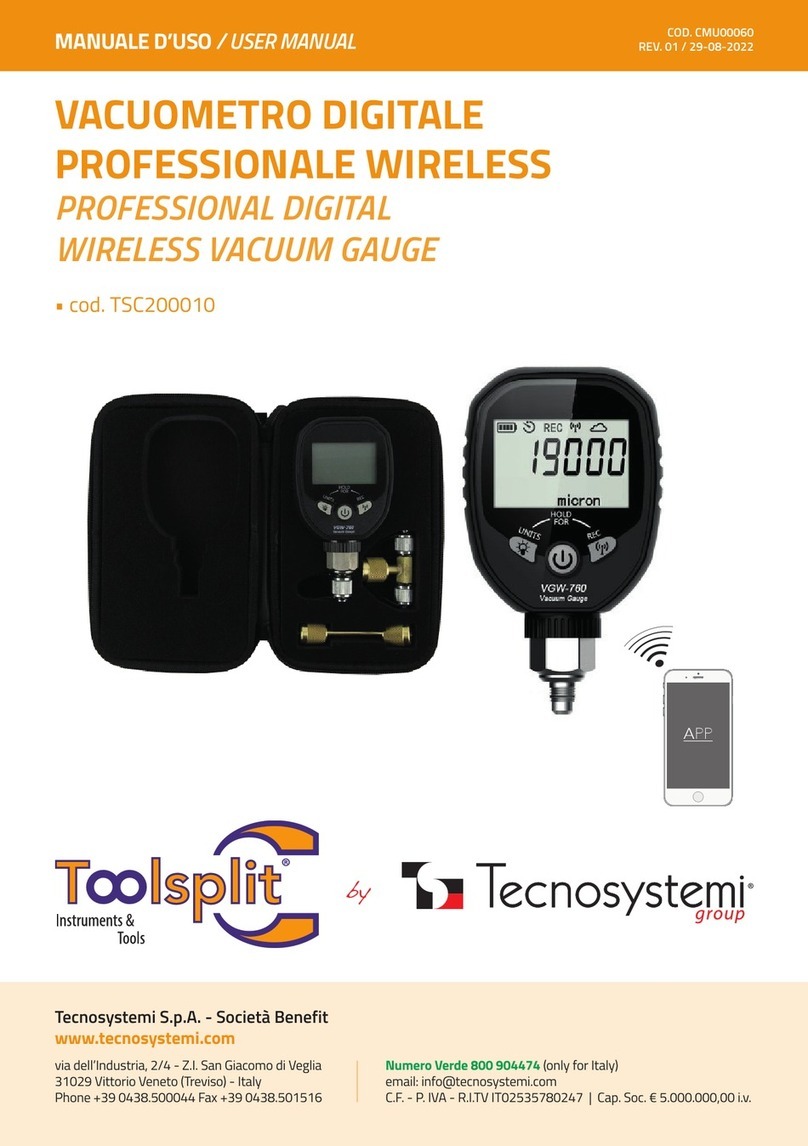
Tecnosystemi Toolsplit TSC200010 User manual

Tecnosystemi

Tecnosystemi Toolsplit TSC200010 User manual

Tecnosystemi Toolsplit TSF1 User manual

Tecnosystemi

Tecnosystemi Toolsplit TSF1 User manual

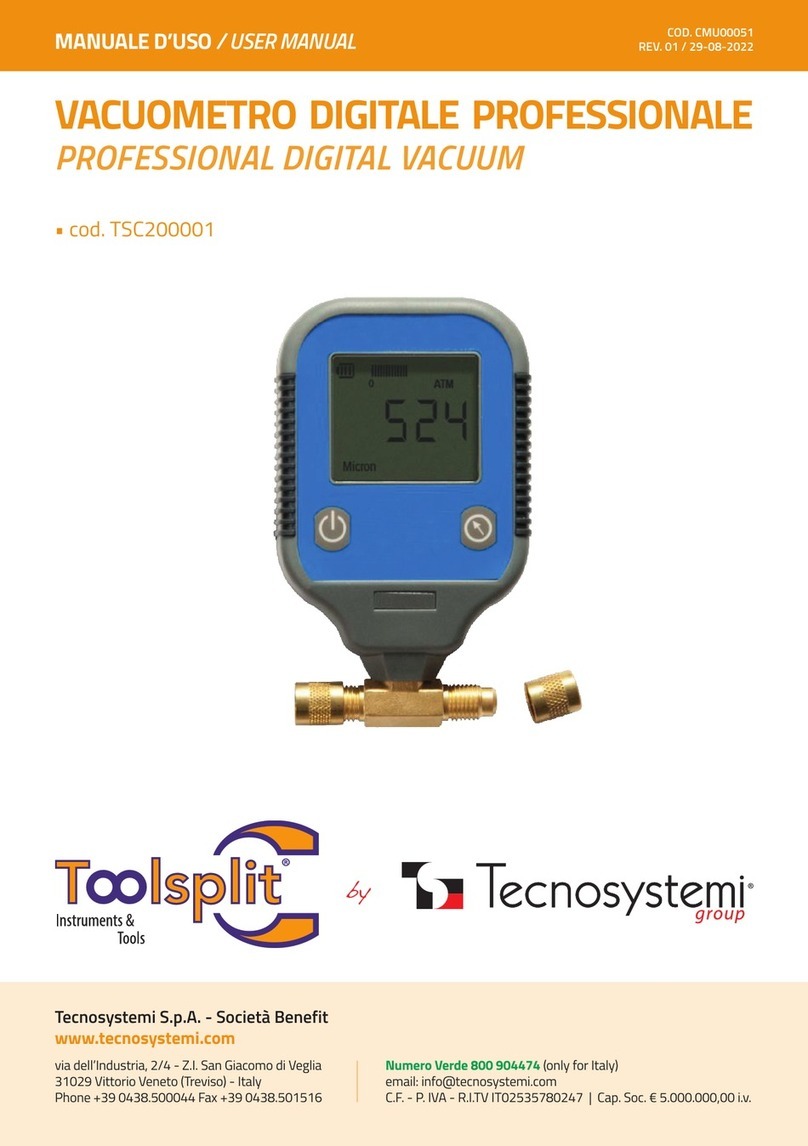
Tecnosystemi Toolsplit TSC200001 User manual

Tecnosystemi

Tecnosystemi Toolsplit TSC200001 User manual

Tecnosystemi Toolsplit TSC200004 User manual

Tecnosystemi

Tecnosystemi Toolsplit TSC200004 User manual

Tecnosystemi Toolsplit 11131043 User manual

Tecnosystemi

Tecnosystemi Toolsplit 11131043 User manual

Tecnosystemi Toolsplit 11131031 User manual

Tecnosystemi

Tecnosystemi Toolsplit 11131031 User manual

Popular Measuring Instrument manuals by other brands

Inepro DZT 6252 Short manual

Inepro

Inepro DZT 6252 Short manual

Agilent Technologies Agilent 8163A Programming guide

Agilent Technologies

Agilent Technologies Agilent 8163A Programming guide

Adam AE 403 Series Service manual

Adam

Adam AE 403 Series Service manual

ALGE-Timing Speedy 150-3-R manual

ALGE-Timing

ALGE-Timing Speedy 150-3-R manual

Omega Vortex FV100 Series user guide

Omega

Omega Vortex FV100 Series user guide

Marine Magnetics SeaSPY2 Operation manual

Marine Magnetics

Marine Magnetics SeaSPY2 Operation manual

RS PRO RS-136 instruction manual

RS PRO

RS PRO RS-136 instruction manual

Heyuan Intelligence DZ81-MA3UI5C user manual

Heyuan Intelligence

Heyuan Intelligence DZ81-MA3UI5C user manual

Emerson R&S SGT100A user manual

Emerson

Emerson R&S SGT100A user manual

Flow vision FC01-Ex User handbook

Flow vision

Flow vision FC01-Ex User handbook

Emerson Daniel 3812 Maintenance and troubleshooting manual

Emerson

Emerson Daniel 3812 Maintenance and troubleshooting manual

Circutor CVM-E3-MINI instruction manual

Circutor

Circutor CVM-E3-MINI instruction manual

Anritsu MP1632C Service manual

Anritsu

Anritsu MP1632C Service manual

GARANT HCT user guide

GARANT

GARANT HCT user guide

ICP DAS USA DL-100TM-ZT quick start

ICP DAS USA

ICP DAS USA DL-100TM-ZT quick start

IFM SD6020 operating instructions

IFM

IFM SD6020 operating instructions

Renishaw RMP600 quick start guide

Renishaw

Renishaw RMP600 quick start guide

Campbell LP02 instruction manual

Campbell

Campbell LP02 instruction manual

manuals.online logo
manuals.online logoBrands
  • About & Mission
  • Contact us
  • Privacy Policy
  • Terms and Conditions

Copyright 2025 Manuals.Online. All Rights Reserved.