14 Challenger Series Installation and Quick Programming Manual
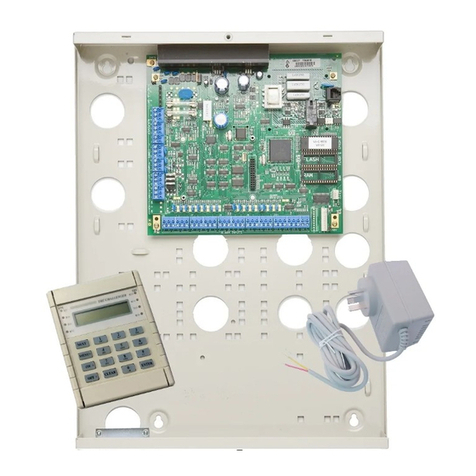
•Model TS1016T Challenger panel is powered from a 240 VAC mains
transformer and earthed via mains power earth.
•A power outlet (GPO) must be in proximity to the panel. Only qualified
Electricians should provide a GPO.
•The Challenger panel may have an onboard dialler or may be fitted with a
plug-on dialler module (TS1016LE). Telephone connections must be in
proximity to the panel. Only ACMA Cablers should provide telephone cabling.
•If the upper and/or lower cabinet entry cable holes are used to route wiring
into the control panel, always use a proper pipe fitting system by means of an
appropriate conduit and junction box. For this purpose, use only materials of
suitable flammability class.
•Avoid loops of wire inside the control panel cabinet and route cables so that
they do not lie on top or underneath the printed circuit board. The use of cable
ties is recommended and improves neatness of the wiring within the box.
•The battery used with this unit must be made of materials of suitable
flammability class (HB or better).
•Install equipment in a clean environment and where environmental conditions
are within the range specified in the product data sheet.
Installation procedures
A Challenger panel may need to be fitted with various add-on modules and
interfaces. See each product’s installation instructions for details.
Note: Expander modules must not be fitted to a powered Challenger panel.
Remove power before plugging an expander module onto the Challenger PCB.
To mount the Challenger enclosure:
1. Fix the enclosure to the wall via the enclosure’s four mounting holes (for
example, Figure 4 on page 11, item 1).
Make sure the enclosure is level, and the tamper switch (item 3) location isn’t
sitting over a line of mortar if you’re installing the enclosure on a brick wall.
To mount the tamper switch:
The two-way tamper switch detects removal of the cover from the enclosure,
and removal of the enclosure from the wall.
1. Insert the tamper switch into its metal bracket.
2. Insert the bracket with tamper switch into the 1 cm slot on top left-hand side
of the enclosure (for example, Figure 4 on page 11, item 3).
To mount the Challenger board to the enclosure:
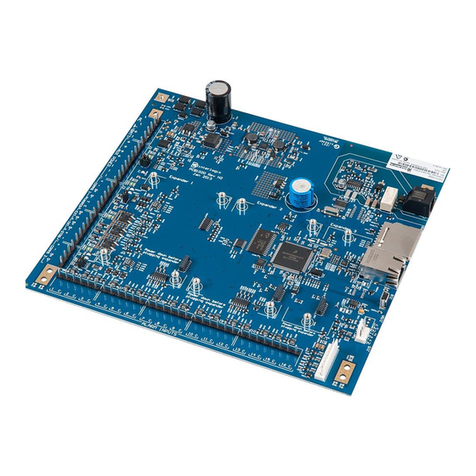
1. Remove the Challenger board from its antistatic bag.
2. Use M3 x 14 pan head screws to fix the Challenger board to the enclosure’s
standoffs (for example, Figure 4 on page 11, item 2).


