Oscilloscope Overview and Set Up
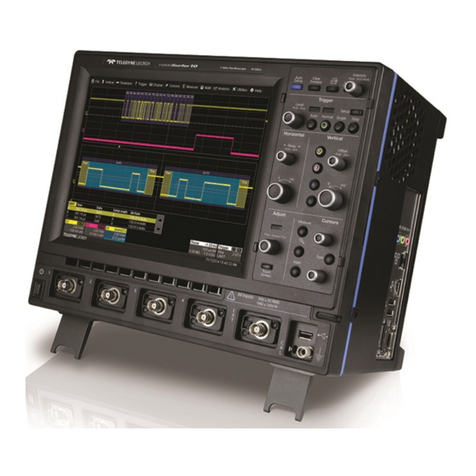
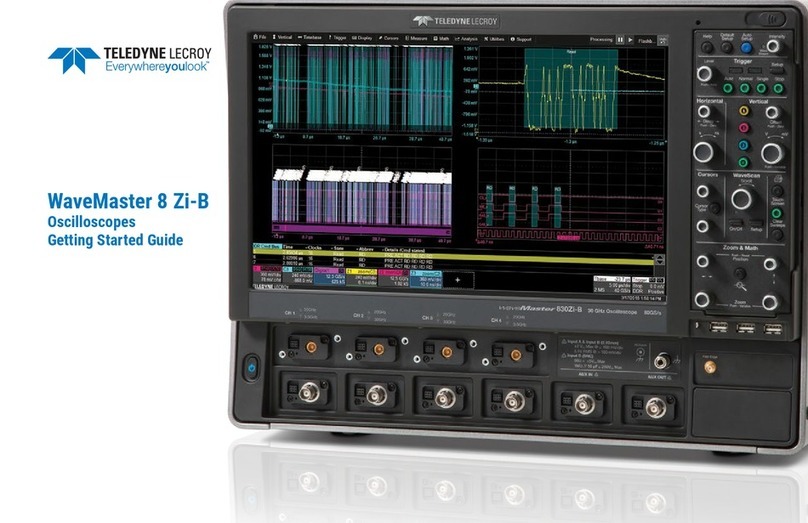
Single starts Single trigger mode (single-shot acquisition). The first press arms the oscilloscope to trigger.
The second press triggers the oscilloscope once when the triggering signal meets the trigger conditions.
Stop prevents the scope from triggering on a signal. If you boot up the instrument with the trigger in Stop
mode, a "No trace available" message is shown. Select another mode to begin acquisition.
Horizontal Controls
Turn the Delay knob to raise/lower the Trigger Delay value (S). Push the knob to reset Delay to zero.
If the trace source is an input channel, turn the Horizontal Adjust knob to set the Time/division (S) of the
oscilloscope acquisition system. The value is shown on the Timebase descriptor box. When using this
control, the oscilloscope allocates memory as needed to maintain the highest sample rate possible for the
timebase setting. If the active trace is a math, zoom or memory, use this knob to change the Horizontal
Scale, effectively "zooming" in or out. The value is shown on the corresponding descriptor box.
Push the knob to adjust scale in fine increments; push it again to return to stepped increments.
Vertical Controls
The Offset knob adjusts the zero level of the trace (this makes it appear to move up or down relative to the
center axis of the grid). The value appears on the trace descriptor box. Push it to reset Offset to zero.
The Vertical Adjust knob sets Volts/div for channel traces or Vertical Scale for math, zoom and memory
traces. The value appears on the trace descriptor box. Push the knob to toggle between fine and stepped
increments.
The Channel buttons (1-4) turn on a channel that is off, or activate a channel that is already on. When the
channel is active, pushing its channel button turns it off. A lit button shows the active channel.
The Zoom (Z) button creates a Quick Zoom of each open trace.The resulting zoom traces are 1/10 of the
source channel scale and centered on the display. Use the Horizontal knobs to adjust this, or touch the
zoom descriptor box twice to display the zoom dialog controls. Touch the Zoom button again to turn off
the zooms.
The Digital (D) button enables digital input on oscilloscopes with the MSO option.
Cursor Controls
Cursors identify specific vertical and horizontal values on the waveform. The white cursor markers help
make these points more visible, as well as provide a simple way to reposition them. A readout of the
vertical values appears on the trace descriptor box, while the horizontal values appear below the
Timebase descriptor box.
There are five preset cursor types, each with a unique appearance on the display. These are described in
more detail in the Cursors section.
Press the Cursor Type button to apply or remove cursors. Continue pressing to cycle through all cursor
types until the desired type is found ("Off" occurs when no cursors are visible).
Turn the Coarse knob to adjust the position of absolute cursors (dashed-dotted lines). Push it to return the
cursor to the default 2.5 division setting. If you're using the Both Rel cursor type, each push will select the
other absolute cursor. With the correct cursor selected (highlighted), turn the knob to adjust the position.
Turn the Fine knob to adjust the position of relative cursors (dashed lines). Push it to return the cursor to
the default 7.5 division setting, or to select the other relative cursor when using the Both Rel cursor type.
7