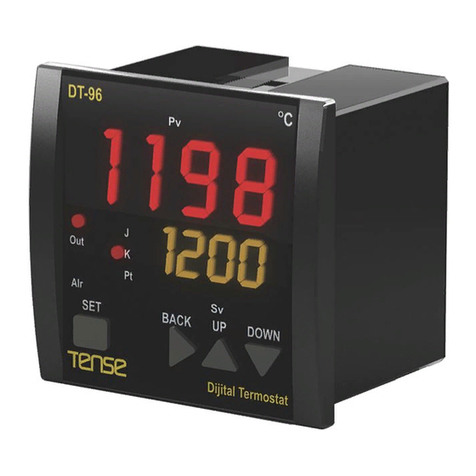
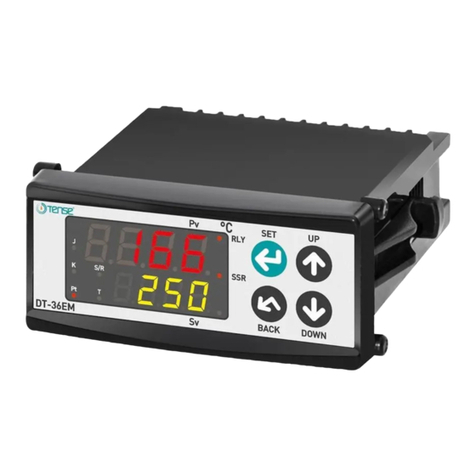
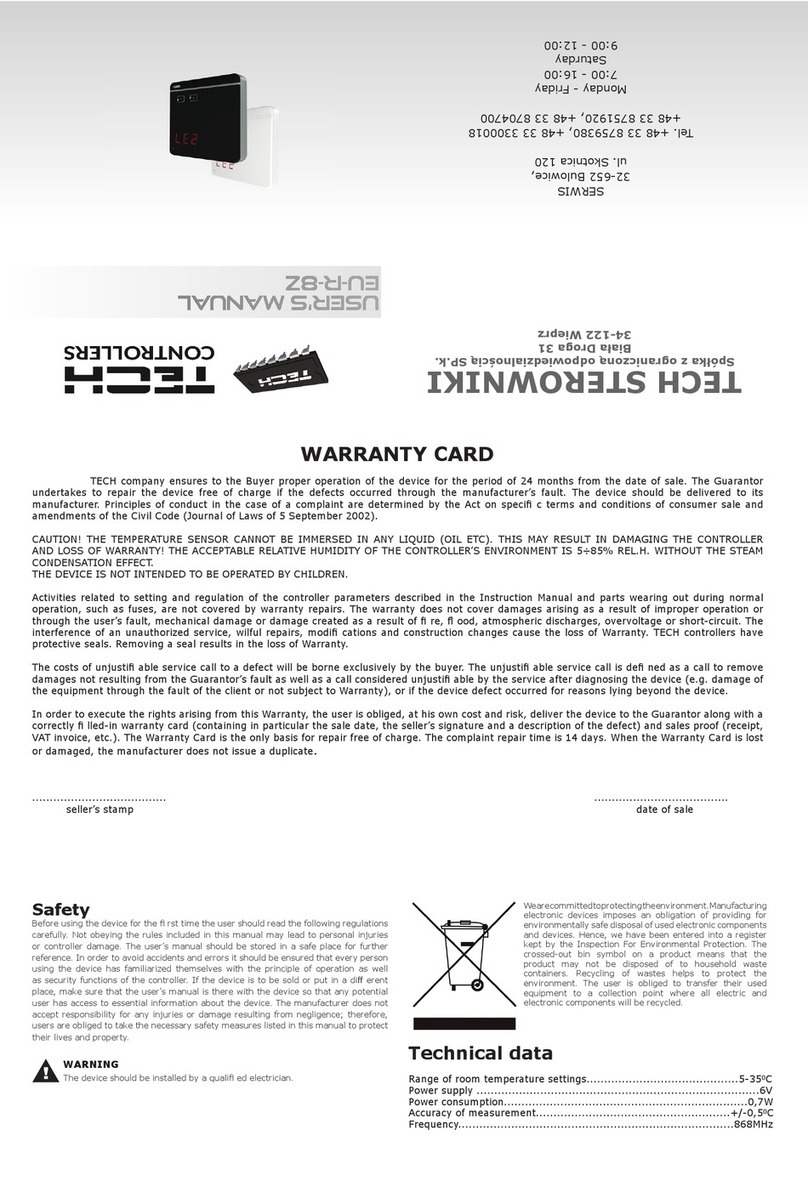
Tense DT-96EM User manual

DT-96EM / DT-72EM / DT-48EM
AUTO-TUNE PID TEMPERATURE CONTROLLER
Attention, Risk of, High Voltage, Double / Reinforced NOT CE Mark
Danger, Warning Risk of Electric Shock Insulation Litter
TECHNICAL SPECIFICATION
•Dimensions : DT-96EM:96x96, DT-72EM:72x72, DT-48EM:48x48mm
•Panel Cut-out : DT-96EM:91x91, DT-72EM:68x68, DT-48EM:45,5x45,5mm
•Display : 4 Digits 7 Segment (PV), 4 digits 7 Segment (SV)
•Sensor Type : J,K,T,S,R type T/C, Pt100 selectable
•Measuring Scale : -100..600
o
C, J type T/C (Inpt=J), -100.0 .. 600.0
o
C, J type T/C (Inpt=J.0)
-100..1300
o
C, K type T/C (Inpt=k), -100.0..999.9
o
C, K type T/C, (Inpt=k.0)
-100..400
o
C, T type T/C (Inpt=t), -100.0 .. 400.0
o
C, T type T/C (Inpt=t.0)
0..1750
o
C, S type T/C (Inpt=S) 0 .. 1750
o
C, R type T/C (Inpt=r)
-100..600
o
C, Pt100, (Inpt=Pt) -100.0 .. 600.0
o
C, Pt100, (Inpt=Pt.0)
•Resolution : ± 1
o
C or ± 0.1
o
C
•Accuracy : ± 1 % (Over full scale)
•Control Form : ON-OFF or P, PI, PD, PID - selectable
•Control Output : Relay (NO + NC), 250VAC, 2A, resistive load / SSR (12Vdc, 20mA) -
selectable
•Heat SET : Lower Limit .. Upper Limit
o
C (H.Set)
•Heat Hysteresis : 0 .. 50 / 0.0 .. 50.0
o
C (H.hys); PID is active if set to 0
•Proportional Band : 5 .. 150
o
C (Pb.C)
•Integral Time : 0:00 .. 30:00 min:sec. (OFF if set to 0:00)
•Derivative Time : 0:00 .. 10:00 min:sec. (OFF if set to 0:00)
•Control Period : 1 .. 200 sec. (Ct)
•Offset : -100..+100
o
C / -100.0 .. +100.0
o
C (oFFS)
•Heating/Cooling : Only heating function
•Cold. Junc. Comp. : 0 .. 50
o
C (T/C)
•Line Comp. : 10 Ohm max. (3 wire Pt100)
•Sensor Failure : OUT output is active according to P.Err and Ct parameters in case of
sensor failure, measurement out of range or hardware fails to measure
input signal (OUT output is OFF if Perr is 0).
•Supply Voltage : 100..240VAC, 50-60Hz - or
(Optional; 24VDC/AC, maximum isolation voltage: 40VAC)
•Power Consumption : < 8VA
•Humidity : < 70% (non-condensing)
•Altitude : < 2000 m
•EMC : EN 61000-6-1, EN 61000-6-3 (Only light industrial environment)
•Safety : EN 61010-1; Pollution degree 2, measurement category II
(Only light industrial environment, double/reinforced isolated)
•Protection Class : IP20; according to EN 60529
•Temperature Spec. : Operating: 0 .. 50
o
C, Storage -10
o
C .. 60
o
C (no icing)
•Weight : < 0.5 kg
•Torque for screwing : Max. 0.5 N.m
WARNING:
if 2 wire Pt100 is used, connect compensation lead to measuring lead:
(DT-96EM :17-18, DT-72EM: 13-14,
DT-48EM: 10-11)

INSTALLATION, USE and WARNINGS
●
This device and its packing is NOT litter and may NOT be disposed of with domestic waste. Please return
this device and its packing to an appropriate recycling point at the end of its service life.
●
Please read this user manual carefully and completely before installation and use. Please take into
consideration all warnings mentioned in this manual.
●
DT-96EM / DT-72EM / DT-48EM are suitable only for permanent panel type mounting.
●
Installation and use of this device must be done by qualified, authorized and trained technical personnel only.
●
Inspect device carefully before installation. Do not install and use broken and defective devices.
●
Do not disassemble device. Do not make any repair on any part of the device. There is no accessible part
inside the device. Please contact to manufacturer for broken and defective devices.
●
Do not use device in environments subject to flammable, explosive and corrosive gases and/or substances.
●
This device is designed for applications only in light industrial environments. This device is not suitable for
medical and residential use. This device is not suitable for use related with human health and safety. This
device is not suitable for automotive, military and marine use.
●
Do not allow children and unauthorized people to use this device.
●
Before installation and any technical work, disconnect the power supply and mains connections.
●
Check the power supply voltage level before power on, and make sure voltage level is in specified limits.
Check quality of neutral line. Improper neutral line may give permanent damage to the device.
●
Connect an external power switch and an external fuse (1A, 250VAC) to the power supply line that are easily
accessible for rapid intervention. Connect an external fuse (2A, 250VAC) for each relay output separately.
●
Use appropriate cables for power supply and mains connections. Apply safety regulations during installation.
●
Install the device in a well ventilated place. Install the device permanently into a proper panel cut-out. Fix the
device with two fasteners supplied with the device. Only front panel must be accessible after installation is
completed.
●
Do not operate the device other then the environmental conditions given in Technical Specification.
●
Do not operate the device in environments that may cause conductive pollution.
●
Take precautions against negative environmental conditions like humidity, vibration, pollution and high/low
temperature during installation.
●
Use correct compensation cables for T/C sensors. Connect T/C cable directly to the device connectors.
●
Keep device, signal cables and communication cables away from circuit breakers, power cables and
devices/cables emitting electrical noise. Use shielded and twisted signal and communication cables and
connect shield to earth ground on device side. Keep length of signal and communication cables less than 3m.
●
In your applications, always use separate and independent mechanical and/or electromechanical
devices/apparatus to support DT-96EM / DT-72EM / DT-48EM to handle emergency cases.
●
Use insulated cable end-sleeves at the end of cables screwed to the device connector terminals.
●
Maximum torque for screwing; 0.5 N.m.
●
Please check www.tense.com.tr for latest device and documentation updates regularly. All updates and all
information are subject to change without notice.
GENERAL SPECIFICATION
●
This device is designed for basic temperature control applications only in light industrial environments.
●
PID temperature controller
●
Auto-tuning for PID parameters
●
Sensor type: T/C (J,K,T,S,R), Pt100, selectable, multi-input
●
Selectable control type: P, PI, PD, PID or ON-OFF
●
Ramp mode during power on
●
“Anti-windup” in PID and PI mode
●
Upper and Lower limit for SET setting
●
Displays SET and PROCESS values
●
Cold-junction compensation for T/C
●
Line compensation for Pt100
●
Excellent linearity with oC/mV and oC/Ohm look-up tables
●
Input “Offset” feature
●
Password protection
●
High accuracy
●
EEPROM memory to store settings
●
Easy connection with plug-in connectors
TENSE Elektronik www.tense.com.tr
2

PROGRAMMING PARAMETERS
(1) When sensor type is changed, Up.L, Lo.L, H.Set, H.hys, oFFs Error Messages:
may be set to a new value automatically, according to the selected sensor. Fail: Sensor failure or sensor selection wrong
(2) If sensor type is selected as Pt.0, J.0, K.0 or t.0. E.FLS: Hardware failure
E.CAL: Hardware failure
E.EPr: Memory failure
TENSE Elektronik www.tense.com.tr
3
SET
H.hys
0 .. 50 /
0.0 .. 50.0 (2)
o
C
SET
Heat Hysteresis (
o
C):
PID is active if set to 0
Pb.C
5 .. 150
o
C
SET
Ct
1 .. 200 sec
SET
oFFS
SET
td
SET
+
CodE Enter 162
SET
UP.L
Lo.L ..
Upper Scale (
o
C)
SET
Upper limit value for Lo.L
and H.SET. Upper Scale
value differs according to
the selected sensor type.
Out
SET
ti
0:00 .. 30:00
min:sec
SET
Inpt
Sensor Type (1)
SET
J, J.0: J type T/C
K, K.0: K type T/C
t, t.0: T type T/C
S: S type T/C
r: R type T/C
Pt, Pt.0: Pt100
Lo.L
Lower Scale ..
UP.L (
o
C)
SET
Lower limit value for UP.L,
H.SET. Lower Scale value
differs according to the selected
sensor type.
P.Err
% 0 .. 100
SET
Determines the duty cycle of OUT output
when “Fail” message is displayed. If 0, OUT is always
OFF. If 100, OUT is always ON, when device “fails”.
Period is Ct.
H.Hys
not 0
Back
Press “Back”
to return to the
top of
parameters
programming
block
Integral Time:
In min:sec If set to 0:00,
P, PD is active (integral OFF).
Derivative Time:
In min:sec. If set to 0:00,
P, PI is active (derivative OFF).
Proportional Band in (
o
C)
Control period (sec)
Offset Value; Offset is directly added
to the measured value. This feature shall
be used for user calibration. Normally set to 0.
Enter 162 to pass
to parameter prog. mode
Press for 2 sec.
Upper Display
rLY, SSr , r-S
Control OUT Type:
rLY: Only Relay is active
SSr: Only SSR is active
r-S: Both Relay and SSR are active at the same time
CodE
Enter “262”
to start
auto-tune
SET
Upper Display
“tunE”
flashes
•Before starting Auto-tune, adjust H.SET.
•Process value may exceed H.Set during auto-tuning.
•After auto-tuning, control form automatically switches
to PID mode.
•Auto-tuning is stopped (interrupted) any time by
pressing any key. In this case, the parameters before
auto-tuning is valid.
•Auto-tuning may not always determine the best values
for your process.
Factory SET Values:
H.SEt: 100
o
C
Inpt : J
H.hys: 0
o
C
Pb.C: 30
o
C
Ct: 4 sec
ti: 5:00 min:sec
td: 1:00 min:sec
UP.L: 400
o
C
Lo.L: 0
o
C
oFFS: 0
o
C
Out : r-S
P.Err: 0
C-t: 0.0
o
C / min
L.dSP: yes
o.Sht: oFF
SECU: AH
0:00 .. 10:00
min:sec
-100 .. 100 /
-100.0 .. 100.0 (2)
O
C
C-t
0.0 .. 300.0
o
C / min
SET
If C-t is not 0, ramping starts after power on.
SET value is incremented C-t degrees per minute
until SET reaches H.SEt.
CodE
Enter “555”
for factory
reset
SET
“YES” / “nO”
•To return to factory settings:
Code > 555 > select “yes” >
Press “SET”
Upper Display
yes: Lower display ON
no: Lower display OFF
SET
L.dSP
yes .. no
End Prog.
o.Sht
OFF, 10.0,
5.0, 3.0,
1.0, 0.2
SET
SECU
AH, -H, A-, --
SET
AH: ALARM SET and HEAT SET may be SET,
-H : Only HEAT SET may be SET,
-A : Only ALARM SET may be SET,
-- : ALARM SET and HEAT SET may not be SET.
Over shoot reduction: All options other than “OFF” may help to reduce over
shoot more but also may increase instability around SET point. For this reason;
First try “OFF” option then 10.0->5.0->3.0->1.0->0.2 options if needed.
Options 1.0 and 0.2 are most sensitive and may result more instability around
SET point among other options. With this parameter, over shoot is not allowed
more than; OFF: not limited, 10.0: 10 , 5.0: 5 , 3.0: 3 , 1.0: 1 , 0.2: 0.2 degrees
(over SET point).
H.Hys
not 0

PROGRAMMING HEAT SET
(ON-OFF CONTROL)
ON-OFF is active when
“H.hys”
is other then 0
PID PARAMETERS
- P, PI, PD, PID is active when “H.hys” is set to 0.
- PbC: Proportional band in oC.
- Ct: Control period for PID control. Prefer 4-10 sec.
- Ti: Integral time; Set in minutes. Determines how fast controller reacts to compensate the offset between SET point and the
process value. If set to 0, integral part is OFF. If set too low, process value may oscillate.
-Td: Derivative time; Set in minutes. If set to 0, derivative part is OFF. Determines how sensitive the controller is to changes of
the offset between SET point and the process value. If set too high, process value may oscillate or overshoot.
CLAEANING
Do not use any solvents (alcohol, thinners, benzine, acid, etc.) or corrosive substances to clean the device. Use only a dry
and clean non-abrasive cloth. Before cleaning, disconnect the power supply and mains connections.
TENSE Elektronik www.tense.com.tr
4
H.SET(H.SET-H.Hys)
PV
OUT Heating
Press 2 sec. SET
H.SEt
Lo.L .. UP.L
o
C
Prog. end
Upper Display
SET
Heat SET;
(Process SET)
value is
set Lo.L .. UP.L
This manual suits for next models
2
Other Tense Controllers manuals
Popular Controllers manuals by other brands
RADEMACHER
RADEMACHER DuoFern 9433-1 Translation of the original Installation and Commissioning Manual
Full Gauge Controls
Full Gauge Controls MT-543Ri LOG manual
Sentera Controls
Sentera Controls MCS-1-LCD Mounting and operating instructions
Armstrong
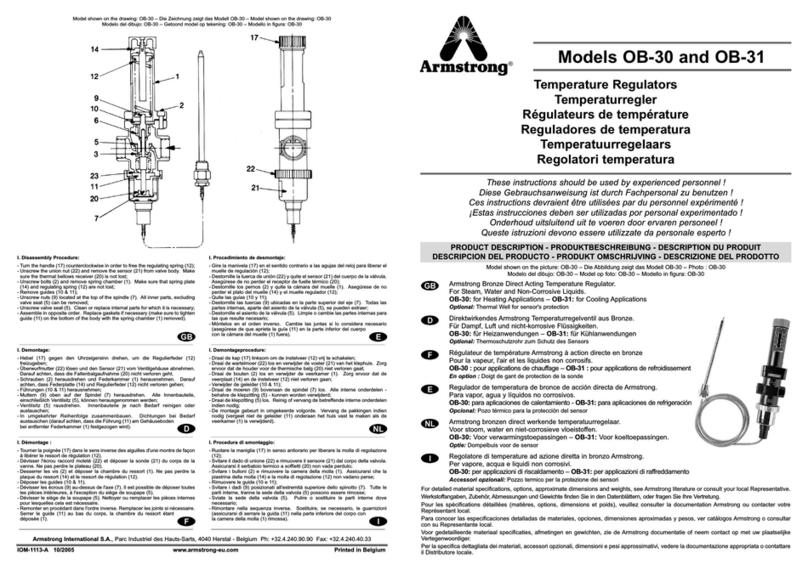
Armstrong OB-31 instructions
Fright Ideas
Fright Ideas PicoBoo JR quick start guide

VERDER
VERDER CARBOLITE GERO EPC3000 Series Installation, operation and maintenance instructions
