THE WORLD MODELS A340 User manual


This manual suits for next models
2
Other THE WORLD MODELS Toy manuals

THE WORLD MODELS
THE WORLD MODELS RAMBLER-45 User manual

THE WORLD MODELS
THE WORLD MODELS Groovy 90 User manual

THE WORLD MODELS
THE WORLD MODELS ZERO FIGHTER 40 User manual

THE WORLD MODELS
THE WORLD MODELS EP-Sailor User manual

THE WORLD MODELS
THE WORLD MODELS Hall Cherokee II User manual

THE WORLD MODELS
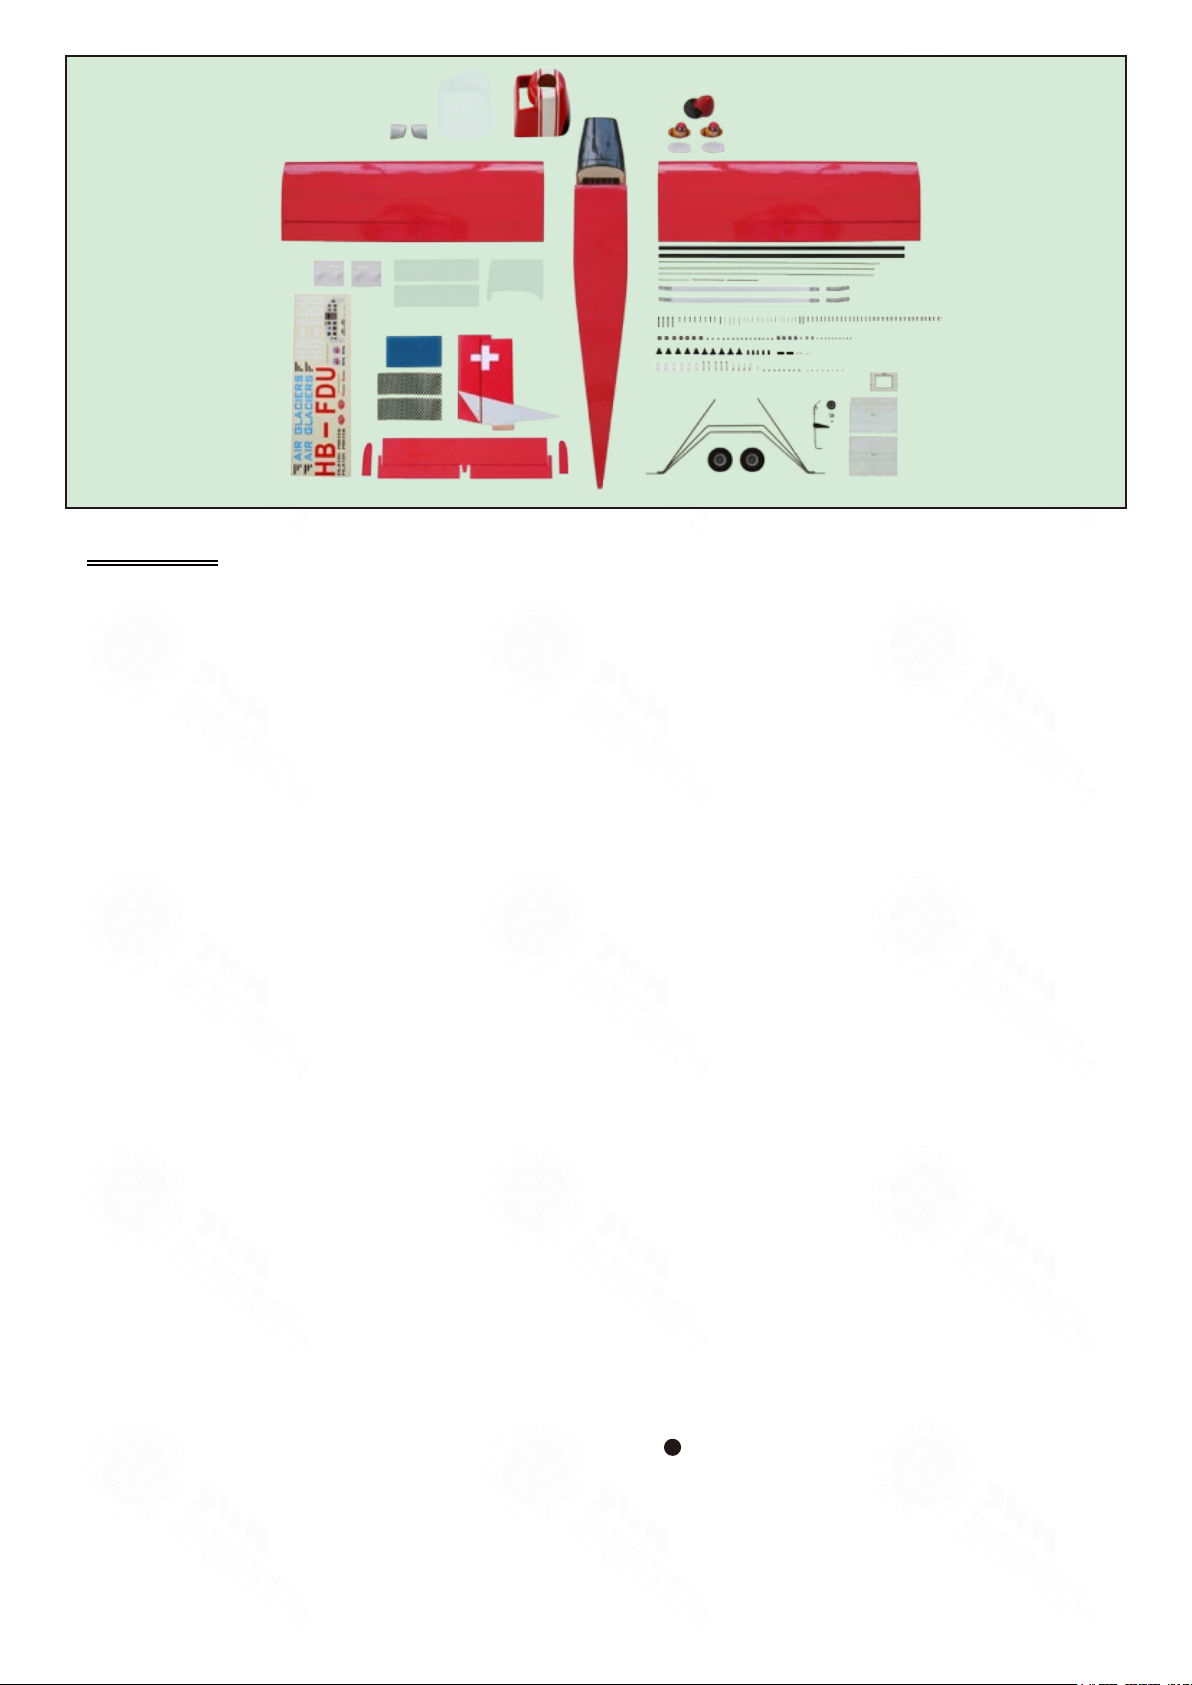
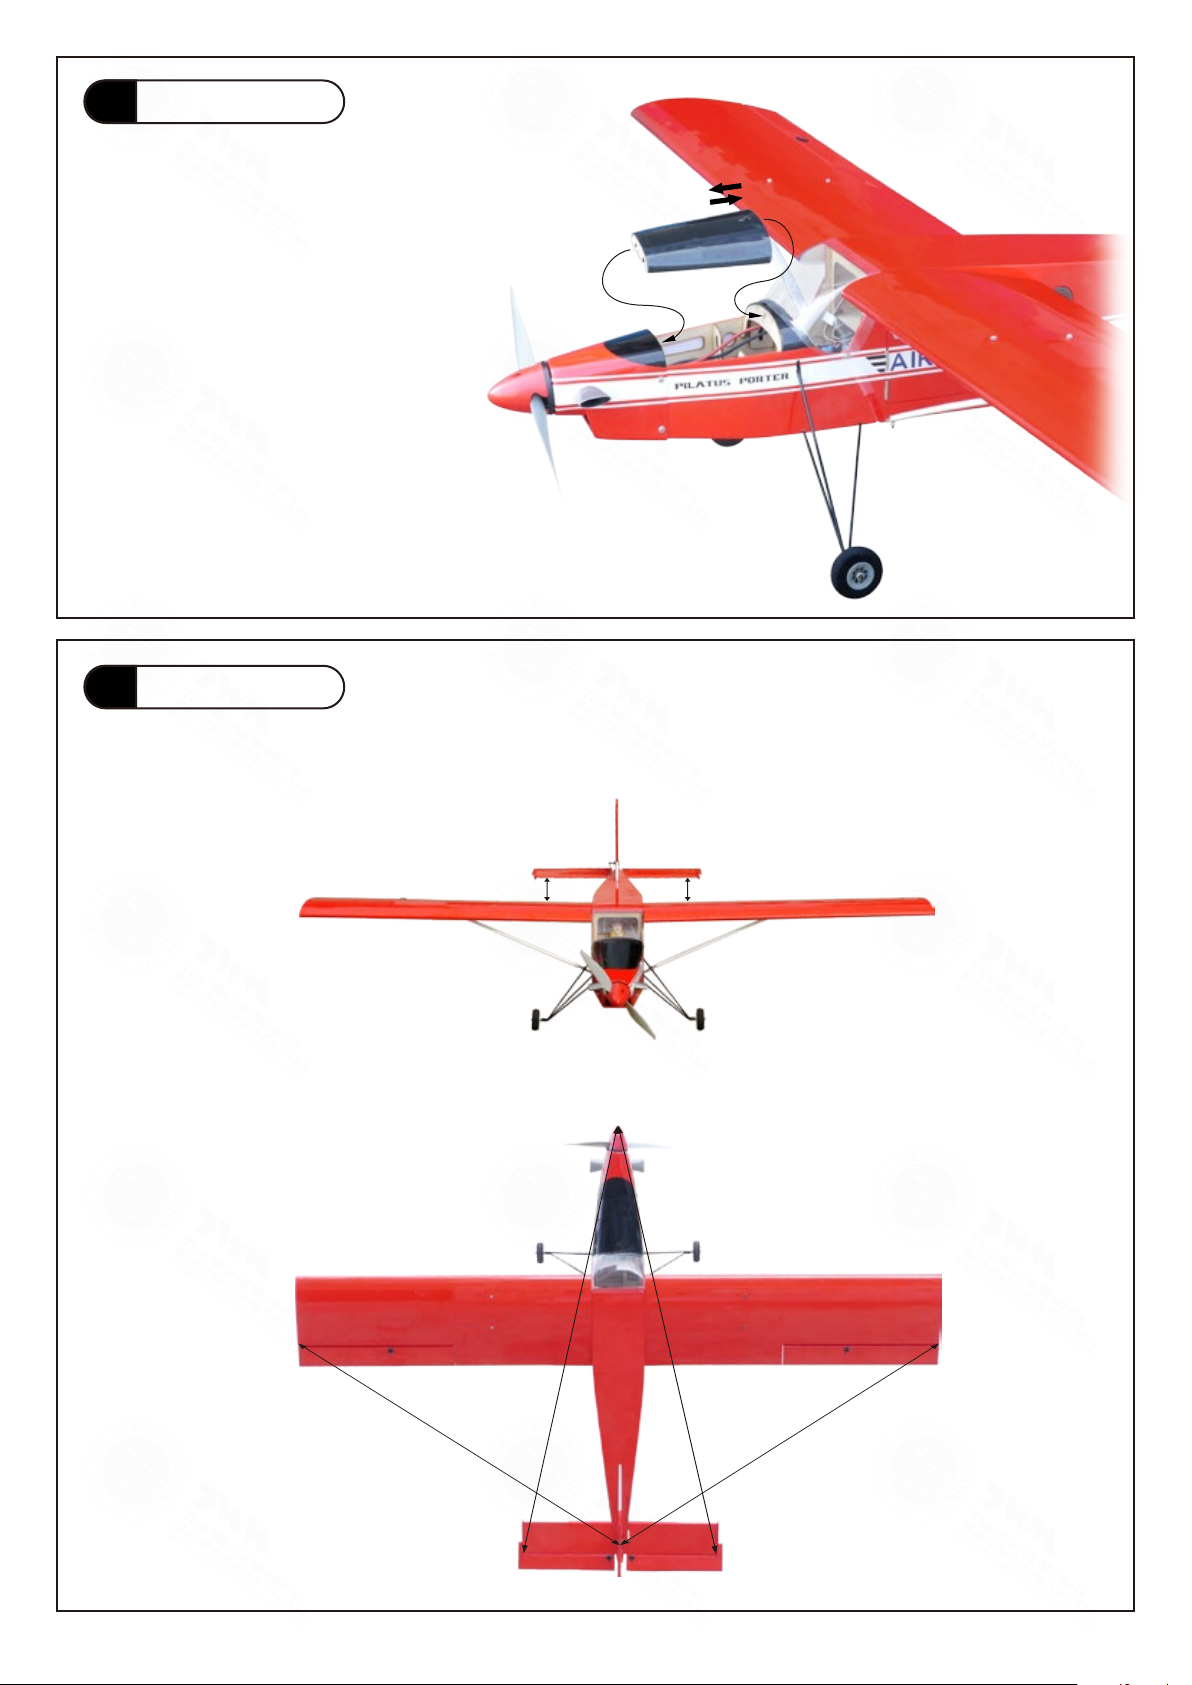
THE WORLD MODELS Pilatus PC-6 Porter 40 User manual

THE WORLD MODELS
THE WORLD MODELS 1/4 Piper J-3 Cub User manual

THE WORLD MODELS
THE WORLD MODELS P-51 MUSTANG EP User manual

THE WORLD MODELS
THE WORLD MODELS Aure EP User manual

THE WORLD MODELS
THE WORLD MODELS SPITFIRE 40 User manual

THE WORLD MODELS
THE WORLD MODELS PAULISTINHA P-56 EP User manual

THE WORLD MODELS
THE WORLD MODELS 28% EXTRA 330L User manual

THE WORLD MODELS
THE WORLD MODELS Sky Raider Mach II User manual

THE WORLD MODELS
THE WORLD MODELS Super Sport 40 User manual

THE WORLD MODELS
THE WORLD MODELS Zero Fighter 60S User manual

THE WORLD MODELS
THE WORLD MODELS Velox REV II-60 User manual

THE WORLD MODELS
THE WORLD MODELS A322S User manual

THE WORLD MODELS
THE WORLD MODELS SkyLink 40 User manual

THE WORLD MODELS
THE WORLD MODELS MIDGET MUSTANG User manual

THE WORLD MODELS
THE WORLD MODELS Jeff Troy's TAMEcat Trainer 40 ARF User manual


Popular Toy manuals by other brands

Eduard
Eduard P-38L Lighting Undercarriage set Assembly instructions

Eduard
Eduard 32 315 quick start guide

Mattel
Mattel HOT WHEELS EXTREME SHOXX BOULDER BASH CANYON instructions

WowWee
WowWee Alive Lion Cub user manual

Fisher-Price
Fisher-Price 77982 instructions

Fisher-Price
Fisher-Price Pixter owner's manual


Urban Air
Urban Air UFM - 13 LAMBADA Operations and flight manual

Carf-Models
Carf-Models P-47 Thunderbolt instruction manual

Eduard
Eduard PBR 31 Mk.II Pibber quick start guide

BABY born
BABY born 824771 manual

Phoenix Model
Phoenix Model strega instruction manual

MTHTrains
MTHTrains Premier J-1e Operator's manual