INSTRUMENT OPERATION
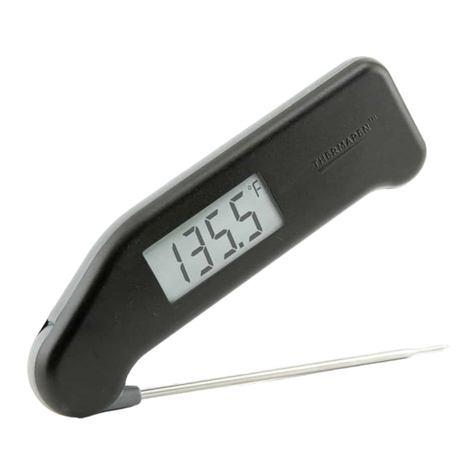
Connect a probe via the miniature thermocouple socket
located on the end of the instrument. Apply the tip of
the probe to the substance, medium, or surface to be
measured. The instrument reading may take several
seconds to stabilize, depending on the nature of the
measurement and sensitivity of the probe.
BUTTON FUNCTIONS
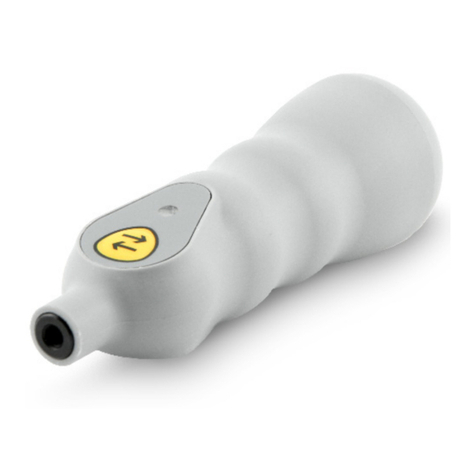
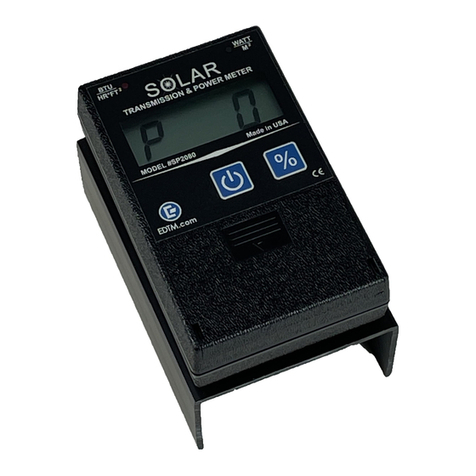
Transmit/On-Off button
ON - Press to switch the instrument on.
OFF - Hold down for 3 seconds to switch off.
MEASURE/TRANSMIT - Press to measure and
transmit result via Bluetooth®wireless technology
(if connected).
ALARMS
The default setting is off. The high/low alarms can be
switched on/off and adjusted through the HACCP LE App.
SENSORS
Only use type K (Nickel Chromium/Nickel Aluminium)
thermocouple probes (to BS EN 60584-1:2013) fitted with
suitable miniature type K thermocouple plugs.
TEMPERATURE MEASUREMENTS
The instrument measures its inputs at a set measurement
interval and displays the value in ºC or ºF.
CONNECTION
Use a Bluetooth®enabled iOS or Android™ host device with
HACCP LE installed to connect to the instrument. HACCP
LE can be downloaded free from the Apple App Store or on
Google Play™. Open HACCP LE and connect to the device
via the Devices screen, use the instrument’s serial number
to select the correct device from the list. When connecting/
disconnecting, the instrument's amber light flashes rapidly 5
times. Once connected, HACCP LE will begin receiving and
displaying measurement data.
Please note: When not connected, the instrument
continues to measure using its current settings but
no readings are stored in the instrument.
SETTINGS
Adjustable via the HACCP LE App include: °C or °F,
Measurement Interval, Checklist items with high/low
alarms.
AUTO-OFF
If the instrument is not connected to a phone/tablet within
the set Auto-off interval, it will shut down.
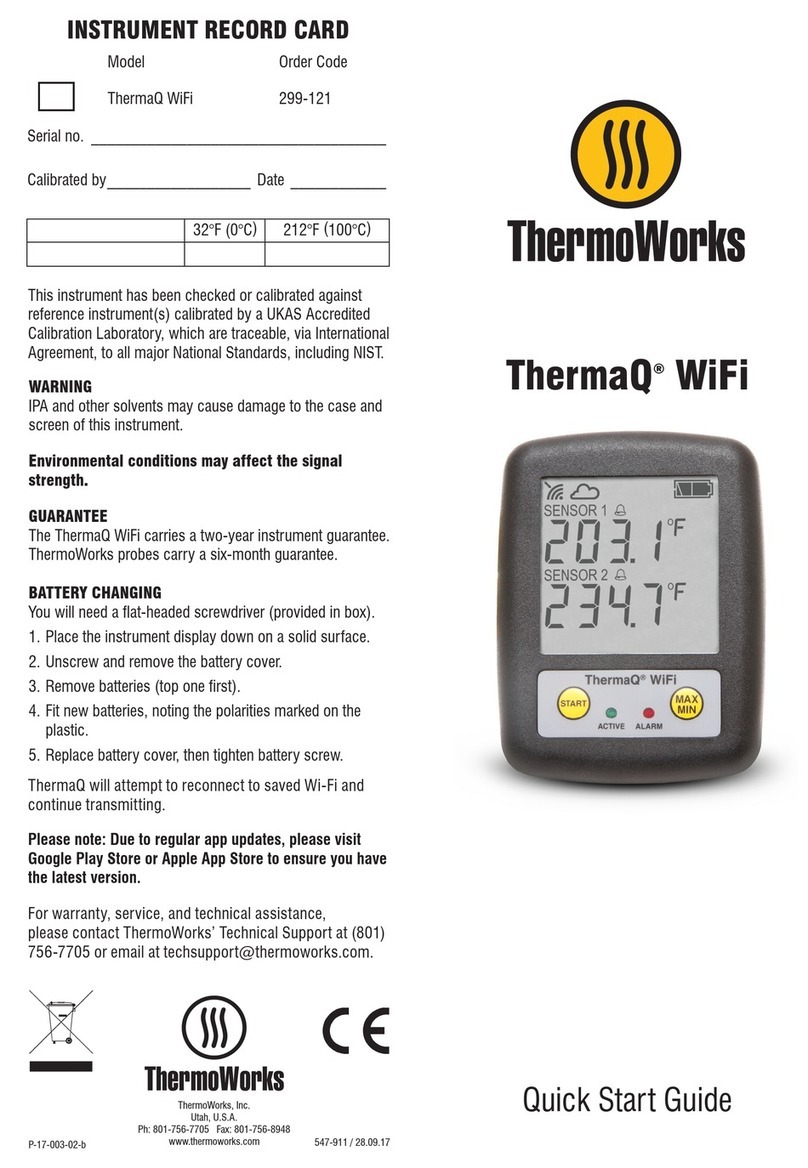
STATUS/TRANSFER LED
When connected to a phone/tablet an amber LED flashes
every 10 seconds or when the button is pressed.
OPEN CIRCUIT/FAULTY PROBE
If the probe has developed an 'open circuit' fault or is not
present the instrument will display 'Err'.
BATTERY STATUS
This is indicated by the HACCP LE App and the
instrument’s display using the battery symbol. When the
battery level falls below a safe level the instrument displays
'Flat bat' before shutting down.
BATTERY REPLACEMENT
Unscrew the 4 screws located on the rear of the instrument
and remove rear case. This can be difficult especially after
a long period, but if done gradually, at each corner, the case
will come apart. Replace the AA battery noting polarity.
Refit rear case and refit screws taking care not trap/pinch
the seal. Tighten the screws evenly but do not overtighten
as this will affect the instrument water resistance.
WARNING
IPA and other solvents may cause damage to the case and
screen of this instrument.
RADIO CERTIFICATIONS
This equipment has been tested and found to comply with the limits for a
Class B digital device, pursuant to part 15 of the FCC Rules. These limits
are designed to provide reasonable protection against harmful interference
in a residential installation. This equipment generates, uses and can radiate
radio frequency energy, and if not installed and used in accordance with
the instructions, may cause harmful interference to radio communications.
However, there is no guarantee that interference will not occur in a particular
installation. If this equipment does cause harmful interference to radio or
television reception, which can be determined by turning the equipment off and
on, the user is encouraged to try to correct the interference by one or more of
the following measures:
• Reorient or relocate the receiving antenna.
• Increase the separation between the equipment and receiver.
• Connect the equipment into an outlet on a circuit different from that to
which the receiver is connected.
• Consult the dealer or an experienced radio/TV technician for help.
This device complies with Industry Canada license-exempt RSS standard(s).
Operation is subject to the following two conditions: (1) this device may not
cause interference, and (2) this device must accept any interference, including
interference that may cause undesired operation of the device.
Le présent appareil est conforme aux CNR d'Industrie Canada applicables
aux appareils radio exempts de licence. L'exploitation est autorisée aux deux
conditions suivantes: (1) l'appareil ne doit pas produire de brouillage, et (2)
l'utilisateur de l'appareil doit accepter tout brouillage radioélectrique subi,
même si le brouillage est susceptible d'en compromettre le fonctionnement.
Under Industry Canada regulations, this radio transmitter may only operate
using an antenna of a type and maximum (or lesser) gain approved for the
transmitter by Industry Canada. To reduce potential radio interference to other
users, the antenna type and its gain should be so chosen that the equivalent
isotropically radiated power (e.i.r.p.) is not more than that necessary for
successful communication.
Conformément à la réglementation d'Industrie Canada, le présent émetteur
radio peut fonctionner avec une antenne d'un type et d'un gain maximal
(ou inférieur) approuvé pour l'émetteur par Industrie Canada. Dans le but
de réduire les risques de brouillage radioélectrique à l'intention des autres
utilisateurs, il faut choisir le type d'antenne et son gain de sorte que la
puissance isotrope rayonnée équivalente (p.i.r.e.) ne dépasse pas l'intensité
nécessaire à l'établissement d'une communication satisfaisante.
