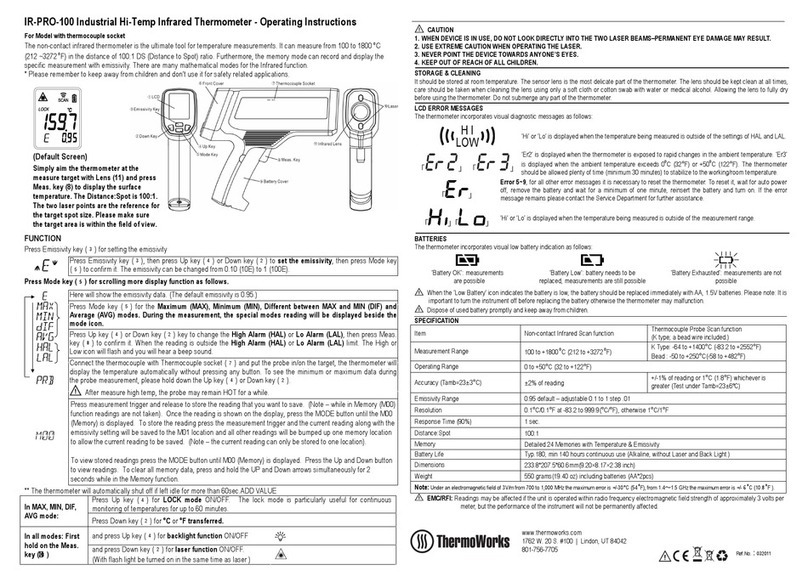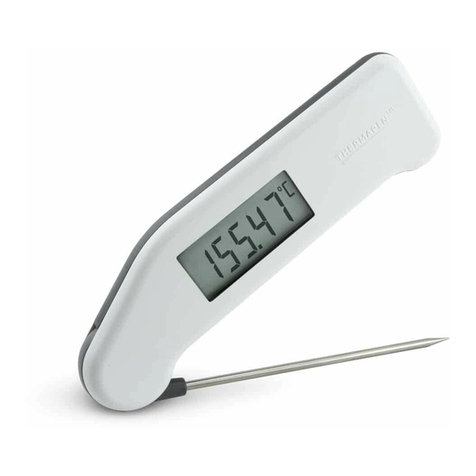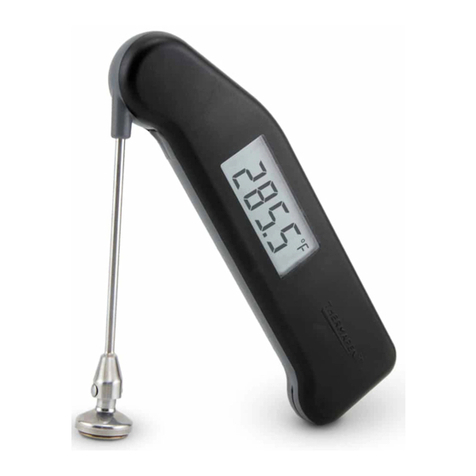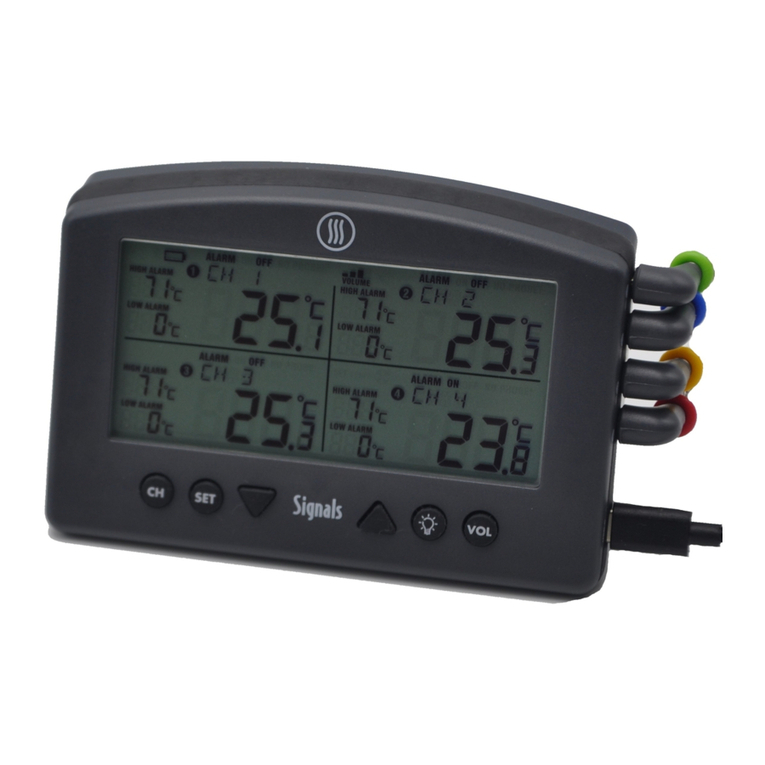
INSTRUMENT OPERATION - The instrument
continuously displays and measures temperature.
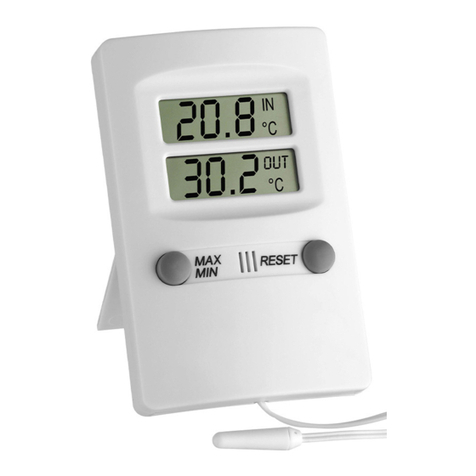
ThermaGuard incorporates fixed internal/external
sealed thermistors for slow-moving, high accuracy
applications.
The normal display for the instrument is to show the
probe temperature and the MIN/MAX readings for the
selected probe.
FAULTY PROBE - If the probe has developed an
‘Open Circuit’ fault the instrument will display ‘Err’.
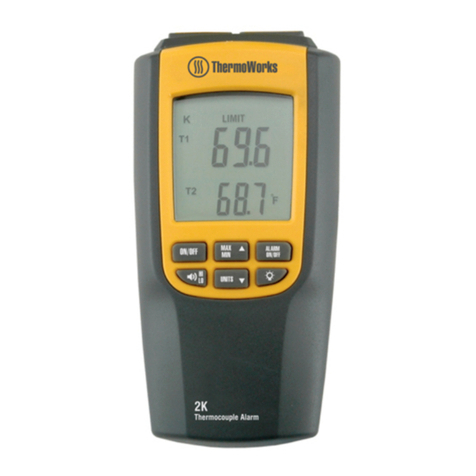
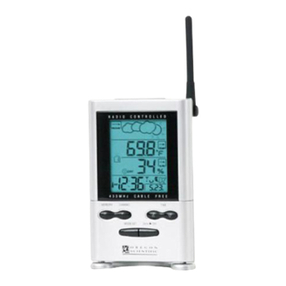
SENSORS - The LCD displays one sensor at a time.
When in normal display, press MODE to alternate
between sensors. Sensor 1 is the upper probe (or
internal Sensor) and Sensor 2 is the lower probe, as
noted on the rear label. If the measured temperature
exceeds the instruments temperature range ’Err’ will
be displayed.
°C/°F - When in normal display press and hold the
SET button for 5 seconds to change between °C and
° F.
MIN/MAX - The MIN/MAX temperatures are
displayed in the lower sections of the LCD. Press and
hold MODE for 3 seconds to reset the readings for
the selected probe, ‘rSt’ will be displayed. The MIN/
MAX readings are not retained when the batteries are
replaced.
SETTING ALARMS - Press ALARM to display the
Lo/Hi alarm levels, hold SET for 3 seconds to enter
alarm set-up. ‘SET’ will be displayed with ‘Lo’
flashing. Use the Up/Down arrows to adjust the
alarm, then press SET to save. Repeat the steps to
set-up ‘Hi’ alarm. Press SET to save and exit alarm
set-up. To set the alarm levels for the other sensor,
change the displayed sensor and repeat the alarm
set-up procedure.
ALARMS - Press ALARM and the Lo/Hi alarm levels
will be displayed instead of MIN/MAX. Press ALARM
again to return, alternatively it will return back to
normal display after 10 seconds.
If an alarm is triggered, the alarm and the alarm
symbol will flash, as well as an audible alarm, unless
muted.
Press any button to silence the alarm; the LCD will
continue to flash until it comes out of alarm.
ALARM VOLUME - When in normal display press
and hold ALARM for 5 seconds to mute/un-mute the
alarm volume. The alarm symbol and ON/OFF will be
displayed.
CALCHECK - To check the accuracy of the
thermometers electronics, while in normal display
press and hold the ALARM & SET buttons for 3
seconds, the unit will display 32°F.
BATTERY REPLACEMENT - The instrument displays
a battery symbol which will warn you of half and
low battery, at which point the batteries should be
changed.
You will require a flat-headed screwdriver. Place
the instrument display-down on a solid surface,
unscrew and remove the battery cover on the rear of
the instrument. Remove batteries, disposing of them
appropriately. Fit 2x AA batteries, noting the polarities
marked on the plastic. Replace the battery cover and
tighten the screw, do not use excessive force. The
instrument will then start automatically.
WARNING - IPA and other solvents may cause
damage to the case and screen of this instrument.
GUARANTEE - This instrument carries a two-year
warranty against defects in either components
or workmanship. During this period, products
that prove to be defective will, at the discretion of
ThermoWorks, be either repaired or replaced without
charge. This warranty does not apply to probes,
where a six-month period is offered. Full details of
liability are available within ThermoWorks’ Terms
& Conditions of Sale at www.thermoworks.com/
product-warranty.
