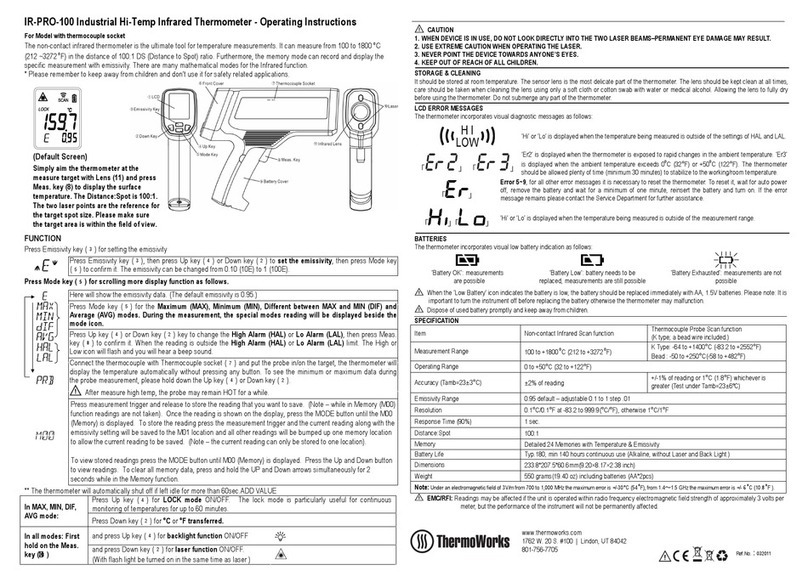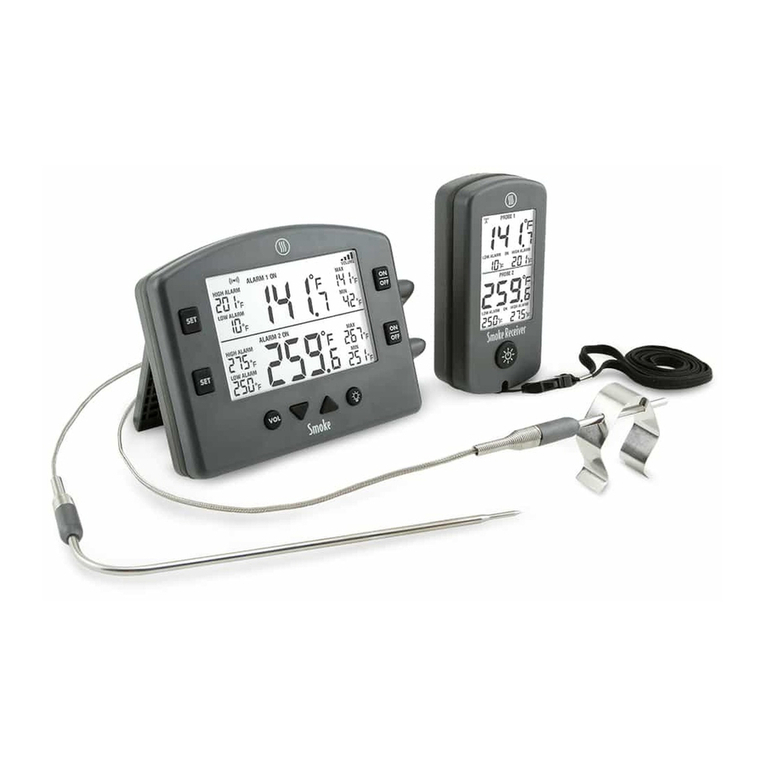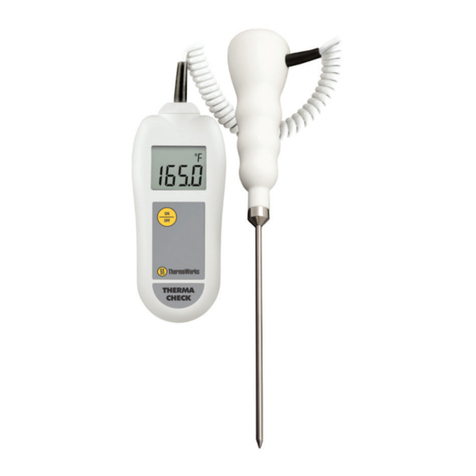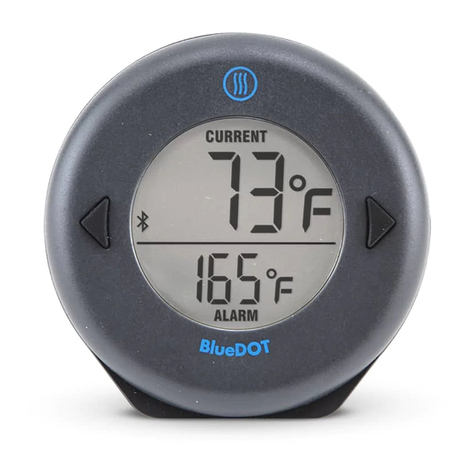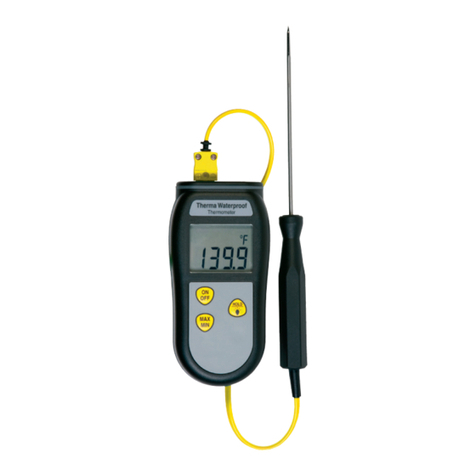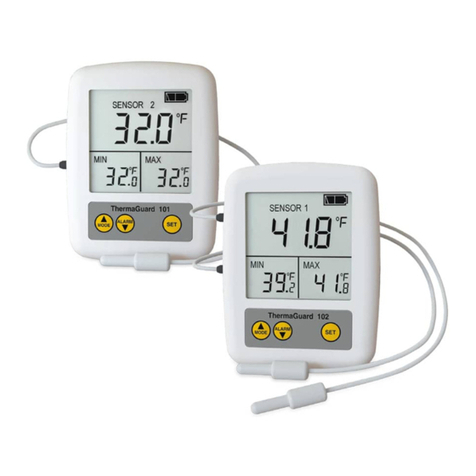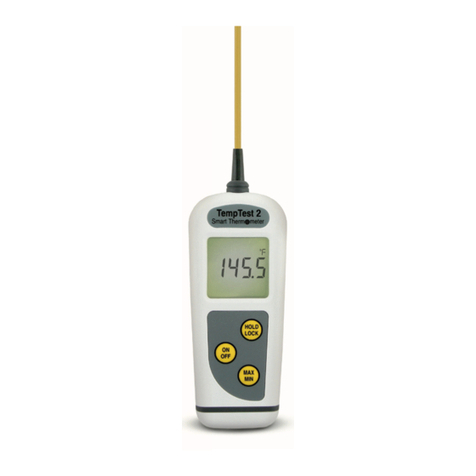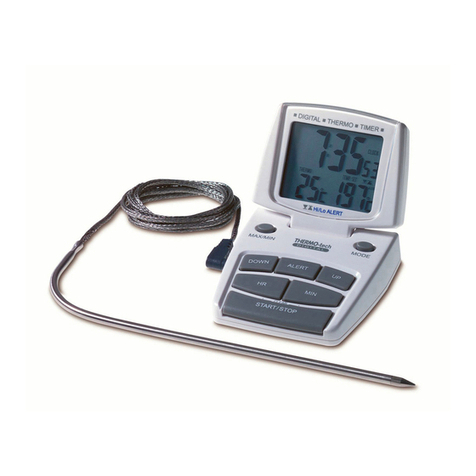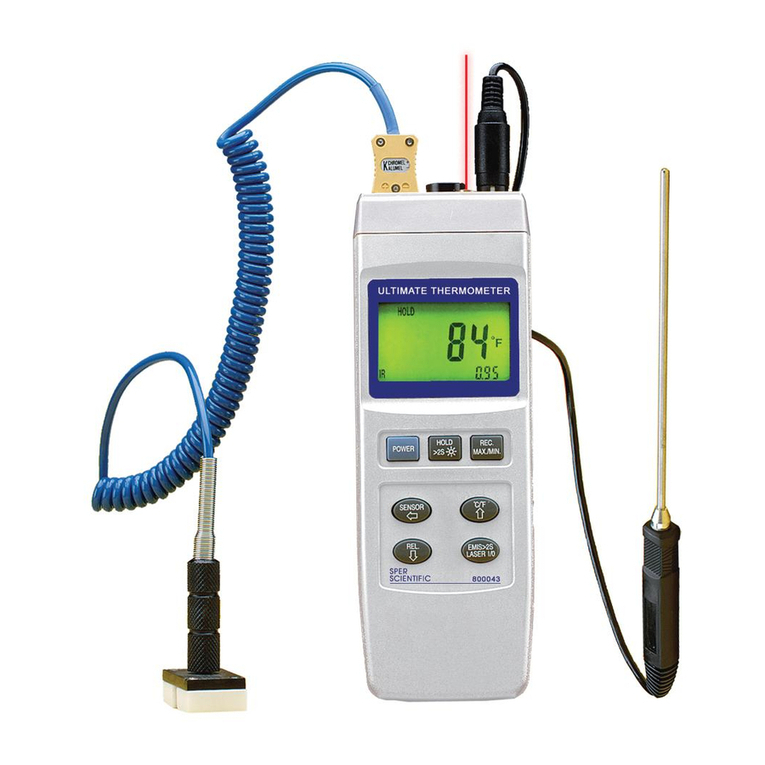
INSTRUMENT OPERATION - Connect a probe via
the socket located on the top of the instrument
(where applicable). Screw the collar of the plug,
finger-tight to ensure a secure connection (do not
over tighten). The instrument is switched on by
pressing the ON/OFF button. Apply the tip of the
probe to the substance, medium or surface to be
measured. The instrument reading may take a few
seconds to stabilize, depending on the nature of the
measurement and sensitivity of the probe.
HOLD - Press the HOLD button to freeze the display.
Press again to continue measuring.
MAX/MIN - Press the MAX/MIN button to display the
values. The instrument retains the max/min values
when switched off.To reset, press the MAX/MIN
button for three seconds, 'rst' will be displayed.
AUTO-OFF - The unit will switch off automatically
after 10 minutes. To disable auto off press the HOLD
button while switching on the instrument (this is
reset when the instrument is switched off).
TRIM - PRECISION, PRECISION PLUS &
REFERENCE ONLY - Press the MAX/MIN and ON/
OFF buttons at start-up for five seconds to enter
(Offset is displayed). Press HOLD (up) or MAX/MIN
(down) to set the trim value (maximum of ±2.00°C).
Press the ON/OFF button to save the value and exit
Trim mode.
OPEN CIRCUIT/FAULTY PROBE - If the probe has
developed an 'Open Circuit' fault the instrument will
display 'Err'.
SENSORS - This instrument should only be used
with PT100 (platinum resistance probes, 0°C = 100
ohms) BS EN 60751 fitted with suitable miniature
plug (where applicable).
BATTERY REPLACEMENT - The instrument will
display 'LO BAT' to warn that the batteries will
need changing soon. The instrument continues
to measure accurately but after further usage the
instrument will display 'flat bat' and shutdown.
Replace the batteries with three AAA batteries
located under the rear cover that is held in place by a
single screw.
GUARANTEE - This instrument carries a two-year
warranty against defects in either components
or workmanship. During this period, products
that prove to be defective will, at the discretion of
ThermoWorks, be either repaired or replaced without
charge. This warranty does not apply to probes,
where a six-month period is offered. The product
warranty does not cover damage caused by fair wear
and tear, abnormal storage conditions, incorrect use,
accidental misuse, abuse, neglect, misapplication
or modification. Full details of liability are available
at www.thermoworks.com. In line with our policy
of continuous development, we reserve the right to
amend our product specification without prior notice.
SPECIFICATIONS
Probe Wiring Diagram
PT100 Binder Plug Wiring
Precision / Precision Plus Thermometers
-328 to 1562°F (-200 to 850°C)
±0.4°F (±0.2°C) meter only
0.1°
3 or 4-wire RTD Class A, 100ohms
±0.1°F (±0.05°C) meter only
0.01° Auto-Ranging to 0.1° above 199.9°
3 or 4-wire RTD 1/10 DIN, 100 ohms
Interchangeable
After 10 min. to save battery life
3 x AAA, 2,000 hrs.
On/Off, HOLD, Min/Max, TRIM, °C/°F
NIST-Traceable Certificate included
Precision / Precision Plus Thermometers
Pin numbering as viewed from rear
2
3
1 5
4
Reference Thermometer
-328 to 400°F (-200 to 200°C)
±0.1°F (±0.05°C)
0.01°
4W RTD 1/10 DIN
Fixed
3 x AAA, 2,000 hrs.
On/Off with °C/°F
UKAS Accredited Certificate included
Function
+
+
- (3 Wire)
- (4 Wire)
Shield
Range:
Accuracy (Precision):
Resolution (Precision):
Sensor (Precision):
Accuracy (Precision Plus):
Resolution (Precision Plus):
Sensor (Precision Plus):
Probe:
Auto-Off:
Battery:
Buttons/Functions:
Certificate:
Range:
Accuracy:
Resolution:
Sensor:
Probe:
Battery:
Buttons/Functions:
Certificate:
Pin
1
2
3
4
5


