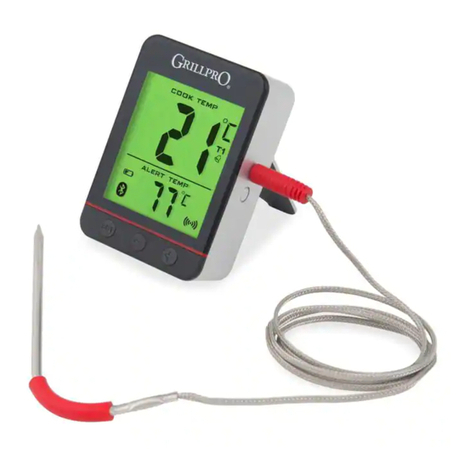
INSTRUMENT OPERATION - Where applicable, connect a probe
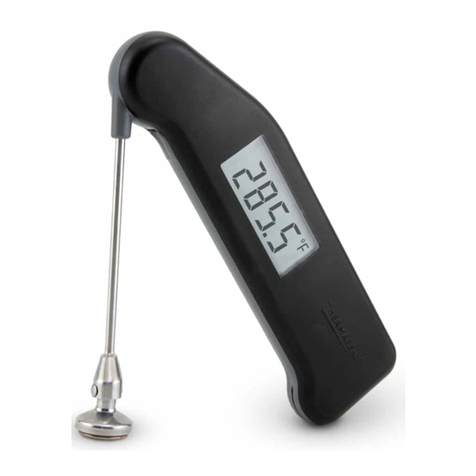
via the socket located on the front of the instrument. Switch the
instrument on and apply the tip of the probe to the substance or
medium to be measured. The instrument reading may take a few
seconds to stabilize, depending on the nature of the measurement
and sensitivity of the probe.
ON/OFF - To turn the instrument on press the ON/OFF button. All
display segments will be tested. When turning off, the unit will
remember the last settings and restart with the same configuration.
The unit is now ready to measure temperature. To turn the
instrument off press the ON/OFF button. ‘Saving data’ followed by
‘Product OFF’ will be displayed in the text line.
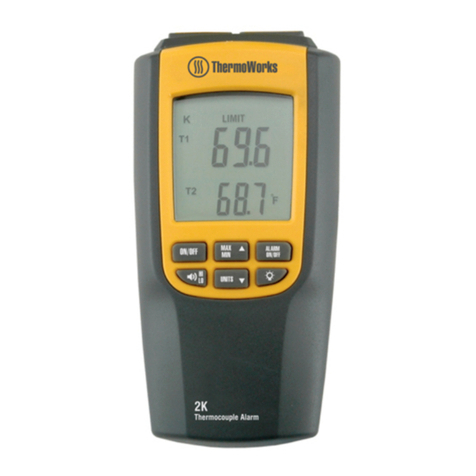
DISPLAY - The display has two sections. The main section is a
4½-digit temperature display located in the lower half of the viewing
area, where measured values are displayed. The other section is a
12-digit alpha/numeric dot matrix text line, located at the top of the
viewing area, above the temperature display. Set-up information and
command prompts will be displayed here.
RESOLUTION - The unit resolution will be 0.1°, within the range
±1999.9° and will be 1° outside of this.
AUTO-OFF - Auto-off is set at 30 minutes. This can be disabled. In
ambient measurement mode the auto-off is fixed at 10 minutes.
AMBIENT MEASUREMENT - This facility allows the internal CJC
temperature of the unit to be measured. This allows the user to
determine if the unit has sufficiently acclimatized. Acclimatiz ation
is crucial for accurate measurement. Start the unit by pressing and
releasing the ON/OFF button while pressing the HOLD and MAX/MIN
buttons. Do not release the HOLD and MAX/MIN buttons until the
software revision is displayed.
°C/°F - °C or °F is selectable in the Parameter Set-Up Menu.
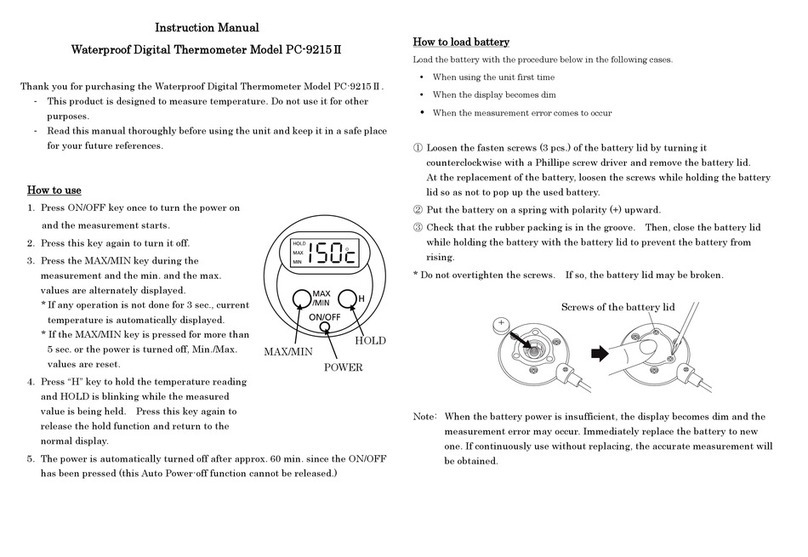
HOLD - Press the HOLD button to hold the reading. ‘HOLD’ will
illuminate in the display. Press again to release hold.
MAX/MIN - Press the MAX/MIN button to show the max
temperature in the dot matrix text line. Press again to show the
minimum temperature. Press again to show the T/C type. Max and
Min values will be cleared when instrument changes from °C to °F
and vice versa or is switched off. Max/Min values can be cleared in
the Parameter Set-up Menu.
TRIM FUNCTION - This function allows a constant temperature
offset to be entered to compensate for thermocouple probe
tolerances. The trim value is selectable in the Parameter Set-Up
Menu. Maximum trim value is ± 4.5°F (2.5°C). The trim value will
be displayed in the text line at start-up if it is not equal to zero.
INTERNAL/EXTERNAL CJC (COLD JUNCTION COMPENSATION)
- The unit will automatically adjust the thermocouple input to allow
for changes in the ambient temperature when the CJC is set to
‘INTERNAL’. Use CJC ‘EXTERNAL’ if the input is being wired through
an “ice point reference”. When using an “ice point reference”,
copper wires must be used from the reference to the MicroTherma
input. This is selectable in the Parameter Set-Up Menu.
UNDER OR OVER RANGE/OPEN CIRCUIT - ‘Range Error’ will be
displayed in the text line if the measured temperature is outside the
range of the instrument. ‘Range Error’ will also be displayed if the
sensor is open circuit.
BUTTON FUNCTION IN THE PARAMETER SET-UP MENU -
Press the MODE button to enter the parameter set-up menu. The
parameter and its current setting will be shown in the text line.
Press the MODE button to move to the next parameter. Use either
the HOLD or MAX/MIN button to change setting (i.e. Y to N, °C to °F,
Internal CJC to External CJC). When setting display contrast press
and hold the HOLD button to increase contrast (darken the display)
and the MAX/MIN button to decrease contrast (lighten the display).
Press both HOLD and MAX/MIN buttons together to return to the
factory default. When adjusting the trim function press the HOLD
button to increase the value and the MAX/MIN button to decrease
the value. Press both HOLD and MAX/MIN buttons together to return
to zero trim value. When all parameters have been scrolled through,
‘End of list’ will be displayed while the settings are saved. Press the
MODE button to enter the parameter set up menu.
Parameter Set-up Menu List:
Temp in <°C> <°F>
<Internal CJC> <External CJC>
Set Trim = <Y> <N>
Auto-Off <Y> <N>
Clr Mx/Mn <Y> <N>
Contrast Set
End of List
BATTERIES - ‘LO BAT’ indicates that the batteries need replacing as
soon as possible. The unit will continue to function but to maintain
accuracy new batteries are required. Replace 2x batteries with AAA,
1.5 volt alkaline batteries. If ‘Battery Flat’ is displayed in the text line
the instrument has detected that there is insufficient battery voltage
left to function correctly. The instrument will shut down and will not
measure again until new batteries have been installed.
EMC/RFI - Readings may be affected if the unit is operated within
a radio frequency electromagnetic field strength of approximately 3
volts per meter, but the performance of the instrument will not be
permanently affected.
