manuals.online logo
Brands
  1. Home
  2. •
  3. Brands
  4. •
  5. Thetford
  6. •
  7. Plumbing Product
  8. •
  9. Thetford Aqua-Magic 34120 User manual

Thetford Aqua-Magic 34120 User manual

Part No.
N° de pièce
Pieza n.° 34120
Made in the U.S.A.
Fabriqué aux É.-U.
Hecho en EE. UU.
P.O. Box 1285
Ann Arbor, MI 48106
www.thetford.com
Questions?/Des questions?/¿Preguntas? 1-800-543-1219
1
Printed in U.S.A./Imprimé aux É.-U./Impreso en EE. UU. Part/N° de pièce/Pieza n.° 42114 Rev. B 04/10/2012
Aqua-Magic®
Plus, Style II,Residence
Waste Ball Seal Kit
Ensemble de joints pour bille
de la vanne d’eaux usées,
Aqua-Magic® Plus,
Style II, Residence
Juego de juntas para la bola
de la válvula de descarga
Aqua-Magic® Plus, Estilo II,
Residence
Tools Needed:
■Basic Hand Tools
Warranty
Review the one-page warranty statement
included in the information packet.
Warning! Wear protective gloves
and eyewear when you touch material that
has been in contact with human waste.
!
Warning! Disinfect your tools and
work surface after you complete this
replacement procedure.
!
REDUCE HOLDING TANK ODOR:
Rinse the toilet with water, drain the hold-
ing tank, and add Thetford Holding Tank
Deodorant
.
.
P1
Preparation / Préparation / Preparación
1
1
1. Wash toilet.
2. Turn off water.
3. Flush to drain toilet.
4. Drain holding tank.
5. Add Thetford Holding Tank Deodorant.
1. Laver la toilette.
2. Fermer l’arrivée d’eau.
3. Actionner la chasse d’eau.
4. Vider le réservoir d’eaux usées.
5. Ajouter du désodorisant de réservoir
d’eaux usées Thetford.
1. Lavar el inodoro.
2. Cerrar el agua.
3. Descargar para vaciar el inodoro.
4. Vaciar el tanque de retención.
5. Añadir el desodorante del tanque
de retención Thetford.
Note:If space permits, repair without
removing the toilet! Remarque :Si l’espace le permet,
réparer sans enlever la toilette! Nota:¡Si hay espacio suficiente, hacer la
reparación sin desmontar el inodoro!
P2
Outils requis :
■Outils à main de base
Garantie
Consultez la page de déclaration
de garantie incluse dans la trousse
d’information.
Avertissement! Portez des
gants et des lunettes de protection lorsque
vous touchez à du matériel ayant été en
contact avec des déchets humains.
!
Avertissement! Désinfectez vos
outils et votre surface de travail une fois
cette procédure de remplacement terminée.
!
POUR RÉDUIRE L’ODEUR DU
RÉSERVOIR D’EAUX USÉES :
Rincez la toilette avec de l’eau, videz le
réservoir et ajoutez le désodorisant de
réservoir d’eaux usées Thetford.
Herramientas necesarias:
■Herramientas manuales básicas
Garantía
Consulte la hoja de declaración de la
garantía incluida en este paquete de
información.
¡Advertencia! Lleve puestos
gafas y guantes protectores al tocar
materiales que hayan estado en contacto
con desechos humanos.
!
¡Advertencia! Desinfecte las
herramientas y la superficie de trabajo tras
finalizar el procedimiento de reemplazo.
!
PARA REDUCIR EL OLOR DEL
TANQUE DE RETENCIÓN: Enjuague
el inodoro con agua, vacíe el tanque de
retención y añada desodorante de tanques
de retención Thetford.
Style II, Style Plus, Style Residence
2
www.thetford.com
STYLE PLUS / STYLE PLUS / STYLE PLUS
T000040A
1. Press H and hold.
2. Unhook
N(2x); separate I and
remove. Set aside.
3. Place
A.
4. Loosen/Remove
B.
5. Remove
C(2x).
6. Remove
D / E (still attached); set
aside.
1. Appuyer sur
Het maintenir appuyé.
2. Décrocher
N(2x); séparer Iet enlever.
Mettre de côté.
3. Placer
A.
4. Deserrer et enlever B.
5. Enlever
C(2x).
6. Enlever
D / E (encore fixés); mettre
de côté.
T000040A
H
D
C
I
Towel / Serviette / Toalla
A
E
!
Flat side down!
Côté plat en dessous!
¡Lado plano hacia abajo! P1
Remove Toilet / Enlever la toilette / Desmontar el inodoro
2
2
1. Presionar Hsin aflojar.
2. Desmontar
N(2x); separar Iy
desechar. Poner de lado.
3. Colocar
A.
4. Aflojar/Retirar B.
5. Quitar
C(2x).
6. Quitar
D / E (siguen conectados);
poner de lado.
ART00175-1
B
N
1. Remove (old) P1; install new P1 into
bottom of E.
2. Place
D / E; align holes to floor. Se-
cure with C (2x); do NOT overtighten!
3. Connect B.
4. Press down
Hand hold.
5. Wrap
Iaround E; secure with N(2x).
6. Turn on water supply.
7. Flush to test; check for leaks at all
connections.
!
Replace Toilet / Replacer la toilette / Volver a colocar el inodoro
4
4
1. Enlever (ancien joint) P1; installer
(nouveau joint) P1 au fond de E.
2. Placer
D / E; aligner les trous sur le
plancher. Fixer avec C(2x); ne PAS
trop serrer!
3. Raccorder
B.
4. Appuyer sur
Hmaintenir.
5. Replacer I autour de E; fixer avec
N(2x).
6. Réouvrir l’alimentation d’eau.
7. Actionner la chasse d’eau et vérifier
qu’il n’y a aucune fuite.
!
1. Quitar P1 (antigua); instar P1 nueva en
el fondo de E.
2. Colocar
D / E; alinear los orificios con
los del piso. Afianzar con C(2x); ¡NO
apretar demasiado!
3. Conectar
B.
4. Presionar
Hsin aflojar.
5. Colocar
Ienvolviendo a E; afianzar con
N(2x).
6. Abrir el suministro del agua.
7. Hacer una descarga de prueba; revisar
todas las conexiones para ver si
hay fugas.
!
1. Separate D and E.
Séparer Det E.
Separar Dy E.
2. Remove
J and K (4x).
Enlever Jet K(4x).
Quitar J y K(4x).
3. Remove
D, set aside.
Enlever D, mettre de côté.
Quitar D; poner de lado.
4. Remove (old)
P2; install (new) P2.
Enlever (ancien joint) P2; installer
(nouveau joint) P2.
Quitar P2 (antiguo); instalar P2
(nuevo).
ART00174-2
D
E
P2
J
Plastic against china, then
metal!
Le plastique contre la
porcelaine, puis le métal!
¡El plástico contra la
porcelana, y luego el metal!
!
K
Replace Part / Remplacer la pièce / Cambiar la pieza
3
3
5. Place Don E. Look into D;
verify alignment with P2.
Placer Dsur E. Regarder
dans D; vérifier l’alignement
avec P2.
Colocar Dsobre E.
Inspeccionar hacia adentro de
D; verificar alineación con P2.
6. Pump
Hto verify P2 and
related parts function properly.
Pomper Hpour vérifier le
fonctionnement de P2 et des
autres pièces.
Bombear Hpara verificar el
funcionamiento correcto de
P2 y las partes conexas.
7. Secure by placing J and K(4x).
Fixer le tout avec Jet K(4x).
Afianzar con Jy K(4x).
!
Style II, Style Plus, Style Residence
3
www.thetford.com
STYLE II, RESIDENCE / STYLE II, RESIDENCE / ESTILO II, RESIDENCE
1
Remove Toilet / Enlever la toilette / Desmontar el inodoro
2
2
1. Place A.
Placer A.
Colocar A.
2. Loosen and remove B.
Desserrer et enlever B.
Aflojar y sacar B.
3. Remove C(2x).
Enlever C(2x).
Quitar C(2x).
4. Remove toilet (D / E still
attached).
Enlever la toilette (D/ E encore
fixés).
Sacar el inodoro (D / E siguen
conectados).
5. Squeeze Fto disconnect G.
Pincer Fpour débrancher G.
Apretar Fpara desconectar G.
Towel / Serviette / Toalla
ART00173-9A
ART00173-9A
A
B
D
G
C
E
F
2
Towel / L
ART00173-11A
B
Replace Toilet / Replacer la toilette / Volver a colocar el inodoro
4
4
1. InstallP1 to bottom of E.
Enlever P1 au fond de E.
Instalar P1 en el fondo de E.
2. Slide L(2x) into M.
Glisser L(2x) dans M.
Deslizar L(2x) en M.
3. Place toilet (D / E attached) on
floor and align holes.
Placer la toilette (D / E fixés)
sur le plancher et aligner les
trous.
Colocar el inodoro (D / E
siguen conectados) en el piso;
alinear los orificios.
4. Secure with C (2x); DO NOT
over tighten!
La fixer avec C(2x); NE PAS
trop serrer!
Afianzar con C(2x); ¡NO
apretar demasiado!
!
!
!
5. Pump Hto verify related parts
function properly.
Pomper Hpour vérifier le
fonctionnement des pièces.
Bombear Hpara verificar el
funcionamiento correcto de las
partes conexas.
6. Squeeze F; reattach G.
Pincer F; rebrancher G.
Apretar F; reconectar G.
7. Reconnect B. DO NOT cross-
thread or over tighten!
Rebrancher B. NE PAS visser de
travers ni trop serrer!
Reconectar B. ¡NO pelarse la rosca
ni apretar demasiado!
8. Turn on water supply. Flush to test;
check for leaks at all connections.
Réouvrir l’alimentation d’eau.
Actionner la chasse d’eau et vérifier
qu’il n’y a aucune fuite.
Abrir el suministro del agua. Hacer una
descarga de prueba; revisar todas las
conexiones para ver si hay fugas.
!
!
!
Flat side down!
Côté plat en
dessous!
¡Lado plano
hacia abajo!
Towel / Serviette / Toalla
ART00173-9B
HK
G
B
!
L
M
D
!
F
E
P1
C
4
1. Remove J(2x).
Enlever J(2x).
Sacar J(2x).
2. Hold E; rotate D to separate.
Maintenir E; tourner Dpour séparer.
Sujetar E; girar Dpara separar.
3. Remove D, set aside.
Enlever D, mettre de côté.
Quitar D; poner de lado.
4. Remove (old) P2; install (new) P2.
Enlever(ancien joint)P2; installer
(nouveau joint) P2.
Quitar P2 (antigua); instalar P2 (nueva).
D
E
P2
J
Replace Part / Remplacer la pièce / Cambiar la pieza
3
3
5. Place Don E; rotate to lock into
place. Look into D; verify alignment
with P2.
Placer Dsur E; tourner pour bloquer
en place. Regarder dans D; vérifier
l’alignement avec P2.
Colocar Dsobre E; girar para
bloquearlo en su sitio. Inspeccionar
hacia adentro de D; verificar
alineación con P2.
6. Pump Hto verify P2 and related
parts function properly.
Pomper Hpour vérifier le
fonctionnement de P2 et des
autres pièces.
Bombear Hpara verificar el
funcionamiento correcto de P2 y
partes conexas.
7. Secure by placing J(2x).
Fixer le tout avec J(2x).
Afianzar con J(2x).
P2
ART00173-3

Other Thetford Plumbing Product manuals

Thetford 2384978 Setup guide

Thetford

Thetford 2384978 Setup guide

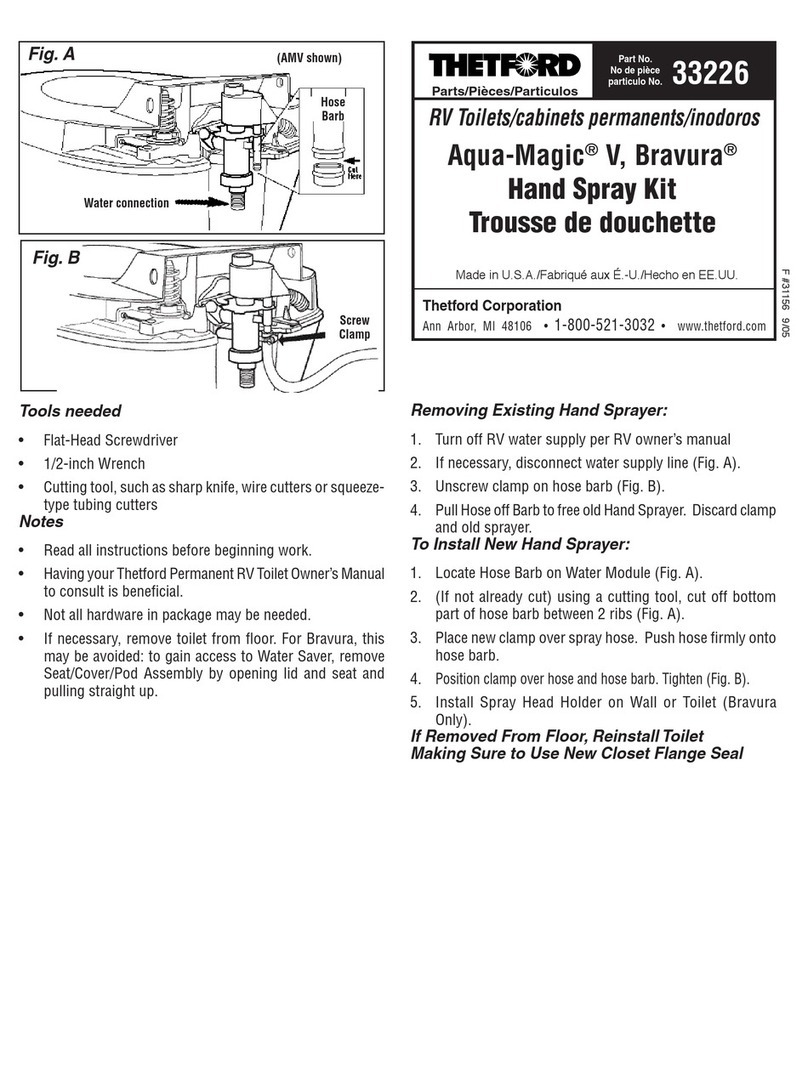
Thetford 33226 User manual

Thetford

Thetford 33226 User manual

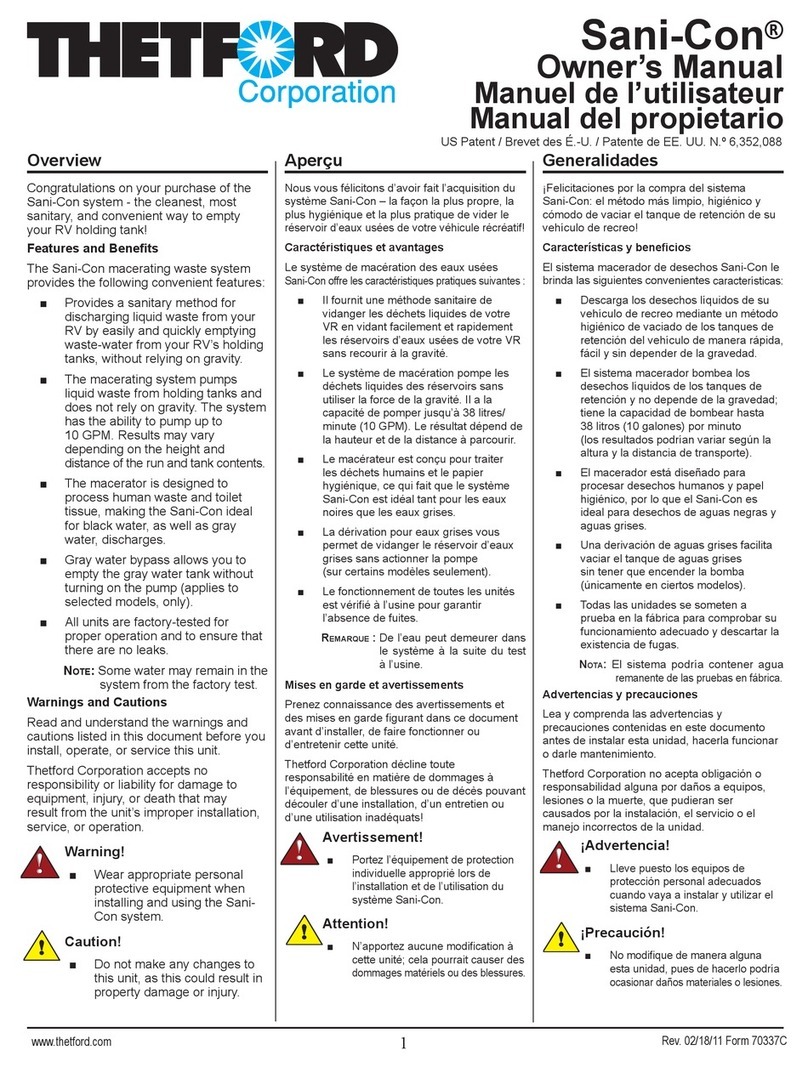
Thetford Sani-Con User manual

Thetford

Thetford Sani-Con User manual

Thetford Tecma Silence 2G-RV User manual

Thetford

Thetford Tecma Silence 2G-RV User manual

Thetford Sanicon Turbo 500 User manual

Thetford

Thetford Sanicon Turbo 500 User manual

Thetford Aqua-Magic V User manual

Thetford

Thetford Aqua-Magic V User manual

Thetford 23709 Setup guide

Thetford

Thetford 23709 Setup guide
Thetford 92909 Series Setup guide

Thetford

Thetford 92909 Series Setup guide

Thetford 100 Series User manual

Thetford

Thetford 100 Series User manual

Thetford SmartTote User manual

Thetford

Thetford SmartTote User manual

Thetford 19833 User manual

Thetford

Thetford 19833 User manual

Thetford EasyFit User manual

Thetford

Thetford EasyFit User manual

Thetford Sani-Con Turbo User manual

Thetford

Thetford Sani-Con Turbo User manual

Thetford Aqua-Magic 33186 User manual

Thetford

Thetford Aqua-Magic 33186 User manual

Thetford Aqua-Magic STYLE PLUS User manual

Thetford

Thetford Aqua-Magic STYLE PLUS User manual

Thetford Style Plus Lite & II 34122 User manual

Thetford

Thetford Style Plus Lite & II 34122 User manual

Thetford ELECTRA MAGIC User manual

Thetford

Thetford ELECTRA MAGIC User manual

Thetford 51802 Setup guide

Thetford

Thetford 51802 Setup guide

Thetford C500 User manual

Thetford

Thetford C500 User manual
Thetford XR17200 User manual

Thetford

Thetford XR17200 User manual
Popular Plumbing Product manuals by other brands

Porcelanosa KRION SMART 100233169 PRE-INSTALLATION AND INSTALLATION MANUAL

Porcelanosa

Porcelanosa KRION SMART 100233169 PRE-INSTALLATION AND INSTALLATION MANUAL

KWC Designo K.13.H1.42.000 Specifications

KWC

KWC Designo K.13.H1.42.000 Specifications

Wellis Bellini ACS0212 Instruction guide

Wellis

Wellis Bellini ACS0212 Instruction guide

Sanipex AQUAECO AQP-OUT-R655 Series installation guide

Sanipex

Sanipex AQUAECO AQP-OUT-R655 Series installation guide

Allen + Roth 1789VA-30-310 instruction manual

Allen + Roth

Allen + Roth 1789VA-30-310 instruction manual

Mora armatur Tronic Solid 720072 Instruction

Mora armatur

Mora armatur Tronic Solid 720072 Instruction

Wilo HiDrainlift 3 Series Installation and operating instructions

Wilo

Wilo HiDrainlift 3 Series Installation and operating instructions

Tavistock Micra TS100WSC Installation & dimensions

Tavistock

Tavistock Micra TS100WSC Installation & dimensions

Moen 8701 Series manual

Moen

Moen 8701 Series manual

Spectrum Brands Pfister Winfield LG49-WF0 Quick installation guide

Spectrum Brands

Spectrum Brands Pfister Winfield LG49-WF0 Quick installation guide

ProFlo PFX3085 quick start guide

ProFlo

ProFlo PFX3085 quick start guide

IB RUBINETTERIE ELIO EO300 Fitting instructions

IB RUBINETTERIE

IB RUBINETTERIE ELIO EO300 Fitting instructions

American Standard HAMPTON 7222.712 installation instructions

American Standard

American Standard HAMPTON 7222.712 installation instructions

Kalia NAJA Surfer KF1034 installation instructions

Kalia

Kalia NAJA Surfer KF1034 installation instructions

Bristan Artisan Installation instructions & user guide

Bristan

Bristan Artisan Installation instructions & user guide

Prier P-114 Series Installation, operation & maintenance instructions

Prier

Prier P-114 Series Installation, operation & maintenance instructions

Hans Grohe AXOR Urquiola 11024 1 Series Installation/User Instructions/Warranty

Hans Grohe

Hans Grohe AXOR Urquiola 11024 1 Series Installation/User Instructions/Warranty

Oras HANSA HANSALIGNA 0614 2201 Installation and maintenance guide

Oras

Oras HANSA HANSALIGNA 0614 2201 Installation and maintenance guide

manuals.online logo
manuals.online logoBrands
  • About & Mission
  • Contact us
  • Privacy Policy
  • Terms and Conditions

Copyright 2025 Manuals.Online. All Rights Reserved.