10
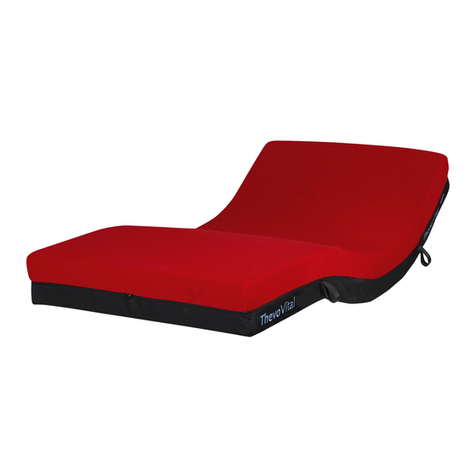
Start-up of ThevoSleepingStar
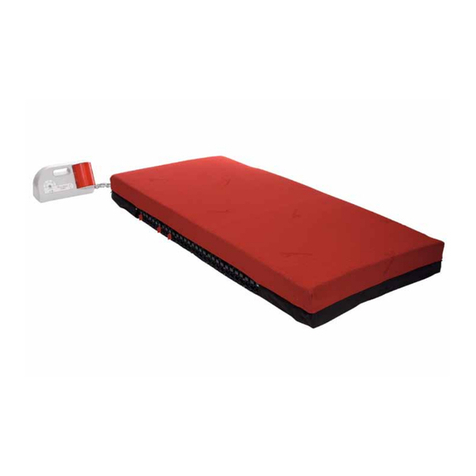
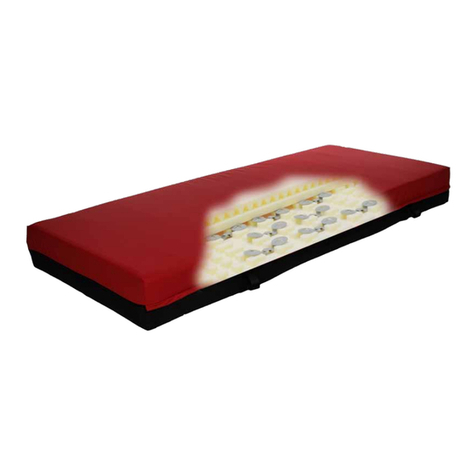
Please note, that the ThevoSleepingStar mattress is delivered in an extra carton. The system is delivered in two parts.
(Img. 5)
1. Please put the two parts close together, so that the side elements fit into each other. (Img. 6)
2. The connection thorns have to be pressed tight and flush into the side elements at the connection points 1- 6.(Img.
7 and 8)
3. Lay the black part of the cover on the existing slatted frame or inlay frame of the bed. Put the underframe on the
cover. Please pay attention to the label for the foot and head section. (Img. 9)
4. Pull the belt straps through the holes on the bottom side of the cover. (Img. 10)
5. Lay the mattress on the underframe. Put the blue part of the cover over mattress and underframe and close the
zipper. (Img. 11)
Important hint: ThevoSleepingStar can also be used without a pre-existing slatted frame. In this case the supporting
surfaces along the sides of the bed base must be at least 10 cm (3,9 “) wide.
Hint: If you have a bed with side rails you will probably need to use side rail extensions
6. The underframe of ThevoSleepingStar is safely fixed to the bed frame with the 4 (6) belts. Thread the belts through
the bottom holes of the active side element and then around the tubular frame of the bed. Thread the belt through the
buckle and pull it tight. To release the belt, open the buckle and pull out the belt. (Img. 12)
Attention:
If you have a height adjustable bed, please fix the belts to the lifting system.
Standard setting – step-by-step
1. Standard setting at delivery
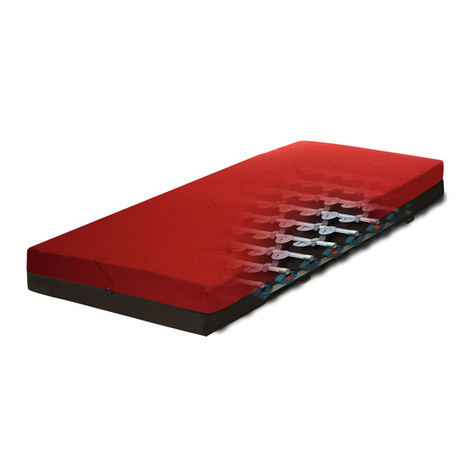
On delivery the adaptors of ThevoSleepingStar are all set vertically.
2. Adjusting the adaptors
To adjust the adaptors grab below the mattress and pull the flexible fibreglass-track slightly upwards. Now you can turn
the adaptor to the desired direction or rather remove it completely. Please ensure that the adaptor grips tight into the
stabiliser after every adjustment. Only this prevents from unintended turning of the adaptor.
• Vertical adjustment of the adaptors: stiff
• Horizontal adjustment of the adaptors: soft
• Adaptors removed: very soft
General:
Different fields of application require different adjustments of the system. The adjustment needs to be adapted individ-
ually to the kind of illness or disability, and the physique of the child. Gibbus, spasticity, skin diseases, the prevention
and treatment of pressure ulcers, reduction of pain etc. require different adjustments.
Pressure ulcers:
The adaptors have to be adjusted in that way that heavy and sticking out body areas are adjusted softer.
Example: the buttock zone should be positioned softer than the thighs.
For other illnesses the adjustment has to be carried out individually.
• Therapists, caregivers, and parents carry out the assessment.
• The adjustments should be checked after 1 hour. Inspect the skin, interview the child, and, if necessary, correct the
adjustments. A re-check of the adjustments should be made after 24 hours, and after 1 week; if necessary, another
correction should be made.
3. Moving / adjusting the flexible fibreglass-track
If required, the position of the flexible fibreglass-track in the side element can be changed. Firstly, take the adaptor
out off the side element. Push the flexible fibreglass-track out off the stabiliser (the stabiliser is situated underneath the
flexible fibreglass-track in the side element). (Img. 13) Now you can take the flexible fibreglass-track out off the side
element. Place the stabiliser in the desired position of the side element and slide in the flexible fibreglass-track. (Img.
14) Put in the adaptor again and turn it to the required position.
Instead of moving the flexible fibreglass-track you can also create softer areas (hollow positioning) and more stiff
areas.


