3
Arretierung
für Schaukelfunktion Item code: 63916
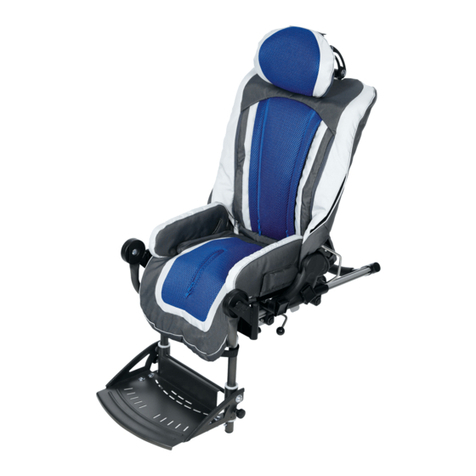
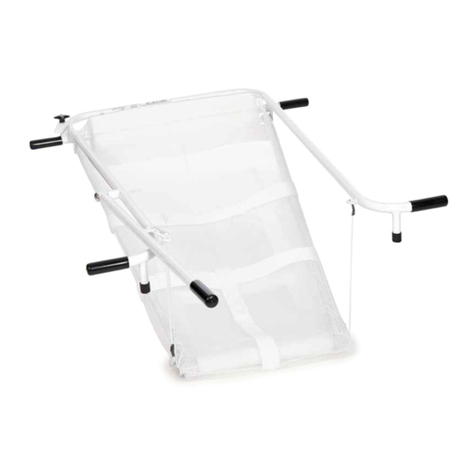
ThevoChair wie abgebildet vorsichtig seitlich kippen und auf einer sauberen Unterlage
ablegen. Die Arretierung muss an der abgebildeten Position, zwischen den beiden Rohren
unterhalb der Sitzfläche befestigt werden. (Abb. 1)
Teil B der Arretierung demontieren (Abb. 2).
Zur Montage der Arretierung das Teil A wie abgebildet von der Produkt-Vorderseite zwischen
den Rohren einsetzen. Der Hebel muss dabei zur Produkt-Rückseite zeigen. Der Metallbeschlag
sollte oberhalb des mittleren Metallsockels montiert werden. (Abb. 3)
Anschließend das Teil B an dem Teil A verschrauben, sodass die Rohre des ThevoChair jeweils
in den vorgesehenen Einkerbungen des Metallbeschlags liegen. Die Schraubverbindung fest
und sicher anziehen. (Abb. 4)
Den ThevoChair vorsichtig wieder aufrichten. Die Arretierung wird von der Produkt-
Rückseite bedient. Zum Arretieren der Schaukelfunktion muss der Hebel nach oben
umgelegt werden (Abb. 5), zum Lösen der Arretierung nach links (Abb. 6).
Achtung: Greifen Sie nicht mit den Fingern in die Arretier-Vorrichtung. Bedienen Sie die
Arretiervorrichtung nicht bei schaukelndem Sessel.
Locking Mechanism
for Rocking Motion Item code: 63916
Carefully tip the ThevoChair on the side and lay it on a clean surface. The locking
mechanism has to be installed at the marked position between both metal tubes under the
seating surface. (Fig. 1)
Please remove bolt from part B of the locking mechanisms (Fig. 2).
Insert part A as shown from the front side of the product between the tubes. Make sure
that the lever is pointed to the back of the product. The metal bracket should be positioned
above the middle metal base. (Fig. 3)
Afterwards please screw part B and A together and make sure that the tubes of the
ThevoChair are located in the provided indentation of the metal bracket. Please tighten the
screw and secure. (Fig. 4)
Carefully turn up the ThevoChair again. Please use locking mechanism from the back side
of the product. To lock out the rocking movement please turn the lever to the top (Fig. 5),
for release turn to the left side (Fig. 6).
Warning: Do not insert your fingers into the locking mechanism. Please do not use the
locking mechanism while the chair is rocking.
