FIRST-TIME SETUP
The first-time setup feature walks you through configuration of the
settings the watch requires in order to report accurate workout data,
including language and unit settings, time of day, and your personal data.
Press or , and SELECT to enter your choices.
NOTE: It is important to enter the correct time and date during setup, so
the workout files are correctly recorded.
First-time setup begins when you press any button (except INDIGLO®)
after you take the watch out of the box. If first-time setup does not begin,
press MENU, then select SETTINGS. Select ABOUT, then select FACTORY
RESET. After the reset is complete, first-time setup will commence when
you press any button, except INDIGLO®.
In addition to first-time setup, you may want to change the Text Color of
the reversible, high-resolution display.
1. From the SETTINGS menu, open WATCH.
2. Select TEXT COLOR, then press SELECT to toggle between WHITE and
BLACK.
3. Press BACK to return to the main menu and the TIME display.
1312
Connecting to a Computer
Once you complete first-time setup, you can connect the watch to a
computer to update watch firmware, change watch settings from the
computer, and download workout data (as described later) into an online
account.
GET THE LATEST FIRMWARE
While you can use the watch right out of the box, the online firmware will
have the latest enhancements and improvements. Use the Device Agent to
connect the watch to your computer and get the latest updates.
1. Download the Timex®Device Agent for USB Devices at:
http://TimexIronman.com/DeviceAgent
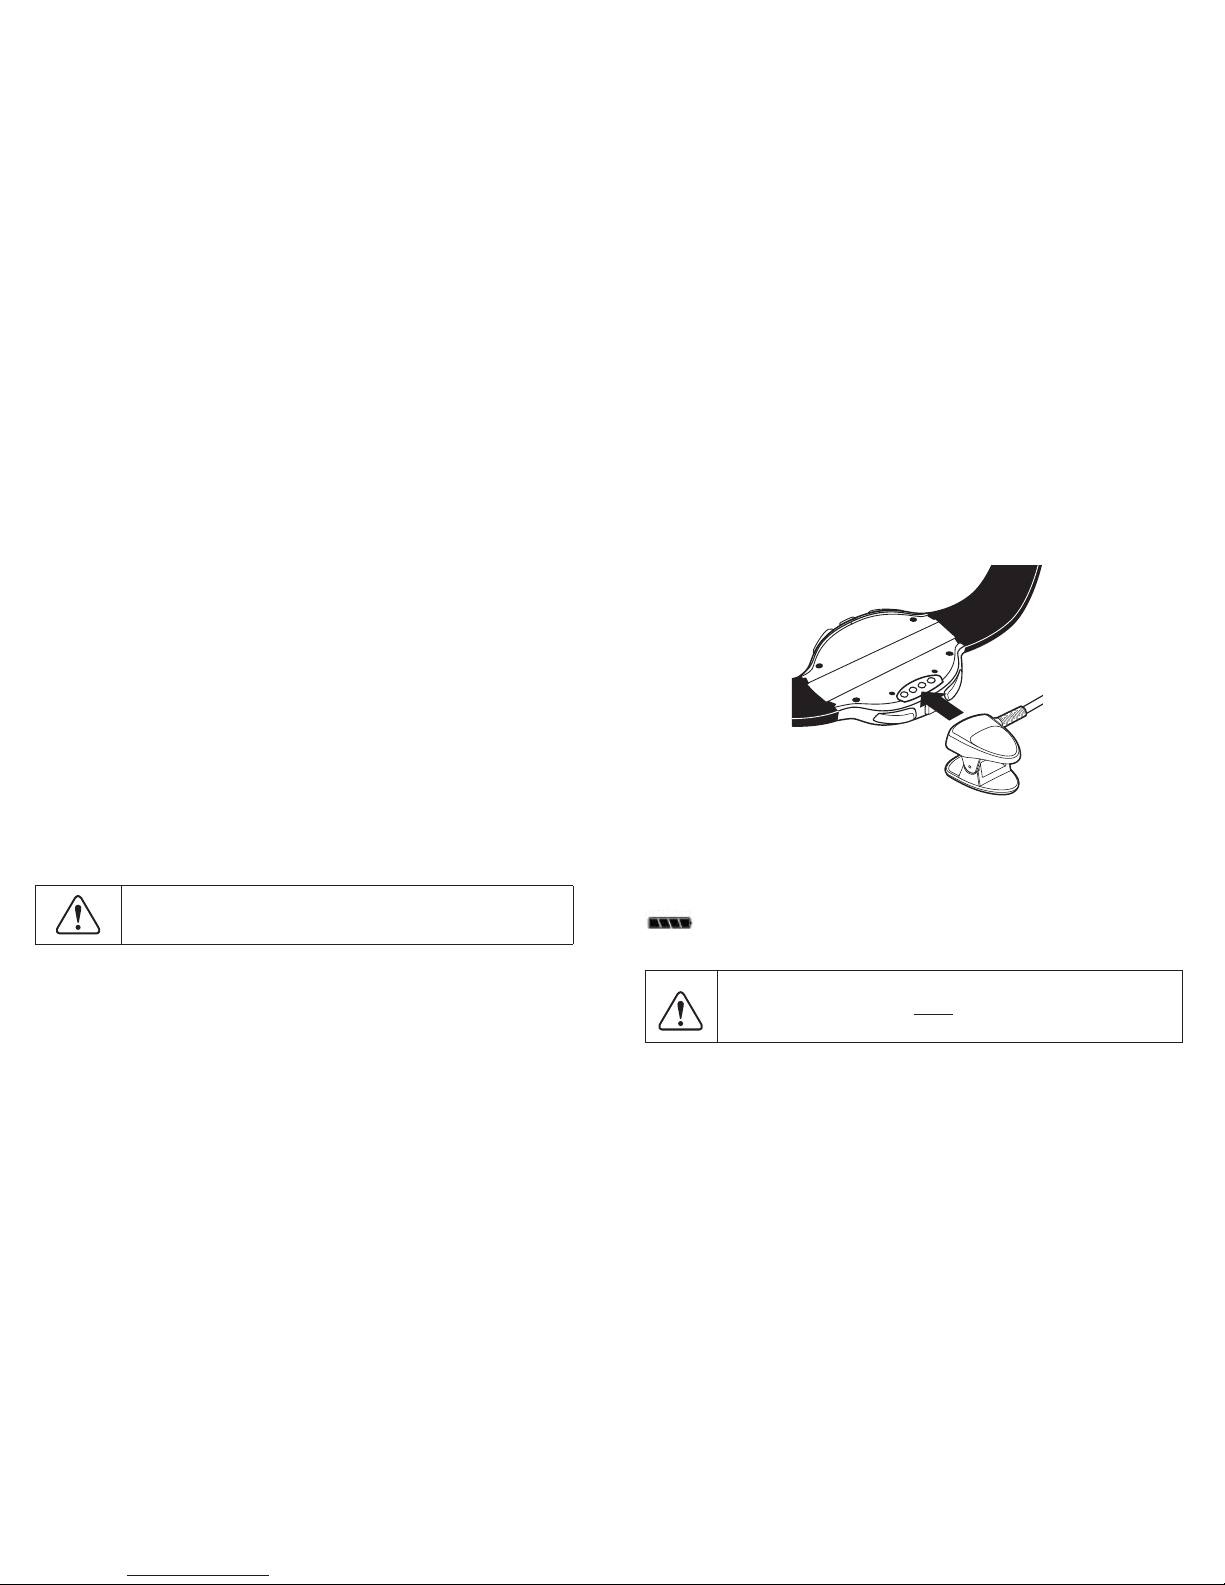
2. Connect the charging clip to the watch, then plug the USB cable into
the computer. A picture of a connected computer appears on the
watch display.
3. Open the Device Agent on your computer.
4. If prompted by the Device Agent, follow the onscreen instructions to
download the latest watch firmware.