Timex Watches User manual

W231 NA 714-095005-01
W231_NA_EN_W231_NA_EN 11/5/09 9:15 AM Page cvr1

TIMEX®WATCHES
Congratulations on purchasing your TIMEX®watch.
Please read these instructions carefully to
understand how to operate your Timex timepiece.
Your watch may not have all of the features
described in this booklet. Please look for your style
For more information and to register your product
please visit:
Timex.com
STYLE 1 STYLE 2 STYLE 3 STYLE 4 STYLE 5
W231_NA_EN_W231_NA_EN 11/5/09 9:15 AM Page ENii

TABLE OF CONTENTS
1Screw-Down Crown
2Water and Shock Resistance
4Automatic Style 1
7Automatic Style 2
9Automatic Style 3
11 Automatic Style 4
14 Automatic Style 5
15 How to Adjust Bracelets
17 Warranty
ENGLISH
W231_NA_EN_W231_NA_EN 11/5/09 9:15 AM Page ENiv

SCREW-DOWN CROWN
Some deep-depth water-resistant watches require
the setting crown to be screwed in to secure water-
resistance. If your watch case has a protrusion with
screw threads, the crown must be screwed in after
setting the watch.
To screw in, push the crown firmly against the
threaded protrusion and hold in while turning the
crown clockwise. Continue to screw in the crown
until it is tight. You will need to unscrew the crown
(counterclockwise) before pulling it out the next time
you want to set your watch.
1
ENGLISH
W231_NA_EN_W231_NA_EN 11/5/09 9:15 AM Page ENvi

1. Watch is water-resistant only as long as crystal,
crown and case remain intact.
2. Watch is not a diver watch and should not be
used for diving.
3. Screw-in setting crown and case back must be
screwed into case to assure water-resistance
(see Set Time for Style 1).
4. Rinse watch with fresh water after exposure to
salt water.
5. Shock-resistance will be indicated on the watch
face or caseback. Watches are designed to pass
ISO test for shock-resistance. However, care
should be taken to avoid damaging the crystal.
3
ENGLISH
2
ENGLISH
WATER AND SHOCK RESISTANCE
If your watch is water-resistant, meter marking or
(O) is indicated.
*pounds per square inch absolute
WARNING: TO MAINTAIN WATER-RESISTANCE
ON ANY WATCH, THE CROWN SHOULD NOT BE
PULLED OUT WHEN THE WATCH IS SUBMERGED
IN WATER. ADDITIONALLY, PUSHERS ON WATCH-
ES WITH A WATER-RESISTANCE DEPTH RATING
OF LESS THAN 200 METERS, SHOULD NOT BE
PUSHED WHEN SUBMERGED IN WATER. EITHER
OF THESE ACTIONS COULD RESULT IN WATER
ENTERING THE WATCH CASE.
Water-Resistance Depth p.s.i.a. * Water Pressure
Below Surface
50m/164ft 86
100m/328ft 160
200m/656ft 284
W231_NA_EN_W231_NA_EN 11/5/09 9:15 AM Page 2

HOW TO SET “QUICK DATE®FEATURE”
3-Position Crown:
Unscrew crown until you reach position “2” and turn
counterclockwise until correct date appears.
NOTE: Date may need to be manually updated at
the end of each month by following above procedure
(otherwise it will continue to 31 and then roll over to
01 each month).
HOW TO WIND YOUR WATCH
From crown position 1, turn crown clockwise to wind
watch.
5
ENGLISH
4
ENGLISH
14
I
I
14
1 2 3
AUTOMATIC STYLE 1
TO SET TIME
1. Unscrew crown and pull out to position 3. Turn to
correct time.
2. Push crown in firmly and screw clockwise to
restart.
Watches with date: Note correct time of day (A.M.
or P.M.) for proper date function. (Please see illustra-
tion above for 24-HR dial.)
24HourHand
Minute Hand
HourHand
Calendar
PowerIndicator12
3
W231_NA_EN_W231_NA_EN 11/5/09 9:15 AM Page 4

AUTOMATIC STYLE 2
TO SET TIME
1. Pull crown to position 2 and turn crown to set
correct time.
2. Push crown in to restart.
HOW TO WIND YOUR WATCH
From crown position 1, turn crown clockwise to
wind.
7
ENGLISH
POWER RESERVE
The watch is self-winding. If you wear your watch
every day, there should be no need to wind it every
24 hours, unless the power reserve shows “LOW”.
The maximum power reserve is at least 36 hours. The
power reserve indicator shows you how much power
remains. You should wind your watch when the indi-
cator hand is near “LOW”.
6
ENGLISH
SecondHand
Minute Hand
Hour Hand
21
W231_NA_EN_W231_NA_EN 11/5/09 9:15 AM Page 6

9
ENGLISH
POWER RESERVE
Once you begin to wear the watch, the movement
of your wrist will generate power to keep the watch
running.
NOTE: The maximum power reserve is at least
36 hours.
8
ENGLISH
AUTOMATIC STYLE 3
TO SET TIME
1. Pull crown to position 2 and turn crown to set
correct time.
2. Push crown to restart.
TO SET DATE
With a blunt object, press recessed button at
8 o’clock position. Each button press advances date
one day.
PowerIndicator
Retrograde date
12
Second Hand
HourHand
Minute Hand
Recessed button
W231_NA_EN_W231_NA_EN 11/5/09 9:15 AM Page 8

AUTOMATIC STYLE 4
WINDING THE WATCH MANUALLY
The watch can be manually wound by turning the
crown in the normal crown position (position 1) 15
to 20 times. The second hand should start to move
naturally.
SETTING THE TIME
1. Pull the crown out one click (position 2)
2. Slowly rotate the crown until the hour and minute
hands are in the correct position for the current
11
ENGLISH
Note: After the date has reached “31” the hand will
fly back down to “1”.
HOW TO WIND YOUR WATCH
From crown position 1, turn crown clockwise to
wind.
POWER RESERVE
Once you begin to wear the watch, the movement of
your wrist will generate power to keep the watch
running.
NOTE: The maximum power reserve is at least
36 hours. The power reserve indicator shows you
how much power remains. You should wind your
watch when the indicator hand is near “LOW”.
10
ENGLISH
Year
Minute Hand
Hour Hand
Day Hand
SecondHand
24 Hours Hand
Month
Date Hand
Sun & Moon
Disc
DA
CB
1 2
W231_NA_EN_W231_NA_EN 11/5/09 9:15 AM Page 10

1. Push button A to advance the Month display to
the correct Month
2. Push button D to advance the Year display to the
correct Year
NOTE: The Year display will correctly display the year
for a maximum of 12 years after the movement was
assembled.
13
ENGLISH
time. NOTE: AM / PM can be determined from the
position of the 24 hour time and the Sun / Moon
indicator on the sub-dial at the 6 o’clock position
3. Push the crown in one click, to the normal
position (position 1)
SETTING THE DATE AND DAY
NOTE: DO NOT set the Date and Day between
9 PM and 3 AM. Setting the Date and Day
during this time period will damage the
watch movement
1. Push button B to advance the date hand to the
correct day of the month
2. Push button C to advance the date hand to the
correct day of the week
SETTING THE MONTH AND YEAR
NOTE: The Month and Year do not automatically
advance. You must manually advance these displays
at the beginning of each Month and Year.
12
ENGLISH
W231_NA_EN_W231_NA_EN 11/5/09 9:15 AM Page 12

HOW TO ADJUST BRACELET
(Variations of the following
bracelet sections apply to all
watch models).
FOLDOVER CLASP
BRACELET
1. Find spring bar that con-
nects bracelet to clasp.
2. Using a pointed tool, push
in spring bar and gently
twist bracelet to disen-
gage.
3. Determine wrist size, then
insert spring bar in correct
bottom hole.
4. Push down on spring bar,
align with top hole and
release to lock in place.
15
ENGLISH
Fig. 1
Fig. 2
Fig. 3
AUTOMATIC STYLE 5
TO SET TIME
1. Pull crown to position 2 and turn crown to set
correct time.
2. Push crown in to restart.
HOW TO WIND YOUR WATCH
From crown position 1, turn crown clockwise to
wind.
14
ENGLISH
Hour Hand
SecondHand
Minute Hand
12Time Setting
HandWinding
W231_NA_EN_W231_NA_EN 11/5/09 9:15 AM Page 14

TIMEX INTERNATIONAL WARRANTY
Your TIMEX®watch is warranted against manufacturing
defects by Timex Group USA, Inc. for a period of ONE YEAR
from the original purchase date. Timex and its worldwide
affiliates will honor this International Warranty.
Please note that Timex may, at its option, repair your
watch by installing new or thoroughly reconditioned and
inspected components or replace it with an identical or
similar model. IMPORTANT — PLEASE NOTE THAT THIS
WARRANTY DOES NOT COVERDEFECTS ORDAMAGES
TO YOURWATCH:
1) after the warranty period expires;
2) if the watch was not originally purchased from an
authorized Timex retailer;
3) from repair services not performed by Timex;
4) from accidents, tampering or abuse; and
5) lens or crystal, strap or band, watch case, attach-
ments or battery. Timex may charge you for replacing
any of these parts.
THIS WARRANTY AND THE REMEDIES CONTAINED HEREIN
ARE EXCLUSIVE AND IN LIEU OF ALL OTHER WARRANTIES,
EXPRESS OR IMPLIED, INCLUDING ANY IMPLIED WARRANTY
OF MERCHANTABILITY OR FITNESS FOR PARTICULAR PUR-
POSE. TIMEX IS NOT LIABLE FOR ANY SPECIAL, INCIDENTAL
17
ENGLISH
BRACELET LINK REMOVAL
REMOVING LINKS:
1. Place bracelet upright
and insert pointed tool
in opening of link.
2. Push pin forcefully in
direction of arrow until
link is detached (pins
are designed to be difficult to remove).
3. Repeat until desired number of links are removed.
RE-ASSEMBLY:
1. Rejoin bracelet parts.
2. Push pin back into link
in opposite direction of
arrow.
3. Press pin down secure-
ly into bracelet until it is
flush.
16
ENGLISH
W231_NA_EN_W231_NA_EN 11/5/09 9:15 AM Page 16

Bermuda and the Bahamas, call (501) 370-5775 (U.S.). For
Asia, call 852-2815-0091. For the U.K., call 44 020 8687 9620.
For Portugal, call 351 212 946 017. For France, call
33 3 81 63 42 00. Germany/Austria: +43 662 88921 30.
For the Middle East and Africa, call 971-4-310850. For
other areas, please contact your local Timex retailer or
Timex distributor for warranty information. In Canada,
the U.S. and in certain other locations, participating
Timex retailers can provide you with a postage-paid,
pre-addressed Watch Repair Mailer for your convenience
in obtaining factory service.
EXTENDED WARRANTY
Available in U.S. only. Extend your warranty for an
additional 4 years from date of purchase for $5. You can
pay with AMEX, Discover, Visa or MasterCard by calling
1 800-448-4639 during normal business hours. Payment
must be made within 30 days of purchase. Name, address,
telephone number, purchase date, and 5-digit model
number required. You can also mail a check for $5 to:
Timex Extended Warranty, P.O. Box 1676, Dept. EF,
Little Rock, AR 72203.
© 2009 Timex Group USA, Inc. TIMEX and QUICK DATE are
registered trademarks of Timex Group USA, Inc. in the U.S.
and other countries.
19
ENGLISH
18
ENGLISH
OR CONSEQUENTIAL DAMAGES. Some countries and states
do not allow limitations on implied warranties and do not
allow exclusions or limitations on damages, so these
limitations may not apply to you. This warranty gives you
specific legal rights and you may also have other rights,
which vary from country to country and state to state.
To obtain warranty service, please return your watch to
Timex, one of its affiliates or the Timex retailer where the
watch was purchased, together with a completed original
Watch Repair Coupon or, in the U.S. and Canada only, the
completed original Watch Repair Coupon or a written
statement identifying your name, address, telephone
number and date and place of purchase. Please include
the following with your watch to cover postage and
handling (this is not a repair charge): a US$ 8.00 check or
money order in the U.S.; a CAN$7.00 cheque or money
order in Canada; and a UK£2.50 cheque or money order in
the U.K. In other countries, Timex will charge you for
postage and handling. NEVER INCLUDE A SPECIAL
WATCHBAND OR ANY OTHER ARTICLE OF PERSONAL
VALUE IN YOUR SHIPMENT.
For the U.S., please call 1-800-448-4639 for additional
warranty information. For Canada, call 1-800-263-0981.
For Brazil, call +55 11 5572 9733. For Mexico, call
01-800-01-060-00. For Central America, the Caribbean,
W231_NA_EN_W231_NA_EN 11/5/09 9:15 AM Page 18

RELOJES TIMEX®
Felicitaciones por la compra de su reloj TIMEX®.
Lea atentamente estas instrucciones para entender
el funcionamiento de su reloj Timex.
Es posible que su reloj no tenga todas las caracterís-
ticas descritas en este folleto. Busque su estilo.
Para obtener más información
y registrar su producto, visite:
Timex.com
ESTILO 1 ESTILO 2 ESTILO 3 ESTILO 4 ESTILO 5
W231_NA_SP_W231_NA_SP 11/5/09 9:18 AM Page 46

49
ESPAÑOL
ÍNDICE DE CONTENIDOS
51 Corona de Rosca
52 Resistencia al Agua y los Golpes
54 Estilo Automático 1
57 Estilo Automático 2
59 Estilo Automático 3
61 Estilo Automatico 4
64 Estilo Automático 5
68 Garantía
ESPAÑOL
W231_NA_SP_W231_NA_SP 11/5/09 9:18 AM Page 48

CORONA DE ROSCA
Algunos relojes resistentes al agua a grandes
profundidades necesitan que la corona de ajuste se
atornille para asegurar la resistencia al agua. Si la
caja de su reloj tiene una protuberancia roscada, la
corona debe atornillarse después de ajustar el reloj.
Para atornillarla, empuje la corona con firmeza contra
la protuberancia roscada y mantenga la presión
mientras gira la corona en sentido horario. Continúe
atornillando la corona hasta que esté firme.
Necesitará desatornillar la corona (en sentido
antihorario) antes de jalarla hacia afuera la próxima
vez que quiera ajustar su reloj.
51
ESPAÑOL
ESPAÑOL
W231_NA_SP_W231_NA_SP 11/5/09 9:18 AM Page 50

53
ESPAÑOL
52
ESPAÑOL
CUALQUIERA DE ESTAS ACCIONES
OCASIONARÍA LA ENTRADA DE AGUA AL RELOJ.
1. El reloj es resistente al agua solamente mientras el
cristal, la corona y la caja permanezcan intactos.
2. El reloj no es apropiado para hacer submarinismo
y no debería utilizarse para ello.
3. La perilla de la corona y la tapa de atrás deben
estar atornilladas a la caja para asegurar la
resistencia al agua (ver Cómo Ajustar la Hora
para el Estilo 1).
4. Enjuague el reloj con agua dulce después de
exponerlo al agua salada.
5. La resistencia a los golpes estará indicada en la
esfera del reloj o atrás de la caja. Los relojes
están diseñados para pasar la prueba ISO de
resistencia a los golpes. Sin embargo, se debe
tener cuidado para evitar dañar el cristal.
ESPAÑOL
ESPAÑOL
RESISTENCIA AL AGUA Y LOS GOLPES
Si su reloj es resistente al agua, se indicarán los
metros o aparecerá el símbolo (O).
*libras por pulgada cuadrada absoluta
ADVERTENCIA: PARA MANTENER LA RESISTEN-
CIA AL AGUA EN CUALQUIER RELOJ, MIENTRAS
ESTÉ SUMERGIDO NO SE DEBE TIRAR DE LA
CORONA. ADEMÁS, EN RELOJES CATALOGADOS
PARA PROFUNDIDADES INFERIORES A 200 ME-
TROS NUNCA SE DEBEN PULSAR LOS BOTONES
CUANDO ESTÁN SUMERGIDOS EN EL AGUA.
Profundidad
de Resistencia al Agua
* Presión del agua
por debajo de la
superficie, en p.s.i.a.
50m/164 pies 86
100m/328 pies 160
200m/656 pies 284
W231_NA_SP_W231_NA_SP 11/5/09 9:18 AM Page 52

55
ESPAÑOL
54
ESPAÑOL
CÓMO PROGRAMAR LA FUNCIÓN
“QUICK DATE®”
Corona de 3 posiciones:
Desatornille la corona hasta la posición “2” y gírela
en sentido horario hasta que aparezca la fecha
correcta.
NOTA: Se puede requerir actualizar manualmente la
fecha al final de cada mes siguiendo el procedimiento
anterior (de lo contrario, continuará hasta 31 y
después volverá a 01 cada mes).
CÓMO DAR CUERDA AL RELOJ
Con la corona en la posición 1, gírela en sentido
horario para dar cuerda al reloj.
ESPAÑOL
14
I
I
14
1 2 3
ESPAÑOL
ESTILO AUTOMÁTICO 1
PARA FIJAR LA HORA
1. Desatornille la corona y sáquela hasta
la posición 3. Gírela hacia la hora correcta.
2. Reinserte la corona y atornille en sentido horario
para reiniciar.
Relojes con fecha: Observe la hora correcta del día
(A.M. o P.M.) para indicar la fecha apropiadamente.
(Si usa el horario de 24 horas, refiérase a la
ilustración de arriba).
1 2
3
Manecilla de 24 horas
Manecilla de los minutos
Manecilla de la hora
Indicador de energía
Calendario
W231_NA_SP_W231_NA_SP 11/5/09 9:18 AM Page 54

ESTILO AUTOMÁTICO 2
PARA FIJAR LA HORA
1. Jale la corona hasta la posición 2 y gírela para
fijar la hora correcta.
2. Reinserte la corona para reiniciar.
CÓMO DAR CUERDA AL RELOJ
Con la corona en la posición 1, gírela en sentido
horario para dar cuerda.
57
ESPAÑOL
RESERVA DE ENERGÍA
El reloj se da cuerda por sí mismo. Si usa su reloj
todos los días, no habrá necesidad de darle cuerda
cada 24 horas, a menos que muestre la reserva de
energía en “BAJA”.
La reserva de energía máxima dura al menos
36 horas. El indicador de reserva de energía indica
cuánta energía queda. Debe dar cuerda al reloj
cuando la manecilla indicadora esté cerca de “LOW”
(baja).
56
ESPAÑOL ESPAÑOL
21
Segundero
Manecilla de la hora
Manecilla de los
minutos
ESPAÑOL
W231_NA_SP_W231_NA_SP 11/5/09 9:18 AM Page 56

59
ESPAÑOL
RESERVA DE ENERGÍA
Cuando se coloque el reloj, con el movimiento de
muñeca se generará la energía para que su reloj se
mantenga funcionando.
NOTA: La reserva de energía máxima dura al menos
36 horas.
58
ESPAÑOL ESPAÑOL
ESTILO AUTOMÁTICO 3
PARA FIJAR LA HORA
1. Jale la corona hasta la posición 2 y gírela para
fijar la hora correcta.
2. Reinserte la corona para reiniciar.
PARA FIJAR LA FECHA
Con un objeto no punzante, presione el botón
empotrado hasta las 8 en punto. Cada vez que
presione el botón la fecha avanza un día.
1 2
Fecha anterior
Segundero
Manecilla
de la hora
Manecilla
de los minutos
Botón empotrado
Indicador de energía
ESPAÑOL
W231_NA_SP_W231_NA_SP 11/5/09 9:18 AM Page 58
This manual suits for next models
1
Table of contents
Languages:
Other Timex Watch manuals
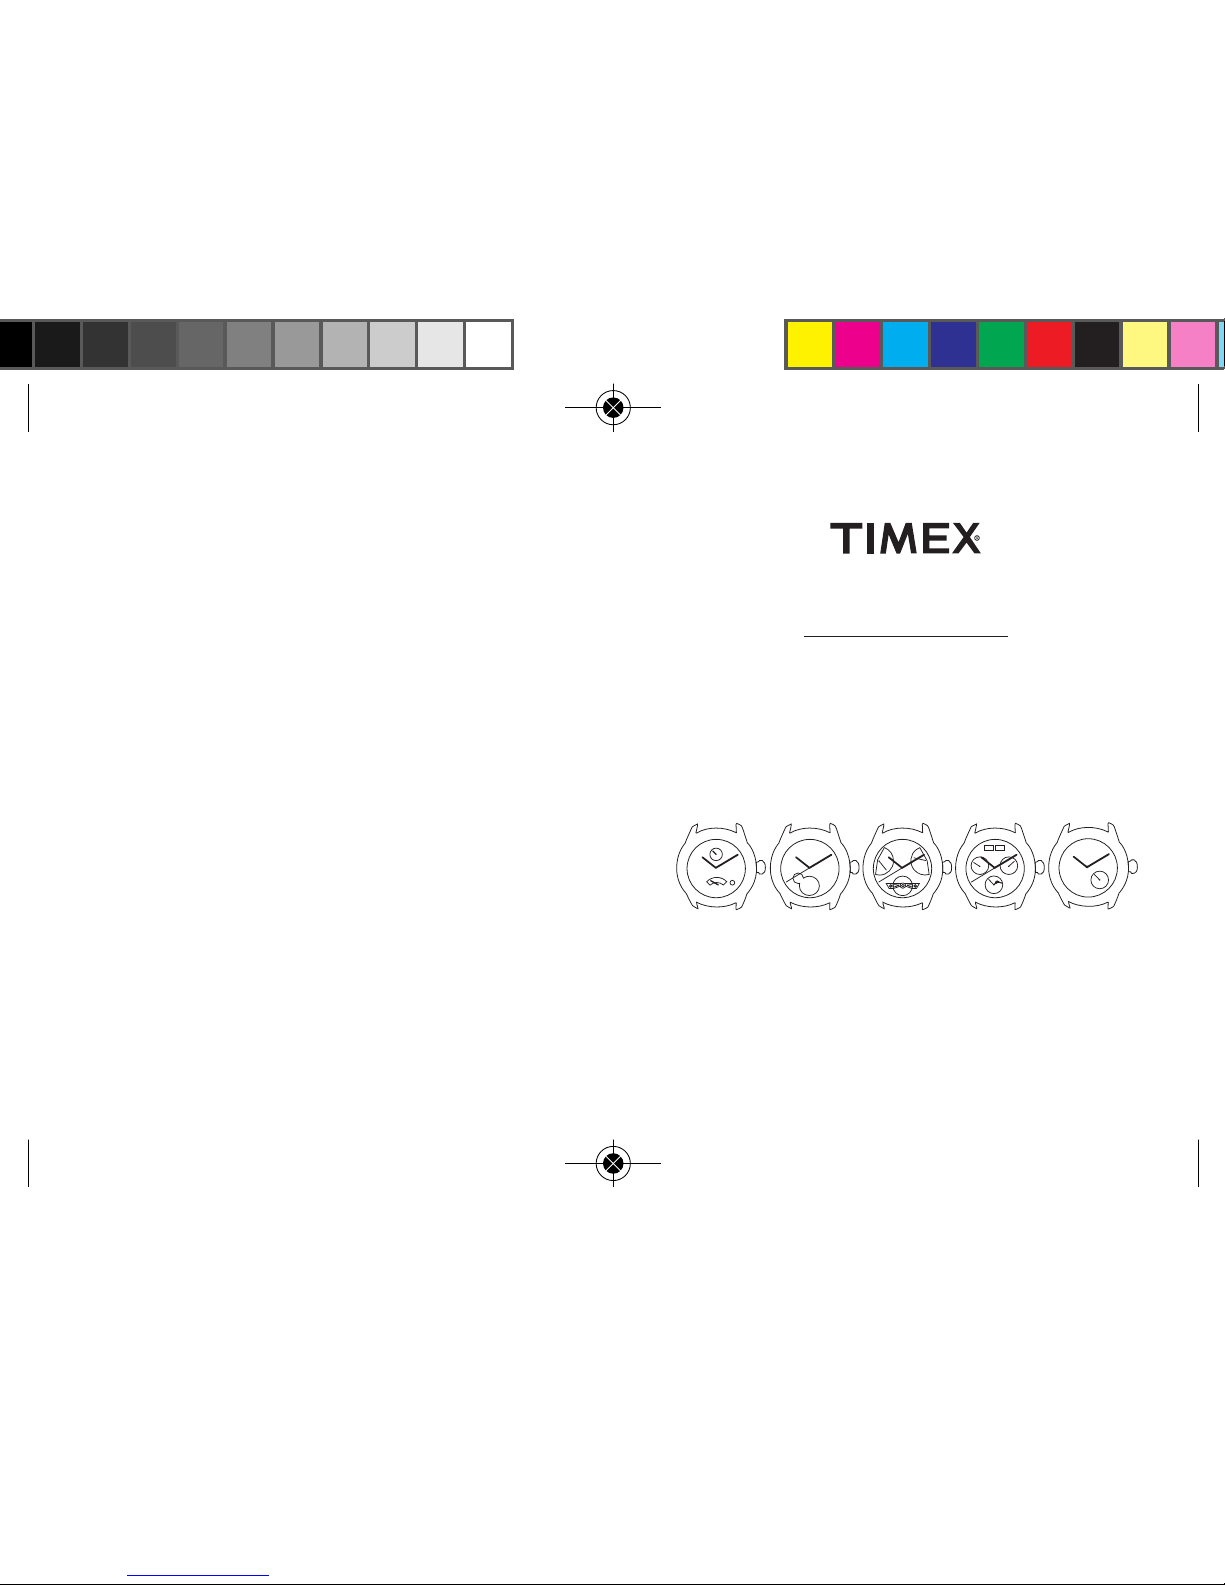
Timex
Timex IRONMAN TRAIN SMARTER T5K629 User manual

Timex
Timex W196 User manual

Timex
Timex Performance Watch User manual

Timex
Timex W217 NA User manual

Timex
Timex Performance Watch User manual

Timex
Timex W-162 User manual

Timex
Timex M851 Guide

Timex
Timex W-163-US User manual

Timex
Timex W-92 User manual

Timex
Timex W183 User manual

Timex
Timex W-162 User manual

Timex
Timex W-106 User manual

Timex
Timex w257 User manual

Timex
Timex iConnect Square M03Z User manual

Timex
Timex INTELLIGENT QUARTZ User manual

Timex
Timex 127-095000 User manual

Timex
Timex W-187 User manual

Timex
Timex Run Trainer 2.0 GPS User manual

Timex
Timex W-36 User manual

Timex
Timex 111-095009 User manual