TitanGPS TT1SPSATsolar User manual
These guidelines are meant to maximize
the performance of the unit.
STEP 1: Determine Installation Type
STEP 2:
Determine Mounting Location
QUICK INSTALL GUIDETT1SPSATsolar
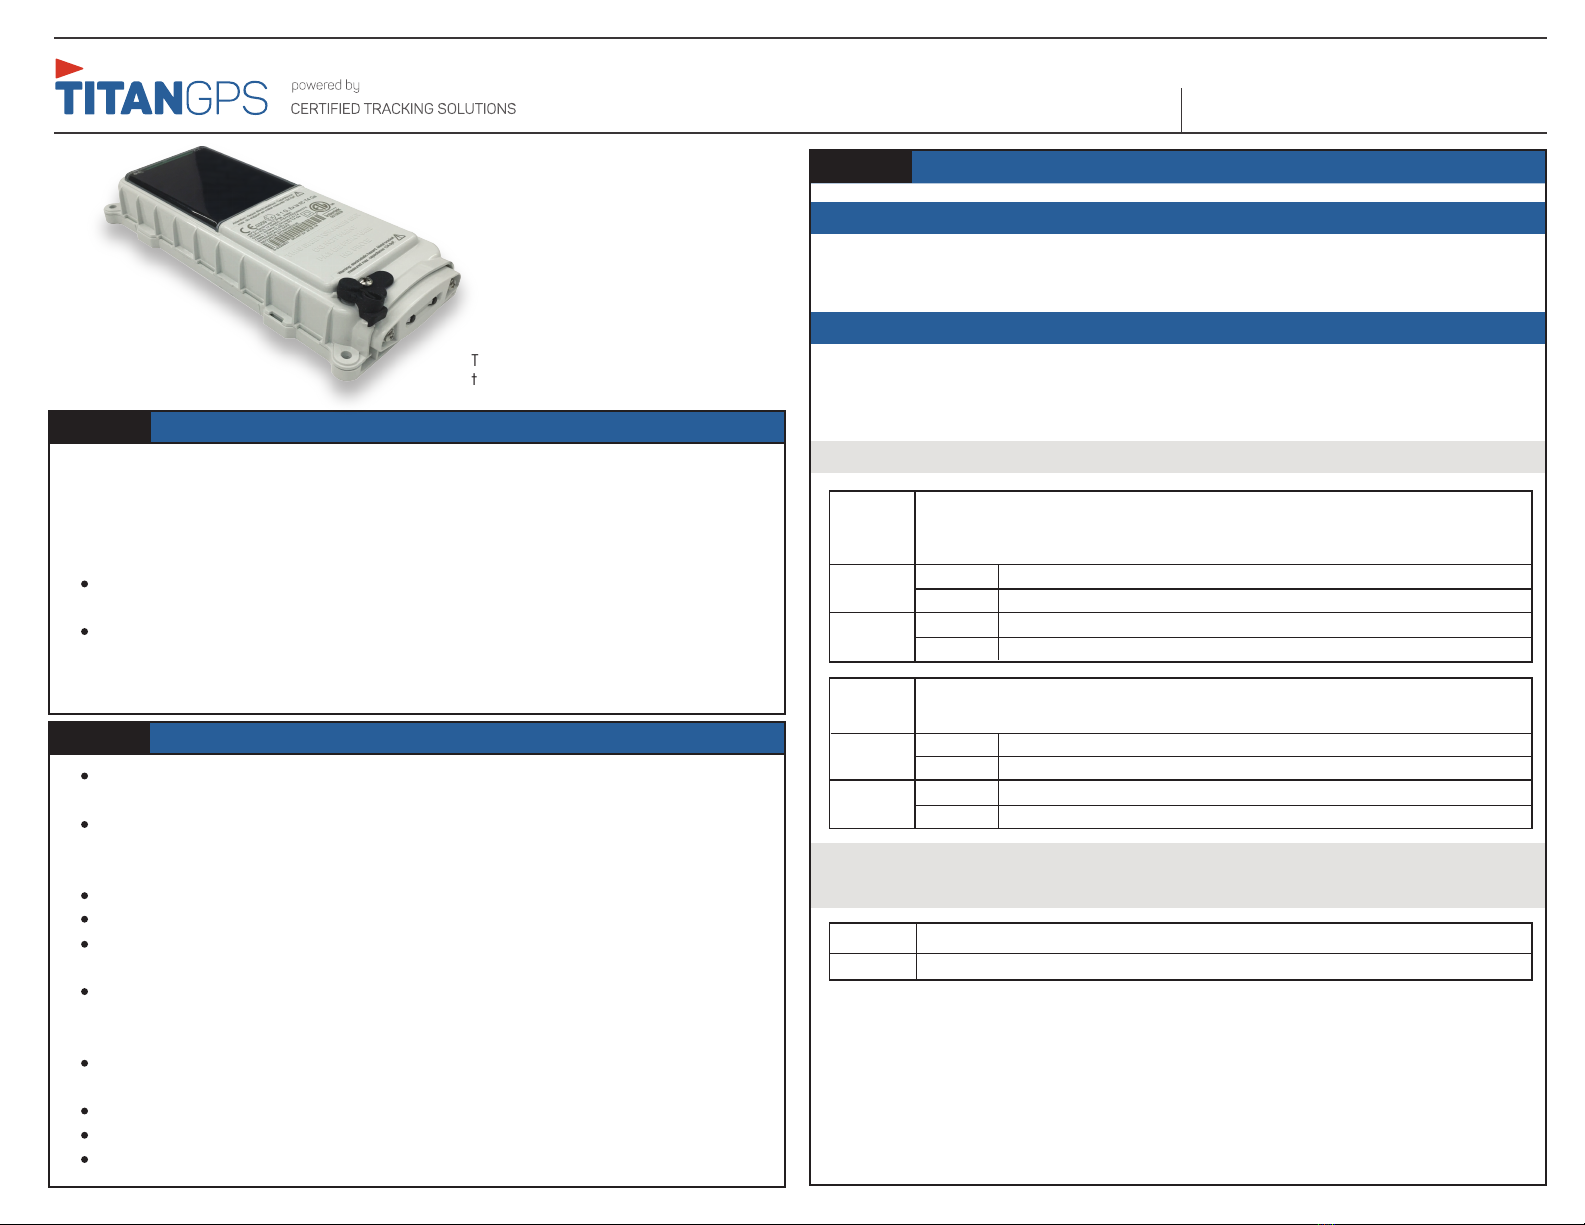
Device should be mounted face up on a flat horizontal surface that is
perpendicular to the sun with a clear view of the sky
Secure with double-sided adhesive tape and/or screw directly to the asset
If using double-sided adhesive tape:
Surface must be clean, smooth and dry
Ambient temperature must be above 10C
Apply at 80lb (350N) force to the asset for a minimum of three seconds to
achieve full bonding strength
Failure to adhere to these instructions could lead to the device becoming
detached from the asset in the field
If using screws:
Use existing mounting holes with four #6 machine screws (Pan head
recommended). Use 316 grade stainless steel for longevity
DO NOT use countersunk screws as this may damage housing
DO NOT over-tighten screws (DO NOT exceed 1.2 N.m (10 in.lb) torque)
Mounting hole diameter = 3.81mm (0.150”)
Depending upon the requirements, the TT1SPSATsolar can be installed in two
Option1: TT1SPSATsolar ONLY
Option2: TT1SPSATsolar with Input Cable (optional)
The input cable allows for transmission of up to two input statuses, as well as
connecting to a power source
There are two ways the inputs can be connected
Type A: “Dry Contact” – Input without voltage
Type B: “With Voltage” – Input with voltageways.
STEP 3: Complete Mounting and Wire Connections (if necessary)
Option 1: Mounting the device WITHOUT Input Cable
a) Mount device as per “Determine Mounting Location” recommendations
b) Proceed to “Testing the Device”
Option 2: Mounting the device WITH Input Cable
a) Connect Input(s) and/or power according to Input Types below
IMPORTANT: The Input TYPE must be pre-programmed into the device. If unsure of
which method to use, please contact us as incorrect installation may damage the device.
INPUT CONNECTIONS
POWER CONNECTION
IMPORTANT: Connect to 10-48V DC Only
b) Mount device as per “Determine Mounting Location” recommendations
c) Connect Input Cable into TT1SPSATsolar
d) Tighten Input Cable Connections (Be careful not to over-tighten)
e) Proceed to “Testing the Device”
Type A : “Dry Contact” – Input WITHOUT Voltage
IMPORTANT: If device programmed for Dry Contact input(s) then DO NOT CONNECT DIRECTLY
TO ANY POWER SOURCE Doing so may void the warranty.
INPUT1: White: Dry Contact 1 (Recommended for Ignition/Engine Status Input)
Dark Blue: Ground
INPUT2: Light Blue: Dry Contact 2
Green: Ground
Type B : “With Voltage” – Input WITH Voltage
IMPORTANT: If device programmed for “With Voltage” Inputs connect to 10 to 48V DCI
INPUT1: White: Ignition/Engine Status Input (+) (10 to 48V DC)
Dark Blue: Ground
INPUT2: Light Blue: Input 2 (+)
Green: Ground
Violet (+): Line Power + MUST FUSE within 1 foot of source (1 Amp Fuse)
Grey(-): Line Power-

IMPORTANT: Always be sure to “test” the device BEFORE sending the asset into the field
NO Input Cable
a) Ensure device is OUTSIDE with a clear view of the sky
b) Remove Magnetic Grommet
c) Ensure current location of the device is displayed on your Titan GPS account. (This can
take up to 35 minutes)
d) If successful, leave the Magnetic Grommet removed and store for future use.
WITH Input Cable
The input cable can be used for monitoring the status of various inputs. The most common
is for asset engine hours. In order to see input status changes, the testing process will need
to force packets through. These will contain the input status. Please see the process below
for testing an ignition/engine based input. Other inputs will follow a similar process.
a) Ensure device is OUTSIDE with a clear view of the sky
Stage 1: Input OFF test
b) Ensure asset ignition or input that you want to monitor
is OFF (Eg. Ignition is O)
d) Ensure input cable wiring is connected to the input
wiring (E.g. Ignition)
e) Remove the Magnetic Grommet from the device
f) View the device on your Titan GPS account
(This may take up to 35 minutes)
-A “Unit Turned On” package will be displayed
-The desired input status should = O (E.g. Input 1: O).
Stage 2: Input ON test
g) Reattach Magnetic Grommet to the device and wait 2 minutes
h) Turn desired asset input ON (E.g. Ignition)
i) Remove the Magnetic Grommet from the device
j) View the device on your Titan GPS account (This may
take up to 35 minutes)
- A “Unit Turned On” package will be displayed
- The desired input status should = On (E.g. Input 1: On).
k) If successful, leave the Magnetic Grommet removed and
store for future use.
Troubleshooting (If the location is not updating on your Titan GPS account;)
-Ensure device has a clear view of the sky
-Try “resetting” the device by turning the device switch OFF, waiting 5 minutes, then turning
device switch ON.
CARE AND USE
The clear plastic on the TT1SPSATsolar should be kept free of soil or debris to
maximize battery charging capacity
Solar panels produce the most electricity when they are perpendicular to the sun
Shading and weather conditions may negatively aect the charging of the batteries
from the solar panels
If the batteries of the TT1SPSATsolar are fully depleted, it is recommended to allow
the device to receive a full day (6+ hours) of adequate sunlight to fully charge the
batteries
If the clear plastic panel covering the solar panel becomes cracked, the device should
be replaced
The device should provide up to 10 years of maintenance-free operation based on
adequate sun exposure to recharge the battery pack. The internal battery pack is not
replaceable.
If the asset is to be stored indoors for extended periods of time, the TT1SPSATsolar
should be shut down be installing the Magnetic Grommet to avoid draining the
battery pack. Be careful to store the Magnetic Grommet when removed.
A fully charged TT1SPSATsolar should remain operational up to 6 months with a
clear view of the sky in the absence of sunlight if programmed with two GPS locations
per day
STEP 4: Testing the Device
QUICK INSTALL GUIDE
TT1SPSATsolar
Magnetic Grommet
1 855 287 4477 | 1-780-391-3800 | 8AM to 5PM Monday to Friday MST
titangps.ca | titangpstracking.com
CALL US
WE’LL TEST
WITH YOU
Other TitanGPS GPS manuals

TitanGPS
TitanGPS TT3601i User manual

TitanGPS
TitanGPS TT13003G Series User manual

TitanGPS
TitanGPS TT6000v24 User manual

TitanGPS
TitanGPS TT1000 Series User manual

TitanGPS
TitanGPS TT1SPSATsolar User manual

TitanGPS
TitanGPS TT-IoTSolar User manual

TitanGPS
TitanGPS TT6000v24 User manual

TitanGPS
TitanGPS CP4 User manual

TitanGPS
TitanGPS TT33003G User manual

TitanGPS
TitanGPS TT6000v24 User manual


Popular GPS manuals by other brands


Qstarz
Qstarz CR-Q1100P quick start guide

Magellan
Magellan RoadMate 760 - Automotive GPS Receiver Reference manual

Teltonika
Teltonika FMM125 manual

Rand McNally
Rand McNally TND 740 user manual

Textron
Textron POWER FINDER CIRCUIT SEEKER GREENLEE... instruction manual

Yield Technology
Yield Technology SuperGuard Operation manual


